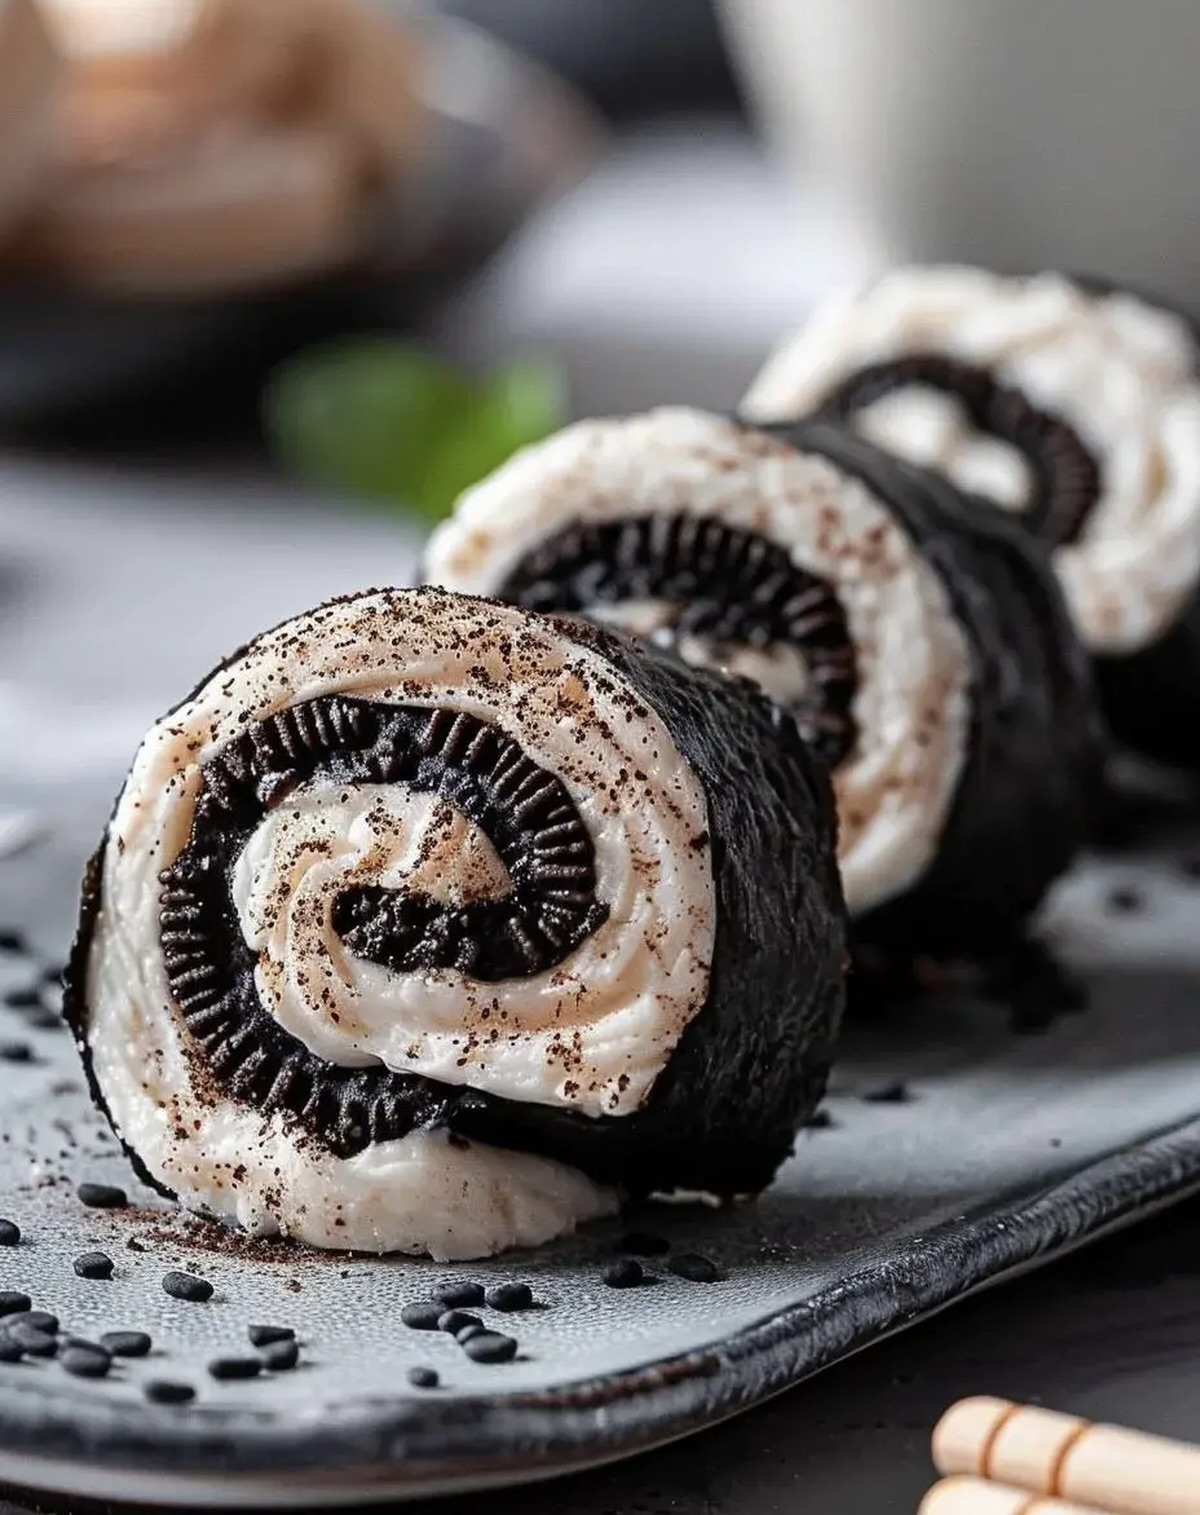
Dreamy 2-Ingredient Oreo Sushi Recipe for Sweet Cravings
Dessert adventures take an unexpected turn with this mind-blowing 2-ingredient Oreo sushi that combines simplicity and pure indulgence.
Sweet-toothed snackers will fall head over heels for this playful twist on traditional treats.
Oreo cookies and cream cheese merge into a delightful no-bake sensation that defies culinary expectations.
The recipe requires minimal effort but delivers maximum flavor and visual appeal.
Each bite promises a creamy, crunchy experience that transforms ordinary ingredients into something extraordinary.
This quick and easy dessert will become your secret weapon for impressing guests without breaking a sweat.
Prepare to wow everyone with a treat that’s as fun to make as it is to devour.
Why 2-Ingredient Oreo Sushi Is the Easiest Fun Treat
Just Two Ingredients for Quick Oreo Sushi
Main Ingredients:
Oreo Cookies: These classic sandwich cookies provide the base for the unique sushi-style dessert.
Milk: A smooth liquid that helps bind the Oreo cookie crumbs into a pliable dough.
Filling Components:Optional Preparation Item:Tools for Rolling Oreo Sushi at Home
Making Oreo Sushi: A Simple Step-by-Step
Step 1: Crush Oreo Cookies
Grab your food processor and toss in the Oreo cookies (cream removed).
Pulse and blend until the cookies transform into fine, powdery crumbs that look like dark chocolate sand.
Step 2: Create Dough Magic
Pour milk into the food processor with the cookie crumbs.
Blend everything until the mixture miraculously comes together into a smooth, pliable dough ball that’s ready for action.
Step 3: Roll Out The Base
Spread a clean sheet of plastic wrap on your countertop.
Transfer the Oreo dough onto the wrap.
Gently press and roll the dough into a perfect square about 1/4 inch thick.
Use a knife to trim any uneven edges, creating a clean rectangular canvas.
Step 4: Whip Up Creamy Filling
In a separate bowl, take the reserved Oreo cream filling.
Add a splash of milk and whisk until the mixture becomes silky smooth and spreadable.
Step 5: Construct The Sushi Roll
Carefully spread the creamy filling across the entire surface of your rolled-out Oreo dough.
Starting from one edge, begin rolling the dough into a tight log.
Use the plastic wrap as a helpful guide to ensure a compact, even roll.
Step 6: Chill And Slice
Optional but recommended: Wrap the entire roll in fresh plastic wrap and let it rest in the refrigerator for about 30 minutes.
This helps the roll firm up and makes slicing easier.
When ready, unwrap and cut into bite-sized sushi-style pieces.
Serve and enjoy your creative Oreo dessert!
Tips for Rolling and Slicing Oreo Sushi
Creative Oreo Sushi Variations and Toppings
Fun Ways to Serve Oreo Sushi for Parties
Storing Oreo Sushi for Snack Time
FAQs
No, it’s a playful dessert that looks like sushi but uses Oreo cookies instead of traditional ingredients. It mimics the roll shape but is a sweet treat made entirely from cookies.
You’ll only need a food processor, rolling pin, plastic wrap, and a sharp knife. Most home kitchens already have these basic tools.
Absolutely! Kids can help mix the Oreo crumbs, blend the cream, and roll the dough. Adult supervision is recommended for using the food processor and cutting the roll.
When stored in an airtight container in the refrigerator, these rolls will stay fresh for 2-3 days. The cooler temperature helps maintain their shape and texture.
Print
2-ingredient Oreo Sushi Recipe
- Total Time: 50 minutes
- Yield: 2 1x
Description
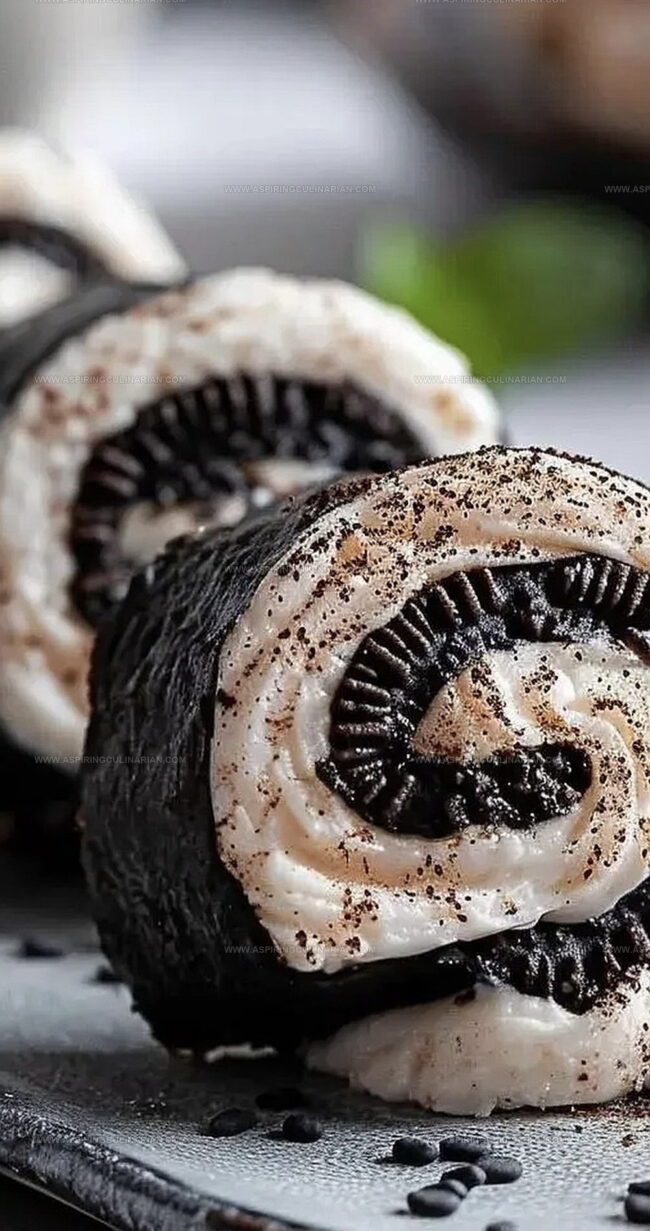
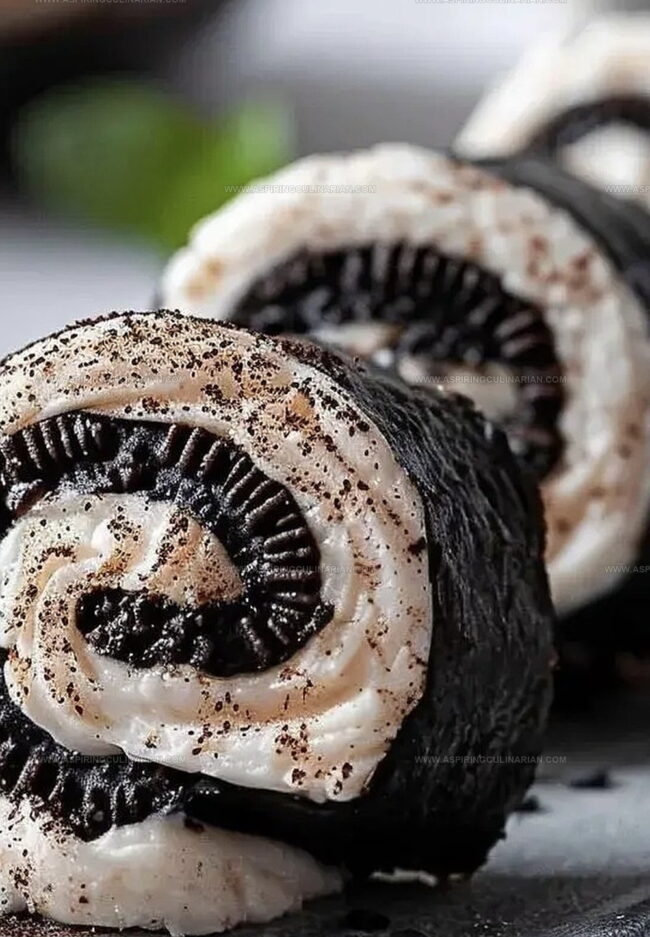
Oreo sushi rolls blend classic cookie flavors with playful Japanese-inspired presentation. Creamy chocolate centers and crisp cookie exteriors create a delightful dessert you can quickly craft at home.
Ingredients
Main Ingredients:
- 24 Oreo cookies
- 1/4 cup (60 milliliters) milk
Filling Ingredient:
- Oreo cream filling (from separated cookies)
Instructions
- Pulverize the Oreo cookies (without cream) in a food processor until they transform into ultrafine crumbs, creating a powdery texture.
- Incorporate milk into the crumb mixture, blending until the ingredients coalesce into a compact, pliable dough ball.
- Spread a plastic wrap sheet on a clean work surface, transferring the dark cookie dough onto the wrap. Gently manipulate the dough into a square configuration, using a rolling pin to flatten it uniformly to approximately 1/4 inch thickness.
- Carefully trim the edges to achieve a precise, symmetrical square shape with clean lines.
- Whisk the reserved Oreo cream filling with milk until achieving a silky, homogeneous consistency.
- Distribute the cream filling evenly across the flattened dough surface, ensuring complete coverage.
- Utilizing the plastic wrap as a guide, tightly roll the dough into a compact cylindrical form, maintaining consistent pressure.
- Optionally, encase the roll in fresh plastic wrap and refrigerate for 30 minutes at 40°F to enhance structural integrity.
- Unwrap the chilled roll and slice into bite-sized segments resembling miniature sushi pieces, ready for immediate consumption.
Notes
- Texture Matters Use a food processor for ultra-fine Oreo crumbs to ensure a smooth, consistent dough that rolls easily without crumbling.
- Moisture Control Add milk gradually to prevent the dough from becoming too wet or sticky, adjusting the amount based on the cookie’s consistency.
- Versatile Filling Experiment with alternative fillings like cream cheese, Nutella, or peanut butter to create unique flavor combinations and cater to different tastes.
- Dietary Adaptations Substitute regular milk with plant-based alternatives like almond or oat milk for a vegan-friendly version, making the dessert accessible to more people.
- Prep Time: 20 minutes
- Cook Time: 30 minutes
- Category: Snacks, Desserts
- Method: Rolling
- Cuisine: American
Nutrition
- Serving Size: 2
- Calories: 280
- Sugar: 24 g
- Sodium: 200 mg
- Fat: 12 g
- Saturated Fat: 7 g
- Unsaturated Fat: 3 g
- Trans Fat: 0 g
- Carbohydrates: 42 g
- Fiber: 2 g
- Protein: 4 g
- Cholesterol: 5 mg
Lena Martinez
Contributing Writer & Culinary Educator
Expertise
Southwestern and Latin American cuisines, Vegetarian and plant-based recipe development, Culinary education and community outreach
Education
Santa Fe Community College, Santa Fe, NM
Certificate in Culinary Arts
Emphasized Southwestern cuisine and sustainable cooking practices
Lena grew up surrounded by the colors, spices, and traditions of the Southwest – flavors that sparked her love for bold, honest cooking. After earning her Culinary Arts certificate at Santa Fe Community College, she made it her mission to teach home cooks how to create flavorful, plant-powered meals without the fuss.
Her recipes are packed with vibrant ingredients, simple steps, and the kind of heart that turns a regular meal into something you’ll want to share. Outside the kitchen, Lena spends her time wandering farmers’ markets, trading family recipes, and helping young chefs find their voice through food.