
The Perfect Cookie Monster Ice Cream Recipe for Sweet Smiles
Cookie monster ice cream is a playful, colorful dessert that brings a fun twist to homemade frozen treats.
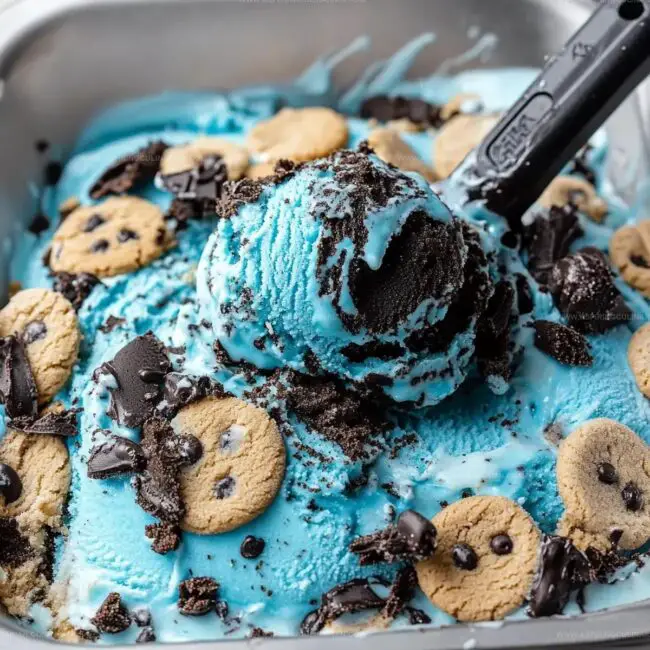
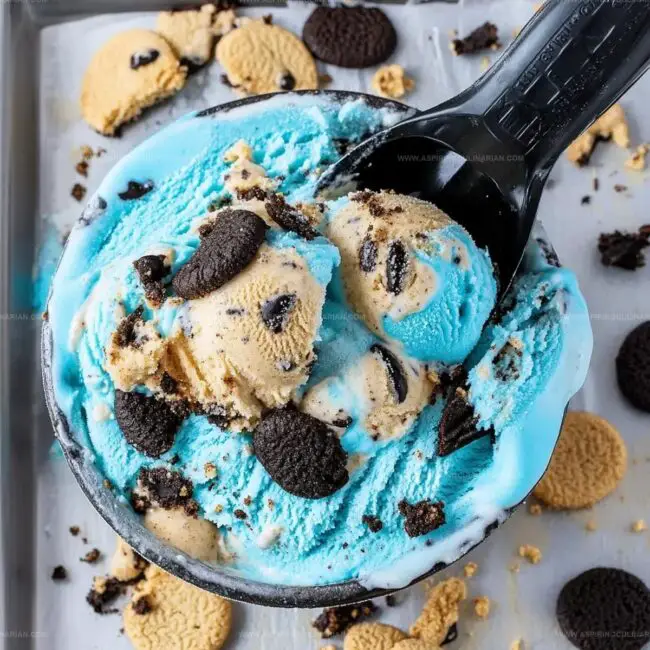
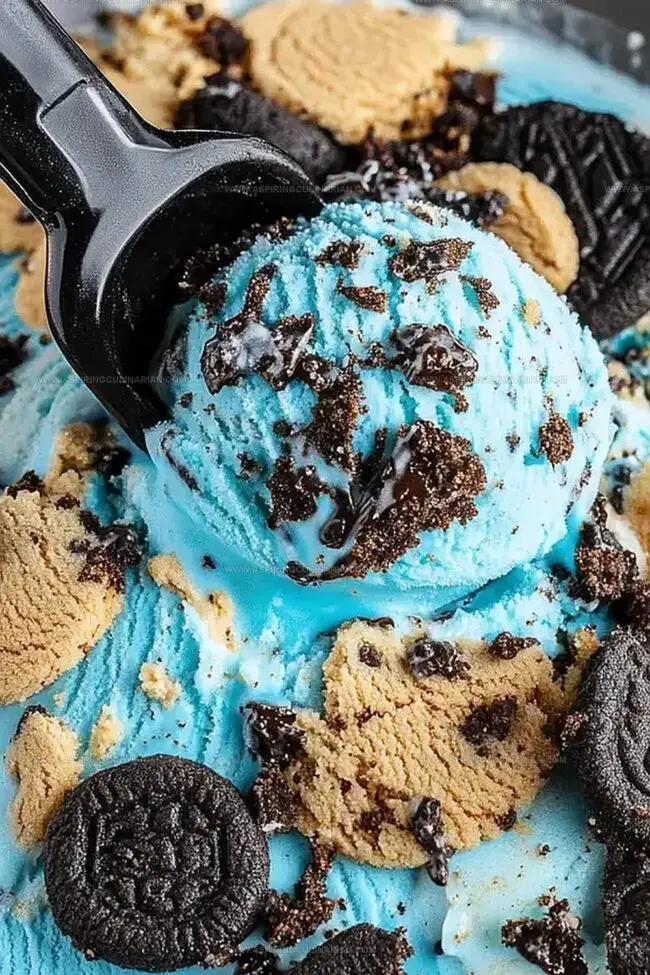
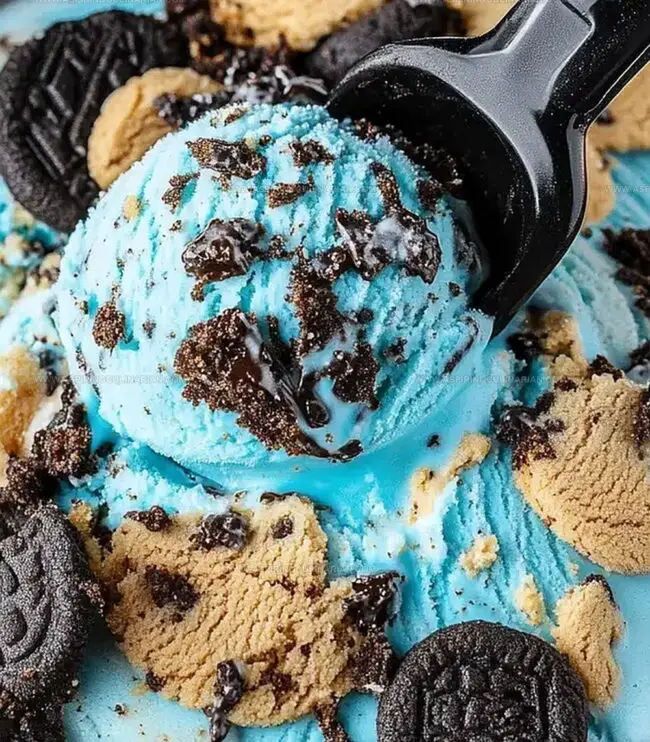
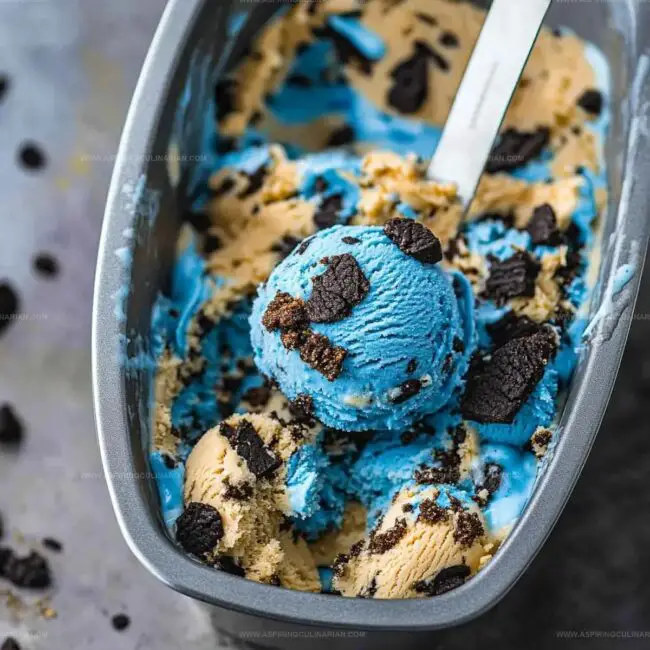
Creamy blue ice cream is swirled with chunks of chocolate chip cookies, giving each scoop the perfect balance of smooth and crunchy.
Its bright color makes it a hit with kids, while the cookie-filled flavor keeps adults coming back for more.
The recipe is simple to make at home, using just a handful of ingredients for a creamy, flavorful result.
It also combines rich creaminess with cookie texture, making it both eye-catching and delicious.
You can enjoy this cookie monster ice cream at parties, family nights, or anytime you want a dessert that feels cheerful and fun.
Cookie Monster Ice Cream Flavor Fun
Cookie Monster Ice Cream Ingredient Rundown
Main Ingredients:Cookies:Flavor and Color Enhancers:Making Cookie Monster Ice Cream at Home
Whip Up the Creamy Base
In a large mixing bowl, grab your heavy cream and start whisking it with vanilla extract.
Pour in a splash of blue food coloring to create that signature Cookie Monster vibe.
Keep whipping until the cream forms beautiful, tall peaks that stand up proudly when you lift the whisk.
Blend the Smooth Foundation
Gently pour in the sweetened condensed milk and mix on low speed.
The mixture should become smooth.
Add extra blue food coloring if you want a more tasty Cookie Monster blue.
Stir until everything is perfectly combined and looks like a blue cloud.
Crush and Fold Cookies
Time to get playful!
Grab your favorite cookies and chop them into chunky pieces:
Softly fold these cookie pieces into the blue cream mixture.
Be gentle to keep some cookie chunks intact for awesome texture.
Create Your Frozen Treat
Select a loaf pan or 8-inch cake pan.
Pour the blue cookie-filled mixture into the pan.
Sprinkle additional cookie pieces on top for extra crunch and visual appeal.
Make sure the surface looks fun and inviting.
Freeze and Chill
Cover the pan completely with plastic wrap or a tight-fitting lid.
Place in the freezer and let the magic happen.
Wait at least 6 hours, but overnight is best for the most incredible texture and flavor development.
Pro Tips for Cookie Monster Ice Cream

Tasty Cookie Monster Ice Cream Ideas
Fun Ways to Serve Cookie Monster Ice Cream
Keeping Cookie Monster Ice Cream Fresh
FAQs
Why is it called Cookie Monster Ice Cream?
The name comes from its bright blue color, inspired by the famous Sesame Street character who loves cookies, and the abundant cookie chunks mixed throughout the dessert.
Can I use different cookies in this recipe?
Absolutely! While Oreos and Chips Ahoy are traditional, you can substitute with chocolate chip cookies, chocolate sandwich cookies, or any cookie you enjoy.
How do I get the perfect blue color?
Start with a small amount of blue food coloring and gradually add more until you reach the desired Cookie Monster blue shade. Gel food coloring works best for vibrant colors.
Is this recipe kid-friendly?
Yes! Kids love the bright blue color, sweet taste, and cookie pieces. It’s a fun dessert that’s easy to make and sure to bring smiles to children and adults alike.

Cookie Monster Ice Cream Recipe
- Total Time: 6 hours 15 minutes
- Yield: 8 1x
Description
Cookie monster ice cream is a perfect creamy blue delight. Sweet vanilla base packed with cookie chunks creates a playful dessert that delights both kids and adults.
Ingredients
Cookies:
- 20 Oreo cookies, chopped
- 15 Chips Ahoy cookies, chopped
Dairy and Sweeteners:
- 1 can (14 ounces / 396 grams) sweetened condensed milk
- 2 cups (1 pint / 473 milliliters) heavy whipping cream
Flavor and Color Enhancers:
- 1 tablespoon vanilla extract
- 1/2 teaspoon blue gel food coloring
Instructions
- Whip cream with vanilla extract and blue food coloring until fluffy peaks emerge, using an electric mixer at high speed for approximately 3-4 minutes.
- Gradually incorporate condensed milk into the whipped cream mixture, blending on low speed until smooth and uniform in color, adjusting blue food coloring for desired intensity.
- Delicately fold chopped Oreo and Chips Ahoy cookies into the creamy base, ensuring even distribution without deflating the whipped texture.
- Transfer blue cookie-studded mixture into a chilled loaf pan, smoothing the surface with a spatula and garnishing with additional cookie fragments for visual appeal.
- Securely cover the pan with plastic wrap or a tight-fitting lid, then place in the freezer for a minimum of 6 hours, ideally allowing it to set overnight for optimal consistency and flavor melding.
Notes
- Select high-quality food coloring for vibrant blue shade without bitter aftertaste.
- Use gel-based food coloring for more intense color and less liquid interference.
- Crush cookies into varied sizes for textural interest and better distribution throughout ice cream.
- Try different cookie combinations like chocolate chip, birthday cake, or graham crackers for unique flavor profiles.
- Prep Time: 15 minutes
- Cook Time: 6 hours
- Category: Desserts
- Method: Freezing
- Cuisine: American
Nutrition
- Serving Size: 8
- Calories: 380
- Sugar: 26g
- Sodium: 150mg
- Fat: 23g
- Saturated Fat: 14g
- Unsaturated Fat: 7g
- Trans Fat: 0g
- Carbohydrates: 41g
- Fiber: 1g
- Protein: 4g
- Cholesterol: 80mg
Nathaniel Brooks
Founder & Recipe Developer
Expertise
Farm-to-table cuisine, Seasonal recipe development, Culinary storytelling
Education
Ivy Tech Community College – Indianapolis, IN
Culinary Arts / Hospitality Administration & Events
Focused on hands-on training in classical and modern culinary techniques.
Nathaniel’s story starts in the foothills of the Appalachian Mountains, where farm stands, backyard gardens, and old family recipes shaped his love for real food. After graduating from Ivy Tech Community College in Indianapolis, he spent years working in farm-to-table kitchens, learning how to turn local, seasonal ingredients into something memorable.
Today, Nathaniel pours that same spirit into every single recipe on Aspiring Culinarian – recipes that feel real, comforting, and connected to the land. When he’s not in the kitchen, you’ll find him foraging wild herbs, chasing sunsets with his camera, or writing about the flavors that shaped his roots.