The Perfect Air Fryer Tortilla Garlic Bread Recipe for Snack Time
Crispy, golden garlic bread meets modern convenience with this innovative air fryer tortilla garlic bread that delivers restaurant-quality flavor in minutes.
Tortillas create an unexpectedly perfect base for a deliciously crunchy appetizer or side dish.
The air fryer works magic, turning simple ingredients into a mouthwatering treat that’s both quick and irresistible.
Melted butter, fragrant garlic, and herbs coat each tortilla with layers of savory goodness.
You’ll love how effortlessly this recipe transforms basic ingredients into a crowd-pleasing snack.
The result is a crisp, golden delight that’s sure to become a new favorite in your kitchen.
Prepare to savor every garlicky, crispy bite of this game-changing bread.
Air Fryer Tortilla Garlic Bread: Quick Bites
Ingredients for Tortilla Garlic Bread
Bread Base:Cheese and Seasonings:Garnish:Steps for Crispy Garlic Bread

Step 1: Prepare Delicious Base
Grab two tortillas and place them on a clean cutting board.
Using a spoon or soft spatula, spread softened butter across each tortilla surface.
Ensure complete coverage from center to edges for maximum flavor explosion.
Step 2: Create Flavor Layers
Sprinkle these tasty ingredients over buttered tortillas:Stack one tortilla directly on top of the other, creating a delectable sandwich-style base.
Step 3: Fire Up The Air Fryer
Turn on your air fryer and set the temperature to 375 degrees Fahrenheit.
Allow the appliance to fully preheat for optimal crispiness.
Step 4: Transform Into Crispy Goodness
Carefully slide the prepared tortilla stack into the air fryer basket.
Cook for 4-6 minutes, watching closely to prevent burning.
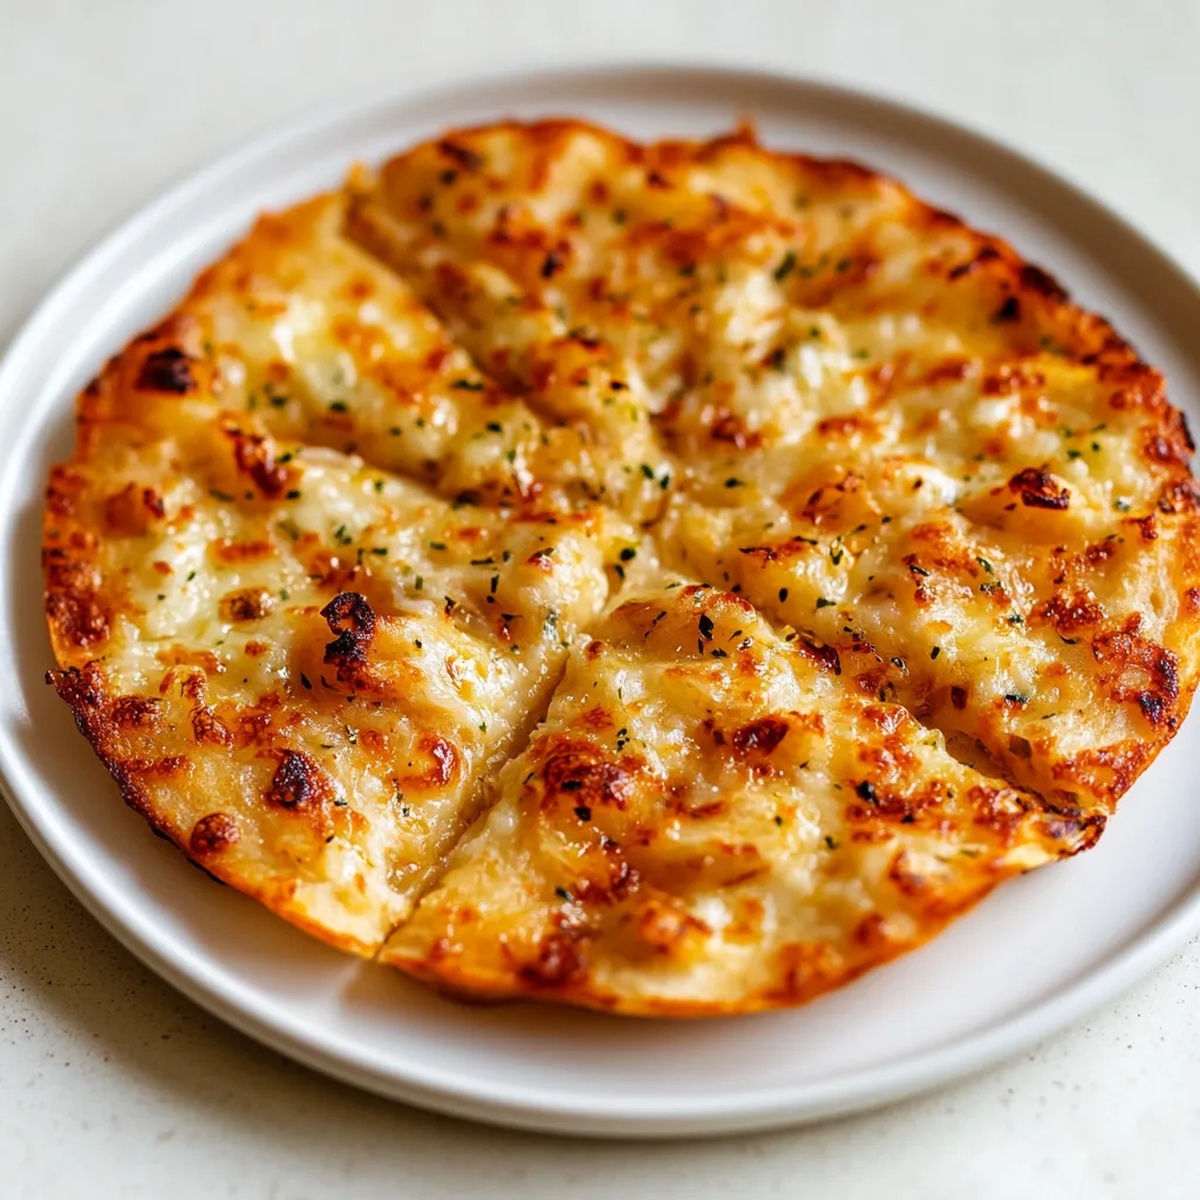
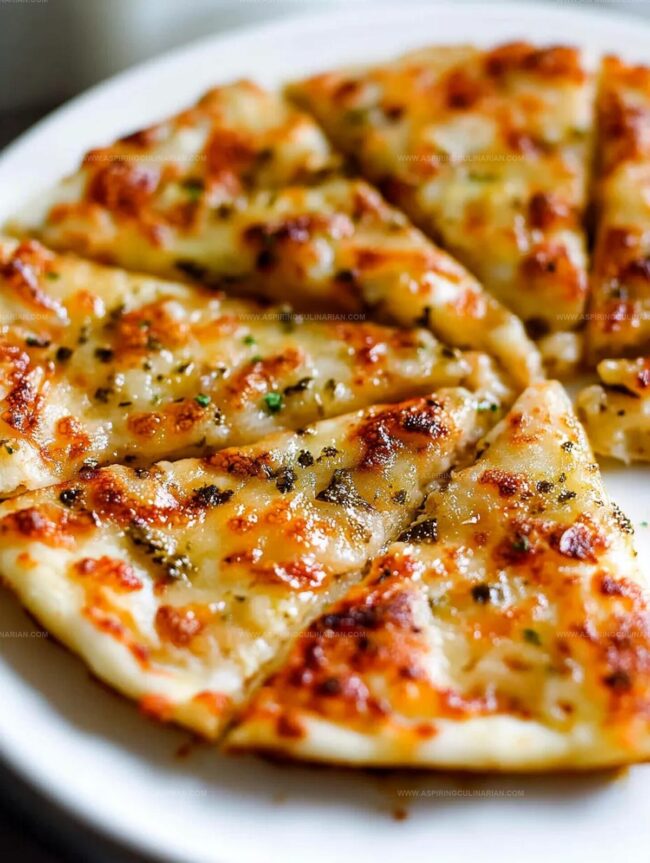
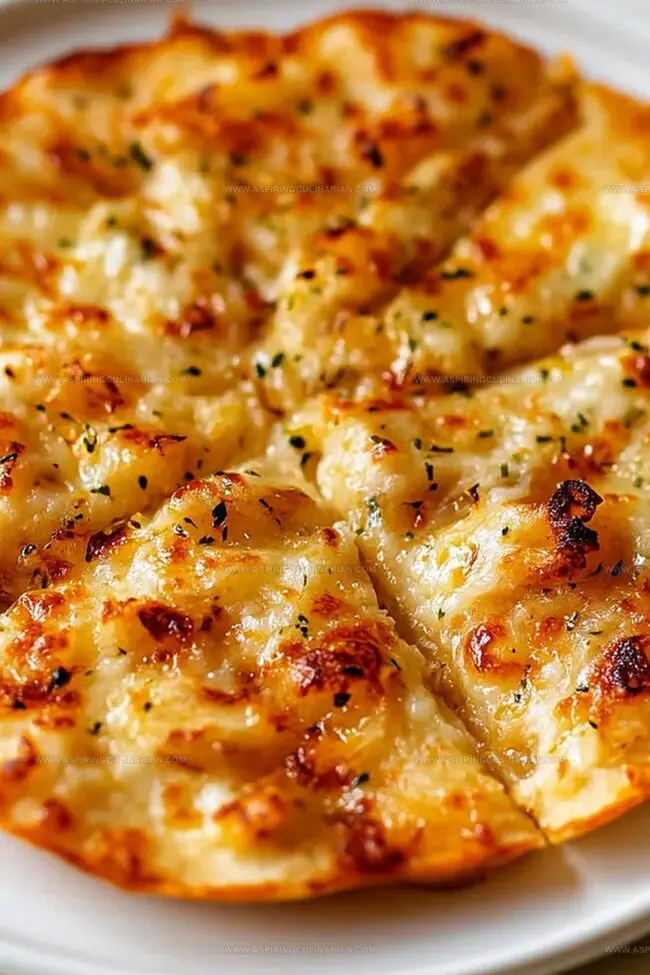
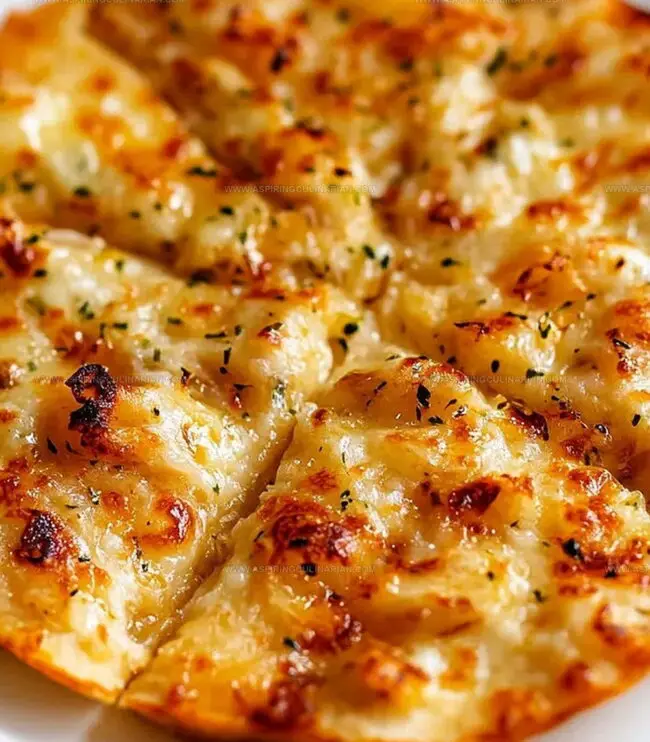
The goal is achieving a beautiful golden-brown color with crunchy edges.
Step 5: Serve With Flair
Remove the tortilla garlic bread from the air fryer using tongs.
Optional: Sprinkle chopped fresh parsley on top for a vibrant touch.
Slice into wedges and serve immediately while hot and wonderfully crisp.
Tips for Air Fryer Garlic Bread
Garlic Bread Variations for Snack Time
Serving Air Fryer Garlic Bread
Storing Tortilla Garlic Bread
FAQs
The key ingredients are tortillas, butter, mozzarella cheese, garlic powder, and Italian seasoning. Optional fresh parsley can be added for garnish.
Yes, you can use flour or corn tortillas. Flour tortillas tend to crisp up better and have a softer texture in the air fryer.
Look for a golden brown color and crispy edges. When the tortillas turn light golden and become crisp, they’re ready to be removed from the air fryer.
No flipping is necessary. The air fryer circulates hot air evenly, cooking the tortillas uniformly without needing to turn them during the cooking process.
Print
Air Fryer Tortilla Garlic Bread Recipe
- Total Time: 15 minutes
- Yield: 2 1x
Description
Garlic bread meets crispy tortillas in this quick Air Fryer Tortilla Garlic Bread, creating a mouthwatering fusion of flavors. Crisp edges and buttery garlic coating make this snack irresistible for you to enjoy in minutes.
Ingredients
Main Ingredients:
- 2 flour tortilla shells
- 1 tablespoon (15 milliliters) butter, softened
- 1/2 cup (60 grams) grated mozzarella cheese
Seasonings:
- Garlic powder, to taste
- Italian seasoning, to taste
Garnish:
- Fresh parsley, chopped (optional)
Instructions
- Prepare the tortillas by laying them flat on a clean surface and generously coating each one with softened butter, ensuring complete coverage to the edges for optimal flavor infusion.
- Sprinkle mozzarella cheese, garlic powder, and italian seasoning evenly across the buttered tortillas, then stack one tortilla on top of the other to create layers.
- Preheat the air fryer to 375°F, allowing it to reach the optimal temperature for crispy results.
- Carefully transfer the layered tortilla stack into the air fryer basket, positioning it to ensure even heat circulation.
- Cook for 4-6 minutes, monitoring closely to prevent burning and achieve a golden, crisp texture with lightly browned edges.
- Remove the tortilla garlic bread from the air fryer with caution, using tongs or a heat-resistant spatula to prevent burns.
- Optional: Garnish with freshly chopped parsley for a vibrant touch and additional flavor complexity.
- Serve immediately while hot and crispy, enjoying the perfect blend of buttery, cheesy, and garlicky goodness.
Notes
- Layering Matters Stack tortillas carefully to ensure even butter and cheese distribution, preventing dry or soggy spots during cooking.
- Cheese Selection Opt for freshly grated mozzarella instead of pre-shredded for better melting and richer flavor profile.
- Customization Experiment with different cheese blends like parmesan or adding red pepper flakes for extra kick and personalized taste.
- Watch Closely Monitor air fryer closely as tortillas can quickly burn due to thin composition, adjusting cooking time based on specific appliance performance.
- Prep Time: 10 minutes
- Cook Time: 5 minutes
- Category: Snacks, Appetizer
- Method: Air Frying
- Cuisine: Mexican
Nutrition
- Serving Size: 2
- Calories: 210
- Sugar: 1g
- Sodium: 300mg
- Fat: 10g
- Saturated Fat: 5g
- Unsaturated Fat: 4g
- Trans Fat: 0g
- Carbohydrates: 26g
- Fiber: 1g
- Protein: 7g
- Cholesterol: 20mg
Lena Martinez
Contributing Writer & Culinary Educator
Expertise
Southwestern and Latin American cuisines, Vegetarian and plant-based recipe development, Culinary education and community outreach
Education
Santa Fe Community College, Santa Fe, NM
Certificate in Culinary Arts
Emphasized Southwestern cuisine and sustainable cooking practices
Lena grew up surrounded by the colors, spices, and traditions of the Southwest – flavors that sparked her love for bold, honest cooking. After earning her Culinary Arts certificate at Santa Fe Community College, she made it her mission to teach home cooks how to create flavorful, plant-powered meals without the fuss.
Her recipes are packed with vibrant ingredients, simple steps, and the kind of heart that turns a regular meal into something you’ll want to share. Outside the kitchen, Lena spends her time wandering farmers’ markets, trading family recipes, and helping young chefs find their voice through food.