
The Perfect Apple Pie Bars Recipe for Sweet Comfort
Warm, golden apple pie bars bring comfort straight to your table with their irresistible blend of sweet cinnamon and buttery crust.
Autumn’s most beloved dessert transforms into a handheld treat that promises pure deliciousness.
Crisp apples nestled between layers of flaky pastry create a symphony of flavors and textures.
Each bite carries the essence of homemade goodness and memories of cozy kitchen moments.
The aroma of baking spices will fill your home with warmth and anticipation.
Perfectly balanced between classic pie and convenient bar form, these treats offer a delightful twist on a timeless favorite.
Prepare to fall in love with this simple yet extraordinary dessert that everyone will adore.
Apple Pie Bars The Sweet Reasons You’ll Love Them
Apple Pie Bars Ingredients Made Simple
Base Ingredients:Fruit Filling Ingredients:Binding and Finishing Ingredients:Stepwise Method for Apple Pie Bars
Step 1: Prepare Baking Setup
Warm up your oven to 375F (190C).
Create a comfortable workspace by lining a 9×13″ baking pan with parchment paper, letting extra paper hang over the sides for easy bar removal later.
Step 2: Create Magical Crust Mixture
Grab your food processor and toss in:Pulse everything until the mixture looks like sandy crumbs.
No food processor?
No worries!
Use a pastry cutter or two forks to achieve the same texture.
Step 3: Build Bottom Layer
Take half of your crumb mixture and press it firmly into the pan, creating a smooth, even foundation for your delicious bars.
Step 4: Pre-Bake Crust
Slide the pan into the oven and bake for 12 minutes.
You’re looking for a barely set, super light golden color.
Pull it out but keep the oven running.
Step 5: Prepare Apple Filling
In a large bowl, mix:Toss everything together until apples are evenly coated with the sweet and spicy mixture.
Step 6: Layer Apple Goodness
Spread the apple mixture evenly across the partially baked crust, creating a delectable fruity layer.
Step 7: Sprinkle Crumb Topping
Crumble the remaining dough mixture over the apples, creating a rustic, delightful top layer.
Step 8: Bake to Perfection
Return the pan to the oven and bake for 30-35 minutes.
Look for a golden brown topping and bubbling apple edges.
Step 9: Cool and Slice
Let the bars cool completely in the pan.
For clean, picture-perfect slices, refrigerate for at least 2 hours before cutting into squares.
Enjoy your homemade apple pie bars!
Apple Pie Bars Baking Secrets to Remember
Apple Pie Bars Variations for New Flavors
Plating Apple Pie Bars Like a Pro
Storage Solutions for Apple Pie Bars
FAQs
Firm, tart apples like Granny Smith or Honeycrisp are ideal. They hold their shape during baking and provide a nice balance of sweetness and acidity.
Yes, simply substitute the all-purpose flour with a gluten-free flour blend. Ensure all other ingredients are also gluten-free to maintain the recipe’s integrity.
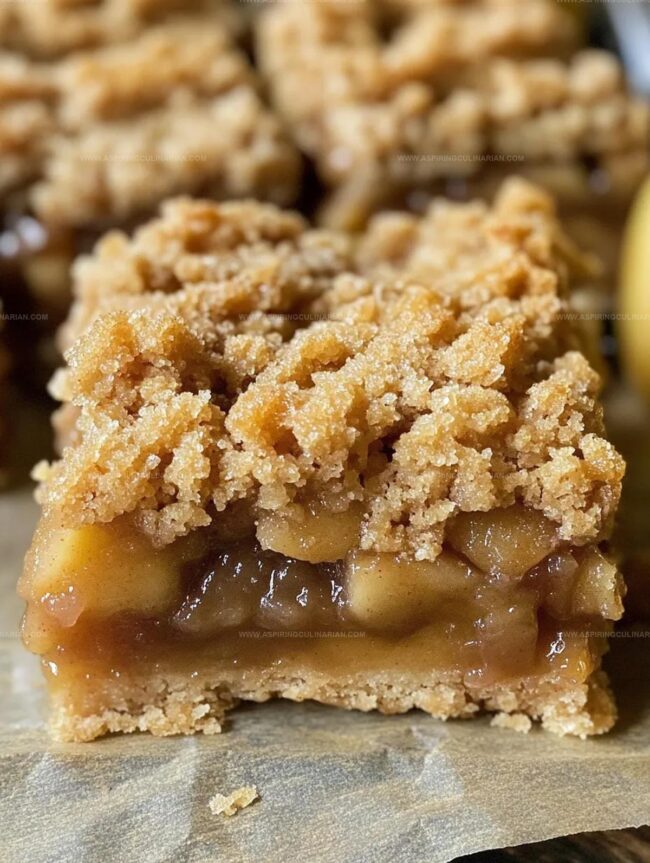
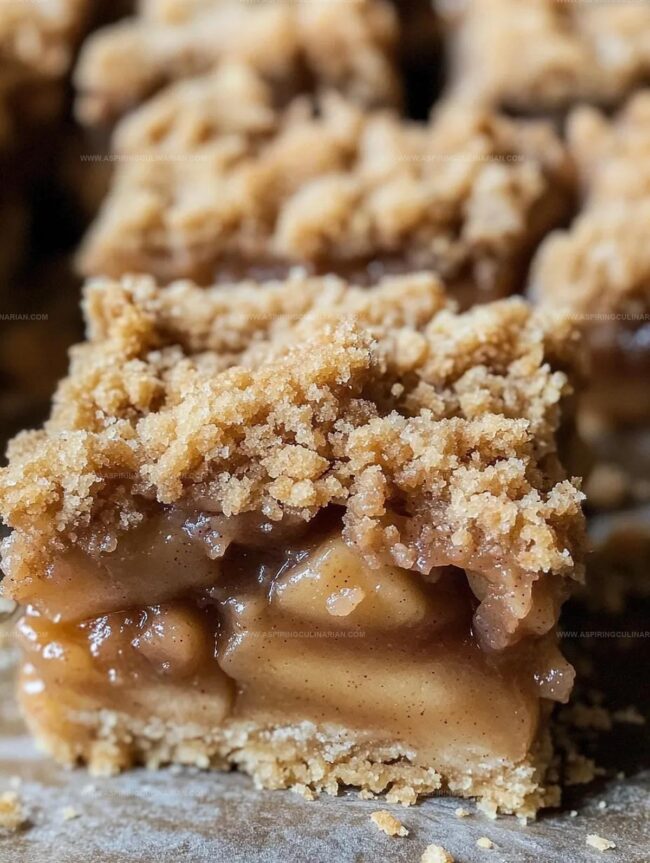
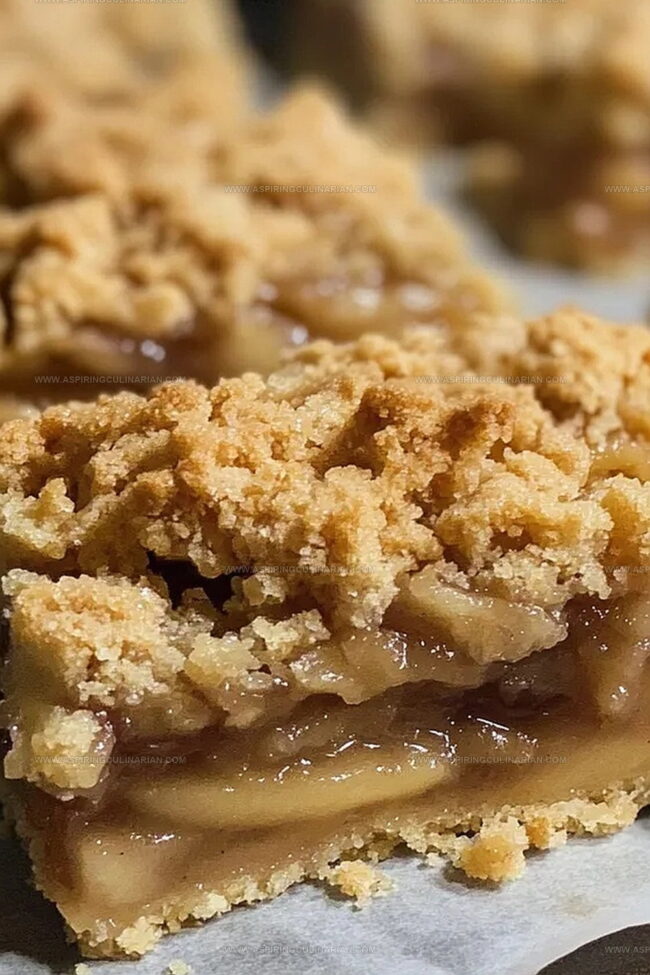
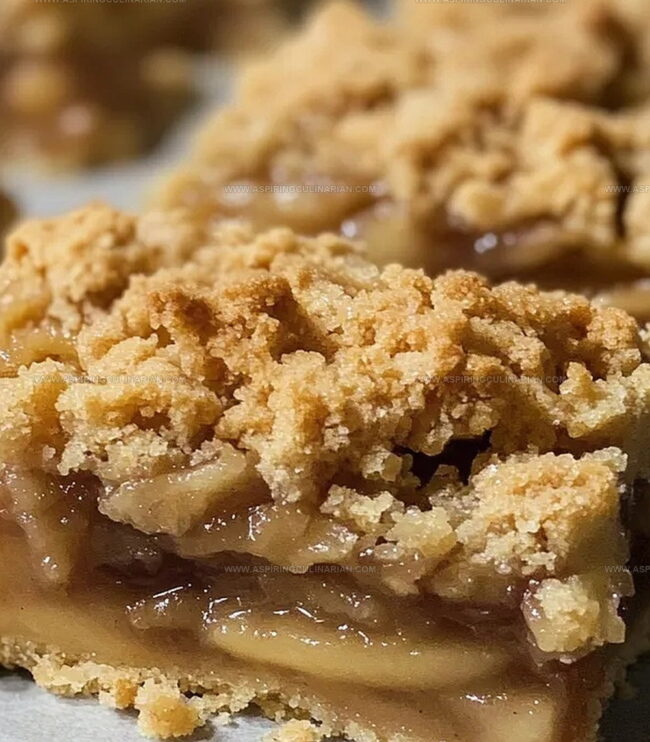
Look for a golden-brown topping and bubbling apple filling around the edges. The crust should be lightly set and not too dark. A slightly jiggly center is normal and will set as it cools.
Print
Apple Pie Bars Recipe
- Total Time: 1 hour 5 minutes
- Yield: 12 1x
Description
Scrumptious Apple Pie Bars bring classic American dessert charm to handheld treats perfect for sharing. Buttery pastry, spiced apple filling, and crumbly streusel topping create an irresistible sweet experience you’ll crave again and again.
Ingredients
Main Ingredients:
- 4 cups peeled & diced apples
- 1 cup (2 sticks/226 grams) cold unsalted butter, cubed
- 2 1/2 cups all-purpose flour
Sweeteners & Spices:
- 1 cup granulated sugar
- 1/2 cup brown sugar
- 2 teaspoons cinnamon
Additional Ingredients:
- 1 egg
- 1 teaspoon vanilla extract
- 2 tablespoons lemon juice
- 1 teaspoon baking powder
- 1/2 teaspoon salt
- 1 teaspoon cornstarch
Instructions
- Preheat the oven to 375F (190C) and prepare a 9×13″ baking pan by lining it with parchment paper, ensuring extra paper hangs over the sides for easy removal.
- Create the crust mixture by combining flour, sugar, baking powder, salt, cold butter, egg, and vanilla in a food processor. Pulse until the mixture resembles coarse crumbs, using a pastry cutter or two forks as an alternative method.
- Firmly press half of the crumb mixture into the bottom of the prepared pan, creating an even, compact base layer.
- Par-bake the crust for 12 minutes until it begins to set and turns very lightly golden. Remove from oven while maintaining the oven temperature.
- Develop the apple filling by mixing diced apples with lemon juice, brown sugar, cinnamon, and cornstarch, ensuring all apple pieces are evenly coated.
- Distribute the apple mixture uniformly across the partially baked crust, covering the entire surface.
- Sprinkle the remaining dough mixture over the apple layer, creating a crumbly, textured topping.
- Bake for 30-35 minutes until the topping achieves a golden-brown color and the apple filling bubbles around the edges.
- Allow the bars to cool completely within the pan, then lift out using the parchment paper overhang. For precise cutting, refrigerate for a minimum of 2 hours before slicing into squares.
Notes
- Cut apples into uniform small cubes to ensure even cooking and consistent texture throughout the bars.
- Use cold butter and work quickly to create a flaky, tender crust that holds its shape when baked.
- Pre-baking the crust helps create a crisp base that won’t become mushy from the apple filling.
- Substitute all-purpose flour with a gluten-free blend and add a touch of xanthan gum to maintain the original texture and structure of the bars.
- Prep Time: 20 minutes
- Cook Time: 45 minutes
- Category: Desserts, Snacks
- Method: Baking
- Cuisine: American
Nutrition
- Serving Size: 12
- Calories: 220
- Sugar: 15g
- Sodium: 150mg
- Fat: 10g
- Saturated Fat: 6g
- Unsaturated Fat: 4g
- Trans Fat: 0g
- Carbohydrates: 32g
- Fiber: 1g
- Protein: 2g
- Cholesterol: 40mg
Lena Martinez
Contributing Writer & Culinary Educator
Expertise
Southwestern and Latin American cuisines, Vegetarian and plant-based recipe development, Culinary education and community outreach
Education
Santa Fe Community College, Santa Fe, NM
Certificate in Culinary Arts
Emphasized Southwestern cuisine and sustainable cooking practices
Lena grew up surrounded by the colors, spices, and traditions of the Southwest – flavors that sparked her love for bold, honest cooking. After earning her Culinary Arts certificate at Santa Fe Community College, she made it her mission to teach home cooks how to create flavorful, plant-powered meals without the fuss.
Her recipes are packed with vibrant ingredients, simple steps, and the kind of heart that turns a regular meal into something you’ll want to share. Outside the kitchen, Lena spends her time wandering farmers’ markets, trading family recipes, and helping young chefs find their voice through food.