
Crispy Baked Zucchini Chips Recipe: Guilt-Free Snacking Joy
Crispy, golden zucchini chips dance with irresistible flavor in this delightful baked zucchini chips recipe that turns ordinary vegetables into crunchy snack magic.
Summer gardens overflow with zucchini, begging for creative culinary adventures.
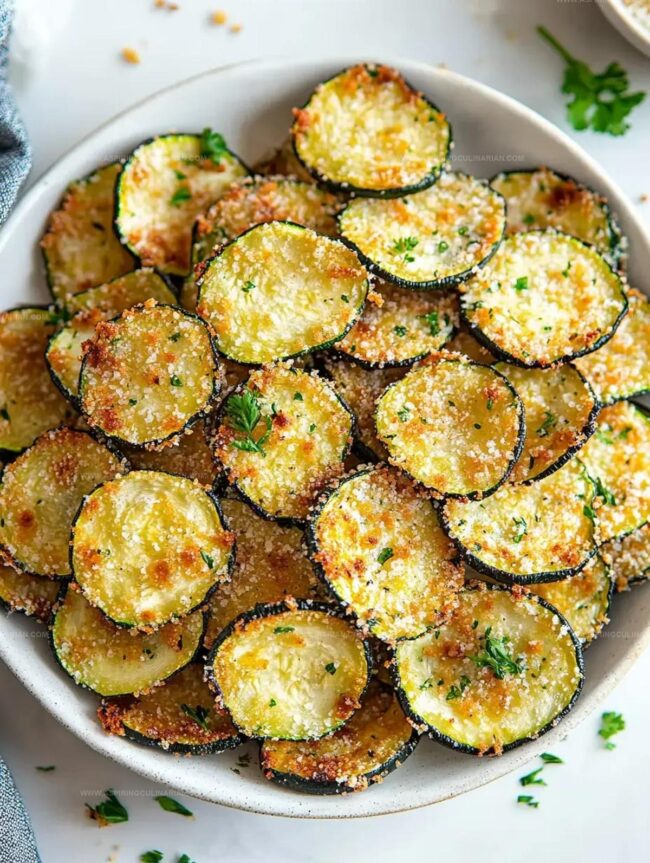
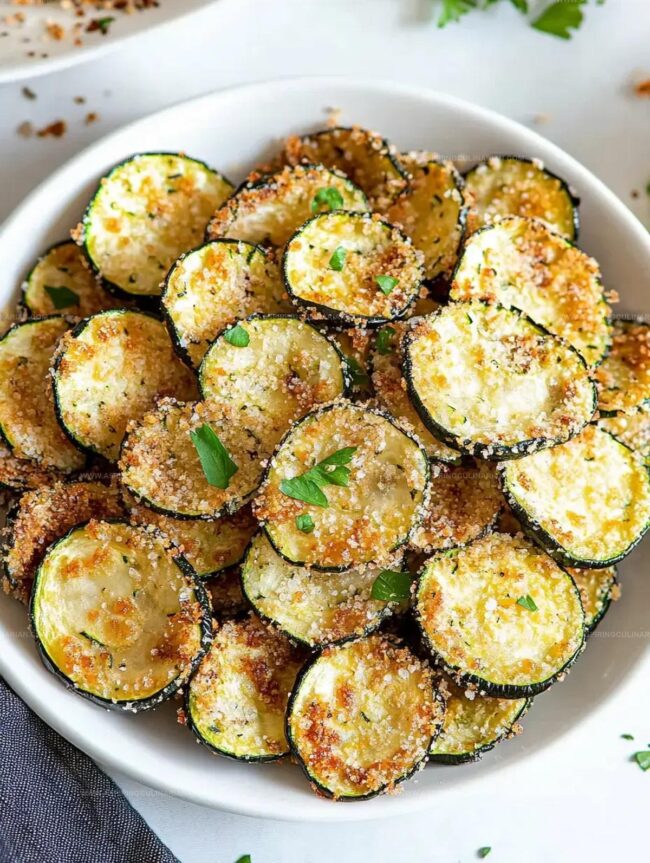
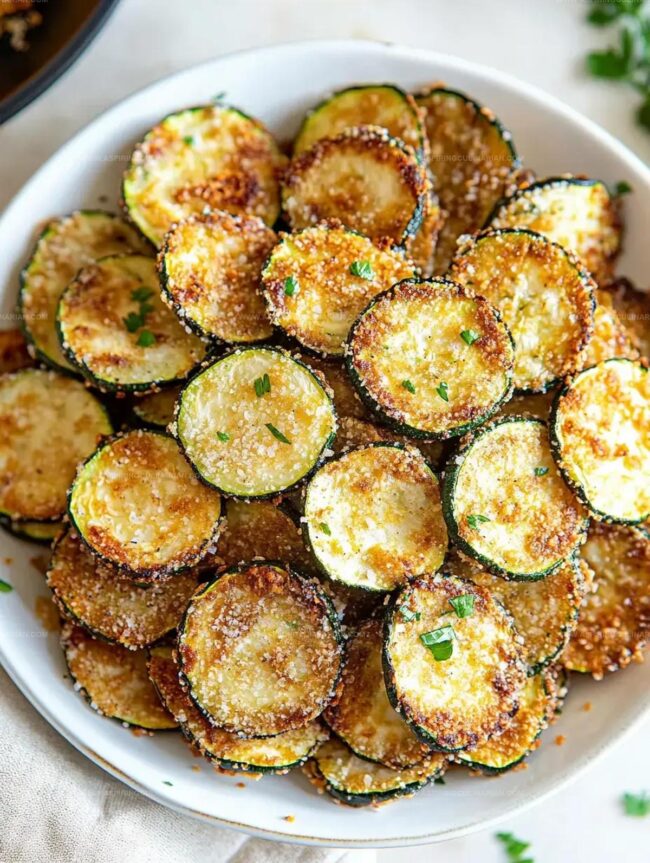
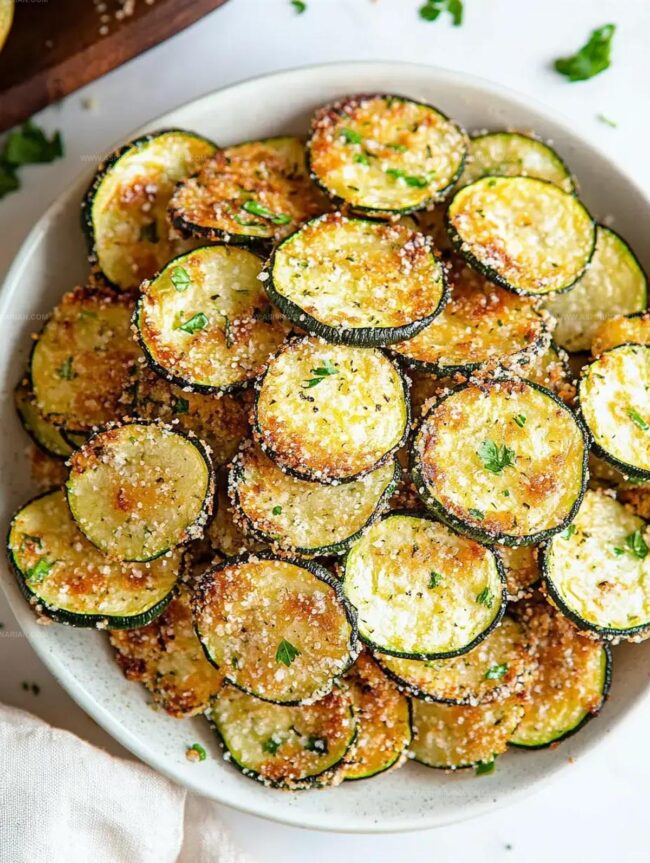
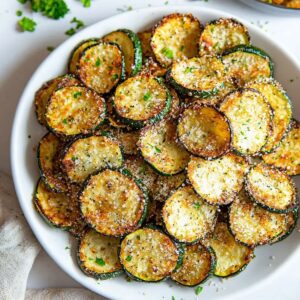
Thin slices seasoned with herbs and a whisper of parmesan cheese promise a healthier alternative to traditional potato chips.
Each delicate round transforms into a crisp, addictive bite that will disappear faster than you can make them.
The secret lies in precise slicing and patient baking to achieve maximum crunchiness.
Perfectly seasoned and baked to golden perfection, these chips offer a guilt-free indulgence that will have everyone reaching for more.
Prepare to become the snack hero of your kitchen with this simple, delectable treat.
Ingredients for Baked Zucchini Chips
Zucchini Base:Seasoning and Coating:Cooking Essentials:Steps for Zucchini Chips at Home
Step 1: Fire Up the Oven
Crank your oven to a sizzling 425°F.
Grab a wire cooling rack and position it on a baking sheet.
Give the rack a quick spritz of cooking spray to prevent any sticky situations.
Step 2: Slice and Prepare Zucchini
Wash your zucchini and slice it into thin, even rounds.
You’ll want these to be uniform so they cook evenly and look picture-perfect.
Pat the slices dry with a paper towel to help them crisp up nicely.
Step 3: Create Flavor Blend
In a mixing bowl, combine your dry ingredients:In another small bowl, drizzle olive oil to help your seasonings stick.
Step 4: Dress the Zucchini Rounds
Gently dip each zucchini slice into the olive oil, then roll it in the breadcrumb mixture.
Make sure each slice gets a good, even coating of the delicious mix.
Step 5: Arrange for Crispy Perfection
Carefully place the coated zucchini rounds on the prepared wire rack.
Space them out so they’re not touching, allowing hot air to circulate and create that irresistible crunch.
Step 6: Bake to Golden Deliciousness
Slide the baking sheet into the preheated oven.
Bake for 15-20 minutes, keeping an eye on them to prevent burning.
You’re looking for a beautiful golden-brown color and a satisfying crispy texture.
Step 7: Cool and Serve
Remove the zucchini chips from the oven and let them cool for a few minutes.
They’ll continue to crisp up as they rest.
Serve immediately as a healthy, addictive snack.
Tips for Crunchy Zucchini Chips
Zucchini Chip Flavor Variations
Serving Zucchini Chips as Snacks
Storage for Baked Zucchini Chips
FAQs
Yes, they’re a nutritious alternative to potato chips, packed with vitamins, low in calories, and provide a crunchy snack without excess oil.
Absolutely! Panko, whole wheat, or gluten-free breadcrumbs work great. Each type will give a slightly different texture and flavor.
Use a mandoline or sharp knife to slice zucchini rounds about 1/8 to 1/4 inch thick. Consistent thickness ensures even baking and crispiness.
The wire rack allows air circulation, helping chips crisp up evenly and preventing soggy bottoms by letting excess moisture drip away.
Baked Zucchini Chips Crispy Appeal
Baked Zucchini Chips Recipe
- Total Time: 35 minutes
- Yield: 4 1x
Description
Crispy, golden Baked Zucchini Chips deliver a crunchy snack that elevates healthy munching with minimal effort. Zesty seasonings and a light olive oil coating create irresistible rounds perfect for satisfying savory cravings when you need a nutritious treat.
Ingredients
Main Ingredients:
- 2 medium zucchini, sliced 1/8 inch thick
- 1/3 cup panko breadcrumbs
- 1/3 cup parmesan cheese, grated
Oils and Seasonings:
- 1.5 tablespoons (22 ml) olive oil
- 1/4 teaspoon (1.25 ml) salt
Instructions
- Preheat the oven to 425°F and position a wire rack on a baking sheet, lightly coating it with non-stick spray to prevent sticking.
- Slice zucchini into thin, uniform rounds, ensuring consistent thickness for even cooking.
- Gently drizzle olive oil over zucchini slices, ensuring each piece is lightly and evenly coated.
- In a separate mixing bowl, combine breadcrumbs, grated parmesan cheese, and salt, creating a seasoned coating mixture.
- Carefully dredge each zucchini round through the breadcrumb mixture, pressing gently to ensure a complete and adherent coating.
- Arrange the coated zucchini rounds on the prepared wire rack, maintaining slight spacing between each slice for optimal crispiness.
- Place the baking sheet in the preheated oven and bake for 15-20 minutes, watching closely until the chips turn golden brown and achieve a crisp texture.
- Remove from the oven and allow chips to cool for a few minutes, which will help them become even crunchier before serving.
Notes
- Slice zucchini uniformly using a mandoline for consistent, paper-thin chips that crisp evenly and prevent burning.
- Sprinkle extra parmesan on chips right after baking for enhanced cheesy flavor and added crunch.
- Pat zucchini slices dry with paper towels before seasoning to remove excess moisture, ensuring maximum crispiness during baking.
- Try alternative seasonings like smoked paprika, garlic powder, or nutritional yeast for gluten-free and vegan variations that still deliver incredible taste.
- Prep Time: 15 minutes
- Cook Time: 20 minutes
- Category: Snacks, Appetizer
- Method: Baking
- Cuisine: American
Nutrition
- Serving Size: 4
- Calories: 145
- Sugar: 2g
- Sodium: 65mg
- Fat: 10g
- Saturated Fat: 2g
- Unsaturated Fat: 8g
- Trans Fat: 0g
- Carbohydrates: 12g
- Fiber: 1g
- Protein: 5g
- Cholesterol: 6mg
Lena Martinez
Contributing Writer & Culinary Educator
Expertise
Southwestern and Latin American cuisines, Vegetarian and plant-based recipe development, Culinary education and community outreach
Education
Santa Fe Community College, Santa Fe, NM
Certificate in Culinary Arts
Emphasized Southwestern cuisine and sustainable cooking practices
Lena grew up surrounded by the colors, spices, and traditions of the Southwest – flavors that sparked her love for bold, honest cooking. After earning her Culinary Arts certificate at Santa Fe Community College, she made it her mission to teach home cooks how to create flavorful, plant-powered meals without the fuss.
Her recipes are packed with vibrant ingredients, simple steps, and the kind of heart that turns a regular meal into something you’ll want to share. Outside the kitchen, Lena spends her time wandering farmers’ markets, trading family recipes, and helping young chefs find their voice through food.