Dreamy Black Velvet Cake Recipe: Moist Chocolatey Indulgence
Decadent chocolate lovers rejoice as this black velvet cake recipe promises pure indulgence.
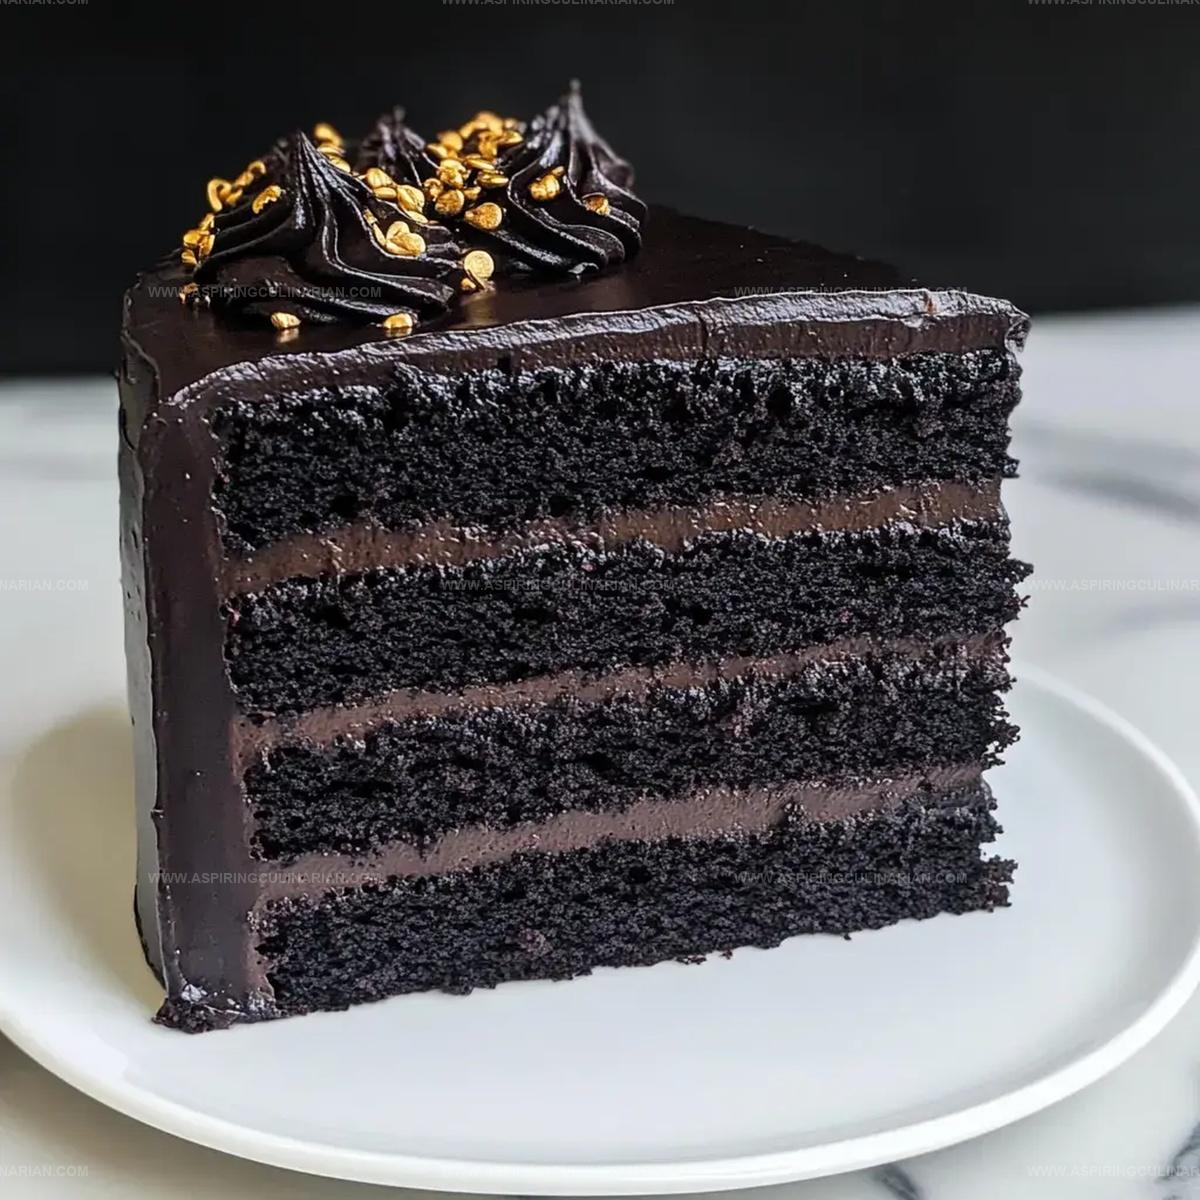
The rich, dark chocolate black velvet cake whispers sweet seduction with every slice.
Deep cocoa notes blend seamlessly with velvety smooth texture, creating a dessert that’s both elegant and irresistible.
Luxurious layers promise a dessert experience that transcends ordinary baking.
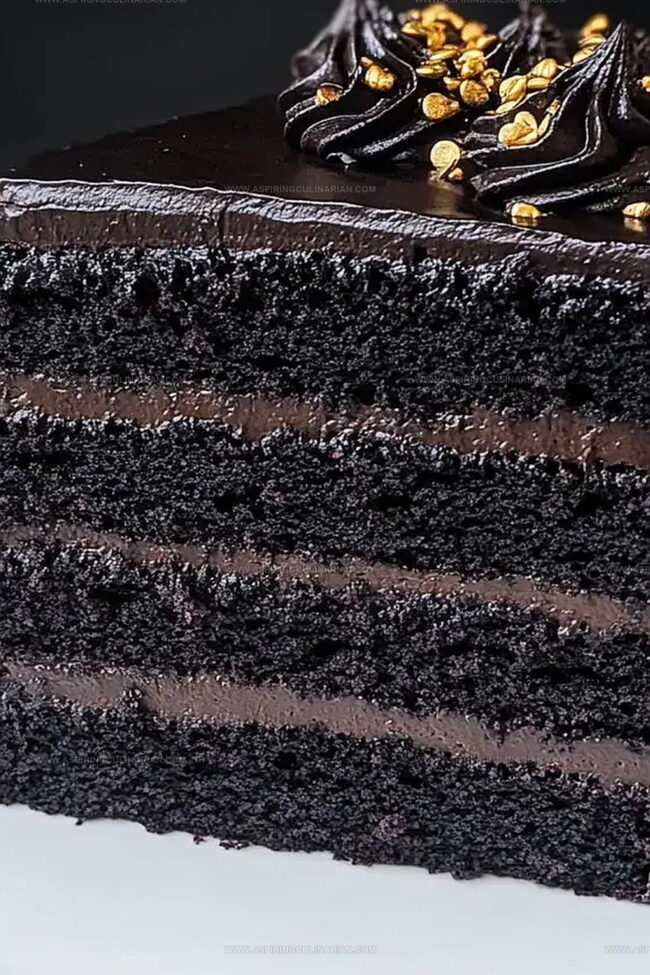
Moist, tender crumb and intense chocolate flavor define this show-stopping cake.
Each bite delivers a harmonious balance of sweetness and depth.
Prepare to elevate your dessert game with this extraordinary culinary masterpiece that will leave everyone craving more.
Dark Chocolate Layer Cake: Why It’s Unforgettable
Layer Cake Ingredient Guide: Chocolate Edition
Dry Ingredients:Wet Ingredients:Frosting Ingredients:Dark Chocolate Layer Cake Baking Instructions
Step 1: Warm Up the Oven
Crank your oven to a toasty 350F.
Grab your three 8-inch cake pans and give them a quick spray of cooking oil.
Line the bottom of each pan with parchment paper for easy cake removal.
Step 2: Create the Dry Mixture
Grab a big mixing bowl and toss in:Whisk these dry ingredients until they’re well combined and looking smooth.
Step 3: Craft the Liquid Magic
In a separate bowl, dissolve espresso in hot water.
Pour in:Whisk these wet ingredients until they’re fully blended and silky.
Step 4: Marry the Mixtures
Pour the liquid ingredients into the dry ingredients.
Gently fold and mix until just combined.
Don’t overmix – you want a tender cake!
Step 5: Bake to Perfection
Divide the batter evenly between the three prepared pans.
Slide them into the preheated oven and bake for 24-27 minutes.
The cake is done when a toothpick comes out clean.
Step 6: Whip Up Decadent Frosting
In a mixer, cream butter until fluffy.
Add:Beat until the frosting is smooth and irresistible.
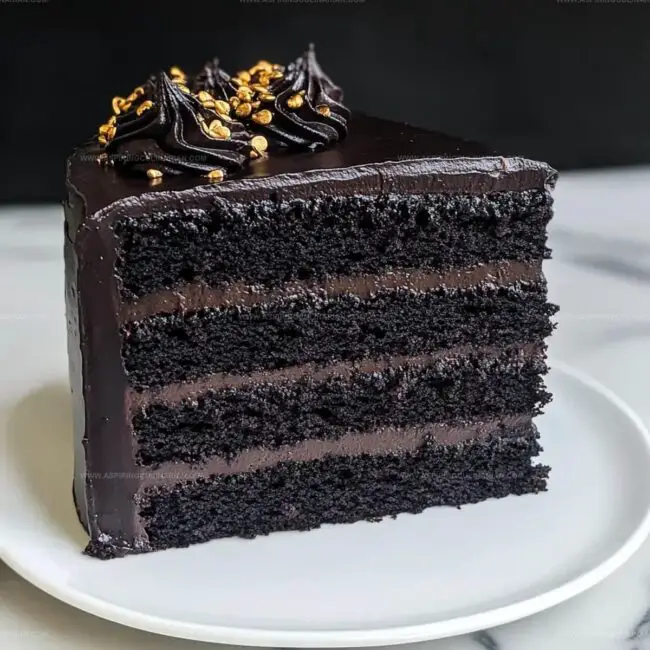
Step 7: Build Your Chocolate Dream
Let the cake layers cool completely.
Start stacking – spread frosting between each layer.
Cover the entire cake with the remaining frosting, creating smooth, tempting sides and top.
Pro Tips for Chocolate Layer Cake Lovers
Chocolate Layer Cake – Ways to Mix It Up
Serving Dark Chocolate Layer Cake with Flair
Storing Dark Chocolate Layer Cake Properly
FAQs
Buttermilk adds moisture and creates a tender, soft crumb by breaking down gluten proteins, resulting in a more delicate chocolate cake texture.
Yes, you can use strong brewed coffee as an alternative to espresso. The coffee enhances the deep chocolate flavor without making the cake taste like coffee.
Insert a toothpick into the center of the cake – if it comes out clean or with just a few moist crumbs, the cake is done. Avoid overbaking to keep the cake moist.
Dark or Dutch-processed cocoa powder works excellently. These varieties provide a richer, more intense chocolate flavor compared to natural cocoa powder.
Print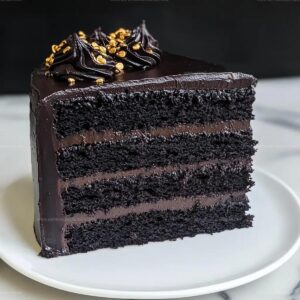
Black Velvet Cake Recipe
- Total Time: 55 minutes
- Yield: 12 1x
Description
Rich chocolate meets luxurious black cocoa in this Black Velvet Cake, creating a dramatic dessert that mesmerizes with deep color and intense flavor. Silky layers promise pure indulgence, inviting you to savor each elegant, velvety bite of this show-stopping celebration centerpiece.
Ingredients
Cake Dry Ingredients:
- 2 cups (260g) all-purpose flour
- 2 cups (400g) granulated sugar
- 3/4 cup (75g) black cocoa powder, sifted
- 2 teaspoons (8g) baking powder
- 1 1/2 teaspoons (9g) baking soda
- 1 teaspoon (6g) salt
Cake Wet Ingredients:
- 1 cup (240g) hot water
- 2 teaspoons (5g) instant espresso
- 1 cup (240g) buttermilk
- 1/2 cup (110g) vegetable oil
- 2 large eggs (112g), room temperature
- 2 teaspoons (8g) vanilla extract
Frosting Ingredients:
- 2 cups (452g) unsalted butter, room temperature
- 1 cup (100g) black cocoa powder for frosting
- 5 cups (625g) powdered sugar
- 2/3 cup (180g) heavy cream
- 1 1/3 cups (230g) dark chocolate chips
Instructions
- Prepare the oven by heating to 350°F and preparing three 8-inch cake pans with parchment lining and light greasing.
- Create the dry mixture by thoroughly blending flour, sugar, cocoa powder, baking powder, baking soda, and salt in a large mixing bowl.
- Dissolve espresso powder in hot water, then whisk in buttermilk, vegetable oil, eggs, and vanilla extract until smooth and well-integrated.
- Gently fold wet ingredients into dry mixture, stirring carefully until just combined to maintain a tender cake texture.
- Evenly distribute batter across prepared cake pans, ensuring consistent layers and smooth surfaces.
- Bake in preheated oven for 24-27 minutes, checking doneness with a toothpick that should come out clean when inserted into cake center.
- While cakes cool, prepare frosting by creaming butter, then incorporating cocoa powder and vanilla extract.
- Gradually mix in powdered sugar and heavy cream until achieving a silky, spreadable consistency.
- Fold in melted dark chocolate to enhance frosting’s richness and depth of flavor.
- Once cakes are completely cooled, carefully layer with frosting between each cake tier.
- Apply remaining frosting to completely cover cake’s exterior, smoothing surfaces for a polished finish.
Notes
- Use room temperature ingredients to ensure smooth mixing and even baking of the cake layers.
- Sift dry ingredients to prevent lumps and create a more uniform texture in the batter.
- For a gluten-free version, substitute all-purpose flour with a gluten-free flour blend and add xanthan gum for better structure.
- Enhance chocolate flavor by using high-quality dark chocolate with at least 70% cocoa content in both cake and frosting.
- Prep Time: 30 minutes
- Cook Time: 25 minutes
- Category: Desserts
- Method: Baking
- Cuisine: American
Nutrition
- Serving Size: 12
- Calories: 500
- Sugar: 45g
- Sodium: 350mg
- Fat: 25g
- Saturated Fat: 15g
- Unsaturated Fat: 10g
- Trans Fat: 0g
- Carbohydrates: 62g
- Fiber: 2g
- Protein: 6g
- Cholesterol: 50mg
Nathaniel Brooks
Founder & Recipe Developer
Expertise
Farm-to-table cuisine, Seasonal recipe development, Culinary storytelling
Education
Ivy Tech Community College – Indianapolis, IN
Culinary Arts / Hospitality Administration & Events
Focused on hands-on training in classical and modern culinary techniques.
Nathaniel’s story starts in the foothills of the Appalachian Mountains, where farm stands, backyard gardens, and old family recipes shaped his love for real food. After graduating from Ivy Tech Community College in Indianapolis, he spent years working in farm-to-table kitchens, learning how to turn local, seasonal ingredients into something memorable.
Today, Nathaniel pours that same spirit into every single recipe on Aspiring Culinarian – recipes that feel real, comforting, and connected to the land. When he’s not in the kitchen, you’ll find him foraging wild herbs, chasing sunsets with his camera, or writing about the flavors that shaped his roots.