The Best Brookie Layered Brownie Cookie Bars Recipe Ever
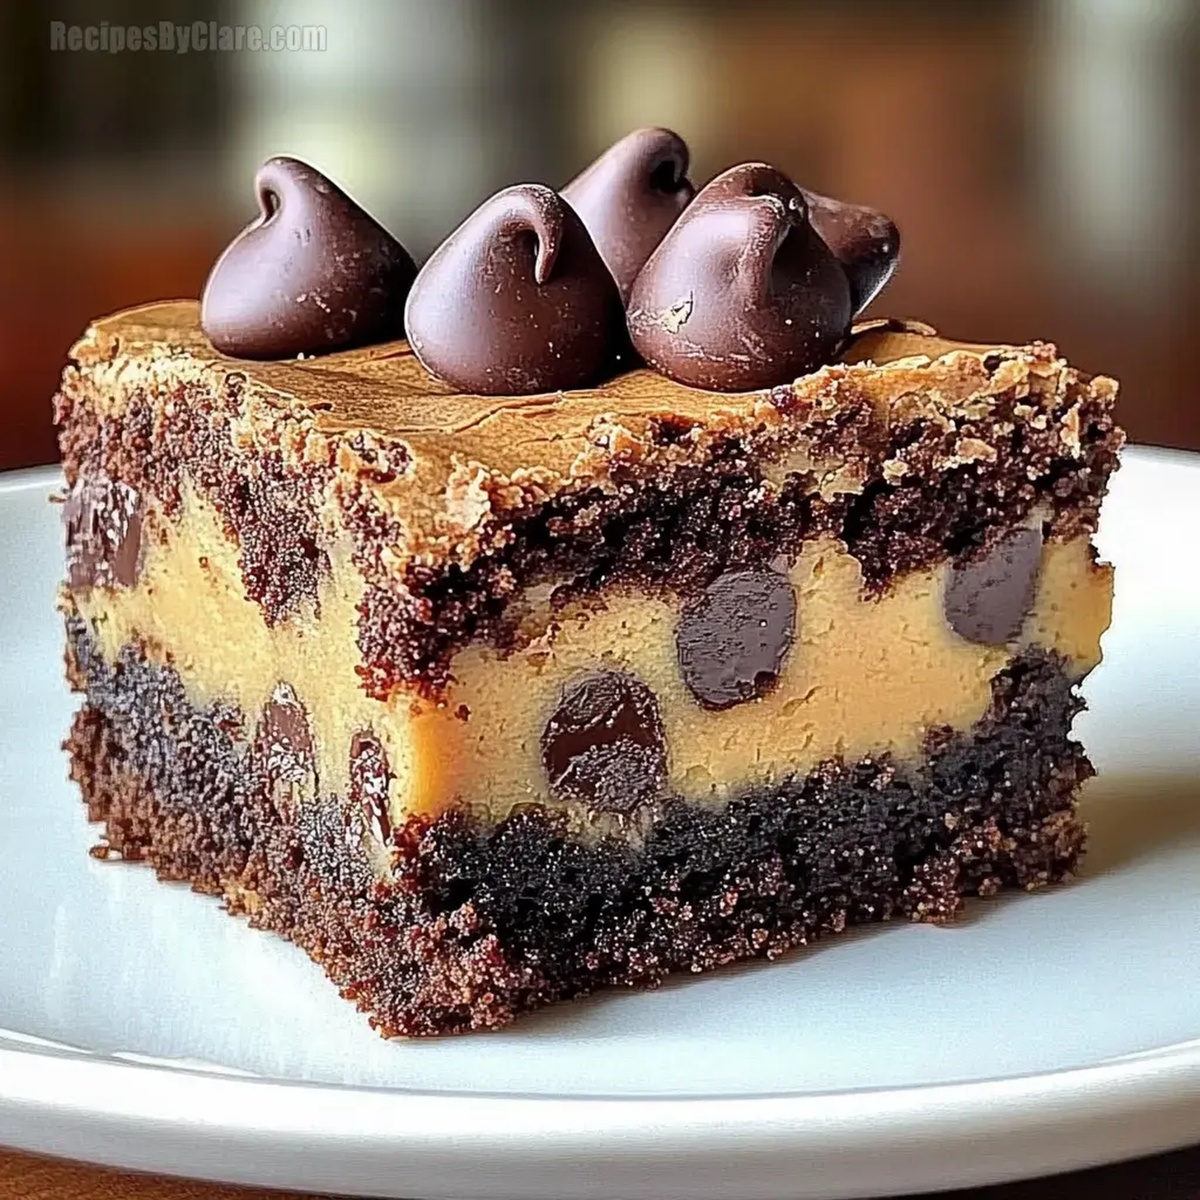
Chocolate lovers find pure bliss in these incredible brookie layered brownie cookie bars that combine two classic desserts into one decadent treat.
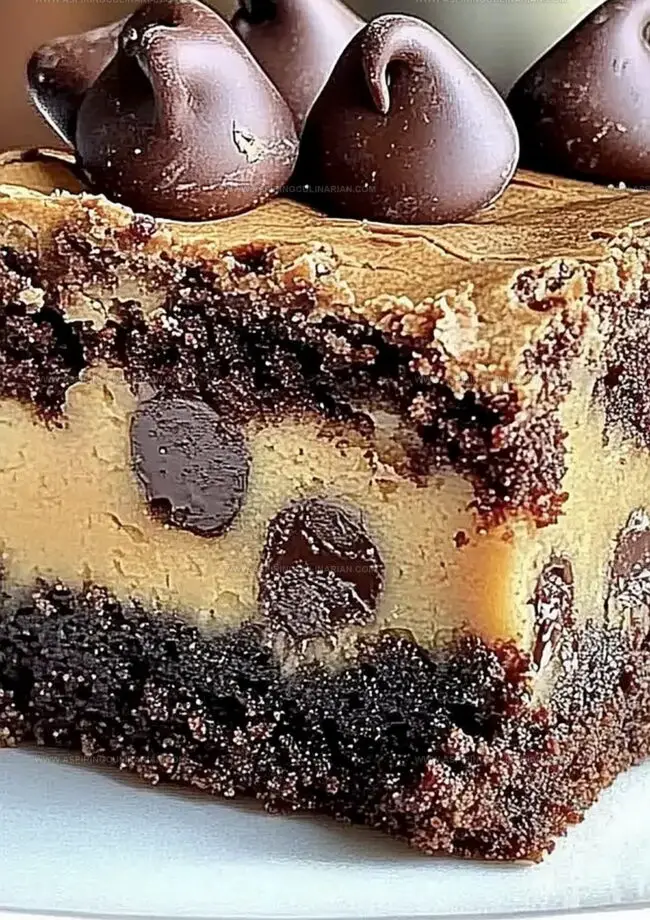
Crisp chocolate chip cookie edges mingle perfectly with rich, fudgy brownie centers.
Soft yet dense textures create an irresistible contrast that makes each bite memorable.
Baking enthusiasts will appreciate the simple technique behind this impressive dessert.
Minimal ingredients and straightforward steps help you craft a showstopping dessert in no time.
Sweet tooth cravings meet their match with these indulgent bars that promise pure satisfaction.
You can’t resist diving fork-first into this ultimate chocolate lover’s dream.
Brookie Layered Brownie Cookie Bars: Best of Both Worlds
What You Need for Brookie Bars
Brownie Layer Ingredients:Cookie Layer Ingredients:Baking Preparation Ingredients:Bake Brookie Cookie Bars at Home

Step 1: Warm Up the Oven
Get your oven ready by heating it to 350F (175C).
Line a 9×9-inch baking pan with parchment paper or give it a light coating of grease to prevent sticking.
Step 2: Create the Decadent Brownie Base
Grab a mixing bowl and combine these ingredients for the brownie layer:Whisk in the eggs until the mixture looks smooth and silky.
Gently fold in:Spread this rich mixture evenly across the prepared baking pan.
Step 3: Whip Up the Cookie Topping
In another bowl, cream together:Beat until the mixture becomes light and fluffy.
Add in:Mix well.
Carefully stir in:Fold in chocolate chips for extra yumminess.
Step 4: Layer the Deliciousness
Carefully drop spoonfuls of the cookie dough over the brownie base.
Spread the cookie layer evenly to create a beautiful marbled effect.
Step 5: Bake to Perfection
Slide the pan into the preheated oven.
Bake for 25-30 minutes.
You’ll know it’s done when the top turns a beautiful golden brown and a toothpick comes out with just a few moist crumbs.
Step 6: Patience Pays Off
Allow the brookies to cool completely in the pan.
This waiting time helps the layers set and makes cutting easier.
Slice into squares and enjoy your magical dessert creation!
Brookie Pro Tips for Fudgy Layers
Flavor Combos for Brookie Bars
Serve Brookie Bars at Parties
Store Brookie Bars for Later Bliss
FAQs
The brookies are done when the top is golden brown and a toothpick inserted comes out with a few moist crumbs. This indicates a fudgy, moist texture without being undercooked.
Absolutely! You can swap chocolate chips with milk, dark, or white chocolate chips based on your preference. Each type will give a unique flavor profile to the brookies.
Cooling allows the layers to set and firm up, which helps create clean, neat slices. Cutting too early can cause the bars to crumble or fall apart.
Print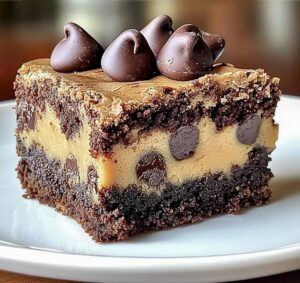
Brookie Layered Brownie Cookie Bars Recipe
- Total Time: 1 hour
- Yield: 16 1x
Description
Sinful Brookie Layered Brownie Cookie Bars merge chocolate chip cookie dough with rich brownie batter for an irresistible dessert mashup. Chocolate lovers will savor this indulgent treat that combines two classic favorites in one incredible bar.
Ingredients
Fats and Butter:
- 1/2 cup (113 grams) unsalted butter, melted
- 1/2 cup (113 grams) unsalted butter, softened
Sugars:
- 1 cup (200 grams) granulated sugar
- 1/2 cup (100 grams) granulated sugar
- 1/2 cup (100 grams) packed brown sugar
Flour and Dry Ingredients:
- 1/2 cup (60 grams) all-purpose flour
- 1 1/2 cups (180 grams) all-purpose flour
- 1/3 cup (30 grams) cocoa powder
- 1/2 teaspoon baking soda
- 1/4 teaspoon salt
- 1/4 teaspoon salt
Eggs and Flavorings:
- 2 large eggs
- 1 large egg
- 1/2 teaspoon vanilla extract
- 1 teaspoon vanilla extract
Additional Ingredients:
- 1 cup (170 grams) chocolate chips
Instructions
- Preheat the oven to 350°F (175°C) and line a 9×9-inch baking pan with parchment paper, ensuring sides overhang for easy removal.
- Create the brownie base by whisking melted butter, sugar, and vanilla until smooth. Incorporate eggs thoroughly, then gently fold in flour, cocoa powder, and salt until just combined. Spread the dark, rich mixture evenly across the prepared pan.
- Craft the cookie layer by creaming butter with granulated and brown sugars until light and fluffy. Blend in egg and vanilla extract, then gradually incorporate flour, baking soda, and salt. Fold chocolate chips into the dough, creating a textured mixture.
- Carefully distribute cookie dough over the brownie layer, using a spatula to create an even, uniform surface that covers the entire chocolate base.
- Place the pan in the preheated oven and bake for 25-30 minutes. Look for a golden-brown top and test doneness by inserting a toothpick that should emerge with a few moist crumbs.
- Remove from oven and allow to cool completely in the pan. Once temperature normalizes, lift out using parchment paper edges and slice into clean, precise squares.
Notes
- Ensure precise ingredient measurements for consistent texture, as baking requires accuracy.
- Softened butter creates smoother cookie dough, enhancing overall mixing and final appearance.
- Use room temperature eggs to help ingredients blend more evenly and prevent clumping.
- Try dark or milk chocolate chips to customize flavor profile and match personal preferences.
- Prep Time: 30 minutes
- Cook Time: 30 minutes
- Category: Desserts, Snacks
- Method: Baking
- Cuisine: American
Nutrition
- Serving Size: 16
- Calories: 238 kcal
- Sugar: 21 g
- Sodium: 94 mg
- Fat: 12 g
- Saturated Fat: 7 g
- Unsaturated Fat: 5 g
- Trans Fat: 0.2 g
- Carbohydrates: 31 g
- Fiber: 2 g
- Protein: 3 g
- Cholesterol: 43 mg
Nathaniel Brooks
Founder & Recipe Developer
Expertise
Farm-to-table cuisine, Seasonal recipe development, Culinary storytelling
Education
Ivy Tech Community College – Indianapolis, IN
Culinary Arts / Hospitality Administration & Events
Focused on hands-on training in classical and modern culinary techniques.
Nathaniel’s story starts in the foothills of the Appalachian Mountains, where farm stands, backyard gardens, and old family recipes shaped his love for real food. After graduating from Ivy Tech Community College in Indianapolis, he spent years working in farm-to-table kitchens, learning how to turn local, seasonal ingredients into something memorable.
Today, Nathaniel pours that same spirit into every single recipe on Aspiring Culinarian – recipes that feel real, comforting, and connected to the land. When he’s not in the kitchen, you’ll find him foraging wild herbs, chasing sunsets with his camera, or writing about the flavors that shaped his roots.