The Jolly Candy Cane Cookies Recipe Everyone Loves
Sweet and festive candy cane cookies bring holiday cheer to your kitchen with their delightful peppermint twist.
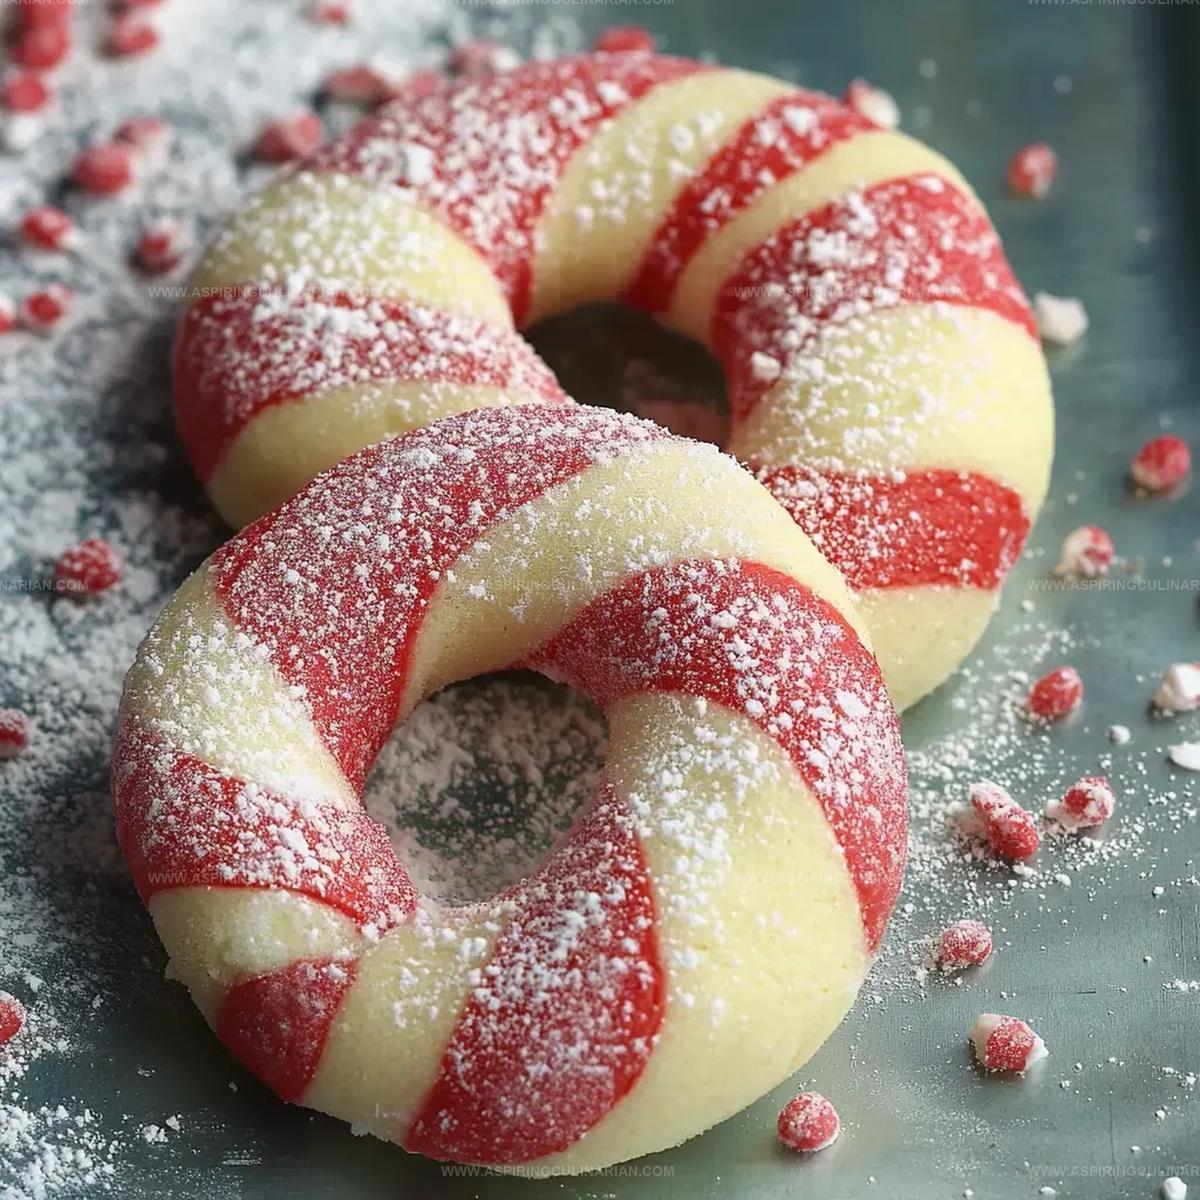
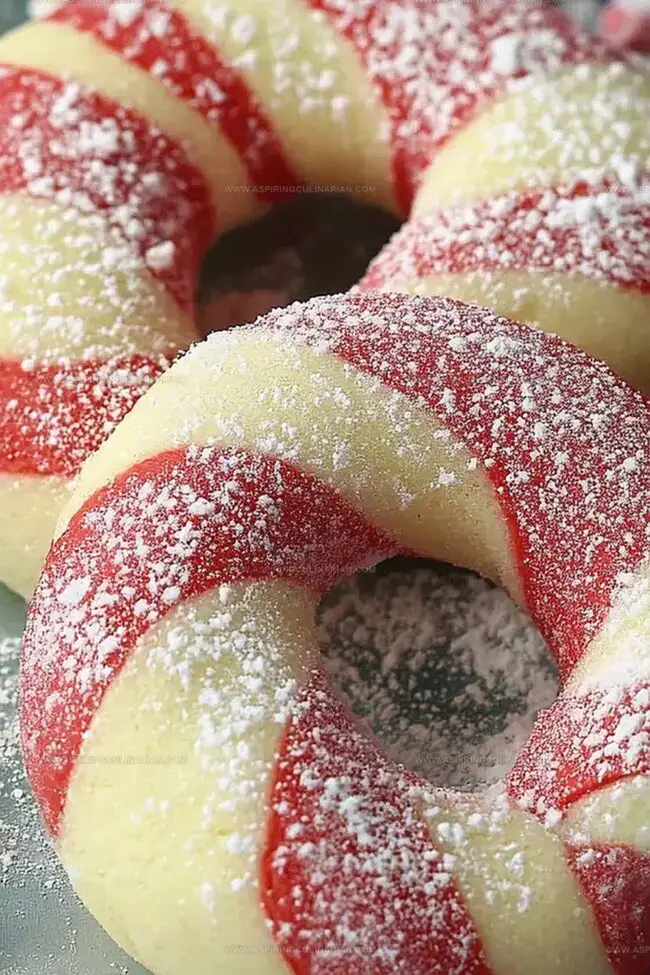
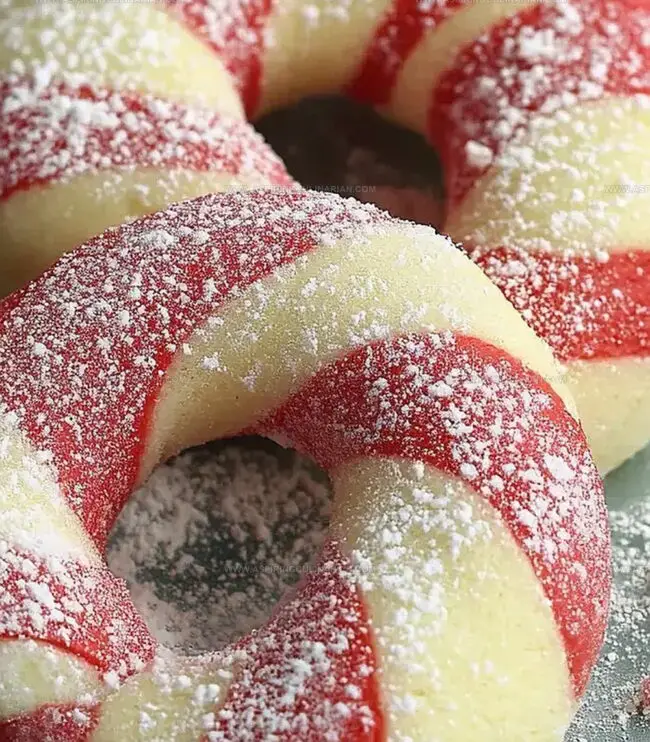
These classic treats swirl red and white dough into an irresistible candy cane pattern that delights both kids and adults.
The delicate crunch and cool mint flavor make each bite a wintertime celebration.
Soft, buttery cookie dough mingles with vibrant peppermint for a truly magical dessert.
Baking these cookies fills your home with warmth and the nostalgic scent of the season.
You’ll love how simple yet impressive these cookies look when arranged on a festive platter.
Whip up a batch and watch smiles spread faster than frosting on a fresh-baked cookie.
Why Twisted Holiday Cookies Add Festive Fun
Twisted Holiday Cookies – Ingredients Rundown
Base Ingredients:Dry Ingredients:Coloring and Topping Ingredients:Baking Twisted Holiday Cookies: Simple Steps
Step 1: Whip Creamy Base
Grab your stand mixer and blend together soft butter, white and brown sugars, vanilla and peppermint extracts, and a fresh egg.
Mix until everything looks smooth and fluffy, but don’t overwork the mixture.
Step 2: Combine Dry Elements
Gently fold in all-purpose flour, baking powder, and a pinch of salt.
Stir until the ingredients form a consistent dough that holds together nicely.
Step 3: Create Color Contrast
Divide the cookie dough into two equal portions.
Add red food coloring to one half, mixing thoroughly until you achieve a vibrant crimson shade.
Step 4: Chill and Rest
Separately wrap each colored dough in plastic wrap.
Place in the refrigerator and let them rest for 3-4 hours, allowing the flavors to meld and the dough to firm up.
Step 5: Prepare Festive Topping
In a small bowl, crush peppermint candies and mix with granulated sugar to create a sparkling, minty garnish.
Step 6: Warm the Oven
Preheat your oven to 350 degrees Fahrenheit and line baking sheets with parchment paper.
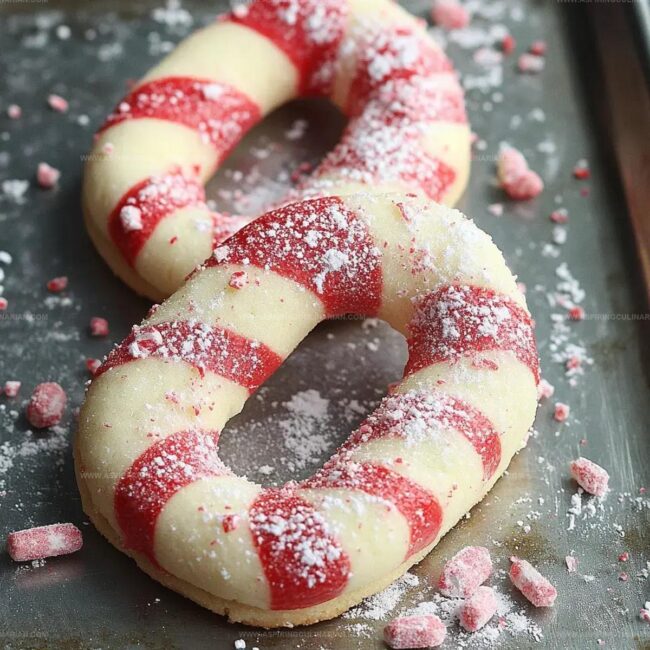
Step 7: Craft Candy Cane Shapes
Take a teaspoon of white dough and a teaspoon of red dough.
Roll each into a 5-inch rope.
Carefully place them side by side, then gently twist them together to create a candy cane pattern.
Transfer to the prepared baking sheet.
Step 8: Bake to Golden Perfection
Slide the baking sheet into the preheated oven.
Bake for 8-10 minutes until the edges turn a light golden brown.
Step 9: Sprinkle Festive Topping
Immediately after removing from the oven, generously dust the warm cookies with the peppermint-sugar mixture.
Step 10: Cool and Enjoy
Transfer cookies to a wire cooling rack.
Allow them to cool completely before serving or storing in an airtight container.
Holiday Cookie Tips for a Perfect Twist
Cookie Variations to Try This Holiday Season
Serving Up Twisted Holiday Cookies
Twisted Holiday Cookie Storage Advice
FAQs
Use a lightly floured surface and cold dough to make handling easier. Gently press and twist the white and red dough ropes together without applying too much pressure.
Yes, you can prepare the dough up to 3 days in advance. Wrap it tightly in plastic wrap and store in the refrigerator. When ready to bake, let the dough sit at room temperature for 10-15 minutes to soften slightly.
If the dough gets warm and sticky, quickly return it to the refrigerator for 15-20 minutes to firm up. This will make shaping the candy cane cookies much easier and prevent breaking.
Print
Candy Cane Cookies Recipe
- Total Time: 4 hours 40 minutes
- Yield: 24 1x
Description
Sweet candy cane cookies bring festive holiday magic right to kitchen counters with delicate peppermint swirls. Crisp butter cookies twisted into delightful red and white stripes promise delicious seasonal cheer for winter celebrations.
Ingredients
Main Ingredients:
- 1 cup (227 grams) real butter
- 1 cup (200 grams) granulated sugar
- 1/4 cup (30 grams) powdered sugar
- 2 1/2 cups (313 grams) all-purpose flour
- 1 egg
Flavoring and Extract Ingredients:
- 1 teaspoon vanilla extract
- 1 teaspoon peppermint extract
- Red food coloring gel
- 2 tablespoons finely crushed peppermint candies
Dry and Finishing Ingredients:
- 1 teaspoon baking powder
- 1/2 teaspoon salt
- 2 tablespoons (25 grams) granulated sugar (for topping)
Instructions
- Cream softened butter with granulated and brown sugars using an electric mixer until smooth and fluffy, then incorporate vanilla and peppermint extracts and egg, blending until just combined.
- Gradually fold flour, baking powder, and salt into the wet mixture, creating a uniform dough that holds together without overmixing.
- Divide the prepared dough precisely into two equal portions, then introduce red food coloring to one half, kneading gently to achieve an even vibrant color.
- Individually wrap each colored dough portion in plastic wrap, ensuring no air pockets, and refrigerate for 3-4 hours to firm up and enhance flavor development.
- While dough chills, prepare topping by finely crushing peppermint candies and mixing with granulated sugar in a shallow dish.
- Preheat oven to 350°F and line baking sheets with parchment paper for easy cookie removal.
- Extract chilled doughs and create candy cane shapes by rolling one teaspoon of white and red dough into 5-inch slender ropes, carefully twisting them together and curving into classic candy cane form.
- Position twisted cookies on prepared baking sheets, spacing them slightly apart to prevent merging during baking.
- Bake for 8-10 minutes until edges turn delicately golden, monitoring closely to prevent over-browning.
- Immediately after removing from oven, generously sprinkle hot cookies with prepared peppermint-sugar mixture.
- Transfer cookies to wire cooling rack, allowing them to reach room temperature and set completely before serving or storing.
Notes
- Twist Technique Use consistent pressure and gentle rolling when creating the candy cane shape to ensure even twisting and a uniform look.
- Color Precision Add food coloring gradually to achieve a vibrant red without changing the dough’s texture, mixing thoroughly to prevent streaking.
- Peppermint Boost Crush peppermint candies finely for a more intense flavor and smoother topping that adheres better to warm cookies.
- Storage Strategy Store cookies in an airtight container with parchment between layers to maintain crispness and prevent sticking.
- Prep Time: 4 hours 30 minutes
- Cook Time: 10 minutes
- Category: Desserts, Snacks
- Method: Baking
- Cuisine: American
Nutrition
- Serving Size: 24
- Calories: 150
- Sugar: 14 g
- Sodium: 50 mg
- Fat: 8 g
- Saturated Fat: 5 g
- Unsaturated Fat: 2 g
- Trans Fat: 0 g
- Carbohydrates: 19 g
- Fiber: 0 g
- Protein: 1 g
- Cholesterol: 20 mg
Nathaniel Brooks
Founder & Recipe Developer
Expertise
Farm-to-table cuisine, Seasonal recipe development, Culinary storytelling
Education
Ivy Tech Community College – Indianapolis, IN
Culinary Arts / Hospitality Administration & Events
Focused on hands-on training in classical and modern culinary techniques.
Nathaniel’s story starts in the foothills of the Appalachian Mountains, where farm stands, backyard gardens, and old family recipes shaped his love for real food. After graduating from Ivy Tech Community College in Indianapolis, he spent years working in farm-to-table kitchens, learning how to turn local, seasonal ingredients into something memorable.
Today, Nathaniel pours that same spirit into every single recipe on Aspiring Culinarian – recipes that feel real, comforting, and connected to the land. When he’s not in the kitchen, you’ll find him foraging wild herbs, chasing sunsets with his camera, or writing about the flavors that shaped his roots.