Irresistible Cheesy Garlic Butter Corn On The Cob Recipe
Summer barbecues burst with flavor when you serve this incredible cheesy garlic butter corn on the cob recipe that transforms ordinary side dishes.
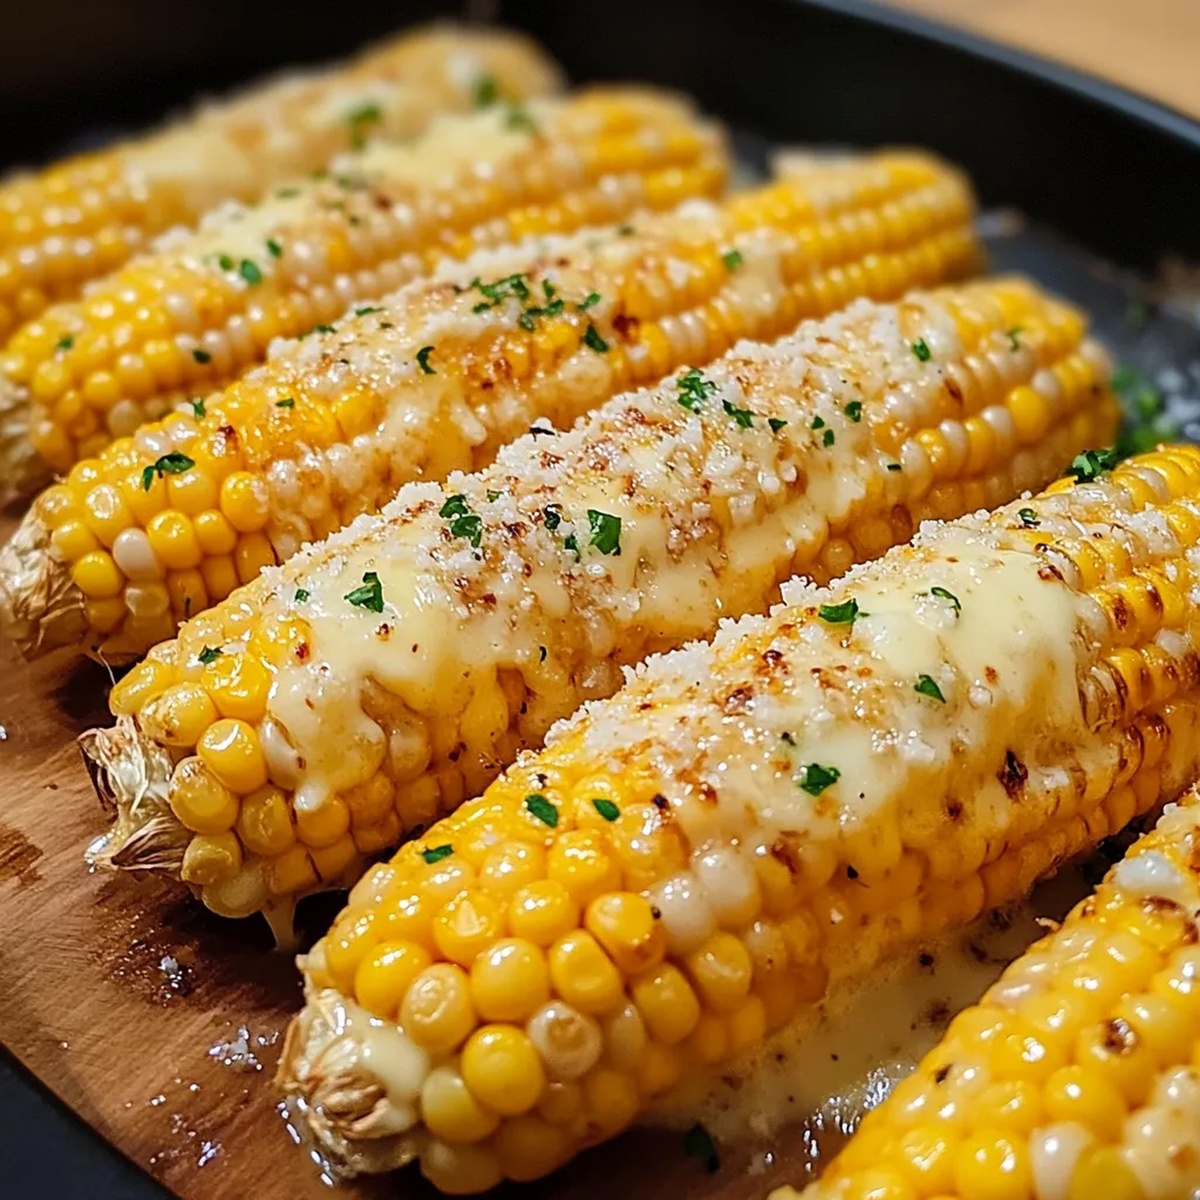
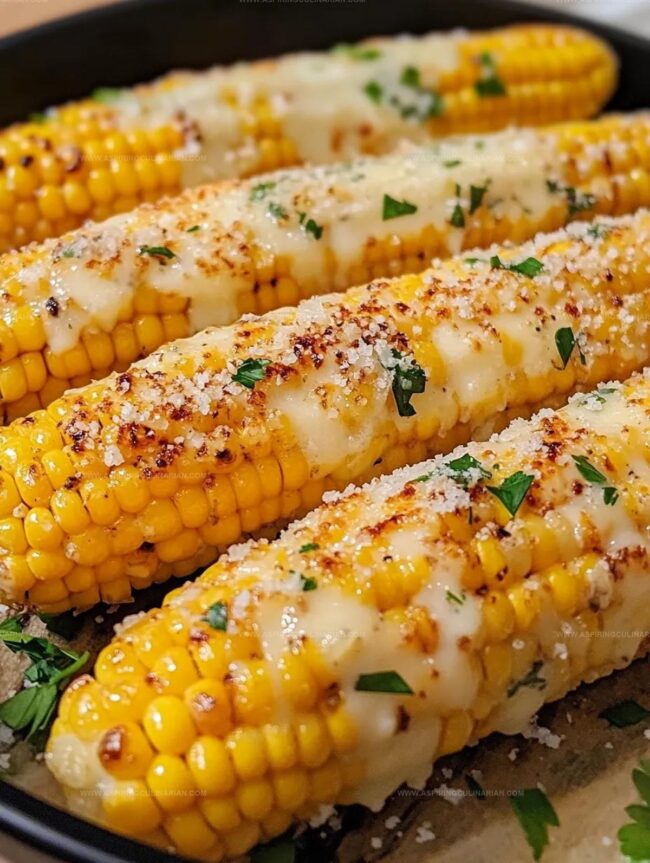
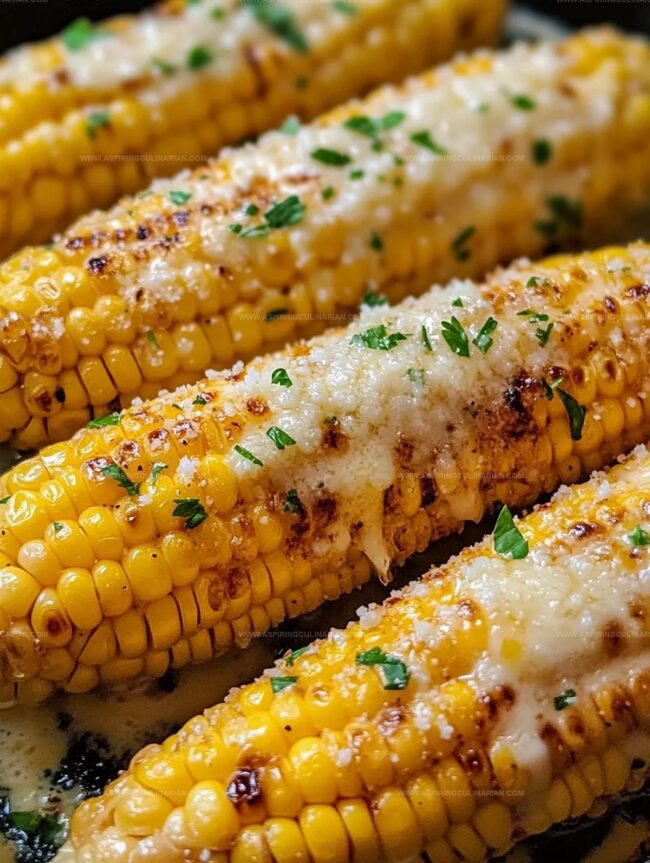
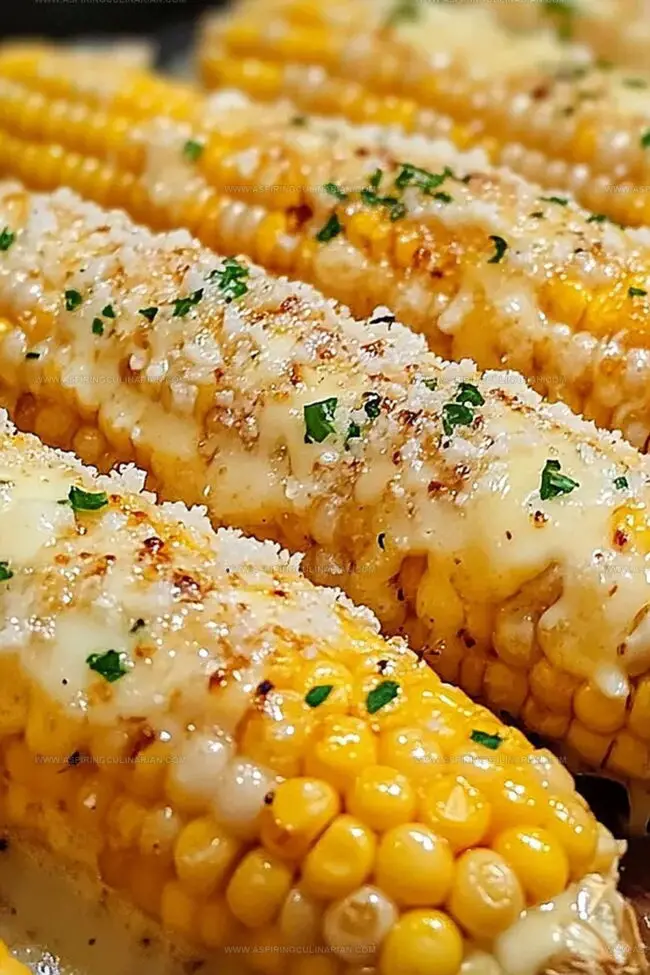
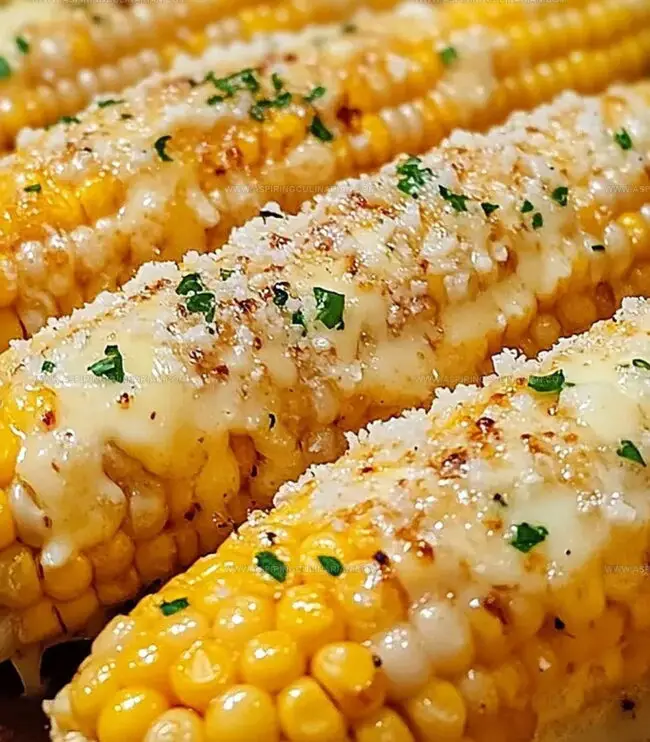
corn kernels glisten with rich, melted butter and sharp cheese, creating an irresistible combination.
Each bite delivers a perfect blend of creamy, garlicky goodness that melts in your mouth.
Fresh corn becomes a delectable treat with just a few simple ingredients.
the golden kernels crisp up beautifully, absorbing the robust garlic and cheese flavors.
Restaurants charge top dollar for this kind of mouthwatering side dish, but you can easily recreate it at home.
This recipe promises to be the star of your next gathering, leaving everyone asking for seconds.
Cheesy Garlic Corn on the Cob Appeal
Garlic Butter Corn Must-Have Ingredients
Main Ingredients:Butter Mixture Ingredients:Garnish Ingredients:Steps for Cheesy Garlic Butter Corn
Step 1: Boil or Grill Corn
Fill a large pot with water and bring it to a rolling boil.
Carefully add husked corn and cook for approximately 10 minutes until tender.
As an alternative method, grill the corn over medium-high heat, rotating periodically until it develops light char marks and cooks completely through.
After cooking, drain boiled corn and allow it to cool slightly for easier handling.
Step 2: Create Flavorful Garlic Spread
Gather ingredients for the garlic spread:Combine all ingredients in a small mixing bowl.
Stir thoroughly until the mixture becomes smooth and well-blended, ensuring even distribution of flavors.
Step 3: Generously Coat Corn
Take each corn ear while it remains warm and use a pastry brush or knife to apply the garlic spread.
Ensure complete coverage on all sides, allowing the butter to melt slightly and infuse the corn with rich, aromatic flavors.
Step 4: Add Cheesy Coating
Spread grated Parmesan cheese on a flat plate.
Carefully roll each buttered corn ear in the cheese, applying gentle pressure to help the cheese adhere to the buttery surface.
Rotate the corn to create an even, delicious cheese crust.
Step 5: Plate and Garnish
Transfer the cheesy corn to a serving platter.
Optional: Sprinkle additional fresh parsley on top for a vibrant finishing touch.
Serve immediately while the corn remains warm and the cheese is perfectly melted.
Pro Tips for Cheesy Grilled Corn
Tasty Variations for Garlic Butter Corn
Serving Cheesy Corn on the Cob
Storage Advice for Cheesy Corn Leftovers
FAQs
Look for fresh corn with bright green husks, plump kernels that are tightly packed, and silks that are light golden and slightly sticky. Avoid corn with dry or brown husks and kernels that look shriveled or discolored.
Yes, you can substitute dried parsley. Use about 1 teaspoon of dried parsley for every tablespoon of fresh parsley. Just remember that dried herbs are more concentrated in flavor, so use less than the fresh amount.
No problem! You can use the back of a spoon, a clean kitchen knife, or even wear food-safe gloves and use your hands to spread the garlic butter evenly on the corn.
Print
Cheesy Garlic Butter Corn On The Cob Recipe
- Total Time: 25 minutes
- Yield: 4 1x
Description
Creamy garlic butter elevates classic Cheesy Garlic Butter Corn on the Cob into a mouthwatering summer sensation. Kernels dripping with rich flavor promise a delightful side dish that brings comfort and excitement to your plate.
Ingredients
Main Ingredients:
- 4 ears fresh corn, husked
- 1/2 cup grated Parmesan cheese
Butter and Seasonings:
- 1/4 cup (1/2 stick) unsalted butter, softened
- 2 garlic cloves, minced
- 1 tablespoon chopped fresh parsley
- 1/2 teaspoon salt
- 1/4 teaspoon black pepper
Optional Ingredient:
- 1 teaspoon lemon zest (optional)
Instructions
- Prepare a large pot of water and bring to a rolling boil. Submerge husked corn and cook for 10 minutes until kernels are tender and bright. Alternatively, grill corn over medium-high heat, rotating periodically until lightly charred and fully cooked, approximately 10 minutes.
- Create a flavor-packed garlic butter by whisking softened butter with finely minced garlic, chopped parsley, salt, pepper, and optional lemon zest until ingredients are thoroughly blended.
- Allow corn to cool slightly for comfortable handling, then generously brush or coat each ear with the aromatic garlic butter mixture, ensuring complete and even coverage.
- Spread grated Parmesan cheese onto a flat surface and carefully roll each buttered corn ear, gently pressing to create a delicate cheese coating that adheres to the butter.
- Transfer corn to a serving platter immediately while still warm. Optional: Sprinkle additional fresh parsley for a vibrant garnish that enhances visual appeal and adds a fresh herb accent.
Notes
- Grill for Enhanced Flavor Choose grilling over boiling to develop a smoky, caramelized taste that deepens the corn’s natural sweetness.
- Butter Application Technique Brush garlic butter while corn is warm to help it melt and penetrate deeply, ensuring maximum flavor absorption.
- Cheese Coating Trick Roll corn in Parmesan at a slight angle to create an even, consistent cheese coverage that sticks better than sprinkling.
- Dietary Adaptations Swap regular butter with plant-based butter for a vegan version, and use nutritional yeast instead of Parmesan for dairy-free guests.
- Prep Time: 15 minutes
- Cook Time: 10 minutes
- Category: Snacks, Appetizer, Side Dish
- Method: Boiling
- Cuisine: American
Nutrition
- Serving Size: 4
- Calories: 230
- Sugar: 2g
- Sodium: 300mg
- Fat: 20g
- Saturated Fat: 12g
- Unsaturated Fat: 6g
- Trans Fat: 0g
- Carbohydrates: 13g
- Fiber: 2g
- Protein: 4g
- Cholesterol: 35mg
Lena Martinez
Contributing Writer & Culinary Educator
Expertise
Southwestern and Latin American cuisines, Vegetarian and plant-based recipe development, Culinary education and community outreach
Education
Santa Fe Community College, Santa Fe, NM
Certificate in Culinary Arts
Emphasized Southwestern cuisine and sustainable cooking practices
Lena grew up surrounded by the colors, spices, and traditions of the Southwest – flavors that sparked her love for bold, honest cooking. After earning her Culinary Arts certificate at Santa Fe Community College, she made it her mission to teach home cooks how to create flavorful, plant-powered meals without the fuss.
Her recipes are packed with vibrant ingredients, simple steps, and the kind of heart that turns a regular meal into something you’ll want to share. Outside the kitchen, Lena spends her time wandering farmers’ markets, trading family recipes, and helping young chefs find their voice through food.