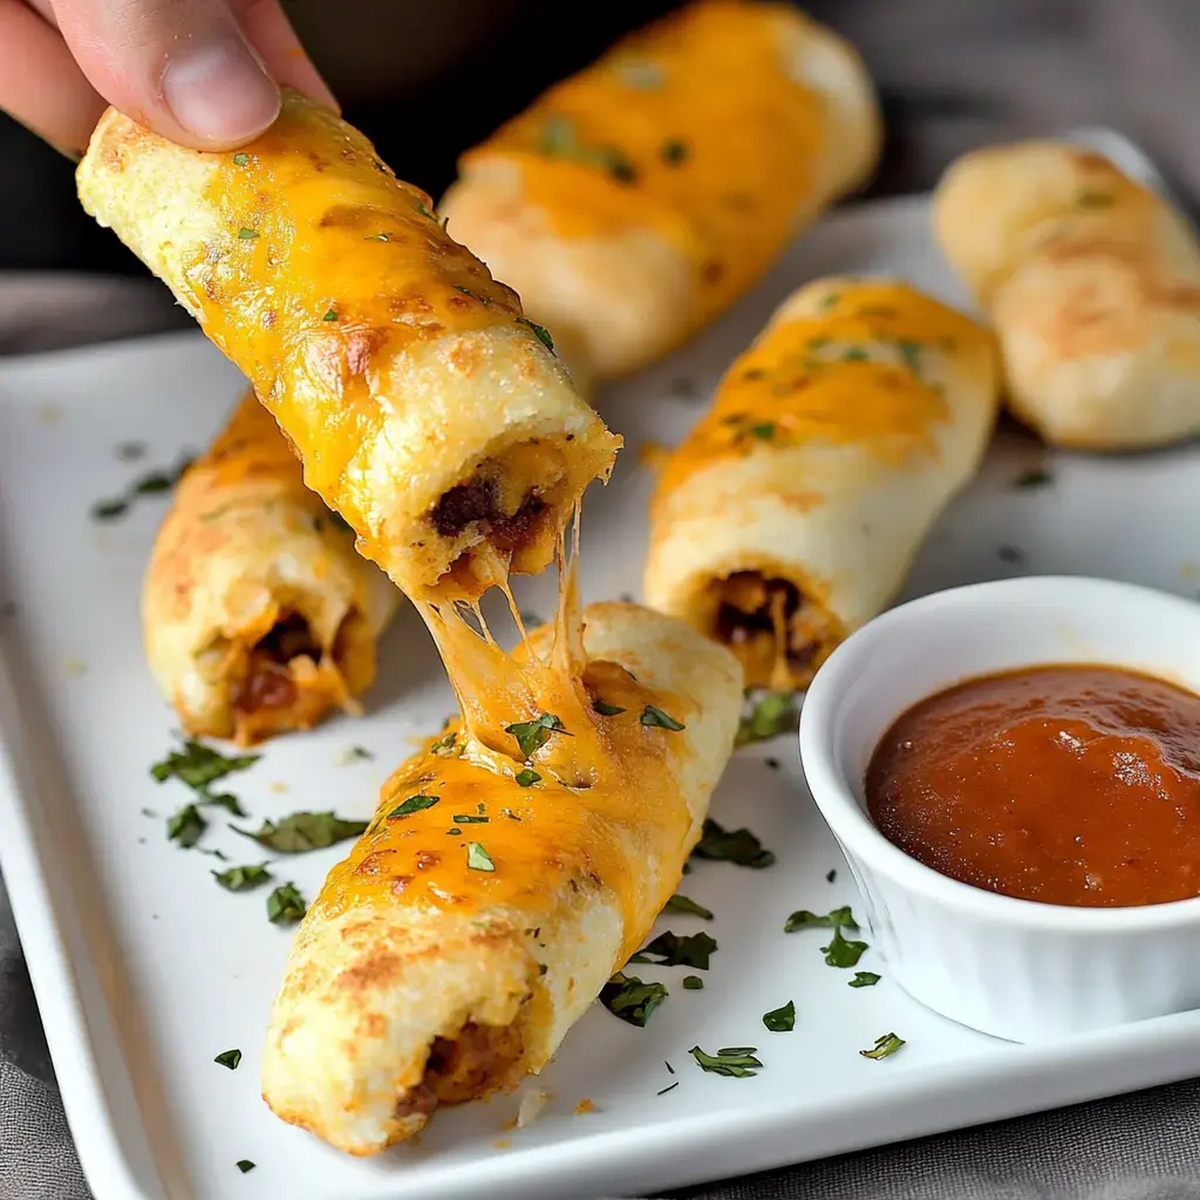
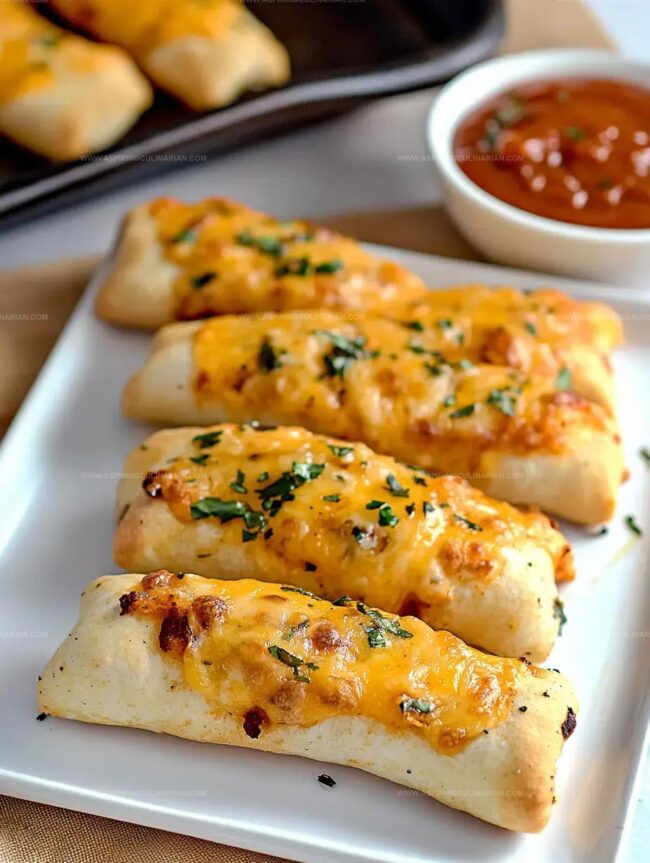
Quick & Gooey Cheesy Taco Sticks Recipe for Fun Family Dinners
Crispy golden sticks loaded with irresistible cheesy taco flavors promise a mouthwatering adventure for every snack enthusiast.
These delectable taco sticks bring a zesty twist to traditional appetizers.
Melted cheese and seasoned ground beef wrap together in a perfectly crisp exterior that cracks with each delightful bite.
Packed with bold spices and gooey goodness, this recipe turns ordinary ingredients into an extraordinary treat.
Quick to prepare and impossible to resist, these cheesy taco sticks will become your new favorite crowd-pleasing snack.
Serve them hot and watch everyone’s eyes light up with excitement.
Prepare to elevate your next gathering with these irresistible bites that blend comfort and flavor in every single morsel.
Cheesy Taco Sticks Snack Standouts
Ingredients for Cheesy Taco Sticks
Main Ingredients:Seasoning and Flavoring:Preparation Ingredients:Making Cheesy Taco Sticks at Home

Step 1: Preheat and Prepare
Fire up the oven to 425°F and lightly coat a baking sheet with cooking spray to prevent sticking.
Step 2: Season the Meat
Sizzle ground beef in a skillet until it’s beautifully browned.
Drain away excess fat, then sprinkle in zesty taco seasoning.
Let the meat cool down slightly.
Step 3: Slice the Dough
Grab your pizza dough and transform it into 10 perfect rectangles.
Slice the dough in half lengthwise, then cut each half into 5 equal pieces.
Step 4: Create the Filling
Place a generous scoop of seasoned beef in the center of each dough rectangle.
Nestle half a cheese stick right next to the meat.
Step 5: Wrap and Seal
Carefully roll the dough around the filling, creating delightful little parcels.
Pinch the edges firmly to ensure no cheesy goodness escapes.
Step 6: Add Flavor Boost
Melt butter and blend with:Lovingly brush this magical mixture over the top of each stick.
Step 7: Bake to Golden Perfection
Slide the baking sheet into the oven and bake for 10-12 minutes.
Watch for a gorgeous golden-brown color that signals they’re ready to devour.
Tips for the Best Cheesy Taco Sticks

Fun Variations for Cheesy Taco Sticks

Ways to Serve Cheesy Taco Sticks

Storage Tips for Cheesy Taco Sticks

FAQs
Ground beef is ideal, but ground turkey or chicken can also be used for a leaner option. Ensure the meat is fully browned and seasoned with taco mix for maximum flavor.
Yes, you can prepare the taco sticks in advance and refrigerate them before baking. Just add a few extra minutes to the cooking time if baking directly from the refrigerator.
You’ll need a baking sheet, a skillet for browning meat, and basic kitchen tools like a knife and pastry brush. A standard home kitchen setup works perfectly.
Print
Cheesy Taco Sticks Recipe
- Total Time: 32 minutes
- Yield: 4 1x
Description
Melty cheese and zesty taco seasoning combine in these irresistible cheesy taco sticks, creating a crowd-pleasing snack that brings Mexican-inspired flavors to your table. Crispy on the outside and gooey inside, you’ll love this easy appetizer that delivers a perfect bite of comfort and spice.
Ingredients
Main Protein:
- 1 pound (454 grams) lean ground beef
Cheese and Dough:
- 5 colby jack cheese sticks, halved
- 1 tube refrigerated pizza dough
Seasonings and Toppings:
- 1 packet taco seasoning
- 1/4 cup (60 milliliters) melted butter
- 1 teaspoon garlic powder
- 1 teaspoon dried parsley
Instructions
- Preheat the oven to 425°F and coat a baking sheet with non-stick cooking spray.
- Sauté ground beef in a skillet until thoroughly browned, eliminating excess grease. Stir in taco seasoning and allow the mixture to cool completely.
- Transform pizza dough into 10 uniform rectangles by first slicing lengthwise, then creating five equal segments from each half.
- Position a portion of seasoned beef and half a cheese stick centrally on each dough rectangle.
- Carefully envelop the filling by rolling the dough around it, meticulously sealing the edges to prevent leakage.
- Craft a savory topping by blending melted butter with garlic powder and finely chopped parsley, then generously brush over the prepared sticks.
- Transfer to the preheated oven and bake for 10-12 minutes until the exterior achieves a golden, crispy appearance.
Notes
- Quick Meat Prep Brown beef thoroughly to ensure no pink remains, enhancing food safety and flavor intensity.
- Cheese Melting Use room temperature cheese sticks for smoother, more even melting inside the dough.
- Dough Handling Roll dough gently to prevent tearing and ensure complete sealing of filling.
- Dietary Adaptations Swap ground beef with plant-based crumbles for vegetarian version or use ground turkey for leaner option.
- Prep Time: 20 minutes
- Cook Time: 12 minutes
- Category: Appetizer, Snacks
- Method: Baking
- Cuisine: Mexican
Nutrition
- Serving Size: 4
- Calories: 360
- Sugar: 1 g
- Sodium: 800 mg
- Fat: 22 g
- Saturated Fat: 10 g
- Unsaturated Fat: 8 g
- Trans Fat: 0 g
- Carbohydrates: 28 g
- Fiber: 1 g
- Protein: 18 g
- Cholesterol: 55 mg
Lena Martinez
Contributing Writer & Culinary Educator
Expertise
Southwestern and Latin American cuisines, Vegetarian and plant-based recipe development, Culinary education and community outreach
Education
Santa Fe Community College, Santa Fe, NM
Certificate in Culinary Arts
Emphasized Southwestern cuisine and sustainable cooking practices
Lena grew up surrounded by the colors, spices, and traditions of the Southwest – flavors that sparked her love for bold, honest cooking. After earning her Culinary Arts certificate at Santa Fe Community College, she made it her mission to teach home cooks how to create flavorful, plant-powered meals without the fuss.
Her recipes are packed with vibrant ingredients, simple steps, and the kind of heart that turns a regular meal into something you’ll want to share. Outside the kitchen, Lena spends her time wandering farmers’ markets, trading family recipes, and helping young chefs find their voice through food.