The Sweetest Cherry Brownie Ice Cream Sandwiches Recipe Ever
Decadent chocolate brownies meet creamy cherry ice cream in a dessert that promises pure bliss.
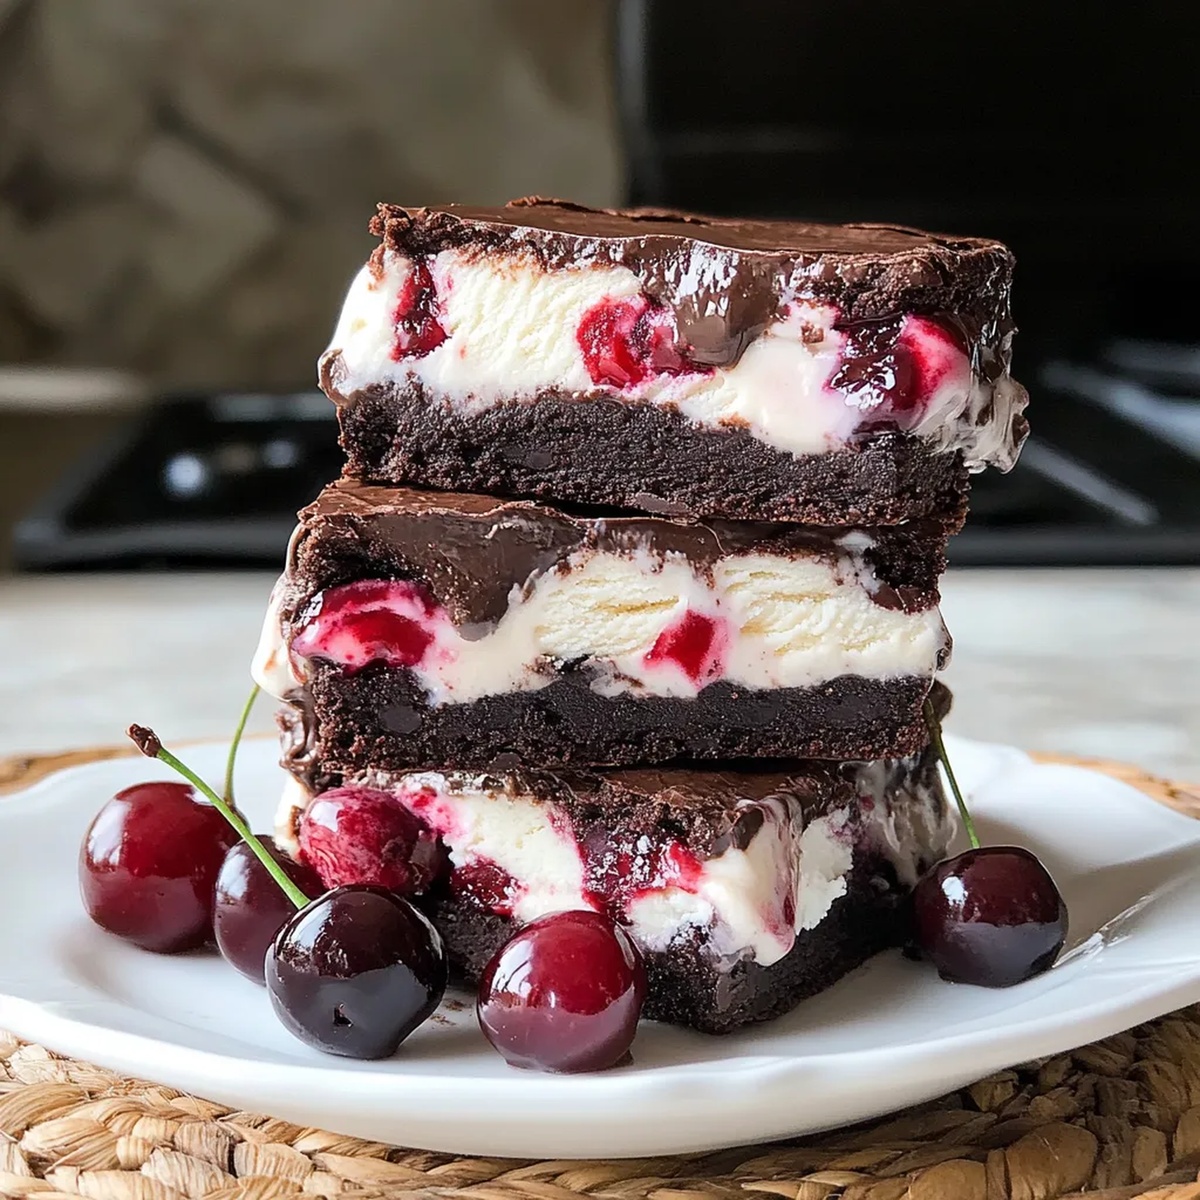
These delightful cherry brownie ice cream sandwiches combine rich, fudgy textures with sweet fruit notes.
Chocolate lovers will swoon over the deep, intense brownie base that perfectly complements the bright cherry flavor.
Each bite delivers a symphony of contrasting temperatures and tastes that dance across your palate.
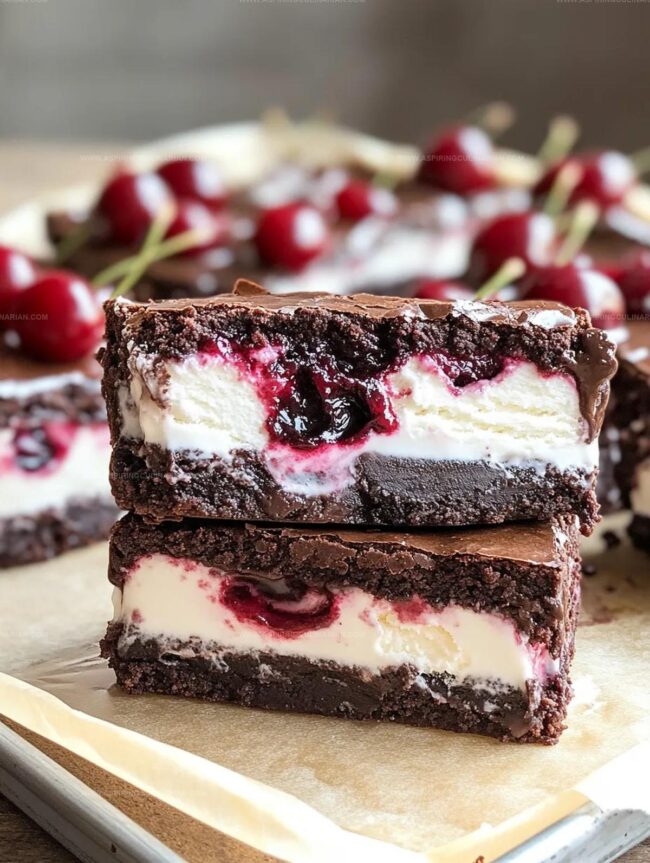
The homemade treat brings together classic comfort and gourmet sophistication in one irresistible package.
Cool, chewy, and utterly indulgent, these ice cream sandwiches are sure to become your new favorite summer dessert.
Prepare to elevate your sweet game with this simple yet spectacular recipe that’s guaranteed to impress.
Cherry Brownie Ice Cream Delights
Cherry Brownie Ice Cream Ingredients
Brownie Base Ingredients:Dry Ingredients:Ice Cream and Topping Ingredients:How to Make Brownie Sandwiches
Step 1: Prepare Baking Setup
Warm up the oven to 350F.
Line an 8×8 inch baking pan with parchment paper, letting extra paper hang over the sides for easy brownie removal.
Step 2: Create Brownie Base
Melt butter using microwave or stovetop.
In a large mixing bowl, combine:Whisk ingredients until smooth.
Add eggs one at a time, mixing thoroughly after each addition.
Stir in vanilla extract for extra flavor.
Step 3: Mix Dry Ingredients
Gently fold into the wet mixture:Mix until ingredients are just combined.
Avoid overmixing to keep brownies tender.
Step 4: Bake Brownie Layer
Pour batter into prepared pan, spreading evenly.
Bake for 20-25 minutes until center is set.
Check doneness by inserting a toothpick – it should have a few moist crumbs.
Allow brownies to cool completely in the pan.
Step 5: Cut Brownie Squares
Remove brownies from pan using parchment paper overhang.
Slice into 8 equal squares or 16 smaller squares for bite-sized sandwiches.
Step 6: Prepare Cherry Ice Cream Filling
Soften vanilla ice cream slightly.
Mix in chopped cherries until well combined.
Ensure ice cream is spreadable but not melting.
Step 7: Construct Ice Cream Sandwiches
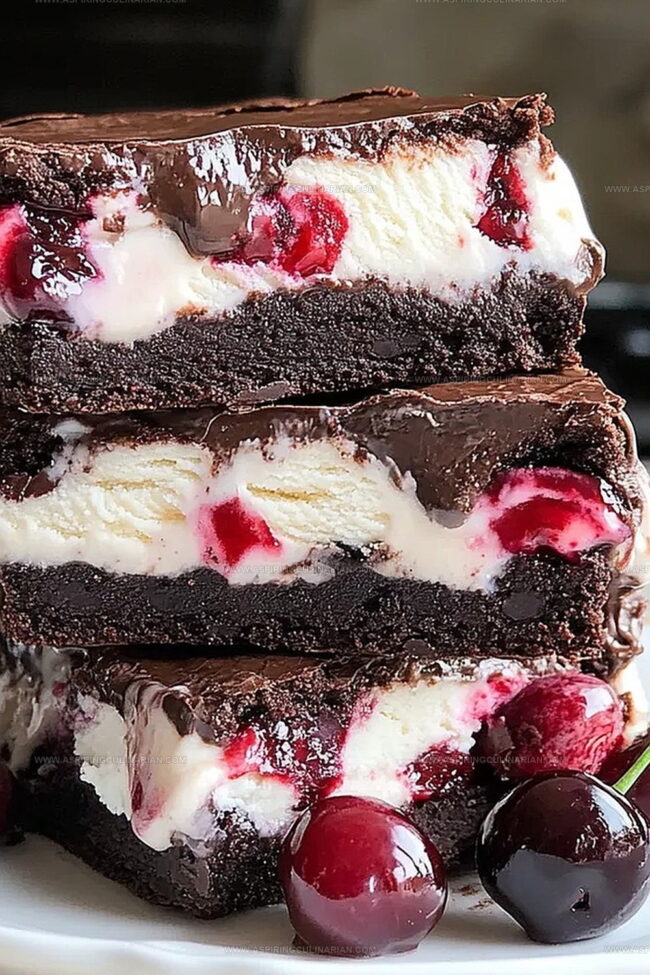
Spread cherry ice cream mixture onto half of the brownie squares.
Top with remaining brownie squares, pressing gently to create sandwiches.
Step 8: Freeze Sandwiches
Place assembled sandwiches on a baking sheet.
Freeze for 1-2 hours until ice cream firms up completely.
Step 9: Add Chocolate Drizzle
Melt chocolate chips in microwave using 20-second intervals.
Stir between each interval until smooth.
Drizzle melted chocolate over frozen sandwiches.
Step 10: Serve and Store
Enjoy immediately or wrap individually in plastic wrap.
Sandwiches can be stored in freezer for up to 2 weeks.
Brownie Sandwich Tips and Tricks
Brownie Ice Cream Flavor Twists

Serving Cherry Brownie Sandwiches
Storing Brownie Ice Cream Sandwiches
FAQs
Yes, both work well. If using fresh cherries, pit and chop them finely. For frozen cherries, thaw and drain excess liquid before mixing with ice cream.
No, just basic baking tools like an 8×8 inch pan, parchment paper, mixing bowls, and a whisk. A microwave helps for melting chocolate and butter.
Look for set edges, a slightly cracked top, and a toothpick with a few moist crumbs when inserted. Avoid overbaking to keep brownies fudgy and soft.
Print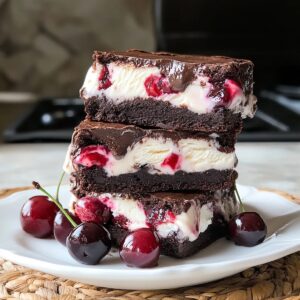
Cherry Brownie Ice Cream Sandwiches Recipe
- Total Time: 45 minutes
- Yield: 12 1x
Description
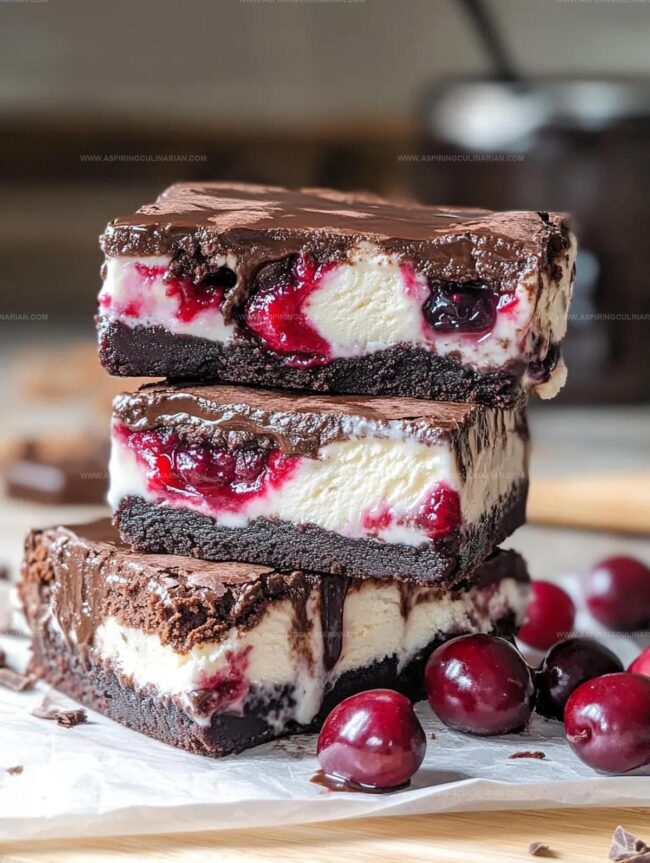
Indulgent cherry brownie ice cream sandwiches blend rich chocolate goodness with sweet summer cherry notes. Cool creamy layers nestled between fudgy brownie squares promise delightful dessert magic for chocolate and fruit lovers to savor.
Ingredients
Main Ingredients:
- 1/2 cup unsalted butter
- 1/2 cup granulated sugar
- 1/2 cup brown sugar
- 2 large eggs
- 1 1/2 cups vanilla ice cream
Dry Ingredients:
- 1/3 cup cocoa powder
- 1/2 cup all-purpose flour
- 1/4 teaspoon salt
Flavor Enhancers and Toppings:
- 1 teaspoon vanilla extract
- 1/2 cup chopped cherries (fresh or frozen)
- 1/4 cup chocolate chips (for drizzle)
Instructions
- Preheat oven to 350F (175C) and prepare an 8×8 inch baking pan with parchment paper, ensuring overhanging edges for easy brownie removal.
- Melt butter, then whisk together with granulated and brown sugars in a large mixing bowl until thoroughly combined. Incorporate eggs individually, mixing thoroughly after each addition, then blend in vanilla extract.
- Fold cocoa powder, flour, and salt into the wet mixture gently, avoiding overmixing to maintain the brownie’s delicate texture.
- Transfer batter evenly into prepared pan, creating a smooth surface. Bake for 20-25 minutes until center sets and a toothpick reveals minimal moist crumbs. Allow complete cooling within the pan.
- Extract brownies using parchment paper edges, then slice into 8 equal squares or 16 smaller portions for compact sandwiches.
- Soften vanilla ice cream slightly, then fold chopped cherries throughout, ensuring even distribution while maintaining a spreadable consistency.
- Arrange cherry-infused ice cream atop half the brownie squares, then gently cap with remaining brownie pieces to create sandwiches.
- Position assembled sandwiches on a baking sheet, then freeze for 1-2 hours until ice cream solidifies completely.
- Melt chocolate chips using microwave in brief 20-second intervals, stirring between each, until achieving a smooth liquid state. Artfully drizzle melted chocolate across frozen sandwiches.
- Serve immediately or individually wrap in plastic for freezer storage up to two weeks, preserving optimal texture and flavor.
Notes
- Select high-quality cocoa powder for a rich, deep chocolate flavor in brownies, ensuring intense taste and smooth texture.
- Chop cherries finely to distribute evenly throughout the ice cream, creating consistent fruity bites in each sandwich.
- Allow brownies to cool completely before assembling sandwiches to prevent ice cream from melting and maintain structural integrity.
- Use parchment paper overhang as a clever trick for easy brownie removal and clean cutting of perfect squares.
- Create gluten-free version by substituting all-purpose flour with almond or coconut flour for a dietary-friendly alternative.
- Avoid overmixing brownie batter to prevent tough, dense texture and maintain a soft, fudgy consistency.
- Prep Time: 20 minutes
- Cook Time: 25 minutes
- Category: Desserts, Snacks
- Method: Baking
- Cuisine: American
Nutrition
- Serving Size: 12
- Calories: 200
- Sugar: 18 g
- Sodium: 120 mg
- Fat: 9 g
- Saturated Fat: 5 g
- Unsaturated Fat: 4 g
- Trans Fat: 0 g
- Carbohydrates: 29 g
- Fiber: 1 g
- Protein: 2 g
- Cholesterol: 30 mg
Lena Martinez
Contributing Writer & Culinary Educator
Expertise
Southwestern and Latin American cuisines, Vegetarian and plant-based recipe development, Culinary education and community outreach
Education
Santa Fe Community College, Santa Fe, NM
Certificate in Culinary Arts
Emphasized Southwestern cuisine and sustainable cooking practices
Lena grew up surrounded by the colors, spices, and traditions of the Southwest – flavors that sparked her love for bold, honest cooking. After earning her Culinary Arts certificate at Santa Fe Community College, she made it her mission to teach home cooks how to create flavorful, plant-powered meals without the fuss.
Her recipes are packed with vibrant ingredients, simple steps, and the kind of heart that turns a regular meal into something you’ll want to share. Outside the kitchen, Lena spends her time wandering farmers’ markets, trading family recipes, and helping young chefs find their voice through food.