The Ultimate Cherry Cheesecake Bars Recipe for Sweet Bliss
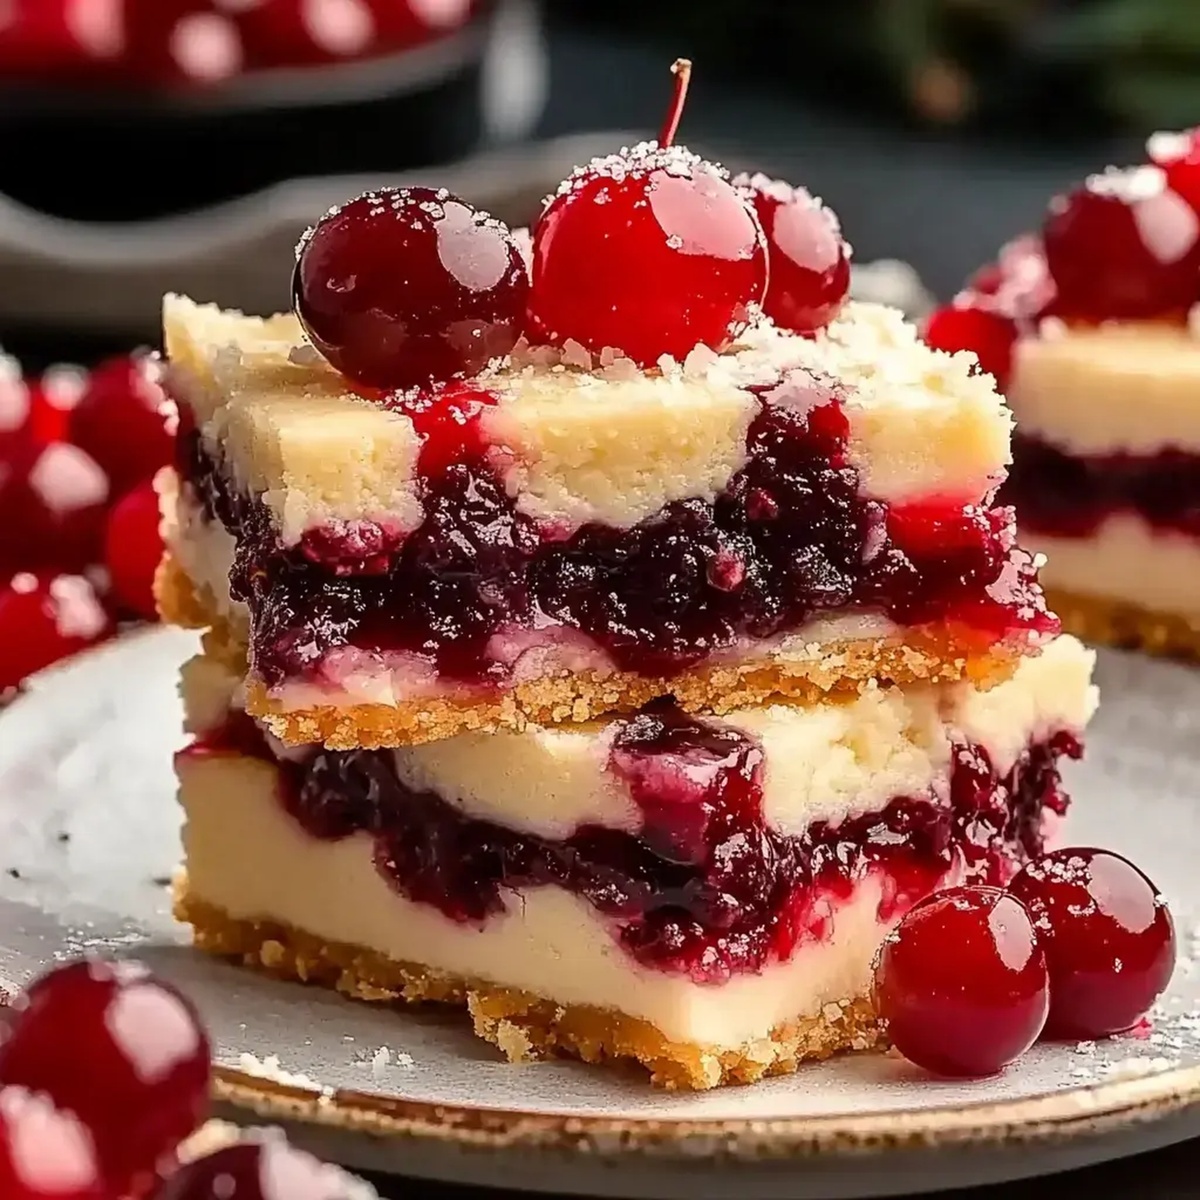
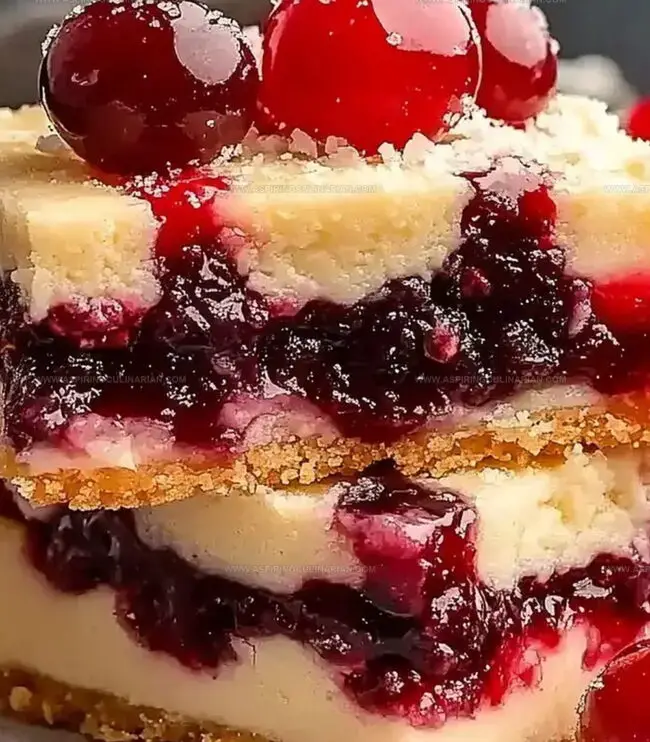
Creamy and decadent cherry cheesecake bars bring a burst of sweet indulgence to any dessert table.
These delightful treats combine the tangy richness of cream cheese with luscious cherry goodness.
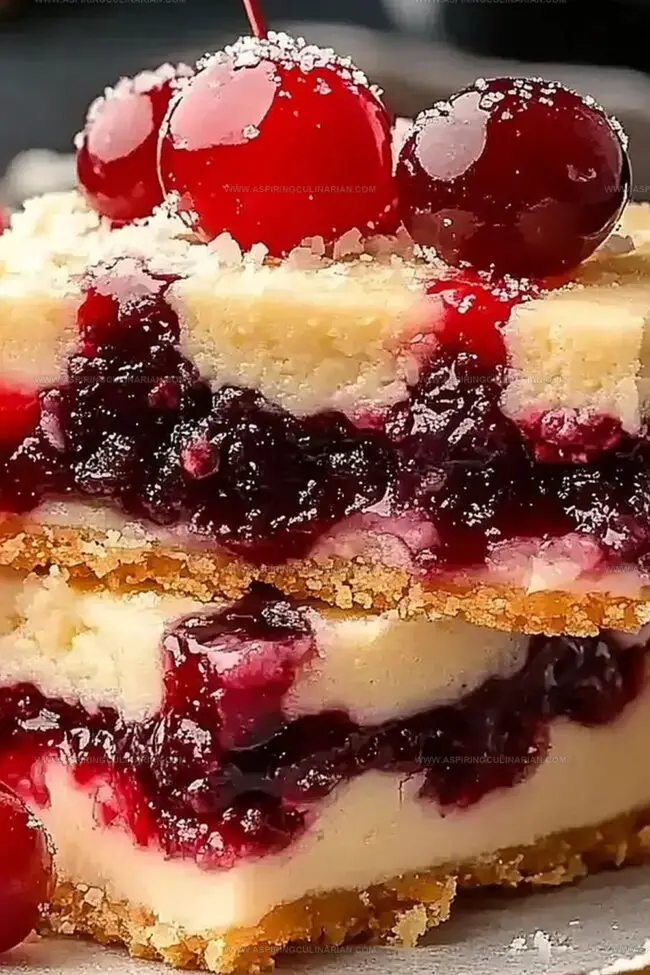
Every bite promises a perfect balance of smooth cheesecake and fruity freshness.
The silky texture melts in your mouth, creating an irresistible dessert experience.
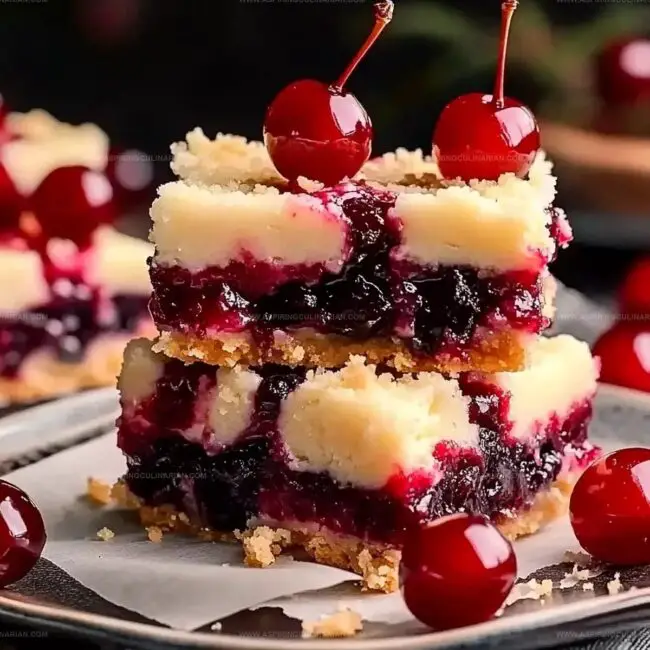
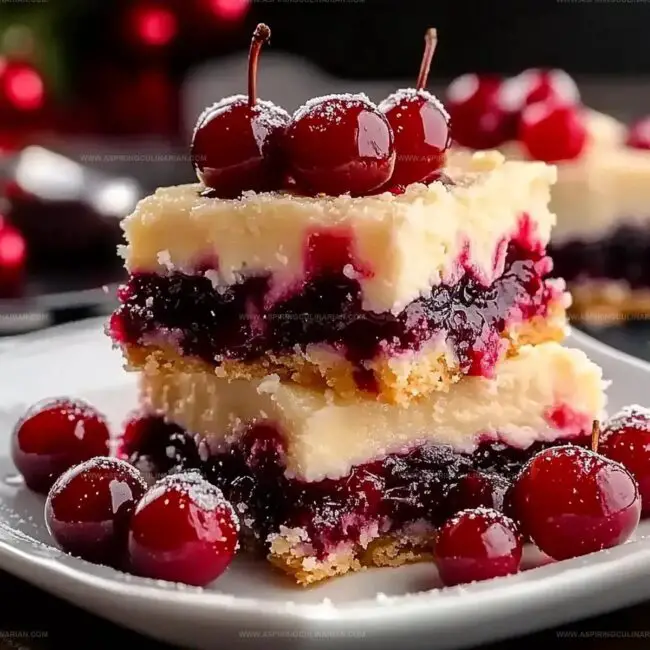
Layers of velvety filling and vibrant cherry topping make these bars a true crowd-pleaser.
Simple ingredients and straightforward preparation mean you can whip up this stunning dessert in no time.
One taste will have everyone asking for seconds and begging for the recipe.
Holiday Dessert Squares: Sweet Features to Love
What You’ll Need for Dessert Squares
Base Layer:Filling Layer:Topping:Putting Together Holiday Dessert Squares
Step 1: Preheat and Prepare Oven
Set your oven to 350°F.
Line a baking pan with aluminum foil, ensuring the foil covers the sides.
Lightly spray the foil with non-stick cooking spray to prevent sticking.
Step 2: Create Crumbly Crust Base
In a mixing bowl, combine cookie mix and cold butter.
Use a pastry cutter or your fingers to blend until the mixture becomes crumbly and resembles coarse breadcrumbs.
Set aside 3/4 cup of this mixture for the topping.
Step 3: Form Initial Crust Layer
Take the remaining cookie mixture and press it evenly into the prepared pan.
Bake for 10 minutes until the crust looks slightly underdone and has a pale golden color.
Step 4: Whip Up Creamy Filling
In a separate bowl, blend cream cheese, sugar, flour, vanilla extract, and egg.
Mix until the filling becomes completely smooth and free of lumps.
Step 5: Build Layered Dessert
Carefully spread the cream cheese mixture over the pre-baked crust.
Then gently pour cherry filling on top, creating a vibrant fruity layer.
Step 6: Add Crunchy Topping
Combine the reserved crumbly mixture with chopped almonds.
Sprinkle this nutty crumb topping evenly over the cherry layer.
Step 7: Final Baking
Place the pan back in the oven and bake for 40-45 minutes.
The top should turn a beautiful golden brown and the filling should be set.
Step 8: Cool and Chill
Allow the dessert to cool at room temperature for 30 minutes.
Then transfer to the refrigerator to chill completely, which will help the squares set and make cutting easier.
Pro Tips for Baking Holiday Dessert Squares
Ways to Switch Up Holiday Dessert Squares
Fun Serving Ideas for Dessert Squares
How to Store Holiday Dessert Squares Well
FAQs
Yes, you can substitute sugar cookie mix with graham cracker or shortbread mix. Just ensure the mix has similar texture and sweetness for best results.
Cold butter helps create a crumbly, flaky texture in the crust. Using room temperature butter might result in a denser, less crisp base.
The filling should be smooth and free of lumps. Mix until all ingredients are fully incorporated and the mixture looks uniform and creamy.
While fresh cherries can be used, canned cherry pie filling provides consistent texture and sweetness. If using fresh cherries, you’ll need to cook them down with sugar to create a similar filling consistency.
Print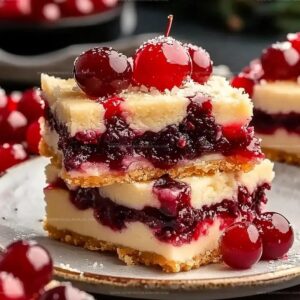
Cherry Cheesecake Bars Recipe
- Total Time: 1 hour 10 minutes
- Yield: 9 1x
Description
Creamy cherry cheesecake bars blend classic dessert charm with irresistible homemade goodness. Rich cream cheese and sweet cherries create a delightful treat that will make your taste buds dance with pure satisfaction.
Ingredients
Main Ingredients:
- 8.5 ounces (241 grams) sugar cookie mix
- 8 ounces (227 grams) cream cheese, softened
- 1/2 can cherry pie filling
- 1 large egg
Dairy and Sweeteners:
- 4 tablespoons (56 grams) cold unsalted butter
- 1/4 cup (50 grams) granulated sugar
- 1/2 teaspoon vanilla extract
Baking Supplements:
- 1 tablespoon (8 grams) all-purpose flour
- 1/3 cup (35 grams) toasted sliced almonds
Instructions
- Preheat oven to 350°F and prepare a baking pan by lining with foil and applying non-stick spray.
- Combine cookie mix with chilled butter, working until mixture becomes coarse and crumbly. Set aside 3/4 cup of this mixture for topping.
- Press remaining crumb mixture firmly into prepared pan, creating an even base layer. Bake for 10 minutes until slightly underdone, allowing for additional cooking during final baking.
- In a separate bowl, whisk cream cheese with sugar, flour, vanilla, and egg until achieving a silky, uniform consistency.
- Carefully spread cream cheese mixture across the partially baked crust, ensuring even coverage.
- Gently pour cherry filling over cream cheese layer, distributing evenly to create a vibrant fruit layer.
- Combine reserved crumb mixture with chopped almonds, then delicately sprinkle this topping across the cherry layer.
- Return pan to oven and bake for 40-45 minutes, watching for a golden-brown surface and set filling.
- Remove from oven and allow dessert to cool at room temperature for 30 minutes, then transfer to refrigerator for complete chilling and setting.
Notes
- Customize crumb base by substituting different cookie types like graham crackers or shortbread for unique flavor variations.
- Keep cream cheese filling smooth by ensuring ingredients are at room temperature before mixing to prevent lumps.
- Create gluten-free version by using certified gluten-free cookie mix and checking all ingredient labels carefully.
- Enhance presentation by adding fresh whipped cream or chocolate drizzle just before serving to elevate dessert’s visual appeal.
- Prep Time: 20 minutes
- Cook Time: 50 minutes
- Category: Desserts, Snacks
- Method: Baking
- Cuisine: American
Nutrition
- Serving Size: 9
- Calories: 220
- Sugar: 12g
- Sodium: 150mg
- Fat: 10g
- Saturated Fat: 5g
- Unsaturated Fat: 4g
- Trans Fat: 0g
- Carbohydrates: 28g
- Fiber: 1g
- Protein: 3g
- Cholesterol: 30mg
Nathaniel Brooks
Founder & Recipe Developer
Expertise
Farm-to-table cuisine, Seasonal recipe development, Culinary storytelling
Education
Ivy Tech Community College – Indianapolis, IN
Culinary Arts / Hospitality Administration & Events
Focused on hands-on training in classical and modern culinary techniques.
Nathaniel’s story starts in the foothills of the Appalachian Mountains, where farm stands, backyard gardens, and old family recipes shaped his love for real food. After graduating from Ivy Tech Community College in Indianapolis, he spent years working in farm-to-table kitchens, learning how to turn local, seasonal ingredients into something memorable.
Today, Nathaniel pours that same spirit into every single recipe on Aspiring Culinarian – recipes that feel real, comforting, and connected to the land. When he’s not in the kitchen, you’ll find him foraging wild herbs, chasing sunsets with his camera, or writing about the flavors that shaped his roots.