
Try These Irresistible Cherry Cheesecake Hand Pies Recipe Today
Sweet meets tangy in these irresistible cherry cheesecake hand pies that promise a delightful dessert experience.
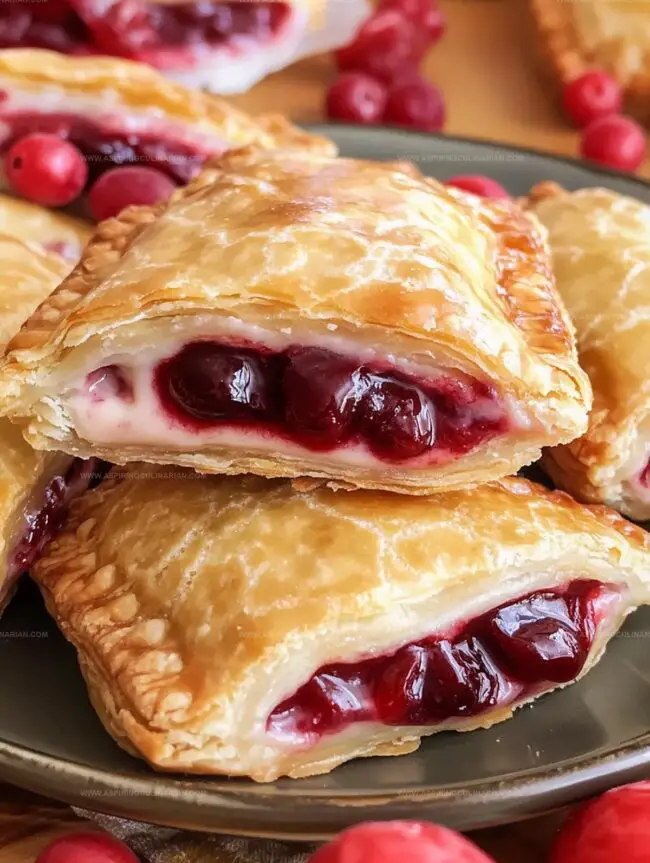
Compact and perfectly portioned, these hand pies blend the rich creaminess of cheesecake with bursts of vibrant cherry flavor.
Every flaky, golden pastry cradles a luscious filling that melts in your mouth.
The delicate balance of smooth cream cheese and tart cherries creates a harmony of textures and tastes.
These handheld treats are surprisingly simple to make, requiring just a few ingredients and minimal effort.
Serve them warm for a comforting dessert that will have everyone asking for seconds.
Cherry Cheesecake Hand Pie Goodness
Cherry Hand Pie Ingredient List
Main Ingredients:Frying and Coating:Glaze Ingredients:Preparation Essentials:Making Cherry Cheesecake Hand Pies
Step 1: Prepare Hot Oil Bath
Fill a heavy dutch oven with vegetable oil about 4-5 inches deep.
Attach a cooking thermometer and heat the oil to 375F.
Consistent temperature ensures perfectly crispy hand pies without excess oil absorption.
Step 2: Whip Creamy Filling
In a medium bowl, blend cream cheese and sugar using a hand mixer.
Whip until the mixture becomes smooth and silky, creating a luxurious cream cheese base that will melt in your mouth.
Step 3: Shape Pie Crusts
Spread refrigerated pie crusts on a floured surface.
Use a 5-6 inch bowl as a cutting guide to trace perfect circles.
Roll dough slightly thinner if needed to create 6 beautiful rounds.
Step 4: Build Delicious Layers
Arrange the filling on each dough circle:Keep filling centered, avoiding the edges to prevent leaking.
Step 5: Create Sealed Pockets
Brush water around dough edges.
Fold into half-moon shapes and press firmly.
Crimp edges with a fork to create a tight seal that locks in all the delicious filling.
Step 6: Mix Sweet Glaze
Whisk together in a small bowl:Blend until smooth and glossy.
Step 7: Fry to Golden Perfection
Gently lower hand pies into hot oil.
Fry 2-3 minutes, rotating occasionally until achieving a deep golden-brown color.
Remove with a slotted spoon and drain on paper towels.
Step 8: Apply Sparkling Glaze
Brush warm hand pies with sugar glaze on both sides while still hot.
Place on a cooling rack to set the glaze.
Step 9: Serve Warm and Delightful
Enjoy hand pies immediately while warm and crispy.
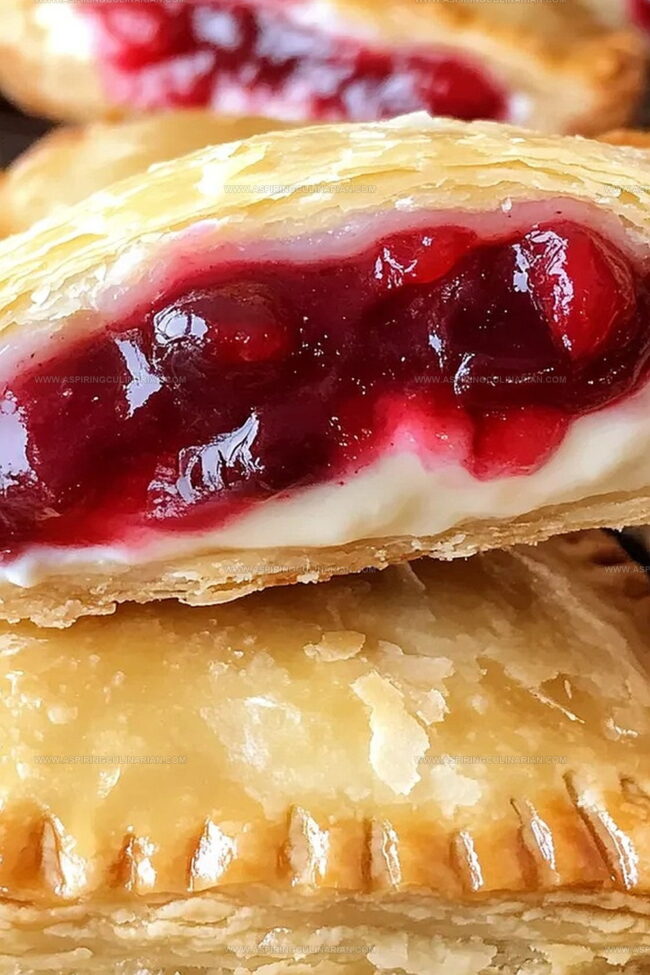
The exterior should be crunchy and glazed, with a gooey, delectable interior.
Pro Tips for Cherry Hand Pies
Cherry Hand Pie Flavor Variations
Serving Cherry Cheesecake Hand Pies
Storing Cherry Cheesecake Hand Pies
FAQs
Yes, you can bake them at 425F for 15-18 minutes until golden brown, though the texture will be slightly different from the fried version.
Refrigerated pre-made pie crusts are perfect, as they’re easy to use and provide consistent results for hand pies.
Seal the edges firmly with water and crimp with a fork. Make sure not to overfill the pies and keep filling away from the edges when assembling.
You can prepare and assemble the hand pies in advance, then refrigerate for up to 24 hours before frying. Just bring them to room temperature before cooking.
Print
Cherry Cheesecake Hand Pies Recipe
- Total Time: 18 minutes
- Yield: 8 1x
Description
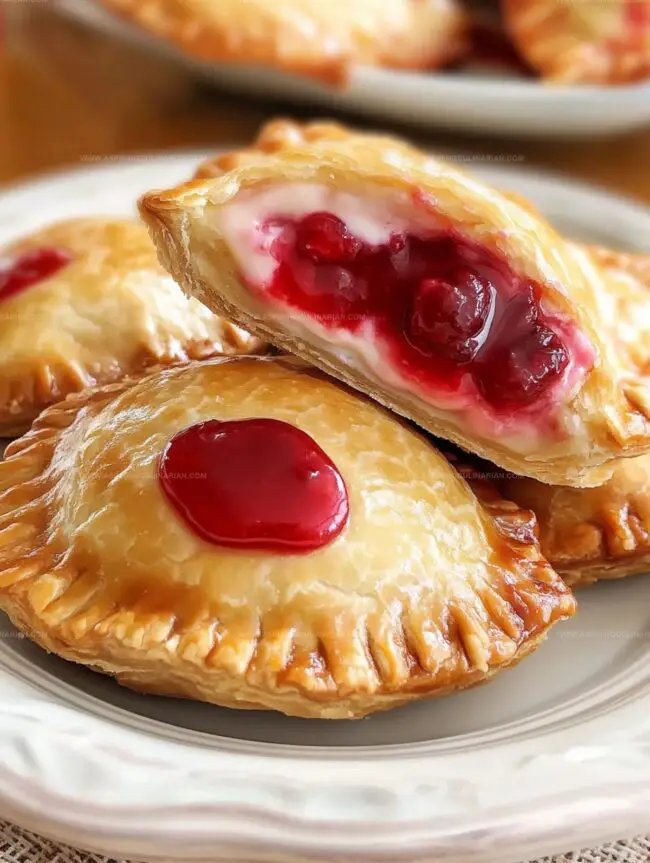
Sweet, handheld cherry cheesecake hand pies blend creamy cheesecake with tart cherries in a flaky pastry pocket. Dessert lovers will savor these irresistible mini treats that deliver maximum flavor in one delightful bite.
Ingredients
Main Ingredients:
- 21 ounces (595 grams) cherry pie filling
- 1 package refrigerated pie crust (2 crusts)
- 4 ounces (113 grams) cream cheese, softened
Sugar Components:
- 1/4 cup (50 grams) granulated sugar
- 1/2 cup (60 grams) powdered sugar
- 1 teaspoon corn syrup
Liquid and Oil:
- 1 tablespoon water
- 4–6 cups (950–1420 milliliters) vegetable oil, for deep frying
Instructions
- Prepare the cooking vessel with vegetable oil, ensuring a depth of 4-5 inches. Attach a thermometer to monitor oil temperature precisely. Heat oil to 375°F, maintaining this critical temperature to prevent excessive oil absorption or burning.
- Create cream cheese mixture by blending sugar and softened cream cheese with a hand mixer until completely smooth and homogeneous, approximately 2 minutes.
- Lay refrigerated pie crusts on a lightly floured surface. Use a 5-6 inch bowl as a cutting template, tracing and cutting circular dough rounds. Adjust dough thickness with a rolling pin if necessary to yield 6 total rounds.
- Position a generous tablespoon of cream cheese filling in the center of each dough circle. Distribute cherry pie filling on top, carefully avoiding the edges to prevent leakage during cooking.
- Moisten dough edges with water using your finger. Fold dough into half-moon shapes, pressing edges firmly. Crimp with a fork to create a secure seal that prevents filling from escaping during frying.
- Whisk powdered sugar, corn syrup, and water in a small bowl until the glaze reaches a smooth consistency. Set aside for later application.
- Gently lower individual hand pies into hot oil. Fry for 2-3 minutes, rotating occasionally to achieve an even deep golden-brown color. Extract with a slotted spoon and drain on paper towels to remove excess oil.
- While pies remain warm, brush sugar glaze on both sides using a pastry brush. Transfer glazed pies to a baking sheet or cooling rack to set. Repeat frying and glazing process for remaining hand pies, working individually.
- Serve immediately while warm to ensure optimal crispy exterior and gooey interior, providing the most delightful taste and texture experience.
Notes
- Maintain precise oil temperature using a reliable thermometer to prevent greasy or burnt hand pies.
- Chill cream cheese filling for 15 minutes before assembling to make handling easier and prevent spreading during frying.
- Use a fork’s tines to create a tight seal and prevent filling from leaking into hot oil, ensuring crispy and intact hand pies.
- Try alternative fruit fillings like blueberry, apple, or peach for variety while keeping the same cooking technique.
- Prep Time: 15 minutes
- Cook Time: 3 minutes
- Category: Desserts, Snacks
- Method: Frying
- Cuisine: American
Nutrition
- Serving Size: 8
- Calories: 320
- Sugar: 18 g
- Sodium: 200 mg
- Fat: 16 g
- Saturated Fat: 4 g
- Unsaturated Fat: 12 g
- Trans Fat: 0 g
- Carbohydrates: 39 g
- Fiber: 1 g
- Protein: 2 g
- Cholesterol: 15 mg
Lena Martinez
Contributing Writer & Culinary Educator
Expertise
Southwestern and Latin American cuisines, Vegetarian and plant-based recipe development, Culinary education and community outreach
Education
Santa Fe Community College, Santa Fe, NM
Certificate in Culinary Arts
Emphasized Southwestern cuisine and sustainable cooking practices
Lena grew up surrounded by the colors, spices, and traditions of the Southwest – flavors that sparked her love for bold, honest cooking. After earning her Culinary Arts certificate at Santa Fe Community College, she made it her mission to teach home cooks how to create flavorful, plant-powered meals without the fuss.
Her recipes are packed with vibrant ingredients, simple steps, and the kind of heart that turns a regular meal into something you’ll want to share. Outside the kitchen, Lena spends her time wandering farmers’ markets, trading family recipes, and helping young chefs find their voice through food.