Easy Cherry Pie Bars Recipe: Sweet & Buttery Bliss in Every Bite
Sweet summer memories bloom with every bite of these delectable cherry pie bars.
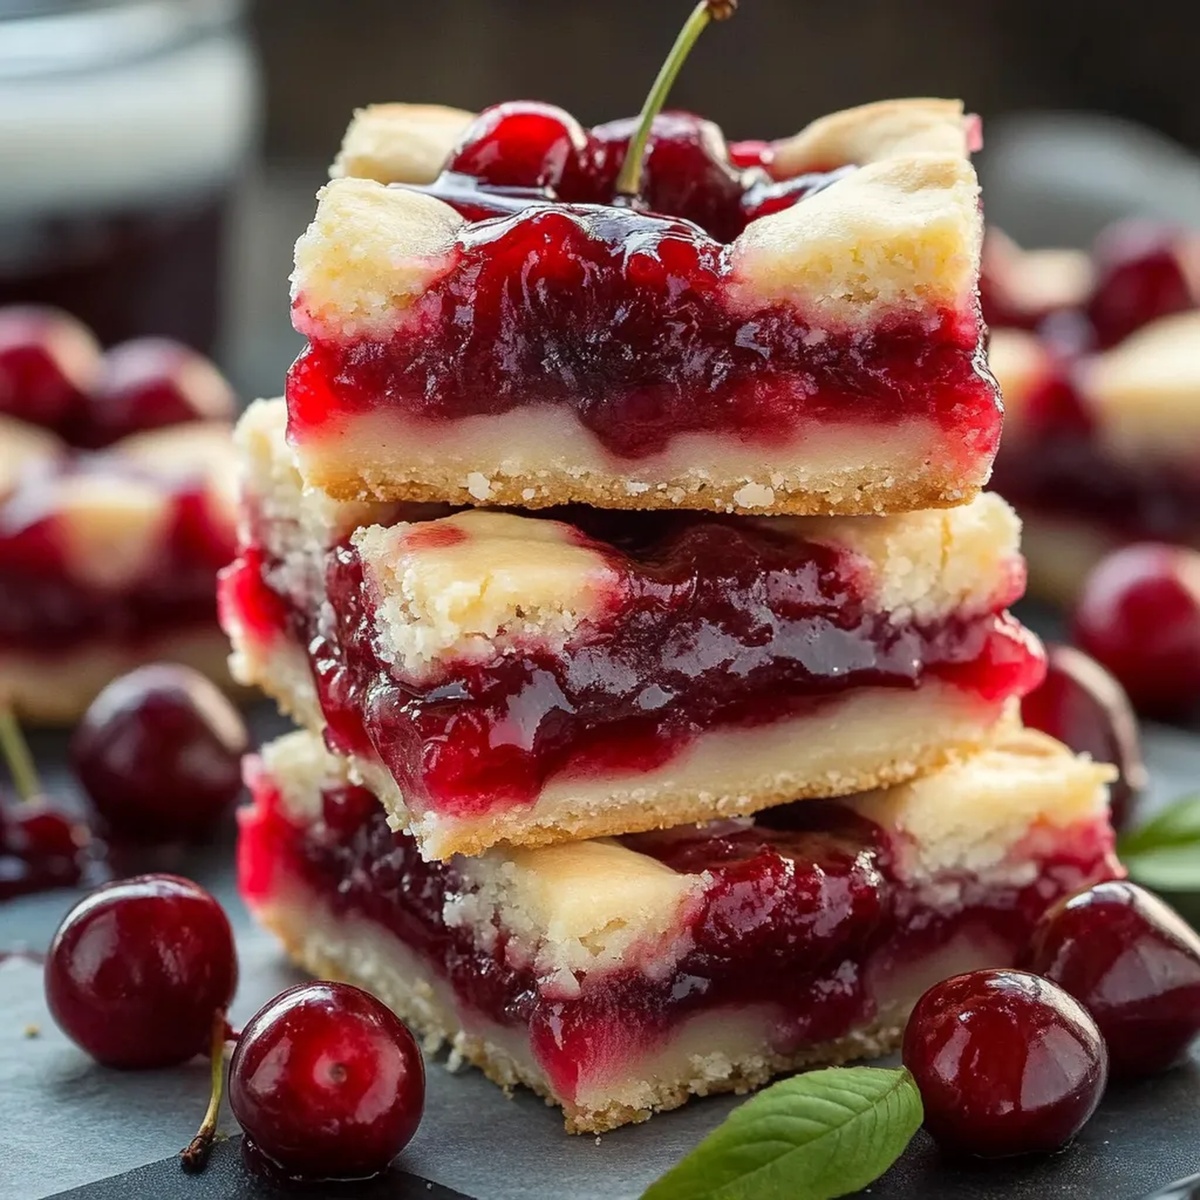
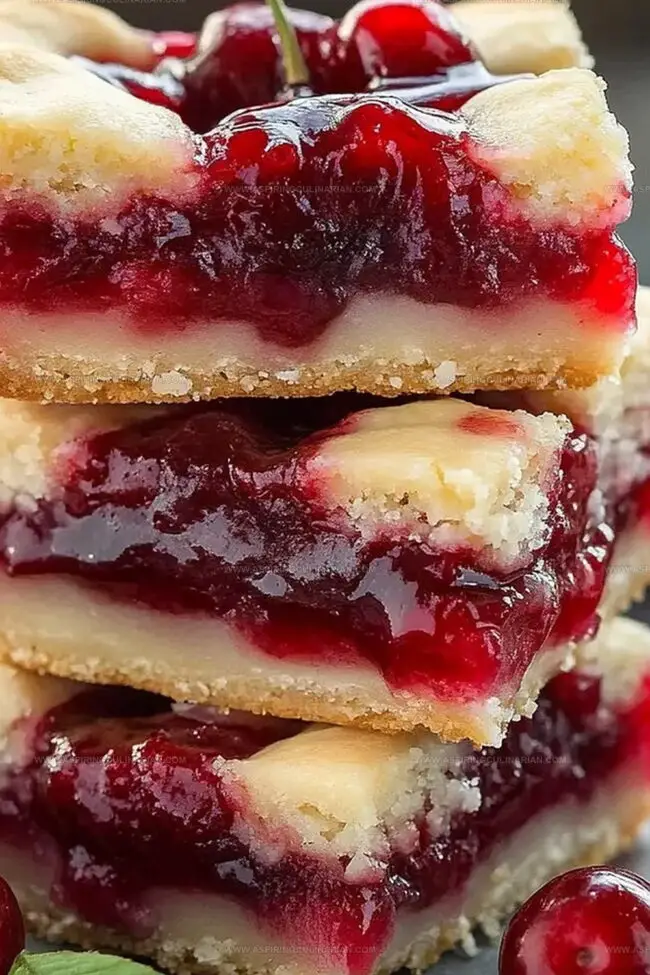
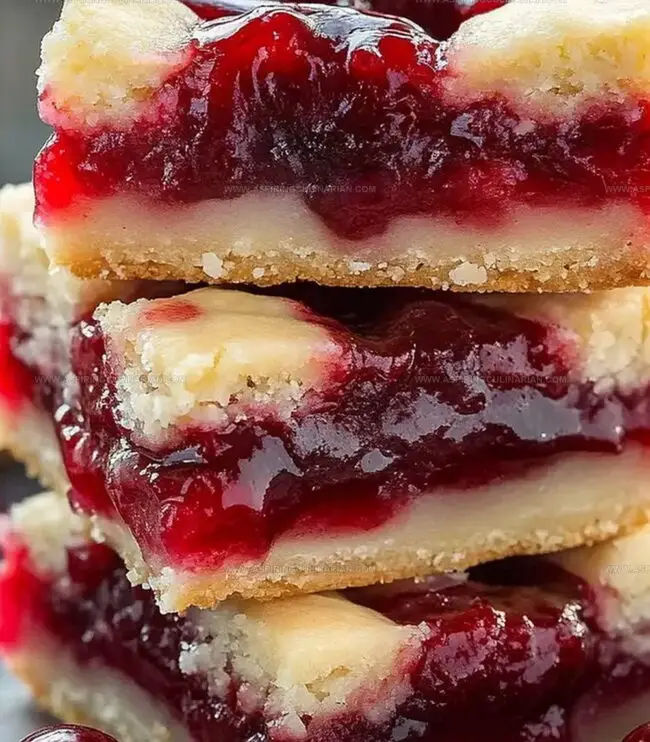
Crumbly, buttery crust meets a luscious cherry pie filling that dances between layers of golden pastry.
The homemade bars burst with tangy fruit and delicate sweetness that rivals traditional pie.
Each square delivers a perfect balance of rich, tender texture and bright cherry flavor.
Warm from the oven or chilled from the refrigerator, these bars offer a delightful twist on classic dessert.
Fresh cherries transform this simple treat into a nostalgic comfort food everyone will adore.
Grab a fork and savor every delicious moment of this irresistible summer dessert.
Cherry Pie Bars Sweet Features

Ingredients for Cherry Pie Bars
Base Ingredients:Flavor Enhancers:Filling and Topping:Liquid Ingredients:Baking Cherry Pie Bars at Home

Step 1: Prepare Base Ingredients
Gather these ingredients:Use an electric mixer to cream butter, sugar, and salt until the mixture becomes light and airy.
This process typically takes 5-7 minutes.
Add eggs one at a time, mixing thoroughly after each addition.
Pour in vanilla and almond extracts for extra flavor.
Slowly incorporate flour until a smooth dough forms.
Step 2: Create Bar Foundation
Grease a 15x10x1-inch baking pan.
Spread approximately 3 cups of prepared dough evenly across the bottom of the pan, creating a smooth base layer.
Carefully distribute cherry pie filling over the dough, ensuring even coverage.
Use a spoon to drop remaining dough in small dollops across the cherry filling.
Step 3: Bake to Golden Perfection
Place the pan in a preheated oven at 350°F.
Bake for 35-40 minutes, watching for a beautiful golden-brown color developing across the surface.
The bars should look set and slightly crisp around the edges.
Step 4: Cool and Finish
Remove from oven and let the bars cool completely inside the pan on a wire rack.
This cooling process helps the bars set and makes cutting easier.
Step 5: Create Delicious Glaze
Prepare the glaze by mixing:Combine ingredients until you reach a smooth, drizzling consistency.
Use a spoon or piping bag to artfully drizzle the glaze over the cooled cherry pie bars.
Step 6: Serve and Enjoy
Cut into squares and serve.
These bars are perfect for potlucks, dessert tables, or a sweet family treat.
Tips for Perfect Cherry Pie Bars

Cherry Pie Bars Flavor Options
Serving Cherry Pie Bars for Dessert
Cherry Pie Bars Storage Solutions
FAQs
Look for golden brown edges and a set center. The top should be lightly golden and the filling should be bubbling slightly around the edges.
No, fresh cherries have too much moisture. Stick with canned pie filling to ensure the right consistency and prevent a soggy base.
Creaming incorporates air, creating a lighter, fluffier texture. It helps the bars become tender and soft instead of dense and heavy.
Vanilla extract is classic, but almond extract pairs beautifully with cherries. Use 1 teaspoon vanilla and 1/2 teaspoon almond extract for enhanced flavor.
Print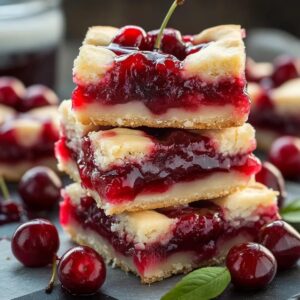
Cherry Pie Bars Recipe
- Total Time: 1 hour
- Yield: 12 1x
Description
Delightful cherry pie bars bring classic American dessert comfort to your kitchen with minimal effort. Sweet-tart cherries nestled in buttery crust create a perfect handheld treat you’ll crave again and again.
Ingredients
Base Ingredients:
- 3 cups all-purpose flour
- 2 cups sugar
- 1 cup butter, softened
- 4 large eggs, room temperature
- 1 teaspoon salt
- 1 teaspoon vanilla extract
- 0.25 teaspoon almond extract
Filling Ingredients:
- 2 cans (21 ounces each / 594 grams each) cherry pie filling
Glaze Ingredients:
- 1 cup confectioners’ sugar
- 2–3 tablespoons 2% milk
- 0.5 teaspoon vanilla extract
- 0.5 teaspoon almond extract
Instructions
- Preheat the oven to 350°F and prepare a 15x10x1-inch baking pan with grease. Cream together butter, sugar, and salt until the mixture becomes airy and pale, which takes approximately 5-7 minutes.
- Incorporate eggs into the butter mixture one at a time, then blend in vanilla and almond extracts. Gradually fold in flour until a smooth dough forms.
- Distribute approximately 3 cups of dough evenly across the prepared baking pan, creating a uniform base layer. Carefully spread cherry pie filling over the dough.
- Delicately drop remaining dough by small spoonfuls across the cherry filling, creating a rustic, uneven topping.
- Slide the pan into the preheated oven and bake for 35-40 minutes, watching for a golden-brown surface that indicates complete cooking.
- Remove from oven and allow bars to cool completely on a wire rack, which helps set the texture and prevents soggy bottoms.
- Prepare the glaze by whisking confectioners’ sugar with extracts, gradually adding milk until achieving a smooth, drizzleable consistency.
- Once bars are thoroughly cooled, elegantly drizzle the glaze across the surface, creating an appetizing finish.
Notes
- Use room temperature ingredients to ensure smooth, even mixing and prevent lumpy batter.
- Soften butter beforehand by letting it sit at room temperature for 30-45 minutes before creaming.
- Gently press remaining dough over cherry filling to create a rustic, uneven top for a homemade texture.
- Consider using fresh cherries when in season for a more intense, vibrant flavor profile.
- Prep Time: 20 minutes
- Cook Time: 40 minutes
- Category: Desserts, Snacks
- Method: Baking
- Cuisine: American
Nutrition
- Serving Size: 12
- Calories: 344
- Sugar: 32 g
- Sodium: 162 mg
- Fat: 15 g
- Saturated Fat: 9 g
- Unsaturated Fat: 4 g
- Trans Fat: 0 g
- Carbohydrates: 49 g
- Fiber: 1 g
- Protein: 3 g
- Cholesterol: 69 mg
Lena Martinez
Contributing Writer & Culinary Educator
Expertise
Southwestern and Latin American cuisines, Vegetarian and plant-based recipe development, Culinary education and community outreach
Education
Santa Fe Community College, Santa Fe, NM
Certificate in Culinary Arts
Emphasized Southwestern cuisine and sustainable cooking practices
Lena grew up surrounded by the colors, spices, and traditions of the Southwest – flavors that sparked her love for bold, honest cooking. After earning her Culinary Arts certificate at Santa Fe Community College, she made it her mission to teach home cooks how to create flavorful, plant-powered meals without the fuss.
Her recipes are packed with vibrant ingredients, simple steps, and the kind of heart that turns a regular meal into something you’ll want to share. Outside the kitchen, Lena spends her time wandering farmers’ markets, trading family recipes, and helping young chefs find their voice through food.