Irresistible Chocolate Chip Cheesecake Bars Recipe for Sweet Bliss
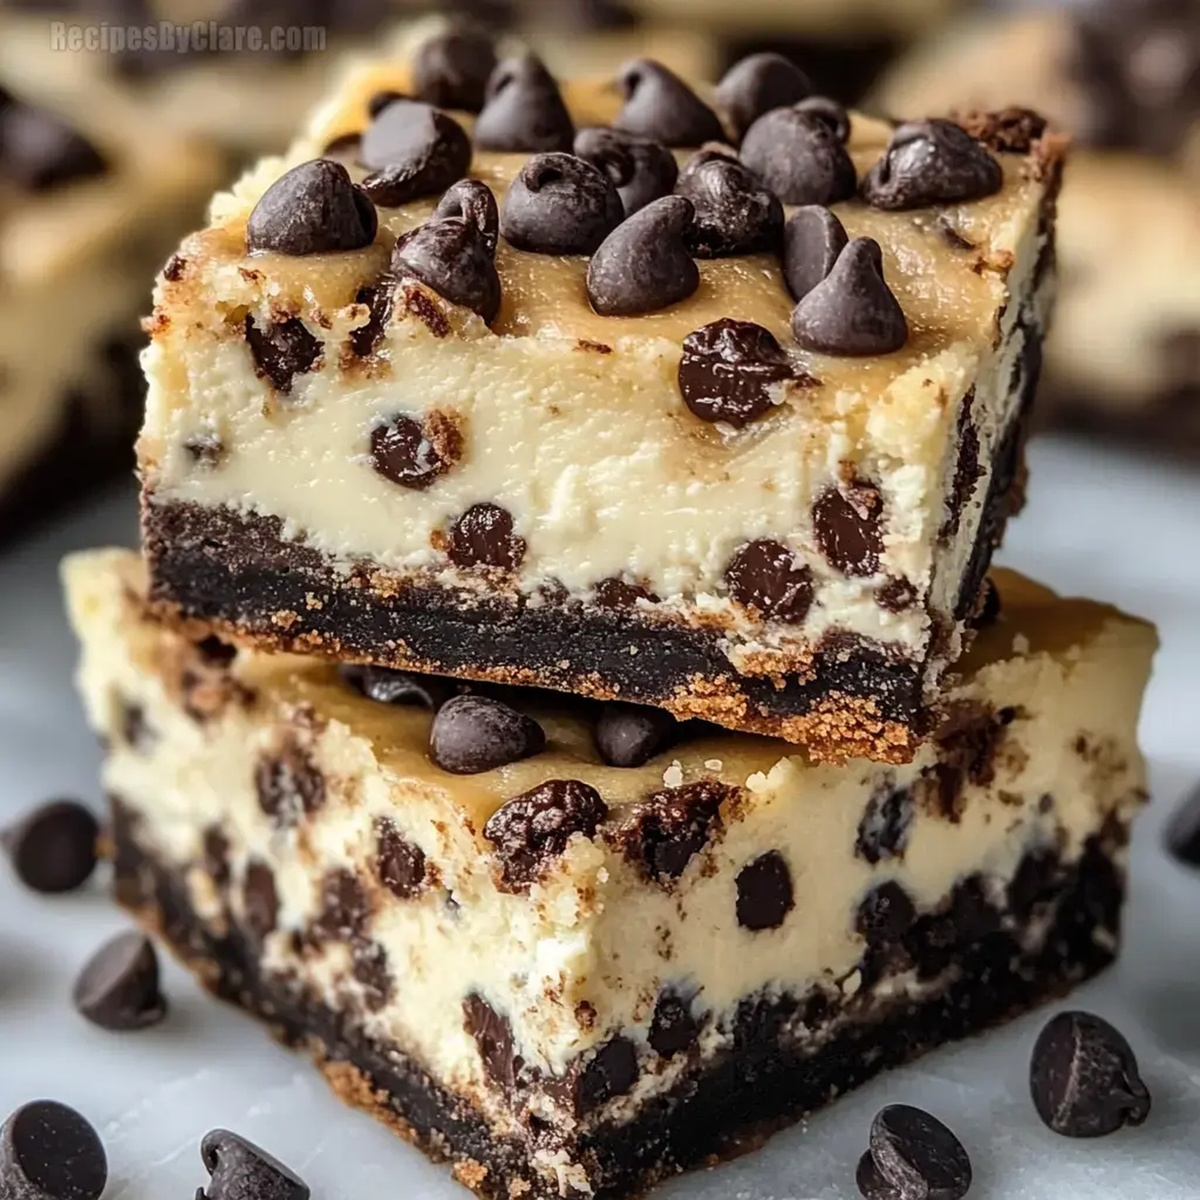
Sweet dreams come alive with these decadent chocolate chip cheesecake bars that blend creamy richness with classic cookie comfort.
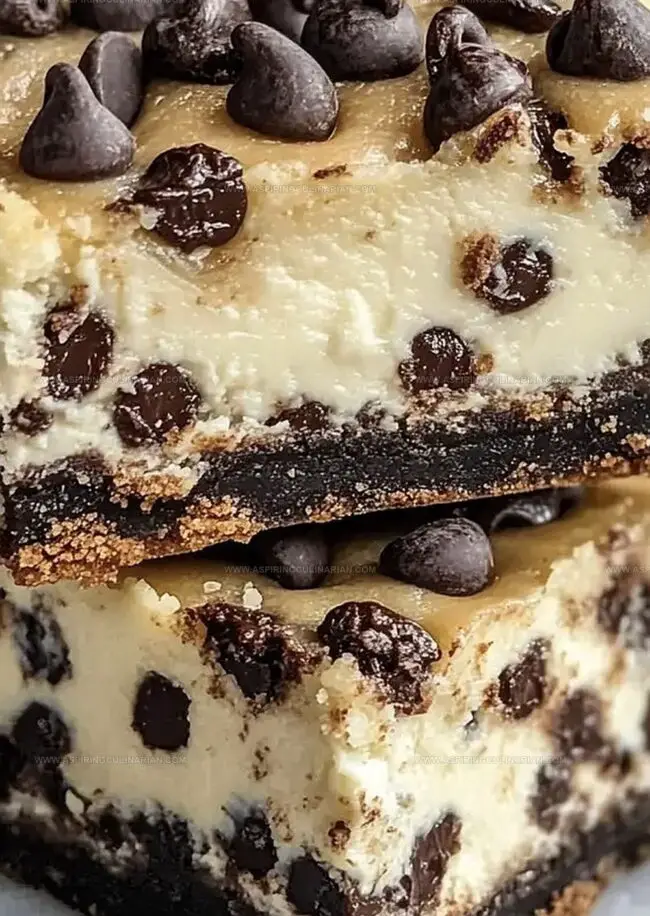
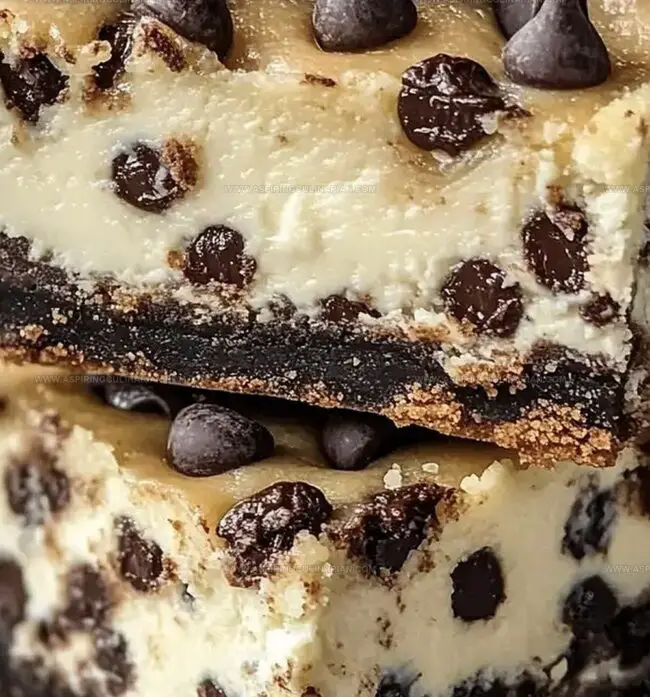
Layers of smooth cream cheese melt perfectly against chunks of dark chocolate.
Soft, buttery graham cracker crust provides a delightful crunch underneath the silky filling.
Each bite promises a luxurious experience that dances between tangy and sweet.
Baking these bars feels like crafting an edible masterpiece right in your kitchen.
Simple ingredients combine to create something magical that will make everyone ask for seconds.
You’ll want to savor every single delectable morsel of this irresistible dessert.
Chocolate Chip Cheesecake Bars Star Power
Cheesecake Bar Pantry Musts
Base Layer:Cheesecake Layer:Chocolate Components:Mix Up Cheesecake Bars
Step 1: Prepare Oven Temperature
Set your oven to 350°F (175°C) and ensure the rack is positioned in the center for even baking.
Step 2: Prepare Cookie Dough
Place the cookie dough in the freezer for 2-3 hours.
This will make slicing the dough much easier and more precise.
Step 3: Set Up Baking Pan
Take a 13×9 inch baking pan and line it completely with parchment paper or non-stick aluminum foil.
Ensure the paper extends slightly over the edges for easy removal later.
Step 4: Create Cookie Dough Crust
Carefully slice half of the frozen cookie dough into thin 1/4-inch slices.
Gently press these slices into the bottom of the prepared pan, creating an even layer.
Place the pan in the preheated oven and bake for 10 minutes until the crust is lightly golden.
Step 5: Whip Cheesecake Filling
In a large mixing bowl, combine:Beat the ingredients until the mixture is completely smooth and creamy.
Carefully spread the cheesecake mixture evenly over the pre-baked cookie dough crust.
Step 6: Add Remaining Cookie Dough Topping
Slice the remaining frozen cookie dough into thin pieces.
Artfully arrange these slices on top of the cheesecake layer, creating a rustic, uneven surface.
Step 7: Bake to Perfection
Return the pan to the oven and bake for 35-40 minutes.
Look for a golden top and a set (not jiggly) cheesecake layer as indicators of doneness.
Step 8: Cool and Chill
Allow the bars to cool completely at room temperature.
Once cooled, transfer to the refrigerator and chill for at least 2 hours before cutting into squares and serving.
Cheesecake Bar Tricks of the Trade
New Flavors for Cheesecake Bars
Serve Up Cheesecake Bars
Stash Your Cheesecake Bars
FAQs
Use room temperature cream cheese and beat it gently to prevent air bubbles. Don’t overmix the cheesecake layer and avoid overbaking.
Yes, you can substitute chocolate chip cookie dough with sugar cookie or peanut butter cookie dough for variety.
Freezing makes the dough firmer and easier to slice neatly, creating clean, even layers in your bars.
Look for a set, slightly golden top and edges that pull away from the pan sides. The center should be just slightly jiggly but not liquid.
Print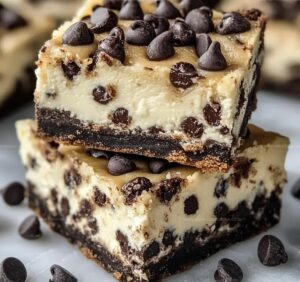
Chocolate Chip Cheesecake Bars Recipe
- Total Time: 3 hours
- Yield: 12 1x
Description
Delightful chocolate chip cheesecake bars blend creamy richness with sweet chocolate chips, creating a heavenly dessert that melts in your mouth. Rich layers of indulgence promise to satisfy your deepest dessert cravings with each delectable bite.
Ingredients
Main Ingredients:
- 40 ounces (1.13 kilograms) refrigerated chocolate chip cookie dough
- 16 ounces (454 grams) cream cheese
- 1 large egg
Sweeteners and Flavoring:
- 1/4 cup granulated sugar
- 1/2 teaspoon vanilla extract
- 1 teaspoon lemon juice (optional)
Instructions
- Preheat the oven to 350°F (175°C), ensuring precise temperature for optimal baking performance.
- Remove cookie dough from refrigerator and place in freezer for 2-3 hours to facilitate clean, uniform slicing.
- Prepare a 13×9-inch baking pan by carefully lining with parchment paper, allowing slight overhang for easy removal.
- Extract half of the frozen cookie dough and slice into uniform thin layers, gently pressing into the pan’s bottom to create an even crust.
- Bake the crust for 10 minutes until lightly golden, then remove and allow to cool slightly.
- Combine cream cheese, sugar, egg, vanilla extract, and optional lemon juice in a mixing bowl, blending until silky smooth and free of lumps.
- Spread the creamy cheesecake mixture evenly across the pre-baked cookie dough crust, ensuring complete coverage.
- Retrieve remaining frozen cookie dough and slice into delicate layers, arranging artfully over the cheesecake filling.
- Return pan to oven, baking for 35-40 minutes until cheesecake sets and top becomes golden brown with slight wobble in center.
- Remove from oven and let cool completely at room temperature for approximately 1 hour.
- Refrigerate for minimum 3 hours or overnight to achieve perfect texture and easy slicing.
Notes
- Chilling the cookie dough beforehand makes slicing and layering much smoother and prevents sticky mess.
- Use room temperature cream cheese to ensure a silky, lump-free cheesecake layer that blends perfectly.
- Try different chocolate chip cookie dough variations like adding nuts or using dark chocolate chips for unique flavor profiles.
- Line the pan with parchment paper overhanging on sides for easy removal and clean cutting of bars.
- Prep Time: 2 hours 15 minutes
- Cook Time: 45 minutes
- Category: Desserts, Snacks
- Method: Baking
- Cuisine: American
Nutrition
- Serving Size: 12
- Calories: 388 kcal
- Sugar: 27 g
- Sodium: 220 mg
- Fat: 24 g
- Saturated Fat: 13 g
- Unsaturated Fat: 9 g
- Trans Fat: 0.5 g
- Carbohydrates: 38 g
- Fiber: 1 g
- Protein: 6 g
- Cholesterol: 55 mg
Nathaniel Brooks
Founder & Recipe Developer
Expertise
Farm-to-table cuisine, Seasonal recipe development, Culinary storytelling
Education
Ivy Tech Community College – Indianapolis, IN
Culinary Arts / Hospitality Administration & Events
Focused on hands-on training in classical and modern culinary techniques.
Nathaniel’s story starts in the foothills of the Appalachian Mountains, where farm stands, backyard gardens, and old family recipes shaped his love for real food. After graduating from Ivy Tech Community College in Indianapolis, he spent years working in farm-to-table kitchens, learning how to turn local, seasonal ingredients into something memorable.
Today, Nathaniel pours that same spirit into every single recipe on Aspiring Culinarian – recipes that feel real, comforting, and connected to the land. When he’s not in the kitchen, you’ll find him foraging wild herbs, chasing sunsets with his camera, or writing about the flavors that shaped his roots.