
The Best Gooey Chocolate Chip Cookie Bars Recipe for Sweet Treats
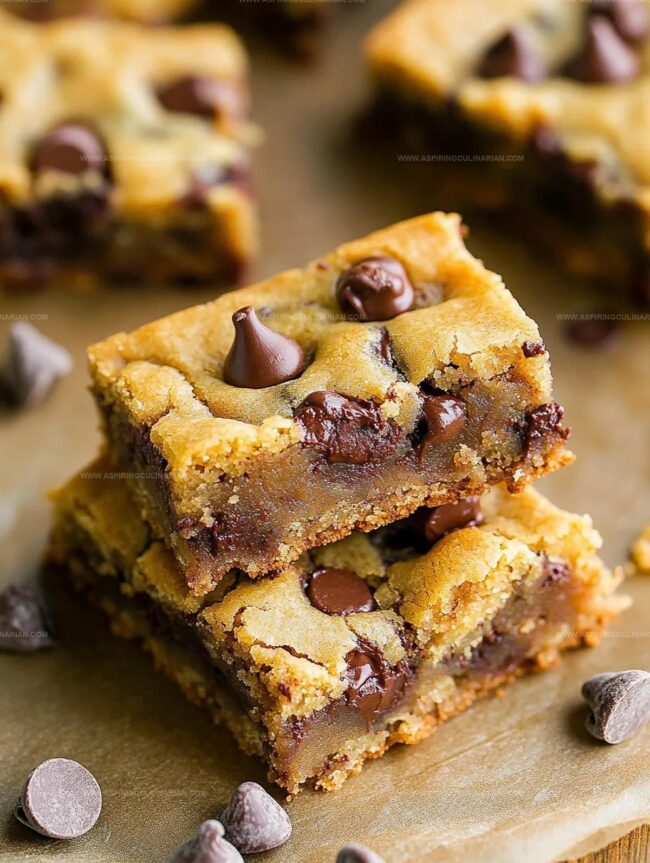
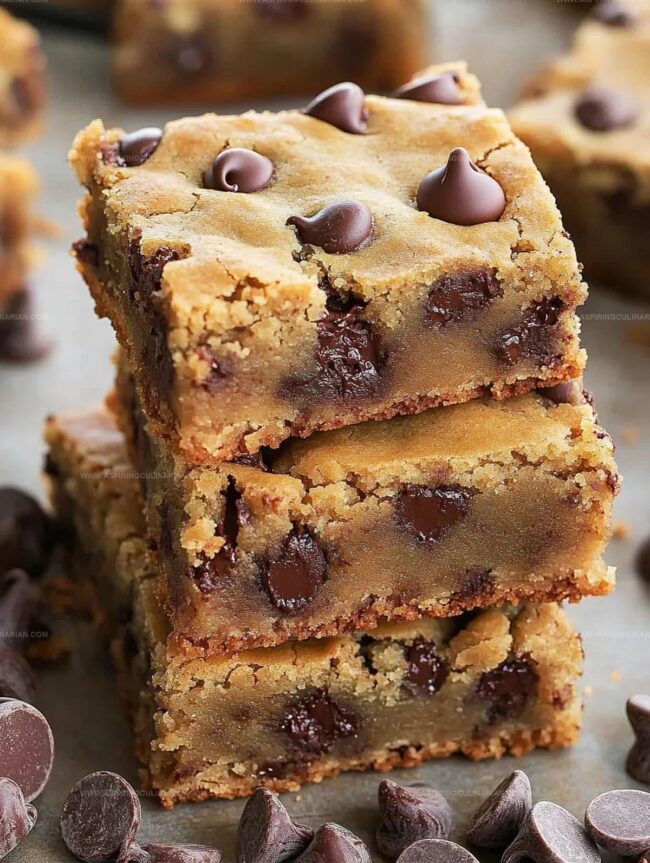
Soft, chewy chocolate chip cookie bars delight taste buds with their irresistible homemade charm.
Every baker knows these treats deliver pure comfort in a single bite.
The classic chocolate chip cookie bars bring warmth and nostalgia to any kitchen gathering.
Crisp edges and gooey centers create a perfect balance of textures that everyone craves.
Rich butter and chocolate merge into a simple yet decadent dessert that takes minutes to prepare.
No complicated techniques or fancy equipment stand between you and these delectable bars.
Bake a batch and watch smiles spread across hungry faces.
Chocolate Chip Cookie Bars: Batch Highlights
Ingredients for Cookie Bar Success
Base Ingredients:Wet Ingredients:Finishing Ingredients:Baking Instructions for Chewy Cookie Bars
Step 1: Fire Up the Oven and Prep the Pan
Crank the oven to a toasty 350°F.
Grab a 9×13 inch baking pan and create a smooth layer of foil or parchment paper, making sure to give it a quick spray of nonstick goodness.
Step 2: Whisk the Dry Teammates
Grab a mixing bowl and whirl together:Use a whisk to make sure everything is beautifully blended and free of lumps.
Step 3: Create the Wet Wonder
In another bowl, melt some butter and mix in:Crack in the eggs and splash of vanilla, then whisk until everything looks smooth and harmonious.
Step 4: Marry the Dry and Wet Ingredients
Slowly pour the dry mixture into the wet ingredients.
Stir gently with a wooden spoon or spatula.
Sprinkle in chocolate chips and fold them in, being careful not to overmix – we want tender bars, not tough cookies!
Step 5: Spread and Bake
Press the dough evenly into your prepared pan.
Slide it into the preheated oven and bake for about 23 minutes.
You’re looking for a light golden brown color that hints at deliciousness.
Step 6: Cool and Slice
Let the bars rest in the pan for 5 minutes.
Then, lift the entire creation out using the foil or parchment.
Allow to cool completely before slicing into 24 delectable squares.
Enjoy your homemade treat!
Tips for Extra Gooey Cookie Bars
Creative Cookie Bar Variations
Serving Ideas for Cookie Bars
Storage Tips for Cookie Bar Freshness
FAQs
These bars offer a convenient, quick alternative to individual cookies. You get all the delicious chocolate chip cookie flavor in an easy-to-make, sheet pan format that requires less effort and time.
Absolutely! You can swap chocolate chips for milk, dark, or semi-sweet chocolate. White chocolate chips or even chocolate chunks work great in this recipe for variety and personal preference.
The key is not overmixing the dough and not overbaking. Remove the bars from the oven when edges are light golden but center still looks slightly soft. They’ll continue cooking as they cool, resulting in a perfectly soft texture.
Print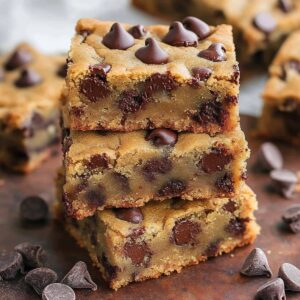
Chocolate Chip Cookie Bars Recipe
- Total Time: 43 minutes
- Yield: 16 1x
Description
Sweet chocolate chip cookie bars melt hearts with irresistible homemade goodness. Gooey chocolate and buttery dough create pure comfort, inviting friends and family to savor each delectable bite.
Ingredients
Main Ingredients:
- 2 1/4 cups (280 grams) all-purpose flour
- 2 cups (340 grams) mini chocolate chips
- 3/4 cup (170 grams) unsalted butter, melted
- 1 cup (220 grams) packed brown sugar
- 1/2 cup (100 grams) granulated sugar
Eggs and Flavoring:
- 1 egg
- 1 egg yolk
- 2 teaspoons vanilla extract
Dry Ingredients:
- 1/4 teaspoon salt
- 1/2 teaspoon baking soda
Instructions
- Prepare the baking vessel by lining a 9×13 inch pan with aluminum foil or parchment paper, ensuring complete coverage and lightly coating with non-stick cooking spray.
- In a medium mixing bowl, thoroughly combine flour, salt, and baking soda using a whisk to eliminate any potential lumps and create a uniform dry mixture.
- Melt butter and whisk it together with both sugars until smooth and well-integrated, then incorporate eggs and vanilla extract, mixing until the liquid ingredients form a cohesive blend.
- Gradually introduce the dry ingredient mixture into the wet ingredients, stirring gently to prevent overmixing, then carefully fold in chocolate chips, distributing them evenly throughout the dough.
- Transfer the cookie dough to the prepared pan, using clean hands or a spatula to spread it uniformly across the entire surface, ensuring an even thickness.
- Place the pan in a preheated oven at 350°F and bake for approximately 23 minutes, monitoring until the edges turn light golden brown and the center appears set.
- Remove from oven and allow to cool in the pan for 5 minutes, then carefully lift the entire cookie slab out using the foil or parchment edges.
- Let the cookie bars cool completely on a wire rack for about 30 minutes before slicing into 24 equal-sized bars for serving.
Notes
- Avoid overmixing the dough to prevent tough, dense bars that lose their soft, chewy texture.
- For gluten-free option, swap all-purpose flour with a 1:1 gluten-free baking blend to maintain the same delicious result.
- Try different chocolate chip varieties like dark, milk, or white chocolate to customize the flavor profile and keep things interesting.
- Allow bars to cool completely before cutting to ensure clean, neat edges and prevent crumbling during slicing.
- Prep Time: 20 minutes
- Cook Time: 23 minutes
- Category: Desserts, Snacks
- Method: Baking
- Cuisine: American
Nutrition
- Serving Size: 16
- Calories: 200
- Sugar: 15g
- Sodium: 75mg
- Fat: 10g
- Saturated Fat: 6g
- Unsaturated Fat: 4g
- Trans Fat: 0g
- Carbohydrates: 28g
- Fiber: 1g
- Protein: 2g
- Cholesterol: 30mg
Lena Martinez
Contributing Writer & Culinary Educator
Expertise
Southwestern and Latin American cuisines, Vegetarian and plant-based recipe development, Culinary education and community outreach
Education
Santa Fe Community College, Santa Fe, NM
Certificate in Culinary Arts
Emphasized Southwestern cuisine and sustainable cooking practices
Lena grew up surrounded by the colors, spices, and traditions of the Southwest – flavors that sparked her love for bold, honest cooking. After earning her Culinary Arts certificate at Santa Fe Community College, she made it her mission to teach home cooks how to create flavorful, plant-powered meals without the fuss.
Her recipes are packed with vibrant ingredients, simple steps, and the kind of heart that turns a regular meal into something you’ll want to share. Outside the kitchen, Lena spends her time wandering farmers’ markets, trading family recipes, and helping young chefs find their voice through food.