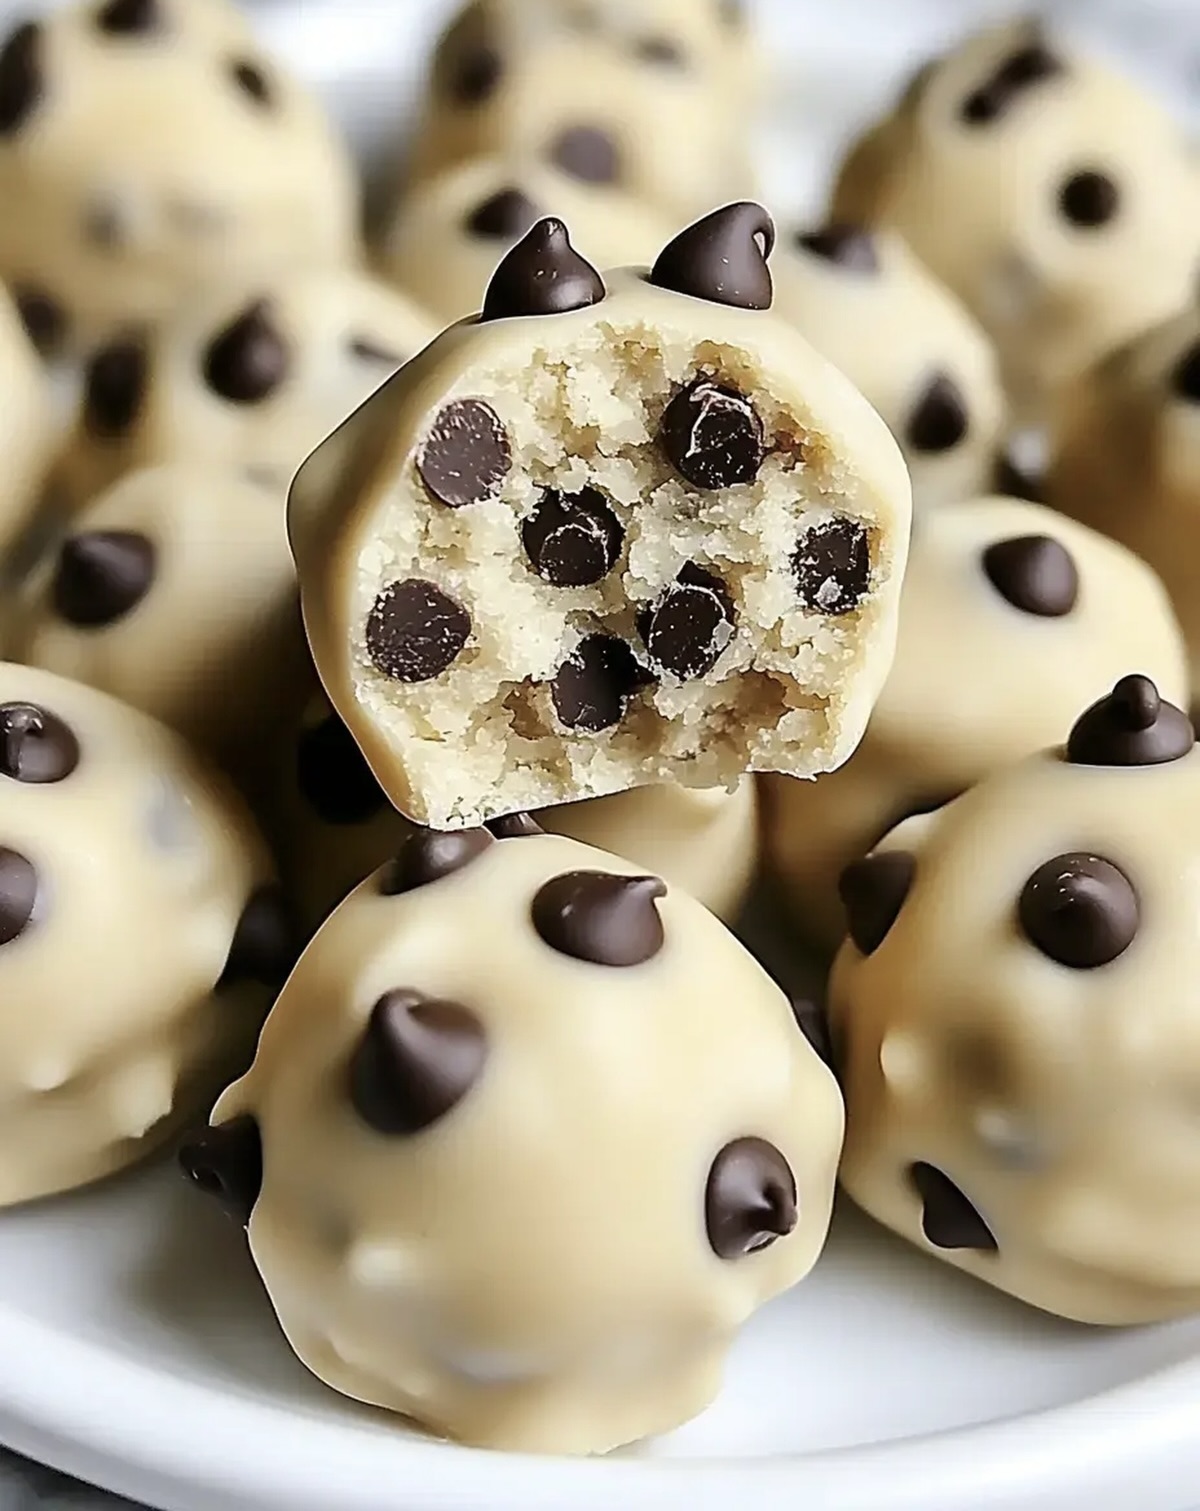
The Dreamiest Chocolate Chip Cookie Dough Truffles Recipe Ever
Creamy chocolate chip cookie dough becomes an irresistible sweet treat without raw egg risks.
Decadent morsels promise pure indulgence for dessert enthusiasts.
Small confections pack intense flavor in each delightful bite.
Nobody can resist these delectable chocolate-coated gems packed with nostalgic comfort.
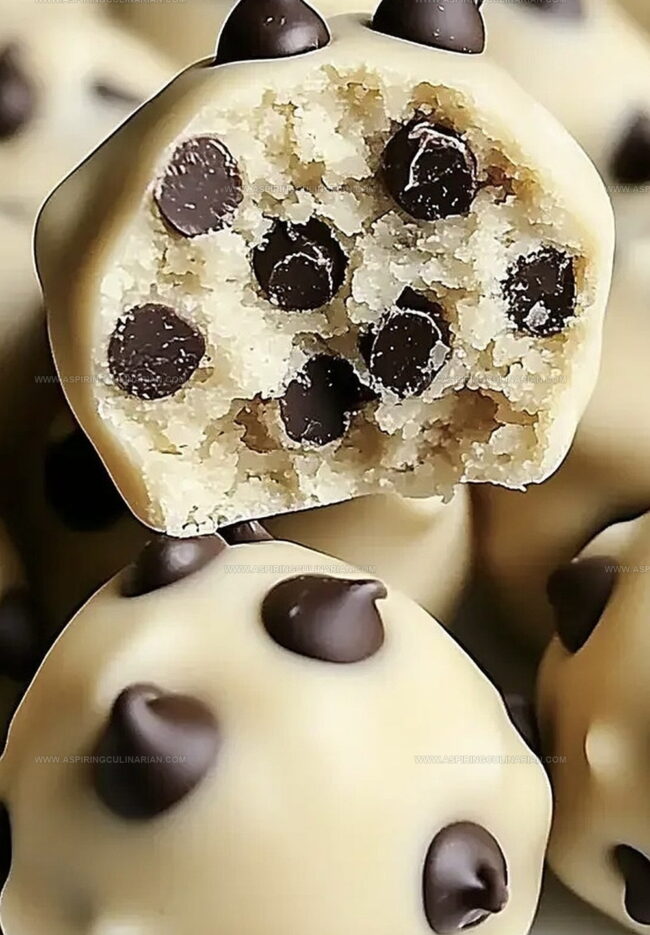
Smooth interior melts seamlessly against crisp chocolate shells.
Crafting these truffles requires minimal kitchen skills and maximum enjoyment.
You’ll find this recipe perfect for satisfying sudden sugar cravings.
Prepare to experience a magical twist on classic cookie memories.
Chocolate Chip Cookie Dough Truffles—A Bite-Sized Dessert
What You Need for Cookie Dough Truffle Making
Base Ingredients:Flour and Chocolate Ingredients:Coating and Decoration Ingredients:Rolling and Dipping Chocolate Chip Cookie Dough Truffles
Step 1: Blend Creamy Base
Grab a spacious mixing bowl and combine softened butter, granulated sugar, and brown sugar.
Whip these ingredients until they transform into a light, fluffy cloud-like mixture.
Pour in vanilla extract and milk, stirring until everything blends beautifully.
Step 2: Create Smooth Dough
Gradually fold flour into the creamy mixture, mixing until a silky-smooth dough emerges.
Gently sprinkle mini chocolate chips throughout the dough, distributing them evenly.
Step 3: Shape Delightful Balls
Use a cookie scoop or tablespoon to roll the dough into adorable bite-sized spheres.
Arrange these delectable balls on a parchment-lined baking sheet.
Pop them into the freezer for a quick 30-minute chill.
Step 4: Melt Chocolate Coating
Select a microwave-safe bowl and combine white chocolate chips with vegetable oil.
Zap in short 30-second bursts, stirring between each interval until the mixture becomes perfectly smooth and glossy.
Step 5: Dunk Truffles
Remove chilled dough balls from the freezer.
Using a fork or toothpick, carefully dip each ball into the melted white chocolate.
Ensure complete coverage, allowing excess chocolate to drip off.
Step 6: Add Decorative Touches
Before the chocolate coating hardens, sprinkle additional mini chocolate chips on top of each truffle.
This adds a delightful crunch and extra chocolate burst.
Step 7: Let Truffles Set
Allow truffles to firm up at room temperature or accelerate the process by placing them in the refrigerator.
Wait until the chocolate coating becomes completely solid and glossy.
Helpful Hints for Creamy, Rich Cookie Dough Centers
Fun Flavor Variations for Cookie Dough Truffles
Ways to Present Cookie Dough Truffles for Gifts
Storage Solutions for Cookie Dough Truffles
FAQs
Yes, you can use milk, dark, or semi-sweet chocolate instead of white chocolate. Just ensure you melt it slowly and add a bit of oil for smooth coating.
These truffles use heat-treated flour and no eggs, making them safe to consume. Always use pasteurized ingredients to prevent foodborne illnesses.
Store them in an airtight container in the refrigerator for up to one week. For best texture, let them sit at room temperature for a few minutes before serving.
Absolutely! Freeze them in a single layer on a baking sheet, then transfer to a freezer bag. They’ll keep well for up to 3 months.
Print
Chocolate Chip Cookie Dough Truffles Recipe
- Total Time: 45 minutes
- Yield: 12 1x
Description
Indulgent chocolate chip cookie dough truffles blend nostalgia with pure delight, offering a playful twist on classic desserts. Creamy, eggless dough enrobed in rich chocolate creates an irresistible treat that you’ll savor with pure bliss.
Ingredients
Main Ingredients:
- 1 1/4 cups all-purpose flour
- 1/2 cup unsalted butter, softened
- 1/2 cup brown sugar
- 1/4 cup granulated sugar
- 1/2 cup mini chocolate chips
Binding and Liquid Ingredients:
- 1 tablespoon vanilla extract
- 2 tablespoons milk
Coating and Decoration:
- 2 cups white chocolate chips
- 1 tablespoon vegetable oil
- Additional mini chocolate chips (for decoration)
Instructions
- In a spacious mixing vessel, whip softened butter with granulated and brown sugars until airy and pale. Incorporate vanilla and milk, blending thoroughly until harmonious.
- Gradually fold flour into the mixture, creating a uniform dough. Gently fold mini chocolate chips throughout the mixture, distributing evenly.
- Utilize a small cookie scoop to craft uniform spherical portions. Arrange meticulously on parchment-lined tray, then transfer to freezer for precise 30-minute chilling.
- Prepare white chocolate coating by microwaving chips with vegetable oil. Heat in 30-second intervals, stirring between each cycle until achieving silky smooth consistency.
- Remove chilled dough balls. Carefully immerse each sphere into melted white chocolate, ensuring complete coverage using a fork or toothpick. Delicately return coated truffles to parchment surface.
- While chocolate coating remains liquid, sprinkle additional mini chocolate chips atop each truffle, creating decorative texture.
- Allow truffles to solidify at ambient temperature or expedite setting process by refrigerating until firm and glossy.
Notes
- Chill dough thoroughly before shaping to prevent sticky hands and ensure neat, uniform truffles.
- Use room temperature ingredients for smoother, easier mixing and better dough consistency.
- Try different chocolate coatings like dark or milk chocolate for varied flavor profiles.
- Store truffles in an airtight container in the refrigerator for up to a week, maintaining their delightful texture and taste.
- Prep Time: 45 minutes
- Cook Time: 0 minutes
- Category: Desserts, Snacks
- Method: Chilling
- Cuisine: American
Nutrition
- Serving Size: 12
- Calories: 229
- Sugar: 19 g
- Sodium: 53 mg
- Fat: 14 g
- Saturated Fat: 8 g
- Unsaturated Fat: 5 g
- Trans Fat: 0.1 g
- Carbohydrates: 26 g
- Fiber: 1 g
- Protein: 2 g
- Cholesterol: 22 mg


Nathaniel Brooks
Founder & Recipe Developer
Expertise
Farm-to-table cuisine, Seasonal recipe development, Culinary storytelling
Education
Ivy Tech Community College – Indianapolis, IN
Culinary Arts / Hospitality Administration & Events
Focused on hands-on training in classical and modern culinary techniques.
Nathaniel’s story starts in the foothills of the Appalachian Mountains, where farm stands, backyard gardens, and old family recipes shaped his love for real food. After graduating from Ivy Tech Community College in Indianapolis, he spent years working in farm-to-table kitchens, learning how to turn local, seasonal ingredients into something memorable.
Today, Nathaniel pours that same spirit into every single recipe on Aspiring Culinarian – recipes that feel real, comforting, and connected to the land. When he’s not in the kitchen, you’ll find him foraging wild herbs, chasing sunsets with his camera, or writing about the flavors that shaped his roots.