The Perfect Chocolate Chip Cookies Recipe for Sweet Treats
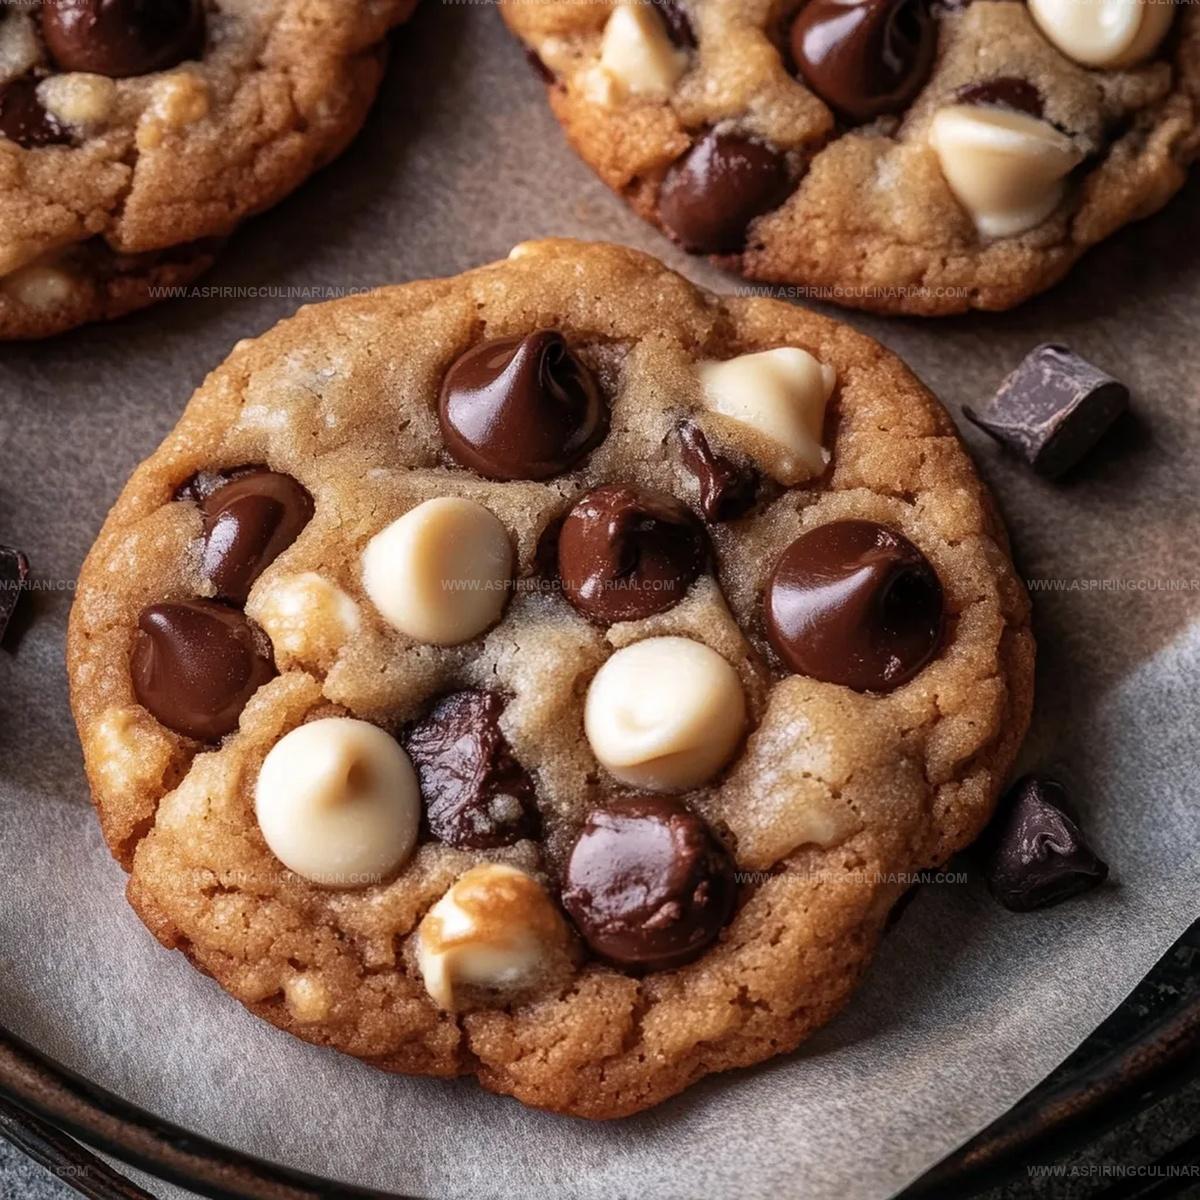
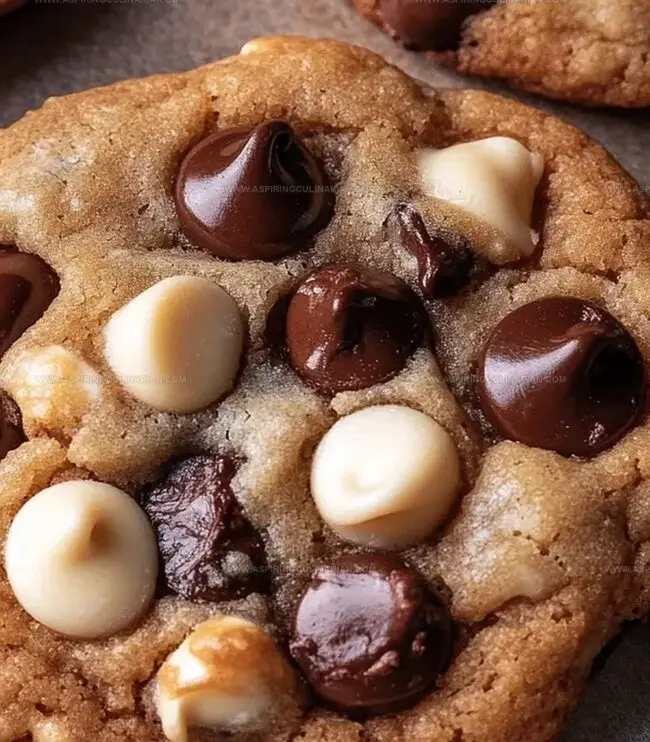
Sweet, golden-brown chocolate chip cookies have a way of brightening any kitchen with their irresistible aroma.
Bakers everywhere adore this classic chocolate chip cookies recipe that promises pure comfort in every bite.
Crisp edges and soft centers create the perfect texture that melts in your mouth.
Each carefully measured ingredient plays a crucial role in crafting these delectable treats.
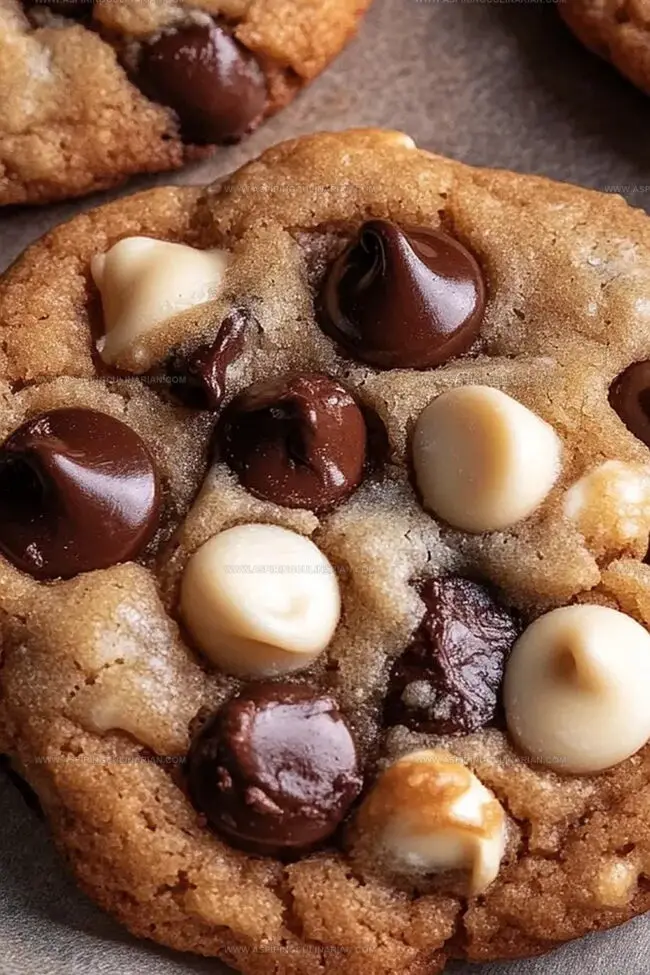
Butter, sugar, and high-quality chocolate combine to create a symphony of flavors that dance on your palate.
The simple process ensures even novice bakers can achieve bakery-worthy results.
Warm, freshly baked cookies await you, a delightful reward that turns an ordinary moment into something extraordinary.
Chocolate Chip Cookies: Batch Highlights
Ingredients for Classic Chocolate Chip Cookies
Main Ingredients:Dry Ingredients:Flavor Enhancers:Baking Instructions for Cookie Perfection
Step 1: Melt Butter Beautifully
Place butter cubes in a heavy-bottomed saucepan.
Carefully heat over medium flame, stirring constantly until the butter transforms into a golden-brown liquid with a nutty aroma.
Watch for gentle foaming and a rich caramel color.
Immediately transfer the browned butter to a heat-safe bowl to prevent burning.
Allow it to cool to room temperature while preparing other ingredients.
Step 2: Prepare Baking Workspace
Warm up the oven to a toasty 350°F.
Grab a sifter and combine all dry ingredients, creating a light and airy mixture that will ensure smooth cookie texture.
Make sure your baking sheets are ready with parchment paper or a silicone baking mat.
Step 3: Create Cookie Dough Magic
Whisk the cooled brown butter with granulated and brown sugars until they become a smooth, creamy mixture.
Crack in the egg and splash of vanilla, blending thoroughly.
Gently fold in the sifted dry ingredients, being careful not to overmix.
Tenderly incorporate chocolate chips throughout the dough.
Ingredients for mixing:Step 4: Shape Cookie Delights
Scoop out quarter-cup portions of dough onto prepared baking sheets.
Space the dough balls generously to allow spreading.
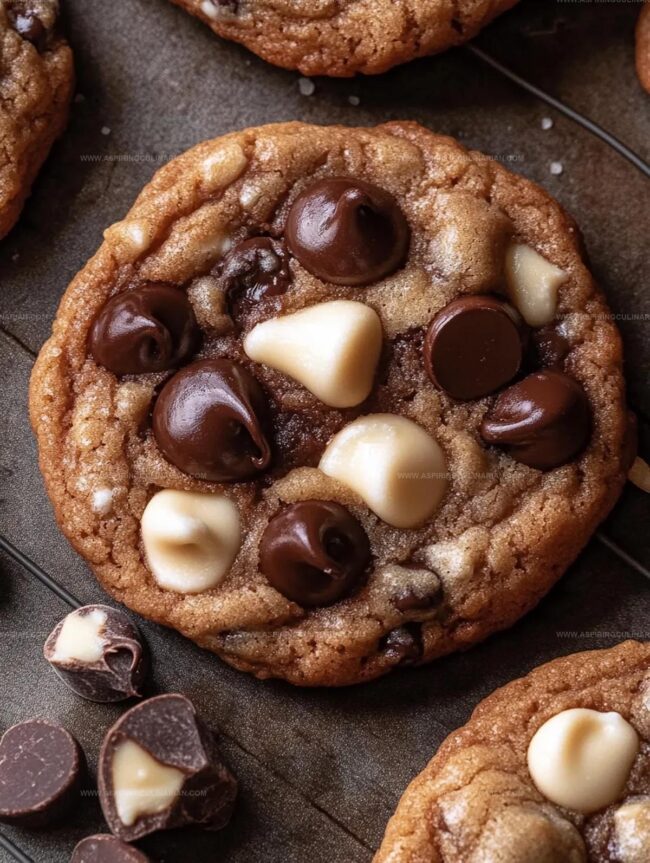
Sprinkle additional chocolate chips on top of each cookie mound for extra chocolatey goodness.
Step 5: Bake to Perfection
Slide the first batch into the preheated oven.
Bake six cookies at a time for approximately 10 minutes.
Look for golden-brown edges and a slightly soft center.
The cookies will continue to set as they cool.
Use a round cookie cutter to create perfect circular shapes if desired.
Step 6: Final Chocolate Touch
While the cookies are still warm, dot the surface with remaining chocolate chips.
This allows the chips to slightly melt and create beautiful chocolate swirls.
Let the cookies cool until just warm before serving to capture the ultimate texture and flavor.
Cookie Tips for Soft, Chewy Results
Chocolate Chip Cookie Variations to Try
Serving Chocolate Chip Cookies with a Twist
How to Store Cookies
FAQs
Browning butter adds a rich, nutty flavor and deeper caramel notes that enhance the overall taste of the cookies, creating more complexity and depth compared to regular melted butter.
While you can, browning butter develops a more intense, toasty flavor that significantly improves the cookie’s taste profile and creates a more sophisticated result.
Look for a golden amber color with small brown specks at the bottom of the pan. It should smell nutty and have a rich, caramel-like aroma, which indicates it’s perfectly browned.
Print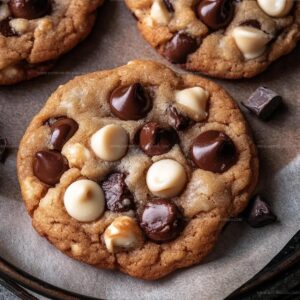
Chocolate Chip Cookies Recipe
- Total Time: 35 minutes
- Yield: 24 1x
Description
Sweet, gooey chocolate chip cookies blend classic comfort with irresistible charm. Homemade goodness fills kitchens with warmth, inviting you to savor each delightful, crisp-edged morsel.
Ingredients
Base Ingredients:
- 1/2 cup (113 grams) unsalted European style brown butter (Danish Creamery recommended)
- 1/2 cup + 2 tablespoons (125 grams) packed brown sugar
- 2 tablespoons (25 grams) granulated sugar
- 1 large egg, room temperature
- 1/2 teaspoon vanilla extract
Dry Ingredients:
- 1 1/3 cups (167 grams) all-purpose flour, spooned and leveled
- 1/2 teaspoon baking soda
- 1/4 teaspoon salt
Mix-ins and Toppings:
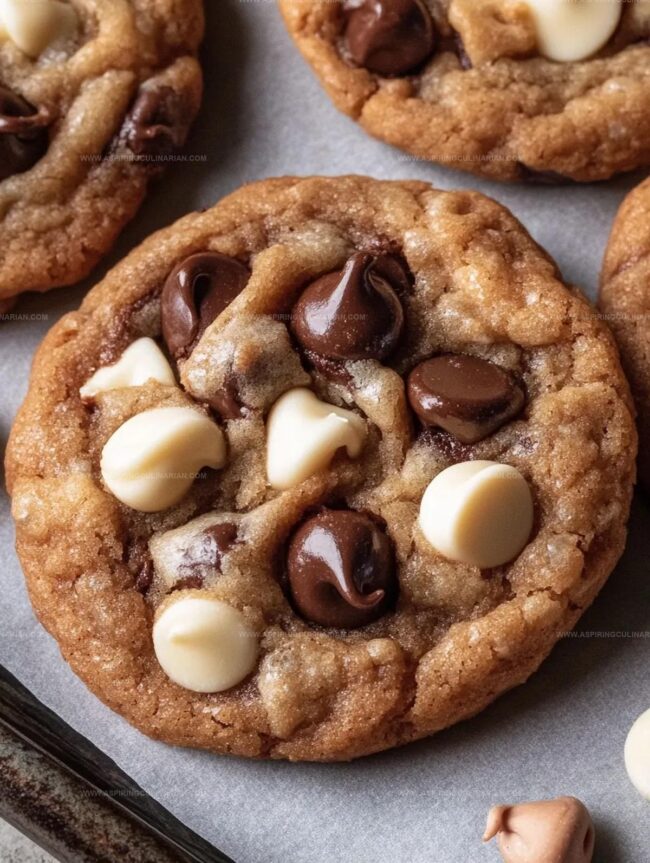
- 1/3 cup (57 grams) white chocolate chips
- 1/3 cup (57 grams) semisweet chocolate chips
- 1/3 cup (57 grams) milk chocolate chips
- Sea salt flakes for topping (optional)
Instructions
- Transform butter into a rich, nutty essence by carefully cubing and heating in a heavy saucepan over medium flame. Stir continuously until the butter turns golden brown and develops a foamy texture. Carefully transfer the aromatic brown butter to a heat-resistant bowl for cooling.
- Activate the oven to 350°F, creating the perfect baking environment. Simultaneously, sift the dry ingredients to ensure a smooth, lump-free texture while the brown butter reaches room temperature.
- Blend the cooled brown butter with sugars using vigorous whisking until thoroughly integrated. Introduce egg and vanilla, whisking with precision to create a harmonious mixture. Gently fold in dry ingredients, mixing just until combined, then delicately incorporate chocolate chips.
- Portion the dough into precise 1/4 cup spheres, strategically placing them on the baking sheet with ample spacing. Embellish the top of each cookie with additional semisweet chocolate chips, reserving milk and white chocolate for the final touch.
- Orchestrate the baking process by placing 6 cookies at a time in the preheated oven. Bake for 10 minutes, achieving a golden-brown base and a slightly set top. For a perfect circular shape, use a cookie cutter to refine edges while still warm.
- Elevate the cookies’ appearance by sprinkling the remaining chocolate varieties while the cookies retain their warmth. Allow the cookies to cool to a delightful tepid temperature before indulging in their rich, chocolatey goodness.
Notes
- Browning butter adds a nutty, caramel-like depth that transforms ordinary chocolate chip cookies into extraordinary treats.
- Using a heavy-bottomed saucepan prevents burning and ensures even browning when melting butter.
- Cool browned butter completely to prevent accidentally cooking the eggs when mixing the dough.
- For consistent cookies, use a cookie scoop or weigh dough balls to ensure uniform size and even baking.
- Chilling the dough for 30 minutes before baking helps prevent excessive spreading and creates a chewier texture.
- Try different chocolate chip varieties like dark, milk, or a mix for complex flavor profiles.
- For gluten-free options, substitute all-purpose flour with a 1:1 gluten-free baking blend.
- Store cookies in an airtight container at room temperature for up to 5 days to maintain softness.
- Prep Time: 25 minutes
- Cook Time: 10 minutes
- Category: Desserts, Snacks
- Method: Baking
- Cuisine: American
Nutrition
- Serving Size: 24
- Calories: 150
- Sugar: 10 g
- Sodium: 100 mg
- Fat: 7 g
- Saturated Fat: 4 g
- Unsaturated Fat: 2 g
- Trans Fat: 0 g
- Carbohydrates: 20 g
- Fiber: 1 g
- Protein: 2 g
- Cholesterol: 15 mg
Lena Martinez
Contributing Writer & Culinary Educator
Expertise
Southwestern and Latin American cuisines, Vegetarian and plant-based recipe development, Culinary education and community outreach
Education
Santa Fe Community College, Santa Fe, NM
Certificate in Culinary Arts
Emphasized Southwestern cuisine and sustainable cooking practices
Lena grew up surrounded by the colors, spices, and traditions of the Southwest – flavors that sparked her love for bold, honest cooking. After earning her Culinary Arts certificate at Santa Fe Community College, she made it her mission to teach home cooks how to create flavorful, plant-powered meals without the fuss.
Her recipes are packed with vibrant ingredients, simple steps, and the kind of heart that turns a regular meal into something you’ll want to share. Outside the kitchen, Lena spends her time wandering farmers’ markets, trading family recipes, and helping young chefs find their voice through food.