Magical Chocolate Crinkle Cookies Recipe: Soft Powdery Wonders
Chocolate lovers unite over these decadent chocolate crinkle cookies that promise pure bliss with every bite.
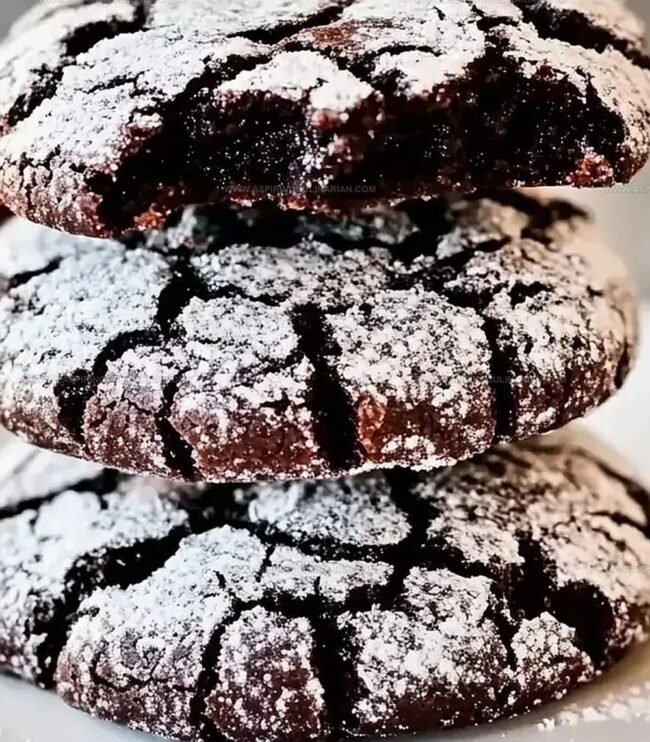
Dark, rich cocoa powder creates a luxurious base for these irresistible treats.
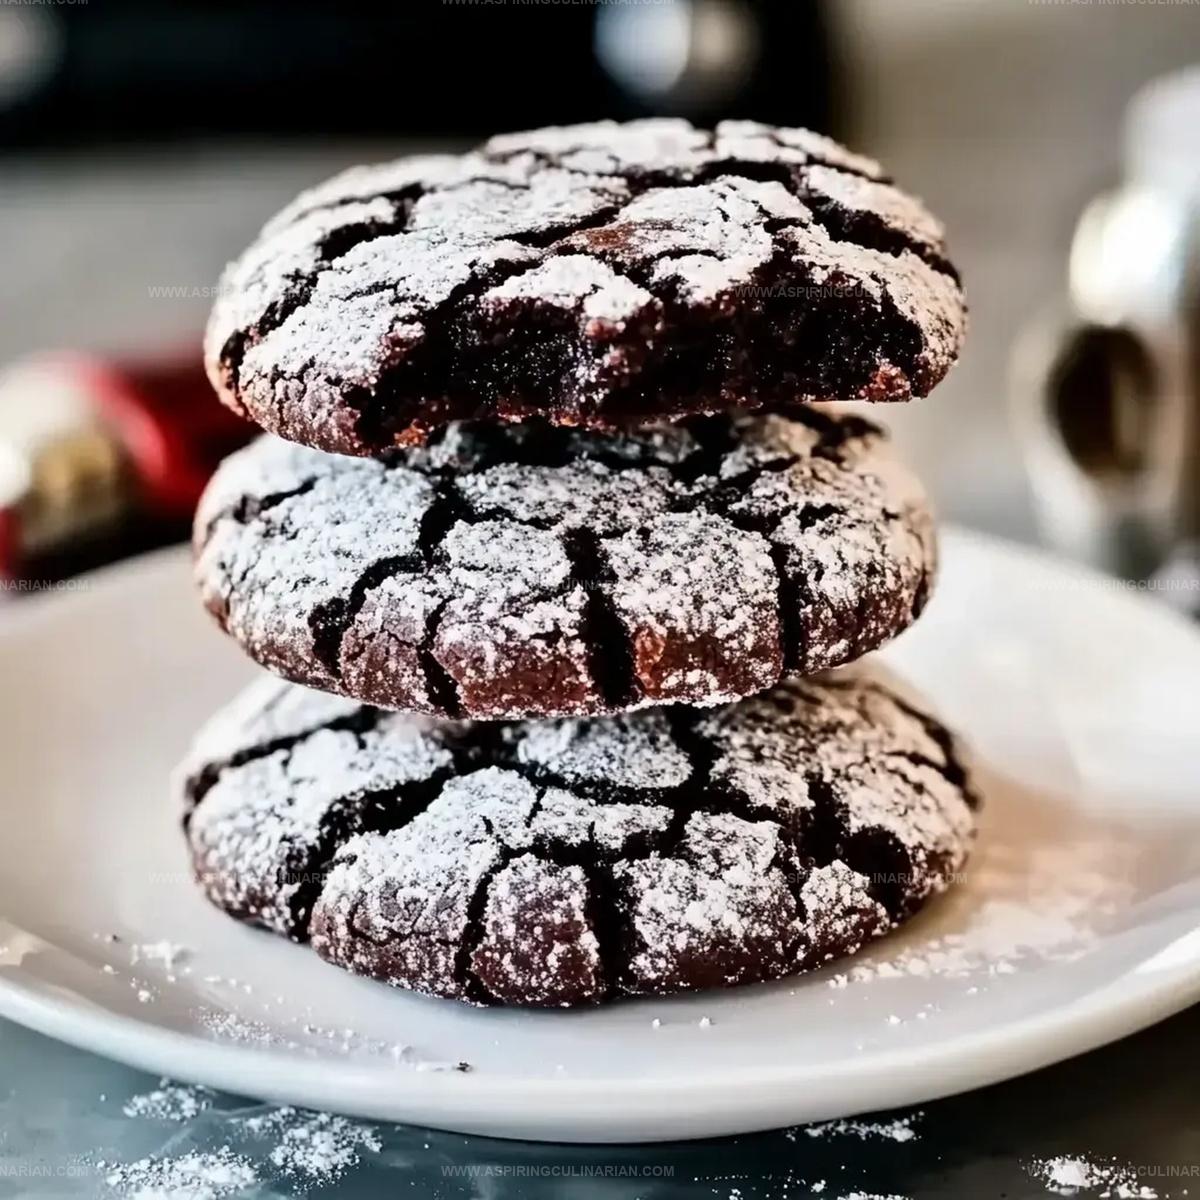
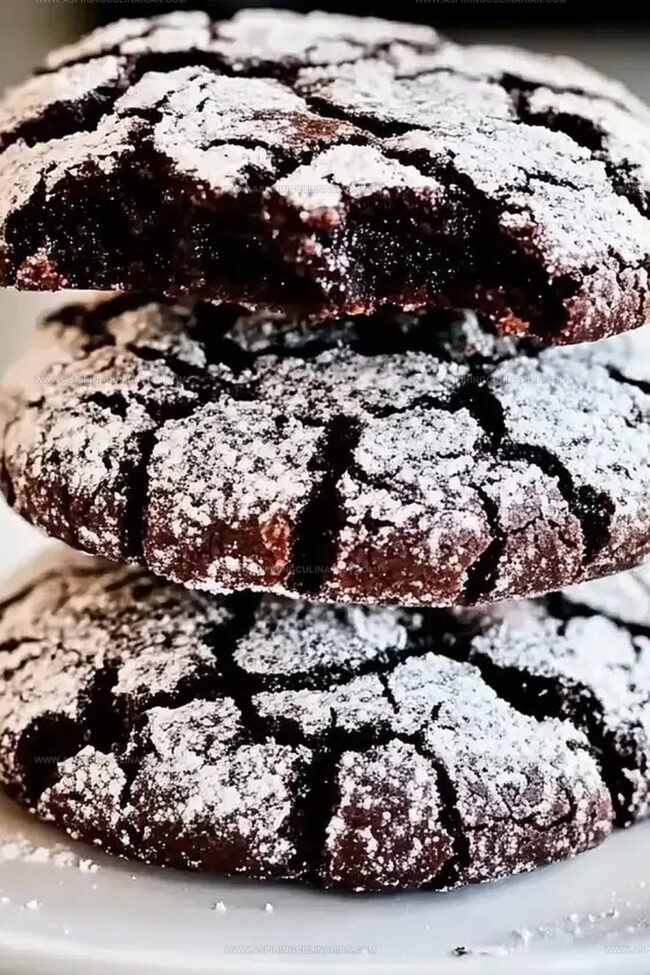
Powdered sugar coats each cookie, creating a beautiful crackled exterior that looks as stunning as it tastes.
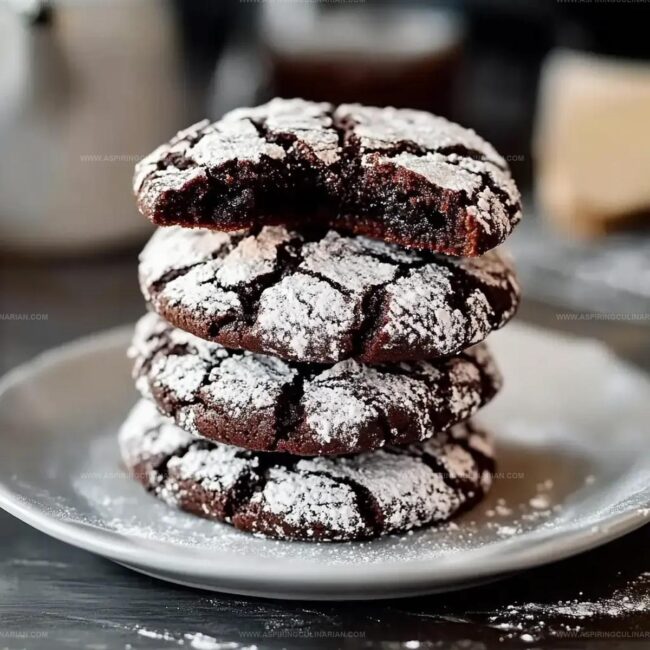
The soft, fudgy centers melt in your mouth, delivering an intense chocolate experience.
Rolling the dough in granulated sugar before dusting with powdered sugar ensures a perfect crinkled finish.
These cookies transform an ordinary afternoon into a delightful chocolate celebration.
One taste will have you falling head over heels for this classic holiday favorite.
Classic Holiday Treats: Timeless Reasons to Love
What’s in Classic Holiday Treats
Core Ingredients:Wet Ingredients:Leavening and Seasoning:Finishing Ingredient:Baking Instructions for Holiday Treats
Step 1: Preheat the Oven
Turn your oven to 350°F and line a baking sheet with a silicone mat or parchment paper for easy cleanup.
Step 2: Prepare Dry Ingredients
Grab a small bowl and whisk together:Step 3: Create Chocolate Base
In a medium bowl, blend:Beat in eggs one at a time, then stir in vanilla extract until smooth and glossy.
Step 4: Merge Ingredients
Gradually fold the dry ingredient mixture into the chocolate mixture.
Stir gently until everything is perfectly combined and no flour streaks remain.
Step 5: Chill the Dough
Cover the bowl and slide it into the refrigerator.
Let the dough rest and firm up for 30-45 minutes.
Step 6: Form Cookie Balls
Roll the chilled dough into small balls about the size of a golf ball.
Generously roll each ball in powdered sugar until completely coated.
Step 7: Bake Cookies
Place the sugar-coated dough balls on the prepared baking sheet, spacing them 2-2½ inches apart.
Bake for 10-11 minutes until edges are set.
Step 8: Cool and Serve
Allow cookies to rest on the baking sheet for 2 minutes, then transfer to a wire cooling rack.
The cookies will develop their signature crackled look as they cool.
Classic Treats – Expert Baking Tips
Recipe Swaps for Holiday Treats
Serving Classic Treats During the Holidays
Holiday Treats – How to Keep Them Fresh
FAQs
No, they’re super simple! With basic ingredients and straightforward steps, even beginner bakers can successfully create these delicious holiday treats.
Chilling helps prevent spreading and makes the dough easier to handle, ensuring perfectly shaped cookies with a nice crackly exterior.
Stick to the recipe’s suggested sugars for best results. Brown and white sugar provide the right moisture and sweetness balance that makes these cookies special.
Look for slightly cracked tops and set edges. They might seem soft, but they’ll firm up while cooling, creating that classic fudgy texture.
Print
Chocolate Crinkle Cookies Recipe
- Total Time: 1 hour 1 minute
- Yield: 24 1x
Description
Delightful chocolate crinkle cookies dance with rich cocoa and powdered sugar elegance, promising a festive winter treat. Crisp exterior and fudgy interior make these classic cookies irresistible companions for holiday gatherings and cozy moments with loved ones.
Ingredients
Dry Ingredients:
- 2 1/4 cups (280 grams) all-purpose flour
- 1 cup (100 grams) unsweetened Dutch-processed cocoa powder
- 2 1/2 teaspoons (12.5 grams) baking powder
- 1/2 teaspoon (3 grams) kosher salt
Sugars:
- 1 1/4 cups (250 grams) granulated sugar
- 1/2 cup (100 grams) brown sugar
- 2/3 cup (80 grams) powdered sugar (for rolling)
Wet Ingredients:
- 1/2 cup (120 milliliters) vegetable or canola oil
- 4 large eggs
- 1 teaspoon (5 milliliters) vanilla extract
Instructions
- Preheat the oven to 350°F and prepare a baking sheet with a silicone mat or parchment paper.
- In a separate bowl, whisk together the dry ingredients, ensuring even distribution of flour, baking powder, and salt.
- Create a chocolate base by blending cocoa, sugars, and oil in a medium mixing bowl, then incorporate eggs individually, followed by vanilla extract.
- Gradually fold the dry ingredient mixture into the chocolate mixture, stirring until a uniform dough forms.
- Refrigerate the dough for 30-45 minutes to enhance flavor and improve texture.
- Form rounded dough balls approximately 1 1/4 inches in diameter, generously coating each with powdered sugar for a crackled exterior.
- Arrange cookie dough balls on the prepared baking sheet, spacing them 2-2 1/2 inches apart to allow proper spreading during baking.
- Bake for 10-11 minutes, maintaining the 350°F temperature until edges are set and centers appear slightly soft.
- Allow cookies to rest on the baking sheet for 2 minutes before transferring to cooling racks to complete the cooling process.
Notes
- Chill dough thoroughly to prevent spreading and ensure thick, chewy cookies with crisp edges.
- Generously coat dough balls in powdered sugar for a beautiful crackled exterior and sweet, delicate finish.
- Use room temperature eggs for smoother batter integration and more consistent cookie texture.
- Try alternative flours like almond or gluten-free blends for dietary restrictions without compromising rich chocolate flavor.
- Prep Time: 50 minutes
- Cook Time: 11 minutes
- Category: Desserts, Snacks
- Method: Baking
- Cuisine: American
Nutrition
- Serving Size: 24
- Calories: 210
- Sugar: 11 g
- Sodium: 50 mg
- Fat: 10 g
- Saturated Fat: 1.5 g
- Unsaturated Fat: 8 g
- Trans Fat: 0 g
- Carbohydrates: 30 g
- Fiber: 1 g
- Protein: 3 g
- Cholesterol: 40 mg
Nathaniel Brooks
Founder & Recipe Developer
Expertise
Farm-to-table cuisine, Seasonal recipe development, Culinary storytelling
Education
Ivy Tech Community College – Indianapolis, IN
Culinary Arts / Hospitality Administration & Events
Focused on hands-on training in classical and modern culinary techniques.
Nathaniel’s story starts in the foothills of the Appalachian Mountains, where farm stands, backyard gardens, and old family recipes shaped his love for real food. After graduating from Ivy Tech Community College in Indianapolis, he spent years working in farm-to-table kitchens, learning how to turn local, seasonal ingredients into something memorable.
Today, Nathaniel pours that same spirit into every single recipe on Aspiring Culinarian – recipes that feel real, comforting, and connected to the land. When he’s not in the kitchen, you’ll find him foraging wild herbs, chasing sunsets with his camera, or writing about the flavors that shaped his roots.