The Ultimate Chocolate Granola Cups with Peanut Butter Filling Recipe
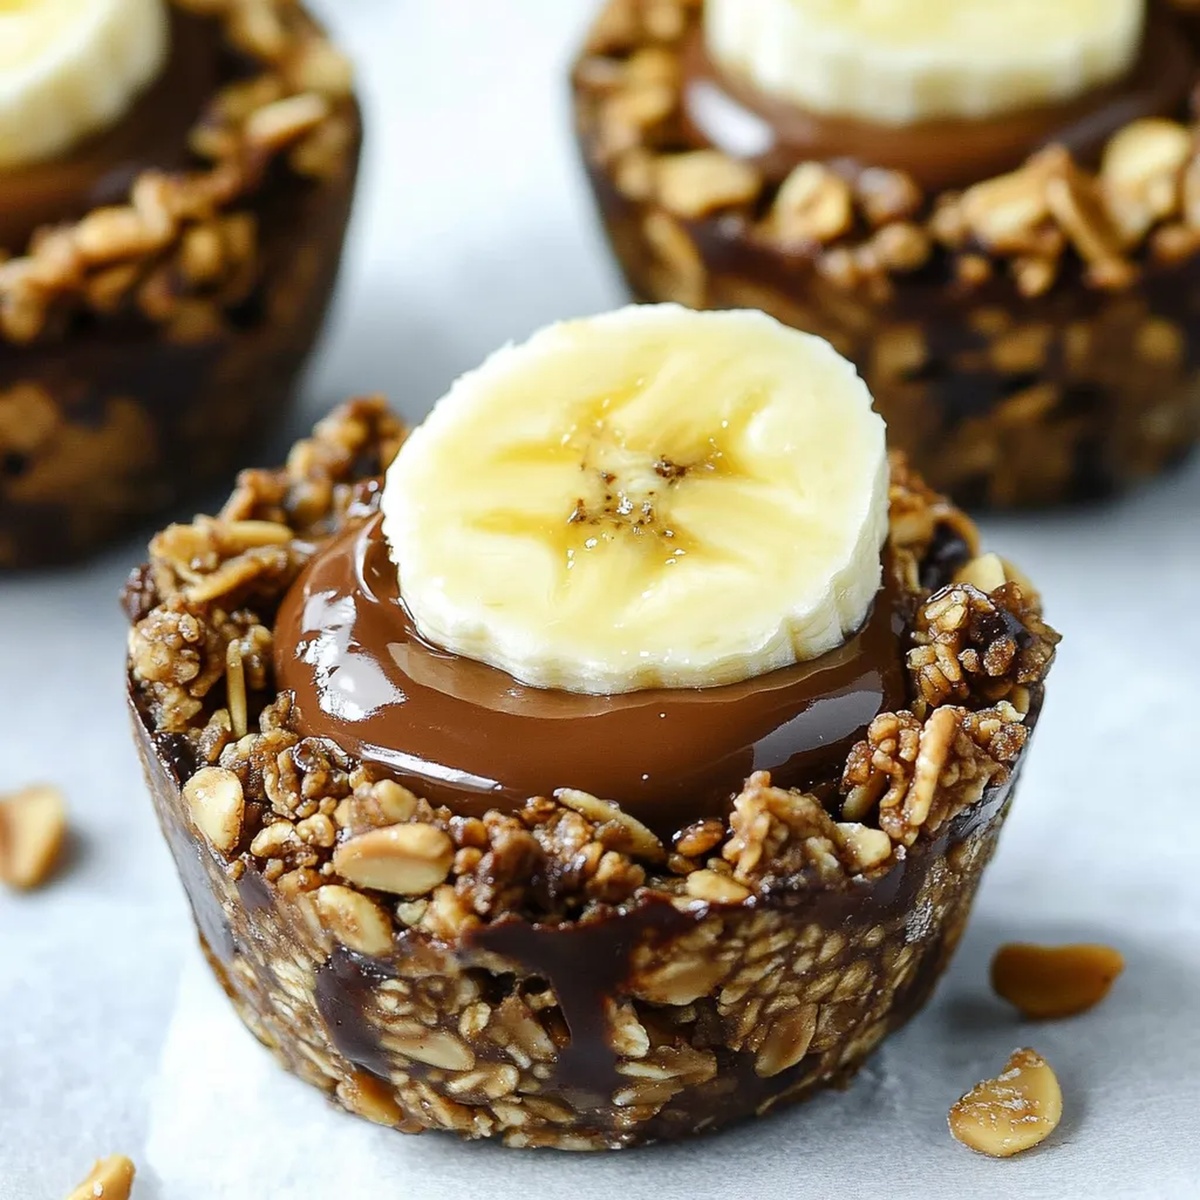
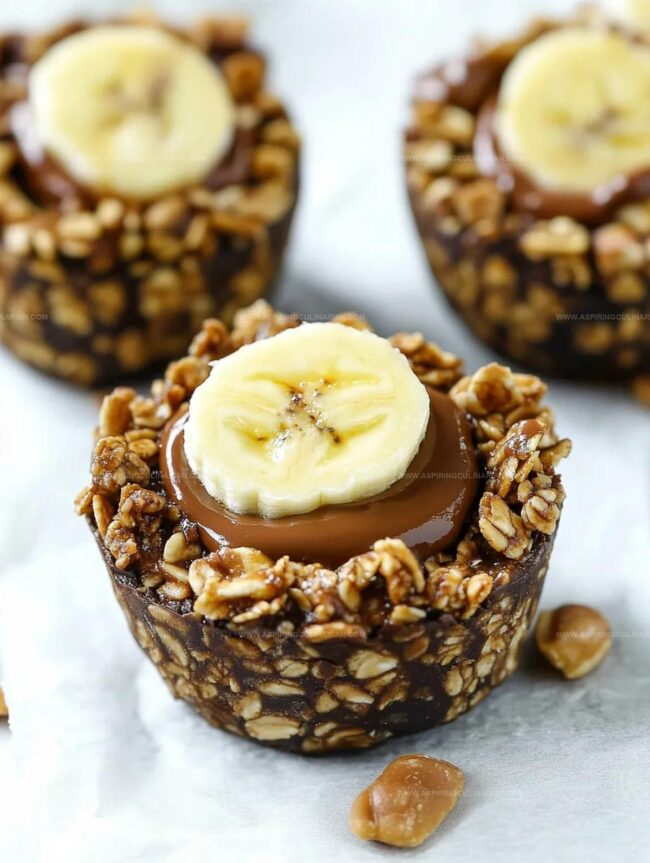
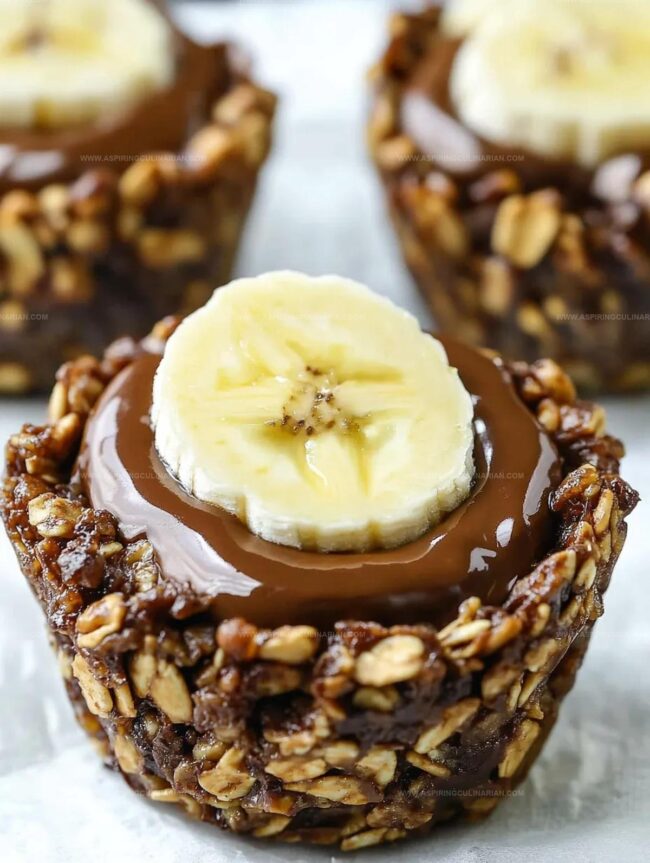
Decadent chocolate granola cups dance with creamy peanut butter filling in this irresistible dessert.
These handheld treats combine crunchy textures and rich flavors in every bite.
Homemade chocolate shells cradle a smooth, nutty center that melts on your tongue.
The recipe brings together simple ingredients for an elegant yet easy-to-make sweet.
Crisp granola provides a delightful base that perfectly complements the luscious peanut butter filling.
Each cup offers a balanced blend of sweetness and nuttiness that will delight your taste buds.
Prepare to indulge in a dessert that’s both sophisticated and comforting.
These chocolate granola cups are sure to become your new favorite indulgence.
Chocolate Granola Cups With Peanut Butter Fun
Chocolate Granola Cup Ingredient Rundown
Base Ingredients:Chocolate and Binding Ingredients:Finishing and Garnish Ingredients:Making Chocolate Granola Cups Easy
Step 1: Crush and Mix Granola
Break down large granola clusters using a rolling pin.
In a spacious mixing bowl, combine granola with chopped peanuts, ensuring an even distribution of ingredients.
Step 2: Create Chocolate Blend
Gently melt dark chocolate with coconut oil using a double boiler or microwave.
Stir in peanut butter and honey until the mixture becomes silky smooth and well-integrated.
Step 3: Combine Chocolate and Dry Ingredients
Pour the glossy chocolate mixture over the granola blend.
Stir thoroughly to coat every morsel.
Check the consistency – the mixture should hold together when pressed but not be overly wet or dry.
Adjust by adding more granola or honey as needed.
Step 4: Shape Delightful Cups
Generously grease a cupcake pan to prevent sticking.
Carefully distribute the chocolate-coated granola mixture across the pan.
Press firmly into each cup, creating a solid base.
Use your thumb or a spoon to create a gentle indentation in the center of each cup.
Step 5: Chill and Set
Place the pan in the freezer for 5-10 minutes.
Watch carefully to ensure the cups become firm but not rock-hard.
Over-freezing will make removal challenging.
Step 6: Release the Cups
Gently remove the cups from the pan.
If they resist, let them sit at room temperature briefly or use a thin knife to carefully loosen the edges.
Step 7: Fill with Creamy Goodness
Warm the peanut butter slightly if it’s too thick.
Fill each cup’s center with a smooth layer of peanut butter.
Optional: Top with a delicate banana slice for extra flair.
Step 8: Store and Enjoy
Transfer cups to an airtight container.
Refrigerate for up to one week or freeze for a maximum of three months.
Perfect for a quick sweet treat or make-ahead dessert.
Tips For Chocolate Granola Cup Bakers

Chocolate Granola Cup Flavor Options

Serve Chocolate Granola Cups To Friends
Chocolate Granola Cups Storage Tips
FAQs
Yes, you can substitute dark chocolate with milk chocolate. Keep in mind that milk chocolate is sweeter, so you might want to reduce the honey slightly.
You can replace coconut oil with melted butter or vegetable oil. The coconut oil helps the chocolate set and provides a smooth texture.
It depends on your granola. Check the granola package to ensure it’s made with gluten-free oats if you need a gluten-free version.
Yes, you can use silicone molds or line a muffin tin with paper liners. The key is to have a container that helps shape the cups and allows easy removal.
Print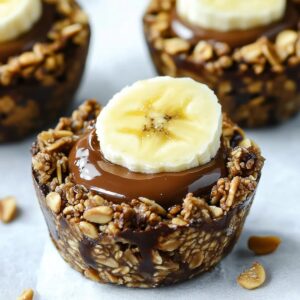
Chocolate Granola Cups With Peanut Butter Filling Recipe
- Total Time: 20 minutes
- Yield: 12 1x
Description
Delightful chocolate granola cups with peanut butter filling bring sweet and crunchy magic to dessert lovers’ tables. Rich chocolate shells cradle creamy peanut butter centers, creating a simple yet irresistible treat you can savor with pure pleasure.
Ingredients
Base Ingredients:
- 2.5 cups honey granola
- 1 cup peanut butter
- 0.5 cup chopped peanuts
- 3.5 ounces (100 grams) dark chocolate, finely chopped
Binding and Sweetening Ingredients:
- 3 tablespoons honey
- 2 tablespoons peanut butter
- 2 teaspoons coconut oil
Optional Topping:
- 12 slices of banana
Instructions
- Crush granola into smaller pieces and blend thoroughly with chopped peanuts in a spacious mixing vessel, ensuring uniform distribution.
- Gently melt dark chocolate and coconut oil using a double boiler or microwave, stirring until silky and integrated. Incorporate peanut butter and honey, whisking until completely smooth.
- Drizzle the chocolate blend over granola mixture, folding carefully to achieve consistent coating. Allow mixture to slightly cool and thicken if too liquid, adding granola to enhance structural integrity.
- Thoroughly coat a 12-cavity cupcake tray with non-stick spray. Distribute granola-chocolate mixture evenly, pressing firmly into each cavity. Create a central indentation using thumb or rounded utensil to form cup-like shapes.
- Chill prepared cups in freezer for 7-8 minutes until solidified but not overly frozen. Avoid extended freezing to prevent difficult removal.
- Extract cups delicately from tray. Use a slim spatula or knife to gently separate edges if experiencing resistance.
- Warm peanut butter slightly for easier spreading. Fill each chocolate granola cup completely, ensuring smooth surface. Optional: Garnish with fresh banana slice for added visual appeal.
- Refrigerate in sealed container for maximum freshness, maintaining quality up to 7 days. Alternatively, freeze for extended preservation up to 3 months.
Notes
- Use a food processor to crush granola into uniform, fine pieces for better cup structure and smoother texture.
- Replace dark chocolate with dairy-free or vegan chocolate chips for alternative dietary needs.
- Ensure peanut butter filling is room temperature for easier spreading and more even distribution inside the cups.
- Try different nut butters like almond or cashew butter for varied flavor profiles and dietary preferences.
- Prep Time: 20 minutes
- Cook Time: 0 minutes
- Category: Breakfast, Snacks, Desserts
- Method: Freezing
- Cuisine: American
Nutrition
- Serving Size: 12
- Calories: 215
- Sugar: 8 g
- Sodium: 45 mg
- Fat: 14 g
- Saturated Fat: 4 g
- Unsaturated Fat: 9 g
- Trans Fat: 0 g
- Carbohydrates: 21 g
- Fiber: 3 g
- Protein: 6 g
- Cholesterol: 0 mg
Lena Martinez
Contributing Writer & Culinary Educator
Expertise
Southwestern and Latin American cuisines, Vegetarian and plant-based recipe development, Culinary education and community outreach
Education
Santa Fe Community College, Santa Fe, NM
Certificate in Culinary Arts
Emphasized Southwestern cuisine and sustainable cooking practices
Lena grew up surrounded by the colors, spices, and traditions of the Southwest – flavors that sparked her love for bold, honest cooking. After earning her Culinary Arts certificate at Santa Fe Community College, she made it her mission to teach home cooks how to create flavorful, plant-powered meals without the fuss.
Her recipes are packed with vibrant ingredients, simple steps, and the kind of heart that turns a regular meal into something you’ll want to share. Outside the kitchen, Lena spends her time wandering farmers’ markets, trading family recipes, and helping young chefs find their voice through food.