
Fluffy Homemade Chocolate Marshmallows Recipe: Sweet Joy in Every Bite
Sweet dreams come true with these delectable homemade chocolate marshmallows that melt in your mouth.
Crafting these pillowy treats requires simple ingredients and a dash of patience.
Soft, rich chocolate infuses each fluffy bite with decadent flavor.
Professional pastry chefs and home bakers alike adore this delightful confection.
The silky texture combined with deep cocoa notes creates an irresistible marshmallow experience.
chocolate lovers will swoon over these melt-in-your-mouth delights that elevate any dessert or hot beverage.
Prepare to indulge in a sweet adventure that promises pure bliss.
Chocolate Marshmallows Fun Flavor Combo
What’s Needed for Chocolate Marshmallows
Main Ingredients:Liquid Ingredients:Preparation Ingredients:Steps for Chocolate Marshmallow Treats
Step 1: Prepare Baking Surface
Grab an 8-inch square pan and lovingly coat the entire inside with butter.
Sprinkle a magical mixture of confectioner’s sugar and cocoa powder, ensuring every nook and cranny is covered to prevent sticking.
Step 2: Activate Gelatin Magic
Pour water into your stand mixer bowl and sprinkle gelatin over the surface.
Let this mixture sit and transform for 10 minutes, allowing the gelatin to bloom and become soft and dreamy.
Step 3: Create Chocolate Base
In a separate bowl, whisk cocoa powder with hot water until it becomes silky smooth.
Add a splash of vanilla extract and a hint of coffee to deepen the rich chocolate flavor.
This will create an incredible flavor foundation for your marshmallows.
Step 4: Cook Sugar Syrup
In a heavy-bottomed saucepan, combine sugar, corn syrup, salt, and water.
Heat the mixture slowly, watching it carefully until it reaches 255°F on a candy thermometer.
Instead of stirring, gently swirl the pan to ensure even heating.
This technique helps create a perfect sugar syrup without crystallization.
Step 5: Combine Gelatin and Sugar Syrup
Slowly pour the hot sugar syrup into the bloomed gelatin while mixing on low speed.
Gradually increase the speed and whip the mixture for 12-15 minutes until it becomes thick, glossy, and forms stiff peaks.
Step 6: Pour and Set Marshmallows
Quickly transfer the fluffy marshmallow mixture into your prepared pan.
Smooth the top with a spatula and let it sit at room temperature for 4-6 hours or overnight until completely set.
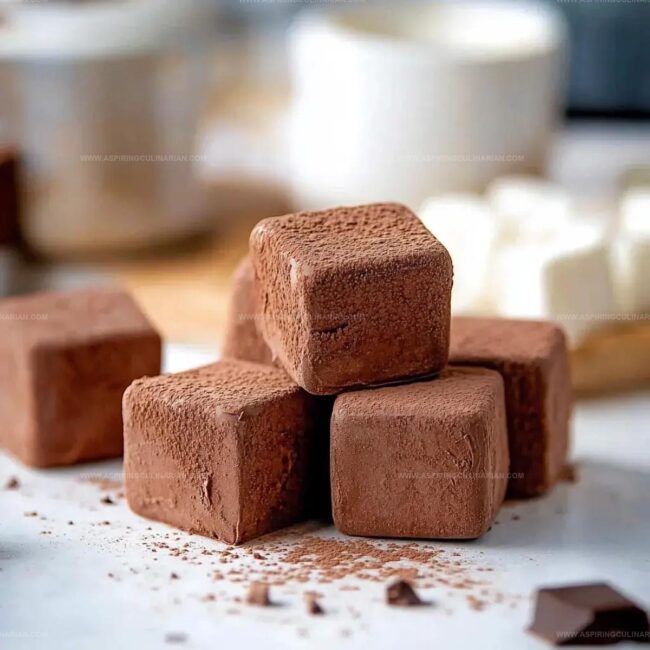
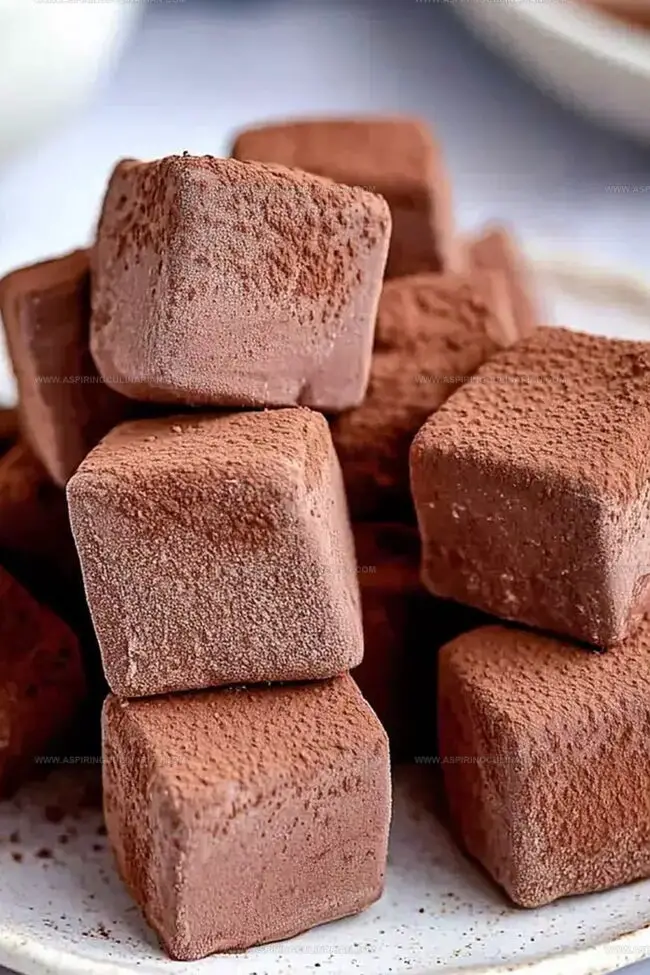
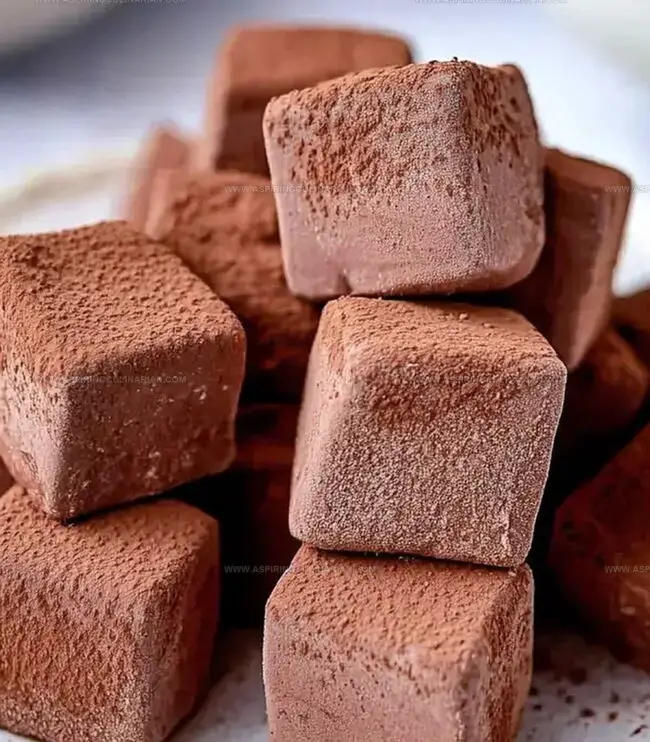
Step 7: Cut and Dust Marshmallows
Once set, dust a cutting board with the remaining sugar-cocoa mixture.
Turn out the marshmallow block and cut into squares using a sharp knife.
Coat each marshmallow in the sugar-cocoa mixture to prevent sticking.
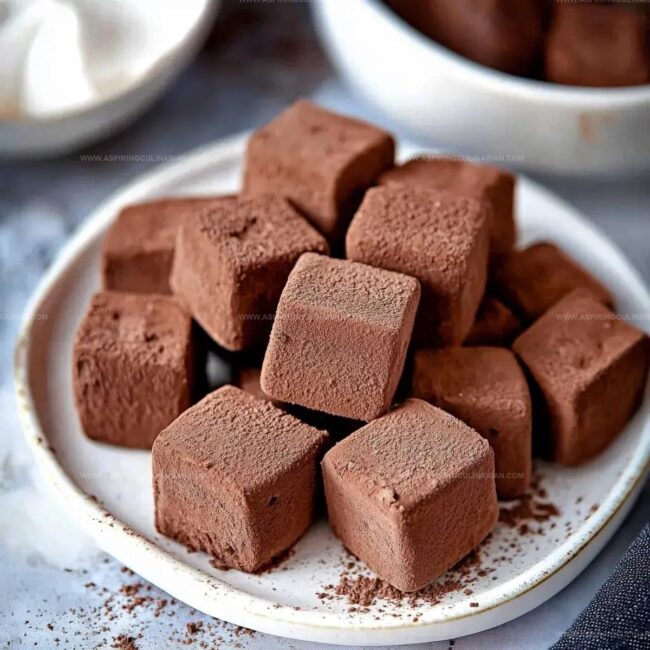
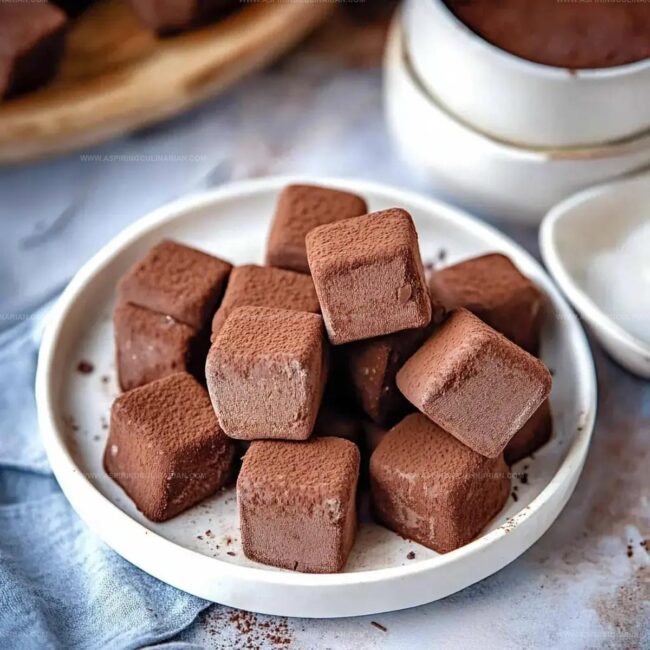
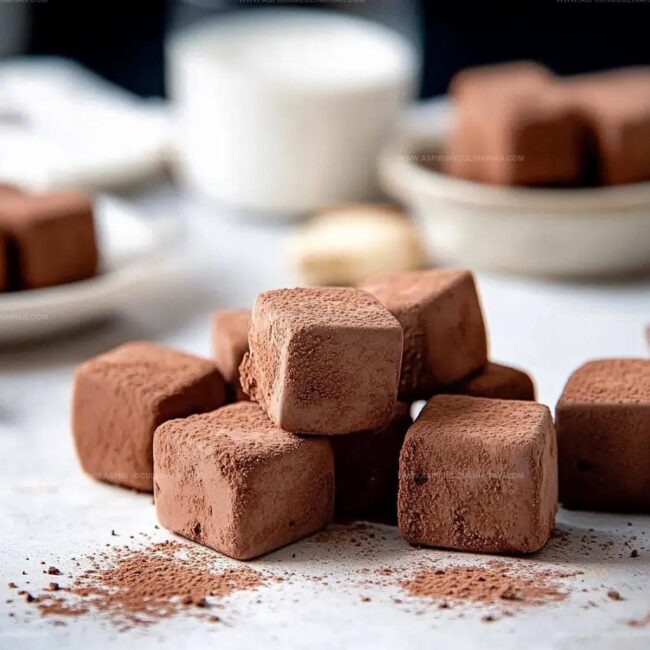
Step 8: Store and Enjoy
Store your homemade chocolate marshmallows in an airtight container at room temperature.
They’ll stay fresh and delicious for up to a week – if they last that long!
Tips for Chocolate Marshmallow Success
Marshmallow Variations for More Fun
Serving Chocolate Marshmallows
Storing Chocolate Marshmallows Well
FAQs
Use a candy thermometer and cook until it reaches exactly 255°F (hard-ball stage). The syrup will look thick and amber-colored when properly heated.
It’s challenging. A stand mixer helps whip the mixture to the right consistency and incorporates air needed for fluffy marshmallows. Hand mixers might work but won’t be as effective.
Coffee enhances chocolate flavor, making the marshmallows taste richer and more complex without overwhelming the chocolate taste. It’s a secret ingredient that deepens the overall flavor profile.
This mixture prevents marshmallows from sticking together and adds an extra layer of chocolate flavor when coating.
Print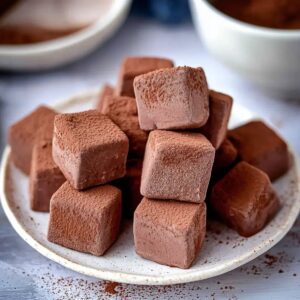
Chocolate Marshmallows Recipe
- Total Time: 6 hours 30 minutes
- Yield: 12 1x
Description
Sweet chocolate magic unfolds in these homemade chocolate marshmallows, melting hearts with rich cocoa goodness. Pillowy squares promise indulgent comfort, inviting you to savor pure chocolate bliss in every dreamy bite.
Ingredients
Main Ingredients:
- 2 1/4 cups white sugar
- 27 grams (9 teaspoons) gelatin powder
- 1/3 cup corn syrup
Chocolate and Flavor Enhancers:
- 1/4 cup cocoa powder
- 1/3 cup Dutch cocoa powder
- 1 tablespoon vanilla extract
- 1/2 teaspoon instant coffee
- 1/4 teaspoon sea salt
Liquid Components:
- 1/2 cup water for gelatin
- 1/3 cup boiling water
- 1/4 cup water for syrup
- 1/4 cup confectioner’s sugar
Instructions
- Prepare a square baking dish by generously coating the interior with butter, ensuring complete coverage to prevent sticking.
- Dust the buttered pan with a mixture of confectioner’s sugar and cocoa powder, creating a fine, even layer that will help release the marshmallows later.
- In a stand mixer bowl, sprinkle gelatin over cold water, allowing it to hydrate and bloom for approximately 10 minutes until it becomes spongy and absorbs the liquid.
- Create a rich cocoa base by whisking cocoa powder with hot water until completely smooth and free of lumps, then incorporate vanilla extract and brewed coffee for depth of flavor.
- Attach a candy thermometer to a heavy-bottomed saucepan and combine sugar, corn syrup, salt, and water, heating the mixture without stirring until it reaches exactly 255°F (hard-ball stage).
- Gently swirl the pan to ensure even heat distribution and prevent sugar crystallization, monitoring the temperature carefully to achieve the perfect consistency.
- Carefully pour the molten sugar syrup into the bloomed gelatin, turning the mixer on low to combine, then gradually increase speed to high and whip for 12-15 minutes until the mixture becomes thick, glossy, and forms stiff peaks.
- Quickly transfer the marshmallow mixture into the prepared pan, using a spatula to spread it evenly and smooth the surface.
- Allow marshmallows to set at room temperature for 4-6 hours or overnight until completely firm and stable.
- Once set, cut into squares using a sharp knife dusted with the remaining cocoa-sugar mixture, separating and coating each marshmallow to prevent sticking.
Notes
- Dust the pan generously with cocoa-sugar mixture to prevent sticking and add extra chocolate flavor.
- Use a candy thermometer for precise sugar temperature to ensure perfect marshmallow texture.
- Cold-brew coffee can replace instant coffee for deeper, more complex chocolate taste.
- For gluten-free version, verify corn syrup and vanilla extract are certified gluten-free.
- Prep Time: 30 minutes
- Cook Time: 6 hours
- Category: Desserts, Snacks
- Method: Simmering
- Cuisine: American
Nutrition
- Serving Size: 12
- Calories: 142
- Sugar: 24 g
- Sodium: 1 mg
- Fat: 0 g
- Saturated Fat: 0 g
- Unsaturated Fat: 0 g
- Trans Fat: 0 g
- Carbohydrates: 36 g
- Fiber: 0 g
- Protein: 2 g
- Cholesterol: 0 mg
Lena Martinez
Contributing Writer & Culinary Educator
Expertise
Southwestern and Latin American cuisines, Vegetarian and plant-based recipe development, Culinary education and community outreach
Education
Santa Fe Community College, Santa Fe, NM
Certificate in Culinary Arts
Emphasized Southwestern cuisine and sustainable cooking practices
Lena grew up surrounded by the colors, spices, and traditions of the Southwest – flavors that sparked her love for bold, honest cooking. After earning her Culinary Arts certificate at Santa Fe Community College, she made it her mission to teach home cooks how to create flavorful, plant-powered meals without the fuss.
Her recipes are packed with vibrant ingredients, simple steps, and the kind of heart that turns a regular meal into something you’ll want to share. Outside the kitchen, Lena spends her time wandering farmers’ markets, trading family recipes, and helping young chefs find their voice through food.