
The Jolly Christmas Sugar Cookie Bars Recipe Everyone Loves
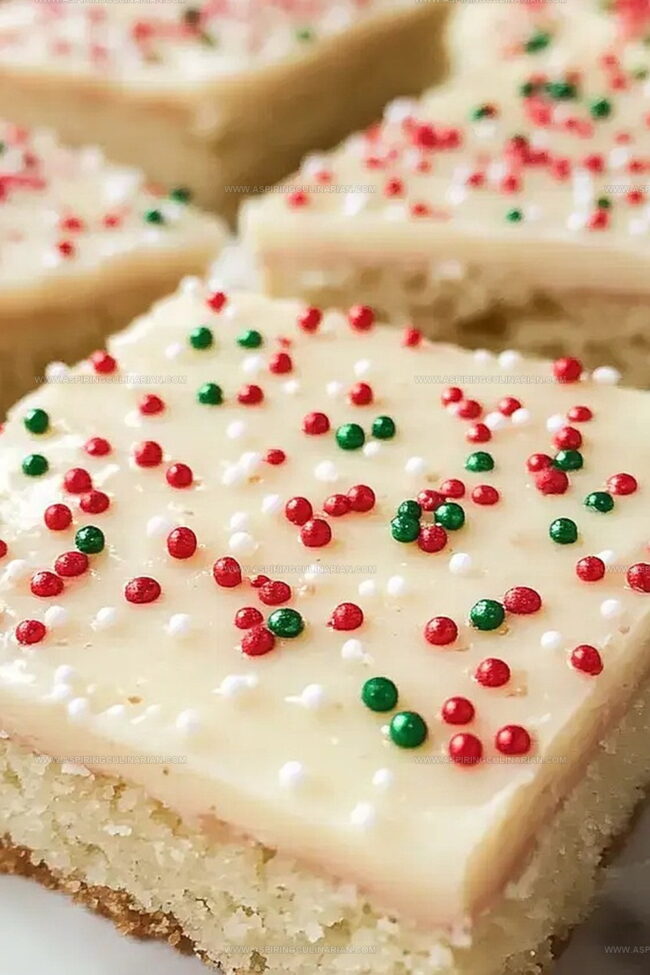
Sweet memories burst to life with these irresistible christmas sugar cookie bars that melt in your mouth and spark joy.
Soft, buttery layers promise pure holiday happiness in every single bite.
Bakers of all skill levels can create these delectable treats with simple ingredients and minimal effort.
The golden edges and tender center capture the essence of festive cheer.
Rich vanilla and delicate sugar combine to craft a dessert that feels like a warm holiday embrace.
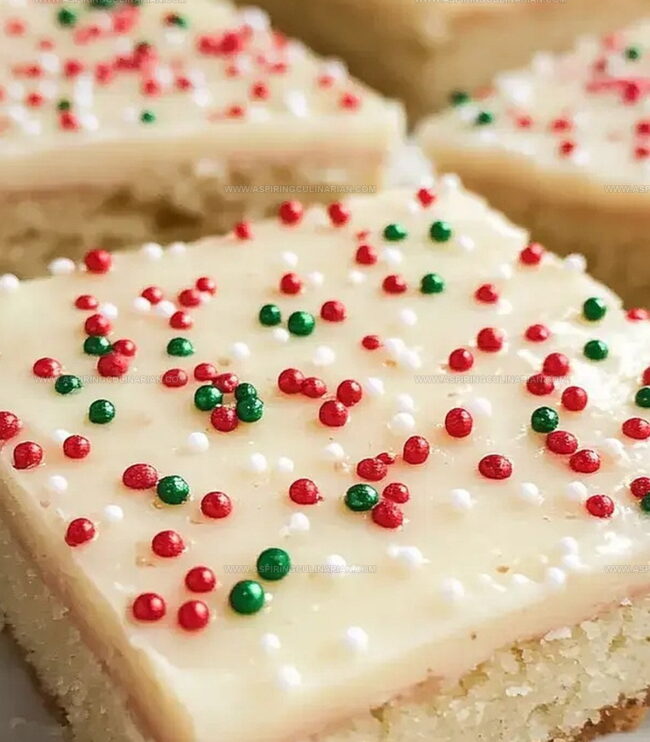
Decorated with colorful sprinkles or left classic, these bars bring smiles to faces young and old.
Serve them at gatherings, wrap as gifts, or savor them quietly with a cup of hot cocoa.
You’ll fall in love with this easy, delightful recipe that transforms ordinary moments into magical memories.
Why Easy Sheet Pan Cookies Are a Game-Changer
Ingredients Needed for Sheet Pan Cookie Success
Base Ingredients:Flavor Enhancers:Frosting Ingredients:Sheet Pan Cookie Instructions You’ll Love

Step 1: Fire Up the Oven
Crank your oven to a toasty 350 degrees Fahrenheit and get ready for some baking magic.
Step 2: Prepare the Baking Canvas
Grab a half sheet pan and line it with parchment paper, creating a smooth surface for your cookie adventure.
Step 3: Create the Dry Foundation
Whip out a bowl and combine your dry ingredients with a whisk:Blend these ingredients until they’re perfectly mixed and free of lumps.
Step 4: Craft the Cookie Dough
In a separate mixing bowl, cream together:Beat these until they transform into a fluffy, light mixture.
This should take about 2-3 minutes.
Next, add eggs and vanilla extract, mixing for another 1-2 minutes.
Gradually fold in your dry ingredient mixture, stirring until everything comes together smoothly.
Step 5: Spread the Deliciousness
Transfer your cookie dough onto the prepared pan.
Use a floured rolling pin to spread the dough evenly, creating a perfectly smooth surface that reaches all corners of the pan.
Step 6: Bake to Perfection
Slide the pan into the preheated oven and bake for 15-20 minutes.
The sweet spot is around 18 minutes – watch for golden edges and a set center.
Once done, remove and let cool completely.
Step 7: Whip Up the Frosting
In a clean mixing bowl, beat butter until it becomes light and creamy.
Gradually add:Mix slowly, adding cream bit by bit until you achieve a silky smooth consistency.
Feel free to add food coloring for extra pizzazz.
Step 8: Decorate with Flair
Once the cookie base has cooled, spread the frosting evenly across the surface.
Sprinkle with colorful decorations to make your sheet pan cookies look as incredible as they taste.
Easy Sheet Pan Cookie Tips and Hacks
Sheet Pan Cookies – Fun Flavor Swaps
Serving Sheet Pan Cookies for a Crowd
Storing Your Sheet Pan Cookies with Care
FAQs
Yes, but reduce or omit the added salt in the recipe to prevent the cookies from becoming too salty.
You can use a silicone baking mat or grease the sheet pan thoroughly with butter or cooking spray to prevent sticking.
Look for golden edges and a slightly firm center. The bars should not appear wet or jiggly when gently shaken.
Yes, you can freeze unfrosted bars for up to 3 months. Wrap tightly in plastic wrap and place in a freezer-safe container.
Print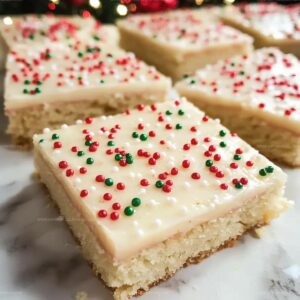
Christmas Sugar Cookie Bars Recipe
- Total Time: 38 minutes
- Yield: 24 1x
Description
Christmas sugar cookie bars blend festive joy with buttery sweetness, creating a delightful dessert perfect for holiday gatherings. Rich vanilla notes and colorful sprinkles make these bars a cheerful treat that brings smiles to everyone’s faces.
Ingredients
Main Ingredients:
- 5 cups all-purpose flour
- 4 eggs
- 2 cups granulated sugar
- 2 cups 1/2 butter, room temperature
- 5 cups powdered sugar
Flavor Enhancers:
- 2 teaspoons kosher salt
- 1/2 teaspoon baking powder
- 2 teaspoons vanilla extract
- 2 teaspoons almond extract
Optional Finishing Ingredients:
- 3–4 tablespoons heavy cream
- Food coloring (optional)
- Sprinkles (optional)
- Dash of kosher salt
Instructions
- Preheat the oven to 350°F and position the rack in the center of the oven.
- Prepare a half sheet pan by lining it with parchment paper, ensuring complete coverage with slight overhang for easy removal.
- In a medium bowl, whisk together flour, salt, and baking powder until thoroughly combined and free of lumps.
- Using an electric mixer, cream butter and sugar for 2-3 minutes until light and fluffy, creating a smooth base for the cookie dough.
- Incorporate eggs and extracts into the butter mixture, mixing for 1-2 minutes until fully integrated and slightly aerated.
- Gradually add dry ingredients to the wet mixture, mixing until just combined to prevent overmixing and maintain a tender texture.
- Transfer the dough to the prepared sheet pan, pressing it evenly across the surface using clean hands or a spatula.
- Use a floured rolling pin to smooth the dough, ensuring an even thickness across the entire pan.
- Bake for 15-20 minutes, with 18 minutes being the optimal time, until edges are lightly golden and center is set but still soft.
- Remove from oven and allow to cool completely on a wire rack before frosting.
- For the frosting, beat butter in a clean mixing bowl for 2-3 minutes until creamy and smooth.
- Gradually add powdered sugar, salt, and extracts, mixing slowly and adding cream as needed to achieve a spreadable consistency.
- Adjust frosting color with food coloring if desired, and spread evenly over cooled cookie base.
- Decorate with sprinkles immediately after frosting for maximum adherence.
Notes
- Customize Texture Ensure butter is softened at room temperature for smoother, more evenly mixed cookie dough that spreads perfectly in the sheet pan.
- Prevent Sticking Use parchment paper with slight overhang for easy removal and clean cutting of cookie bars.
- Achieve Perfect Bake Watch cookies closely around 15-minute mark to avoid over-browning, checking for golden edges as doneness indicator.
- Flexible Frosting Experiment with different extract flavors like almond or peppermint to create unique taste variations in frosting.
- Prep Time: 20 minutes
- Cook Time: 18 minutes
- Category: Desserts, Snacks
- Method: Baking
- Cuisine: American
Nutrition
- Serving Size: 24
- Calories: 300
- Sugar: 18 g
- Sodium: 180 mg
- Fat: 12 g
- Saturated Fat: 7 g
- Unsaturated Fat: 3 g
- Trans Fat: 0 g
- Carbohydrates: 45 g
- Fiber: 1 g
- Protein: 3 g
- Cholesterol: 40 mg
Nathaniel Brooks
Founder & Recipe Developer
Expertise
Farm-to-table cuisine, Seasonal recipe development, Culinary storytelling
Education
Ivy Tech Community College – Indianapolis, IN
Culinary Arts / Hospitality Administration & Events
Focused on hands-on training in classical and modern culinary techniques.
Nathaniel’s story starts in the foothills of the Appalachian Mountains, where farm stands, backyard gardens, and old family recipes shaped his love for real food. After graduating from Ivy Tech Community College in Indianapolis, he spent years working in farm-to-table kitchens, learning how to turn local, seasonal ingredients into something memorable.
Today, Nathaniel pours that same spirit into every single recipe on Aspiring Culinarian – recipes that feel real, comforting, and connected to the land. When he’s not in the kitchen, you’ll find him foraging wild herbs, chasing sunsets with his camera, or writing about the flavors that shaped his roots.