Quick & Creamy Classic Buckeye Candy Recipe for Sweet Treats
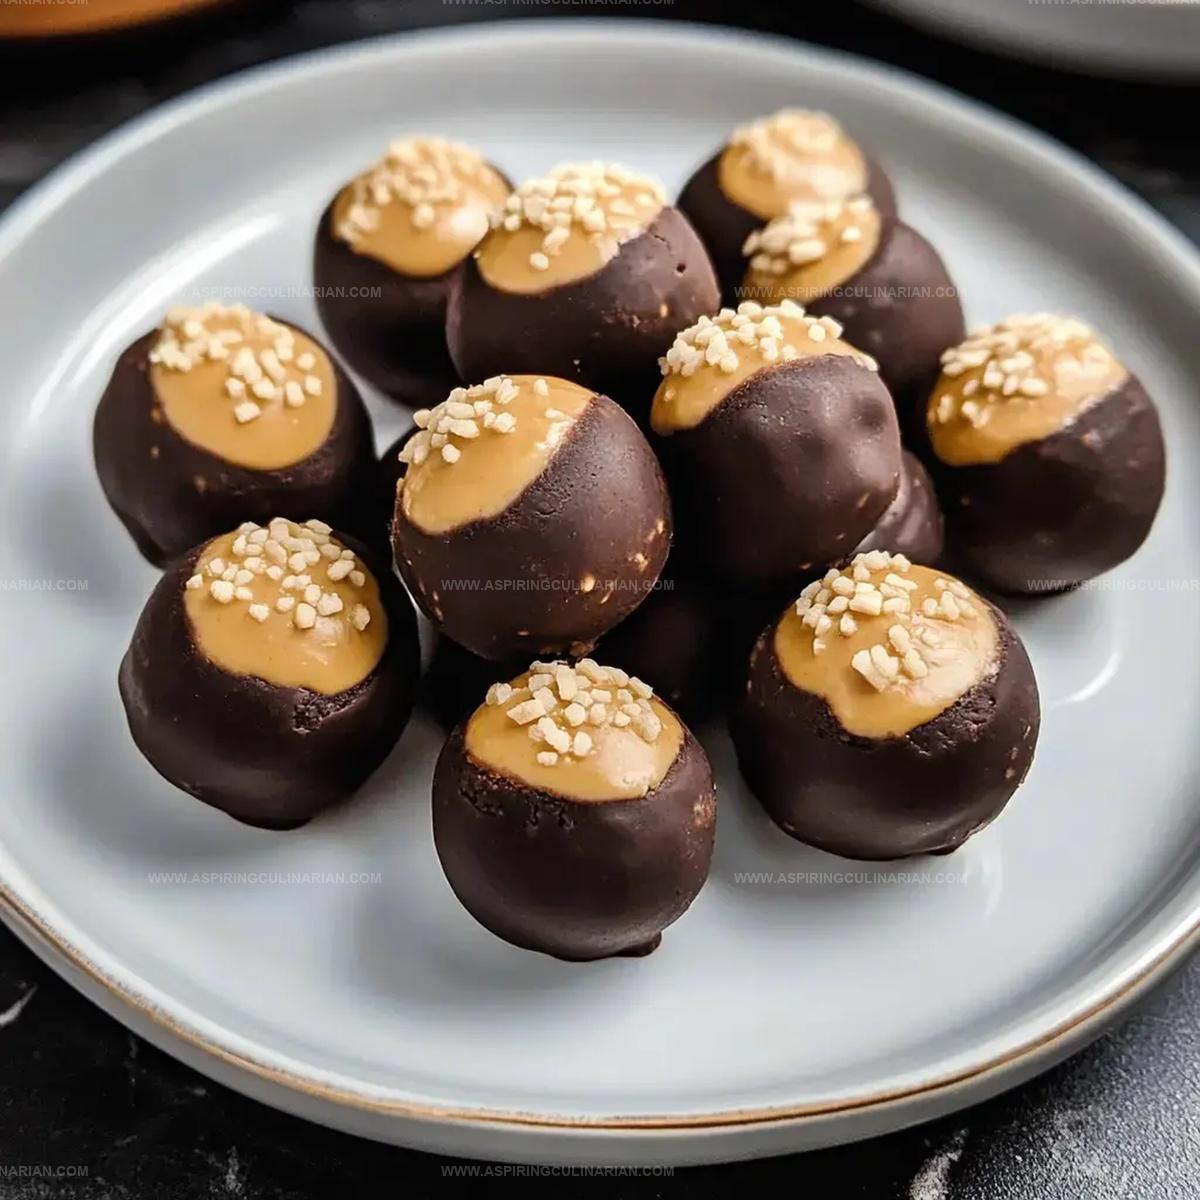
Chocolate and peanut butter create the ultimate sweet symphony in this classic buckeye candy recipe that captures Ohio’s beloved treat.
Generations of bakers have perfected these delightful spheres of creamy peanut butter dipped in rich chocolate.
The magic happens when smooth peanut butter meets decadent chocolate coating, creating an irresistible confection.
Each bite delivers a perfect balance of sweet and nutty flavors that melt in your mouth.
No holiday gathering or potluck feels complete without a plate of these iconic buckeye candies.
chocolate lovers and peanut butter enthusiasts will fall head over heels for this simple yet indulgent dessert.
Prepare to fall in love with the most addictive no-bake treat in your recipe collection.
Easy Chocolate Treats: Why They Satisfy Any Craving

What You’ll Need for Easy Chocolate Treats
Base Ingredients:Sweeteners and Flavor Enhancers:Coating Ingredients:Easy Chocolate Treats – Directions to Delight
Step 1: Whip Creamy Base
Grab your mixing bowl and blend peanut butter and softened butter until they create a smooth, silky texture.
Use an electric mixer to ensure everything combines perfectly.
Step 2: Boost Flavor Profile
Incorporate brown sugar, vanilla extract, and a pinch of salt into the creamy mixture.
Mix thoroughly until the ingredients dance together harmoniously.
Step 3: Create Powdery Consistency
Slowly introduce powdered sugar into the mixture, stirring gradually.
Continue mixing until the blend transforms into a moldable dough that holds its shape.
Step 4: Shape Delightful Spheres
Scoop out small portions of the mixture and roll them between your palms, creating uniform bite-sized balls.
Place these little treasures on a parchment-lined tray.
Step 5: Chill And Firm
Transfer the tray to the freezer and let the balls rest for 15-20 minutes.
This helps them firm up and prepares them for their chocolate coating adventure.
Step 6: Craft Chocolate Coating
In a microwave-safe bowl, combine chocolate chips and neutral cooking oil.
Melt in short intervals, stirring between each burst to prevent burning.
Step 7: Elegant Dipping Technique
Using a toothpick, carefully dunk each chilled ball into the melted chocolate.
Allow a small portion to remain peeking out for visual appeal.
Step 8: Finesse The Surface
Gently sweep away any excess chocolate and smooth out toothpick marks for a professional, polished look.
Step 9: Allow Chocolate To Settle
Place the chocolate-covered treats on a clean surface and let them sit until the chocolate completely hardens and sets.
Chocolate Treat Tips for Sweet Success

Fun Chocolate Treat Recipe Ideas
Serving Up Easy Chocolate Treats
Chocolate Treats – Best Ways to Store
FAQs
No, these treats are super easy! Even beginners can make them with basic kitchen skills and just a few simple steps.
You only need a mixing bowl, toothpicks, and a basic baking sheet. Standard kitchen tools work perfectly for this recipe.
Yes, you can swap peanut butter brands or use dark/milk chocolate instead of semi-sweet. Just keep proportions similar for best results.
When stored in an airtight container in the refrigerator, these treats stay fresh for about 7-10 days, maintaining their delicious texture and flavor.
Print
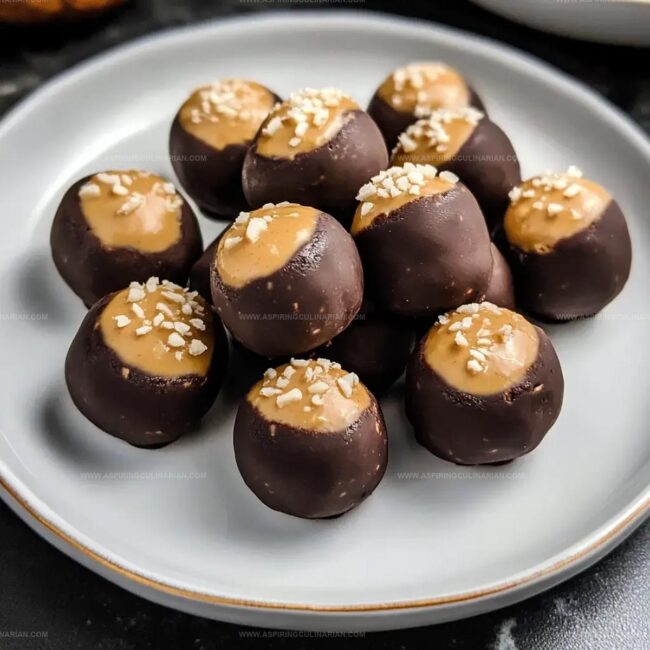
Classic Buckeye Candy Recipe
- Total Time: 15 minutes
- Yield: 12 1x
Description
Chocolate and peanut butter unite in this classic buckeye candy, creating a nostalgic Ohio treat that melts hearts with its irresistible combo. Smooth peanut butter balls dipped in rich chocolate deliver a perfect balance of sweet and creamy indulgence you can’t resist.
Ingredients
Main Ingredients:
- 2 cups (480 milliliters) creamy peanut butter (not natural)
- 2 cups (340 grams) semisweet chocolate chips
- 1/2 cup (113 grams) unsalted butter, softened
Sweeteners and Flavor Enhancers:
- 3 1/4 cups (390 grams) powdered sugar
- 2 tablespoons (25 grams) light brown sugar, packed
- 1 1/4 teaspoons vanilla extract
Additional Ingredients:
- 1/4 teaspoon salt
- 1 teaspoon coconut oil or shortening
Instructions
- Cream peanut butter and butter in a mixing bowl until smooth and fully integrated.
- Incorporate brown sugar, vanilla extract, and salt into the creamy mixture, stirring until well blended.
- Sift powdered sugar into the mixture gradually, mixing thoroughly after each addition to create a cohesive dough.
- Using clean hands, shape the mixture into uniform round balls, approximately one tablespoon in size.
- Place the formed balls on a parchment-lined tray and transfer to the freezer for 15-20 minutes to firm up.
- Prepare the chocolate coating by melting chocolate and oil in the microwave, using 25-second intervals and stirring between each burst to prevent burning.
- Insert a toothpick into each chilled ball and carefully dip into the melted chocolate, ensuring the top remains partially exposed for visual appeal.
- Gently tap the dipped ball to remove excess chocolate and delicately smooth out any toothpick marks for a clean finish.
- Allow the chocolate-coated treats to set at room temperature until the coating hardens completely, approximately 10-15 minutes.
Notes
- Customize sweetness by adjusting powdered sugar for less or more intense flavor.
- Swap regular chocolate with dairy-free or dark chocolate for dietary restrictions.
- Use silicone molds for uniform shape and easier chocolate coating process.
- Sprinkle sea salt or crushed nuts on top for extra texture and gourmet touch.
- Prep Time: 15 minutes
- Cook Time: 0 minutes
- Category: Desserts, Snacks
- Method: Freezing
- Cuisine: American
Nutrition
- Serving Size: 12
- Calories: 360
- Sugar: 34 g
- Sodium: 95 mg
- Fat: 22 g
- Saturated Fat: 10 g
- Unsaturated Fat: 12 g
- Trans Fat: 0 g
- Carbohydrates: 41 g
- Fiber: 1 g
- Protein: 7 g
- Cholesterol: 15 mg
Nathaniel Brooks
Founder & Recipe Developer
Expertise
Farm-to-table cuisine, Seasonal recipe development, Culinary storytelling
Education
Ivy Tech Community College – Indianapolis, IN
Culinary Arts / Hospitality Administration & Events
Focused on hands-on training in classical and modern culinary techniques.
Nathaniel’s story starts in the foothills of the Appalachian Mountains, where farm stands, backyard gardens, and old family recipes shaped his love for real food. After graduating from Ivy Tech Community College in Indianapolis, he spent years working in farm-to-table kitchens, learning how to turn local, seasonal ingredients into something memorable.
Today, Nathaniel pours that same spirit into every single recipe on Aspiring Culinarian – recipes that feel real, comforting, and connected to the land. When he’s not in the kitchen, you’ll find him foraging wild herbs, chasing sunsets with his camera, or writing about the flavors that shaped his roots.