
Classic Cherry Pie Recipe: Sweet Summer Bliss in Every Bite
Summers burst with sweet memories when cherries blossom across farmer’s markets and backyard trees.
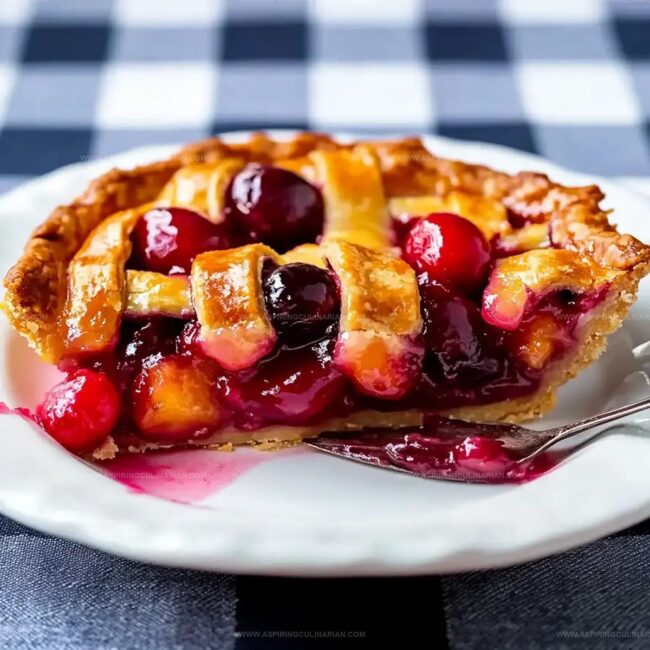
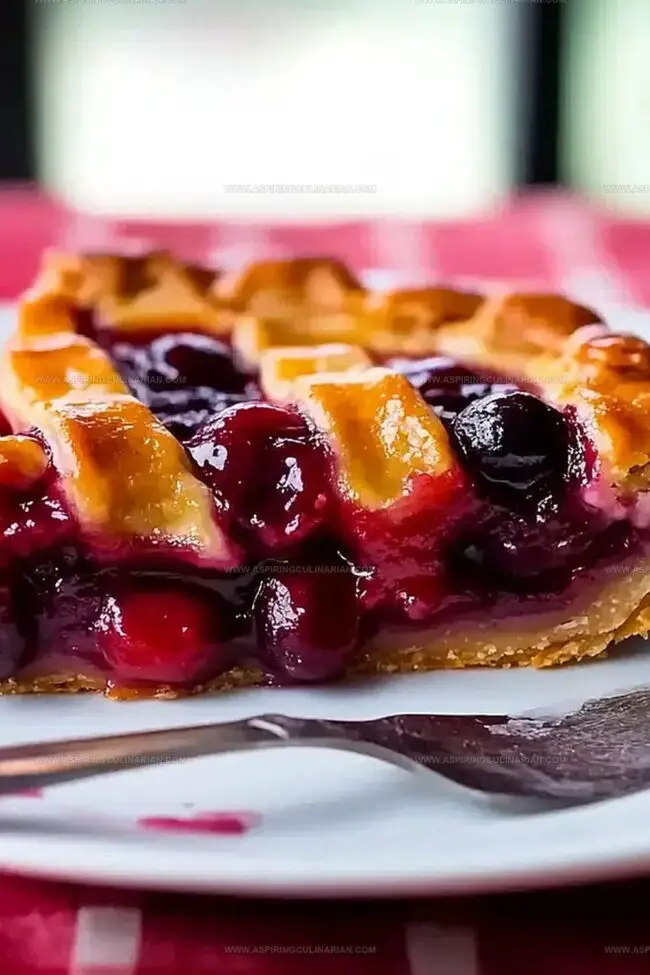
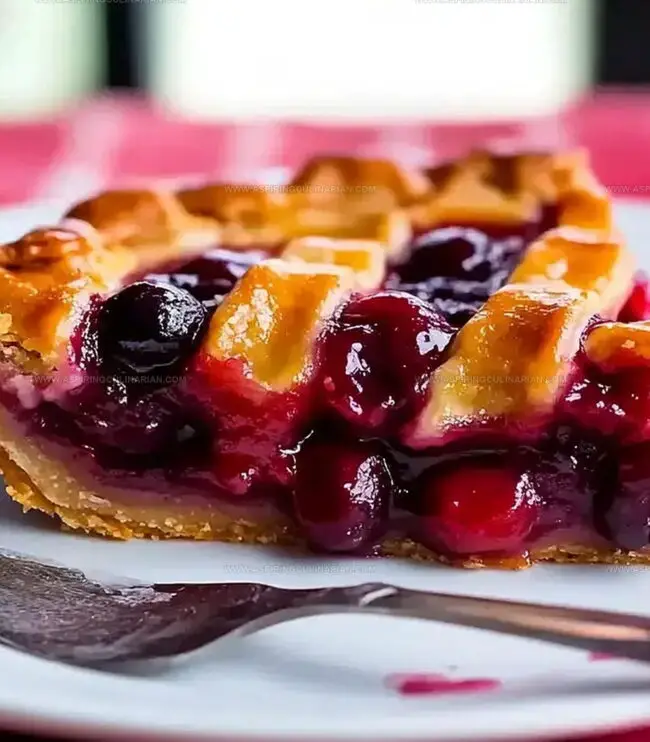
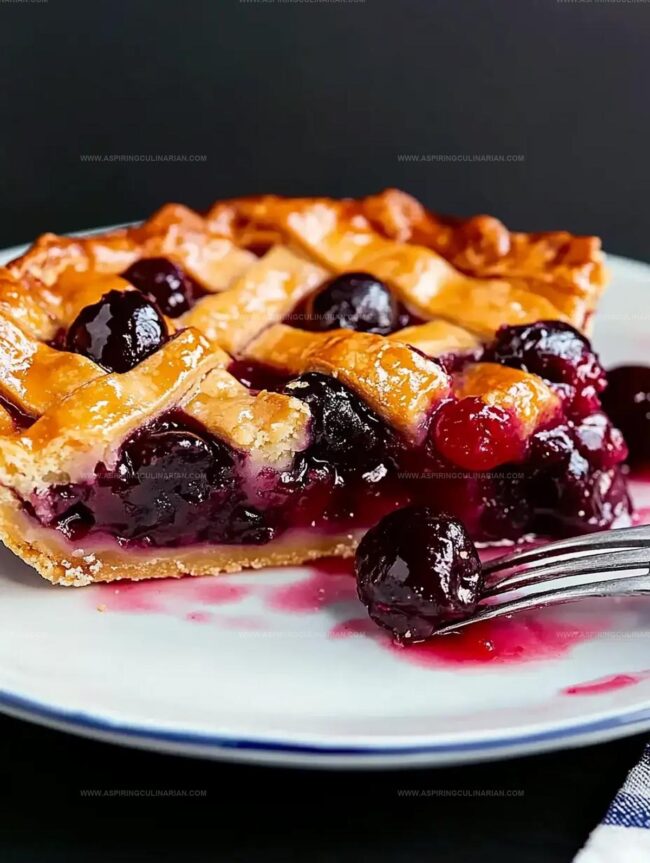
Baking a classic cherry pie infuses warmth and nostalgia into every golden, flaky slice.
The vibrant red fruits nestled in a buttery crust tell stories of grandmother’s kitchens and lazy afternoon gatherings.
Tart cherries dance with sugar, creating a filling that sings with pure, unadulterated flavor.
Each bite promises a perfect balance between tangy fruit and delicate pastry.
This timeless dessert connects generations through its simple, elegant preparation.
You’ll want to share every delectable morsel with those closest to your heart.
Sweet Cherry Filling Why You’ll Love This Classic
Ingredients List for Sweet Cherry Filling
Fresh Fruit:Binding and Sweetening Agents:Seasoning and Enhancement:Pie Crust Components:Finishing Touch:Steps to Make Sweet Cherry Filling
Step 1: Whip Up Cherry Delight
Toss juicy cherries into a mixing bowl.
Splash in tangy lemon juice for brightness.
Sprinkle sugar to enhance sweetness.
Add a pinch of salt to balance flavors.
Dust tapioca starch to create a silky, thick filling.
Gently mix all ingredients until cherries are evenly coated.
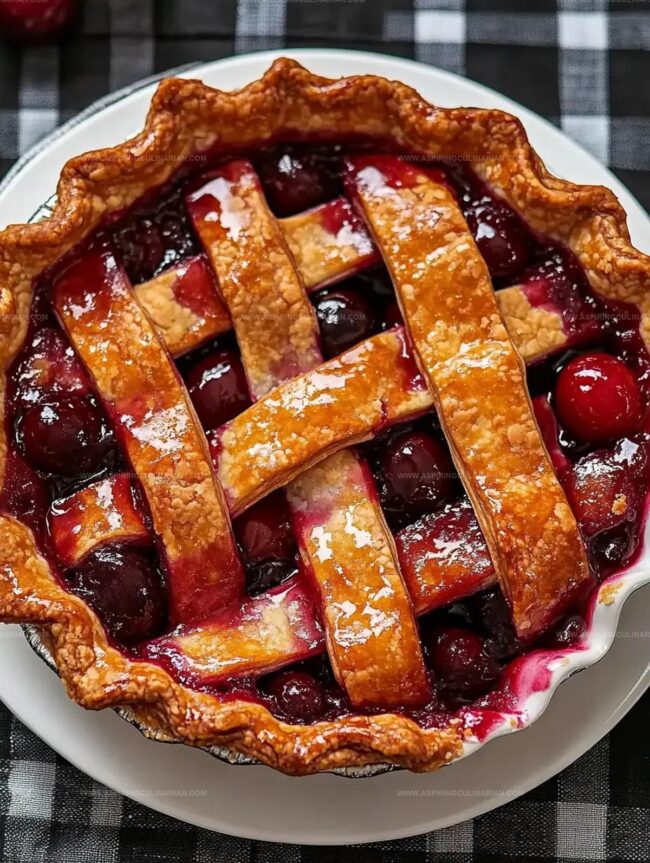
Transfer the vibrant mixture into your prepared pie shell, spreading it evenly.
Step 2: Crown Your Pie
Carefully drape the top crust over the cherry filling.
Trim any overhanging edges with a sharp knife.
Press the edges to seal the pie’s beautiful border.
Pop the pie into the refrigerator and chill for half an hour to help the crust set perfectly.
Step 3: Golden Glaze
For an extra touch of bakery magic, whisk an egg wash.
Using a pastry brush, gently paint the chilled crust with the glossy mixture.
This will give your pie a stunning, sun-kissed golden sheen.
Step 4: Bake to Perfection
Slide the pie into a preheated oven.
Bake at a hot 400°F, watching as the crust transforms to a rich golden color.
After an hour, loosely cover with aluminum foil to prevent over-browning.
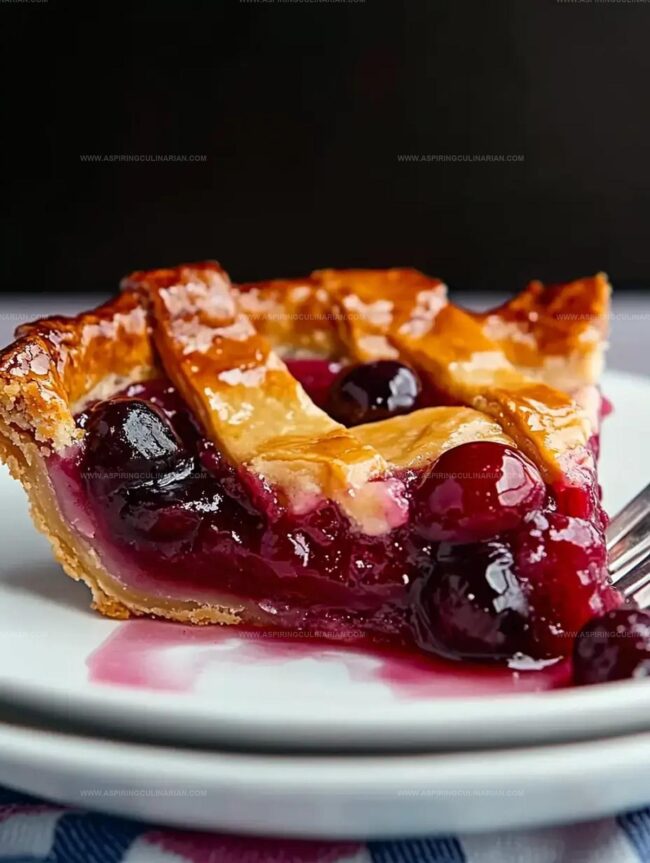
Continue baking for an additional 15 minutes until the center bubbles with sweet, jammy goodness.
Step 5: Patient Cooling
Allow your masterpiece to rest and cool completely.
This takes about 3 hours, bringing the temperature down to a perfect 85°F.
Resist the temptation to slice too soon – patience ensures a beautifully set filling that won’t run when cut.
Tips for Sweet Cherry Filling Success
Cherry Filling Variations to Try
Serving Sweet Cherry Filling Ideas
How to Store Sweet Cherry Filling
FAQs
Use tapioca starch instead of cornstarch. It helps thicken the filling and creates a more stable texture that won’t become watery when baking.
Yes, absolutely! Thaw frozen cherries completely and drain excess liquid before mixing with other filling ingredients to ensure the right consistency.
Chilling helps the pie crust maintain its shape, prevents shrinking, and allows the butter in the crust to firm up, which creates flakier, more beautiful pastry layers.
Look for a golden brown crust and bubbling filling in the center. The bubbling indicates the filling has reached the right temperature and the thickening agents are fully activated.
Print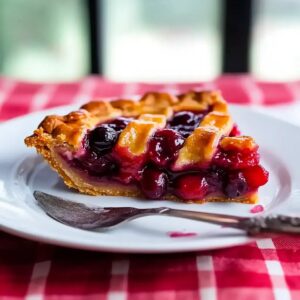
Classic Cherry Pie Recipe
- Total Time: 1 hour 35 minutes
- Yield: 8 1x
Description
Sweet cherry goodness fills this classic cherry pie with layers of nostalgia and homemade comfort. Juicy cherries nestled in a buttery, flaky crust will transport you to grandma’s kitchen, promising a slice of pure, delightful indulgence.
Ingredients
Fruits:
- 28 ounces (794 grams) pitted cherries
- 5 heaping cups pitted cherries
Sweeteners and Seasonings:
- 1 cup (200 grams) sugar
- 2 tablespoons (30 milliliters) fresh lemon juice
- 3/4 teaspoon Diamond Crystal kosher salt
- 1/8 teaspoon kosher salt (optional)
Thickening and Crust Agents:
- 1/3 cup plus 1 teaspoon (47 grams) tapioca starch
- Double pie crust dough
Optional Egg Wash:
- 1 large egg (optional)
- 1 large egg yolk (optional)
- 1 tablespoon (15 milliliters) heavy cream (optional)
Instructions
- Gently fold fresh cherries with zesty lemon juice, granulated sugar, and delicate tapioca starch, ensuring even coating without crushing the fruit. Transfer the vibrant mixture into prepared pie shell.
- Carefully drape the top pastry crust over the filled pie, trimming excess dough with precision. Refrigerate the assembled pie for 30 minutes to stabilize the structure.
- Whisk an egg wash and delicately brush the chilled pastry surface, creating a glossy, golden finish that enhances visual appeal.
- Preheat oven to 400F. Position pie in center rack and bake for initial 45 minutes until edges turn amber-brown. Shield exposed crust edges with aluminum foil to prevent excessive browning.
- Continue baking for additional 30 minutes, watching for center filling to bubble and thicken, indicating complete cooking process.
- Remove pie from oven and allow natural cooling for approximately 3 hours, permitting filling to set and stabilize. Slice when internal temperature reaches around 85F for perfect texture and clean cuts.
Notes
- Enhance Fruit Flavor Add a splash of almond extract to the cherry filling for deeper, more complex taste without overpowering the natural cherry sweetness.
- Prevent Soggy Bottom Sprinkle a thin layer of ground almonds or breadcrumbs on the bottom crust before adding filling to absorb excess moisture and maintain a crisp texture.
- Make It Dietary-Friendly Swap traditional pie crust with gluten-free or whole wheat alternatives to accommodate different dietary needs without compromising the rich, fruity essence of the pie.
- Perfect Texture Trick Allow filling to sit for 15 minutes after mixing to help tapioca starch fully absorb liquid, ensuring a perfectly thickened and glossy cherry filling.
- Prep Time: 20 minutes
- Cook Time: 1 hour 15 minutes
- Category: Desserts
- Method: Baking
- Cuisine: American
Nutrition
- Serving Size: 8
- Calories: 220
- Sugar: 18g
- Sodium: 150mg
- Fat: 8g
- Saturated Fat: 3g
- Unsaturated Fat: 4g
- Trans Fat: 0g
- Carbohydrates: 35g
- Fiber: 2g
- Protein: 2g
- Cholesterol: 30mg
Lena Martinez
Contributing Writer & Culinary Educator
Expertise
Southwestern and Latin American cuisines, Vegetarian and plant-based recipe development, Culinary education and community outreach
Education
Santa Fe Community College, Santa Fe, NM
Certificate in Culinary Arts
Emphasized Southwestern cuisine and sustainable cooking practices
Lena grew up surrounded by the colors, spices, and traditions of the Southwest – flavors that sparked her love for bold, honest cooking. After earning her Culinary Arts certificate at Santa Fe Community College, she made it her mission to teach home cooks how to create flavorful, plant-powered meals without the fuss.
Her recipes are packed with vibrant ingredients, simple steps, and the kind of heart that turns a regular meal into something you’ll want to share. Outside the kitchen, Lena spends her time wandering farmers’ markets, trading family recipes, and helping young chefs find their voice through food.