
The Perfect Cookie Monster Ice Cream Recipe for Sweet Smiles
Sweet dreams come alive with this wildly colorful cookie monster ice cream that promises pure childhood nostalgia and creamy blue delight.
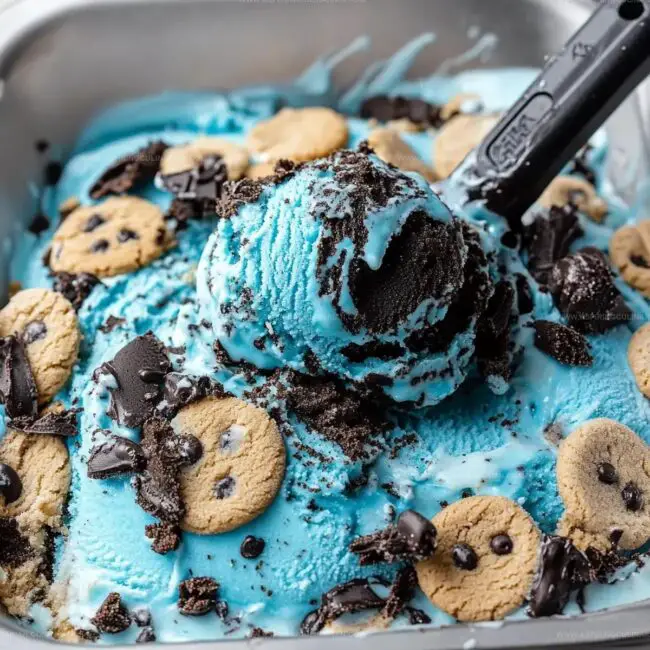
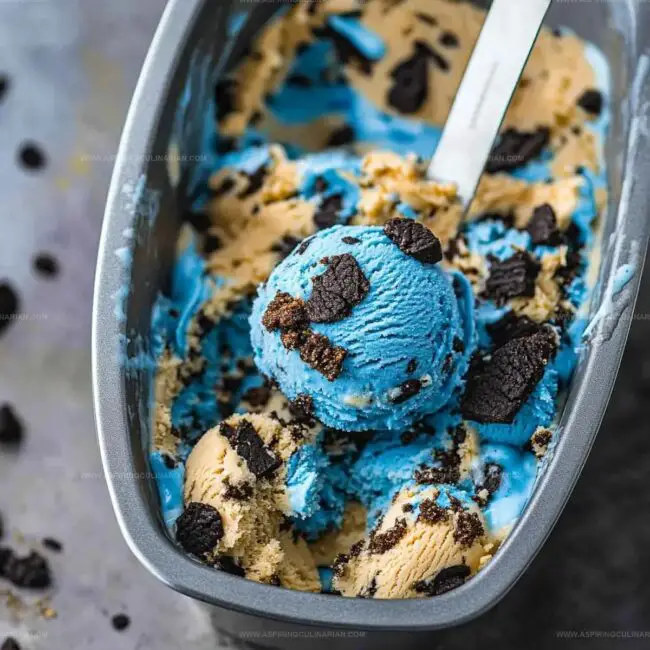
Soft, playful, and packed with cookie chunks, this dessert captures the essence of everyone’s favorite fuzzy blue character.
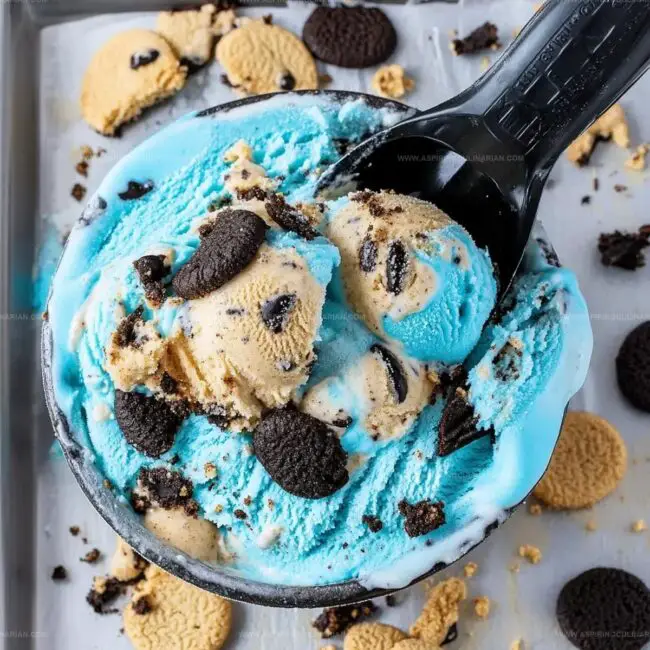
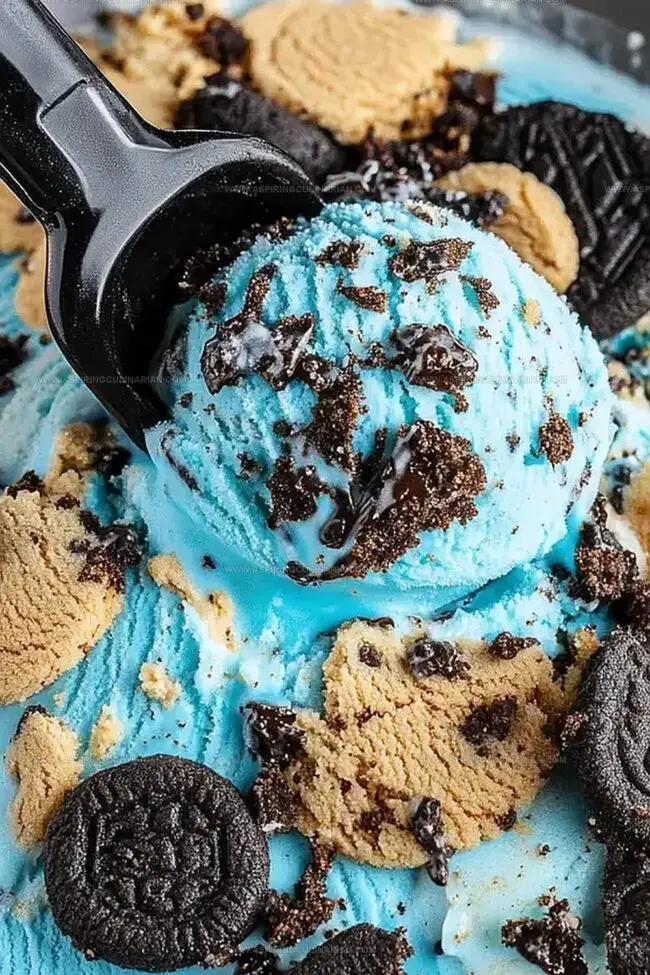
Vibrant blue hues swirl through a rich, creamy base, creating a visual treat that stops people in their tracks.
Crumbled chocolate chip cookies add delightful texture and crunch to every spoonful.
Kids and adults alike will fall head over heels for this whimsical frozen dessert that transforms ordinary ice cream into an extraordinary experience.
The best part?
You can whip up this magical treat in your own kitchen with just a few simple ingredients.
One scoop of this dreamy creation will transport you straight back to the most joyful moments of childhood.
Cookie Monster Ice Cream Flavor Fun
Cookie Monster Ice Cream Ingredient Rundown
Main Ingredients:Cookies:Flavor and Color Enhancers:Making Cookie Monster Ice Cream at Home
Step 1: Whip Up the Creamy Base
In a large mixing bowl, grab your heavy cream and start whisking it with vanilla extract.
Pour in a splash of blue food coloring to create that signature Cookie Monster vibe.
Keep whipping until the cream forms beautiful, tall peaks that stand up proudly when you lift the whisk.
Step 2: Blend the Smooth Foundation
Gently pour in the sweetened condensed milk and mix on low speed.
The mixture should become smooth and dreamy.
Add extra blue food coloring if you want a more vibrant Cookie Monster blue.
Stir until everything is perfectly combined and looks like a magical blue cloud.
Step 3: Crush and Fold Cookies
Time to get playful!
Grab your favorite cookies and chop them into chunky pieces:Softly fold these cookie pieces into the blue cream mixture.
Be gentle to keep some cookie chunks intact for awesome texture.
Step 4: Create Your Frozen Masterpiece
Select a loaf pan or 8-inch cake pan.
Pour the blue cookie-filled mixture into the pan.
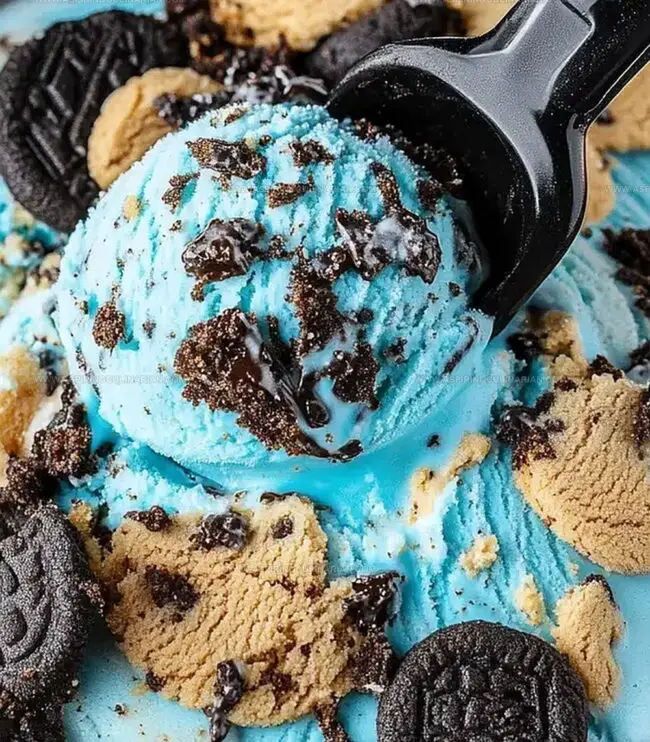
Sprinkle additional cookie pieces on top for extra crunch and visual appeal.
Make sure the surface looks fun and inviting.
Step 5: Freeze and Chill
Cover the pan completely with plastic wrap or a tight-fitting lid.
Place in the freezer and let the magic happen.
Wait at least 6 hours, but overnight is best for the most incredible texture and flavor development.
Pro Tips for Cookie Monster Ice Cream

Tasty Cookie Monster Ice Cream Ideas
Fun Ways to Serve Cookie Monster Ice Cream
Keeping Cookie Monster Ice Cream Fresh
FAQs
The name comes from its bright blue color, inspired by the famous Sesame Street character who loves cookies, and the abundant cookie chunks mixed throughout the dessert.
Absolutely! While Oreos and Chips Ahoy are traditional, you can substitute with chocolate chip cookies, chocolate sandwich cookies, or any cookie you enjoy.
Start with a small amount of blue food coloring and gradually add more until you reach the desired Cookie Monster blue shade. Gel food coloring works best for vibrant colors.
Yes! Kids love the bright blue color, sweet taste, and cookie pieces. It’s a fun dessert that’s easy to make and sure to bring smiles to children and adults alike.
Print
Cookie Monster Ice Cream Recipe
- Total Time: 6 hours 15 minutes
- Yield: 8 1x
Description
Indulgent Cookie Monster ice cream blends childhood nostalgia with creamy blue delight. Sweet vanilla base packed with cookie chunks creates a playful dessert that delights both kids and adults.
Ingredients
Cookies:
- 20 Oreo cookies, chopped
- 15 Chips Ahoy cookies, chopped
Dairy and Sweeteners:
- 1 can (14 ounces / 396 grams) sweetened condensed milk
- 2 cups (1 pint / 473 milliliters) heavy whipping cream
Flavor and Color Enhancers:
- 1 tablespoon vanilla extract
- 1/2 teaspoon blue gel food coloring
Instructions
- Whip cream with vanilla extract and blue food coloring until fluffy peaks emerge, using an electric mixer at high speed for approximately 3-4 minutes.
- Gradually incorporate condensed milk into the whipped cream mixture, blending on low speed until smooth and uniform in color, adjusting blue food coloring for desired intensity.
- Delicately fold chopped Oreo and Chips Ahoy cookies into the creamy base, ensuring even distribution without deflating the whipped texture.
- Transfer the vibrant blue cookie-studded mixture into a chilled loaf pan, smoothing the surface with a spatula and garnishing with additional cookie fragments for visual appeal.
- Securely cover the pan with plastic wrap or a tight-fitting lid, then place in the freezer for a minimum of 6 hours, ideally allowing it to set overnight for optimal consistency and flavor melding.
Notes
- Select high-quality food coloring for vibrant blue shade without bitter aftertaste.
- Use gel-based food coloring for more intense color and less liquid interference.
- Crush cookies into varied sizes for textural interest and better distribution throughout ice cream.
- Try different cookie combinations like chocolate chip, birthday cake, or graham crackers for unique flavor profiles.
- Prep Time: 15 minutes
- Cook Time: 6 hours
- Category: Desserts, Snacks
- Method: Freezing
- Cuisine: American
Nutrition
- Serving Size: 8
- Calories: 380
- Sugar: 26g
- Sodium: 150mg
- Fat: 23g
- Saturated Fat: 14g
- Unsaturated Fat: 7g
- Trans Fat: 0g
- Carbohydrates: 41g
- Fiber: 1g
- Protein: 4g
- Cholesterol: 80mg
Lena Martinez
Contributing Writer & Culinary Educator
Expertise
Southwestern and Latin American cuisines, Vegetarian and plant-based recipe development, Culinary education and community outreach
Education
Santa Fe Community College, Santa Fe, NM
Certificate in Culinary Arts
Emphasized Southwestern cuisine and sustainable cooking practices
Lena grew up surrounded by the colors, spices, and traditions of the Southwest – flavors that sparked her love for bold, honest cooking. After earning her Culinary Arts certificate at Santa Fe Community College, she made it her mission to teach home cooks how to create flavorful, plant-powered meals without the fuss.
Her recipes are packed with vibrant ingredients, simple steps, and the kind of heart that turns a regular meal into something you’ll want to share. Outside the kitchen, Lena spends her time wandering farmers’ markets, trading family recipes, and helping young chefs find their voice through food.