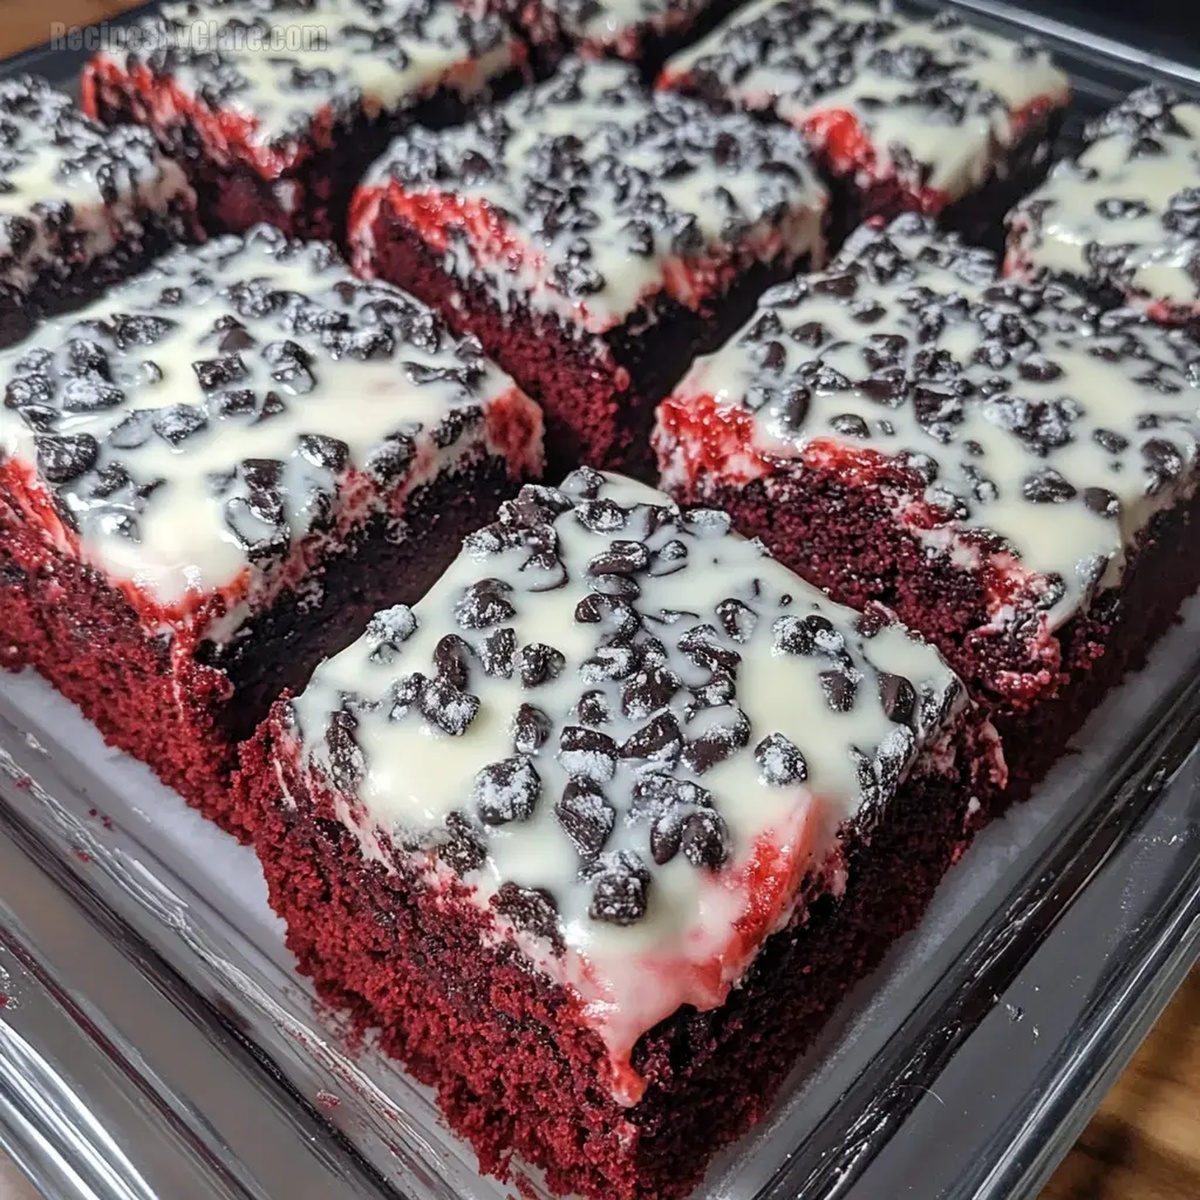
Luxurious Cookies Cream Red Velvet Brownies Recipe for Sweet Bliss
Creamy cookies and red velvet blend beautifully in these decadent brownies that promise pure indulgence.
Chocolate lovers will swoon over this rich, velvety dessert.
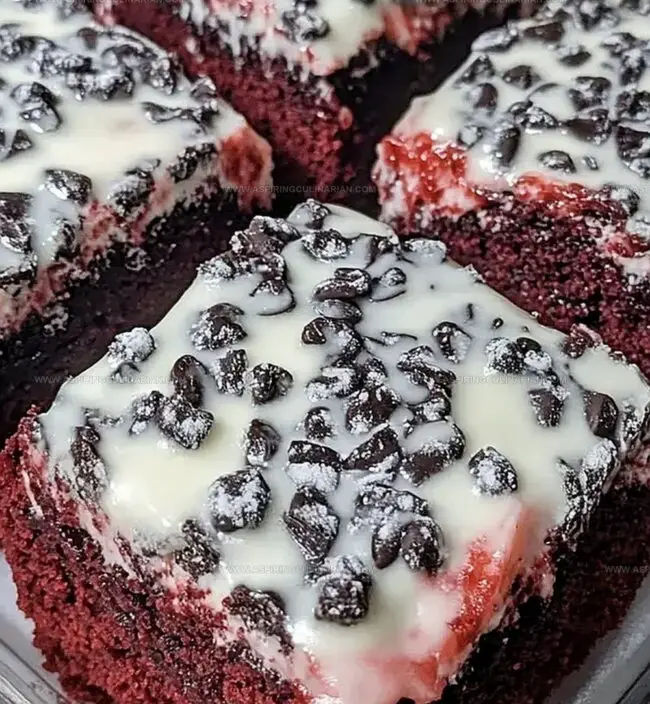
Soft, fudgy textures create an irresistible symphony of flavors.
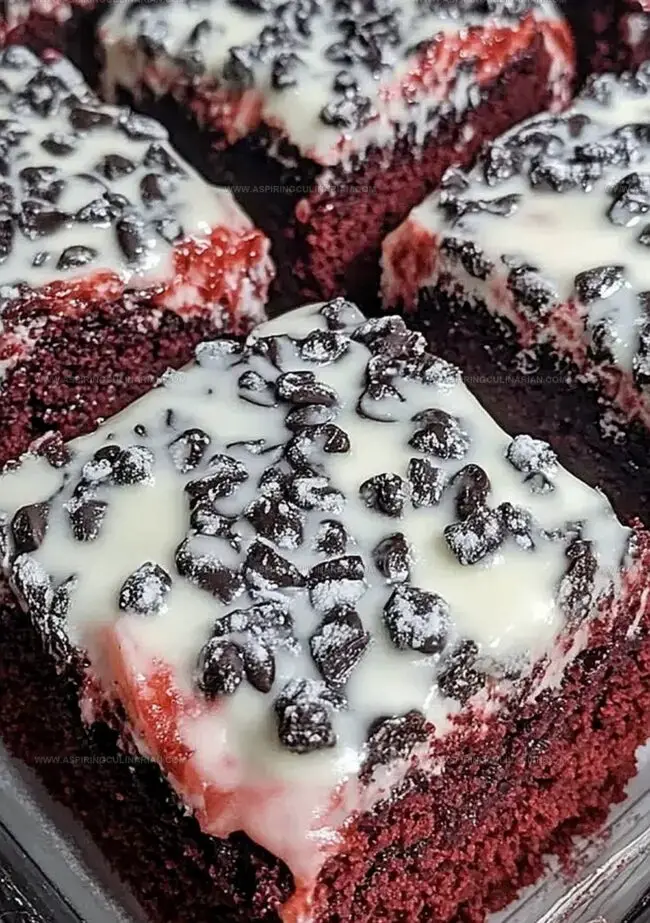
Layers of crimson cake and smooth cream cheese frosting make each bite extraordinary.
Surprising combinations elevate this classic treat into something magical.
Our simple recipe guarantees success, even for novice bakers.
You’ll fall in love with these mouthwatering brownies that merge two beloved desserts into one spectacular creation.
Cookies & Cream Red Velvet Brownies: Swirl of Joy
Brownie Ingredient Rundown
Main Ingredients:Mix-In Ingredients:Flavor Enhancers:Make Your Own Cookies & Cream Brownies

Step 1: Prepare Baking Station
Warm up your oven to 350F (175C).
Grab a 9×9-inch pan and coat it with cooking spray or line with parchment paper for easy removal.
Step 2: Create Delicious Batter
Grab a mixing bowl and combine:Whisk everything together until the mixture looks smooth and glossy with no lumps.
Step 3: Add Delightful Mix-Ins
Carefully stir in these yummy ingredients:Fold gently to keep the texture light and prevent overmixing.
Step 4: Transfer And Bake
Spread the vibrant red batter evenly across the prepared pan.
Make sure it reaches all corners for uniform baking.
Slide the pan into the preheated oven.
Step 5: Check Brownie Doneness
Bake for 25-30 minutes.
The brownies are ready when a toothpick inserted in the center comes out with a few moist crumbs.
This ensures a fudgy, rich texture.
Step 6: Cool And Slice
Remove from oven and let the brownies rest on a wire rack.
Allow them to cool completely before cutting into square pieces.
This helps them set perfectly.
Step 7: Serve And Savor
Cut into squares and serve.
These red velvet brownies with cookies and cream are perfect for dessert lovers who enjoy rich, indulgent treats.
Brownie Pro Tips for Swirls
Flavorful Brownie Mix-Ins
Serve Brownies to Impress
Store Brownies for Dessert
FAQs
You can substitute red velvet with chocolate cake mix for a similar rich result, but the color and slight cocoa flavor will change.
Look for slightly crisp edges, a set center that’s not jiggly, and a toothpick with a few moist crumbs when inserted – this indicates they’re perfectly done.
Classic original Oreo cookies are ideal, but you can also use Double Stuf or Birthday Cake Oreos for extra flavor and texture variation.
Yes, if using a different pan size, reduce or increase baking time by 5-minute increments and check doneness with a toothpick to prevent over or underbaking.
Print
Cookies Cream Red Velvet Brownies Recipe
- Total Time: 45 minutes
- Yield: 12 1x
Description
Indulgent cookies and cream red velvet brownies blend classic Southern charm with modern dessert innovation. Rich chocolate layers and creamy cookie crumbles create a luxurious treat you’ll crave after the first irresistible bite.
Ingredients
Cookies & Cream Red Velvet Brownies
Primary Ingredients:
- 1 box red velvet cake mix (15.25 ounces / 432 grams)
- 2 large eggs
- 1/2 cup unsalted butter, melted (113 grams)
Flavor Enhancers:
- 1 teaspoon vanilla extract
- 1 cup white chocolate chips (170 grams)
Texture Add-ins:
- 1 cup crushed Oreo cookies (about 10–12 cookies) (120 grams)
Instructions
- Prepare the baking vessel by greasing a 9×9-inch pan or lining it with parchment paper, then set the oven temperature to 350°F (175°C).
- Create a smooth batter by whisking together the red velvet cake mix, melted butter, eggs, and vanilla extract until fully incorporated and free of lumps.
- Enhance the mixture by gently incorporating white chocolate chips and crushed Oreo cookies, ensuring even distribution throughout the batter.
- Transfer the batter to the prepared pan, spreading it uniformly to create an even layer that will bake consistently.
- Place the pan in the preheated oven and bake for 25-30 minutes, checking doneness by inserting a toothpick into the center – it should emerge with a few moist crumbs clinging to it.
- Remove from the oven and allow the brownies to cool completely on a wire rack, which helps set the texture and makes cutting easier.
- Once cooled, slice into square portions and serve, revealing the decadent cookies and cream red velvet interior.
Notes
- Customize the boxed mix by adding a splash of buttermilk or sour cream for extra moisture and tangy flavor.
- Try different Oreo varieties like double-stuffed or mint to create unique flavor profiles.
- Ensure even baking by rotating the pan halfway through cooking time and checking doneness with a clean toothpick.
- Store brownies in an airtight container at room temperature for up to 3 days, or refrigerate for extended freshness.
- Prep Time: 15 minutes
- Cook Time: 30 minutes
- Category: Desserts, Snacks
- Method: Baking
- Cuisine: American
Nutrition
- Serving Size: 12
- Calories: 309 kcal
- Sugar: 27 g
- Sodium: 210 mg
- Fat: 17 g
- Saturated Fat: 9 g
- Unsaturated Fat: 7 g
- Trans Fat: 0.2 g
- Carbohydrates: 37 g
- Fiber: 1 g
- Protein: 3 g
- Cholesterol: 45 mg
Nathaniel Brooks
Founder & Recipe Developer
Expertise
Farm-to-table cuisine, Seasonal recipe development, Culinary storytelling
Education
Ivy Tech Community College – Indianapolis, IN
Culinary Arts / Hospitality Administration & Events
Focused on hands-on training in classical and modern culinary techniques.
Nathaniel’s story starts in the foothills of the Appalachian Mountains, where farm stands, backyard gardens, and old family recipes shaped his love for real food. After graduating from Ivy Tech Community College in Indianapolis, he spent years working in farm-to-table kitchens, learning how to turn local, seasonal ingredients into something memorable.
Today, Nathaniel pours that same spirit into every single recipe on Aspiring Culinarian – recipes that feel real, comforting, and connected to the land. When he’s not in the kitchen, you’ll find him foraging wild herbs, chasing sunsets with his camera, or writing about the flavors that shaped his roots.