
The Dreamiest Cream Cheese Red Velvet Cookies Recipe Ever
Decadent red velvet magic meets creamy cheese in these irresistible cream cheese red velvet cookies that will steal your heart.
Soft, luxurious, and packed with vibrant color, these treats promise pure indulgence.
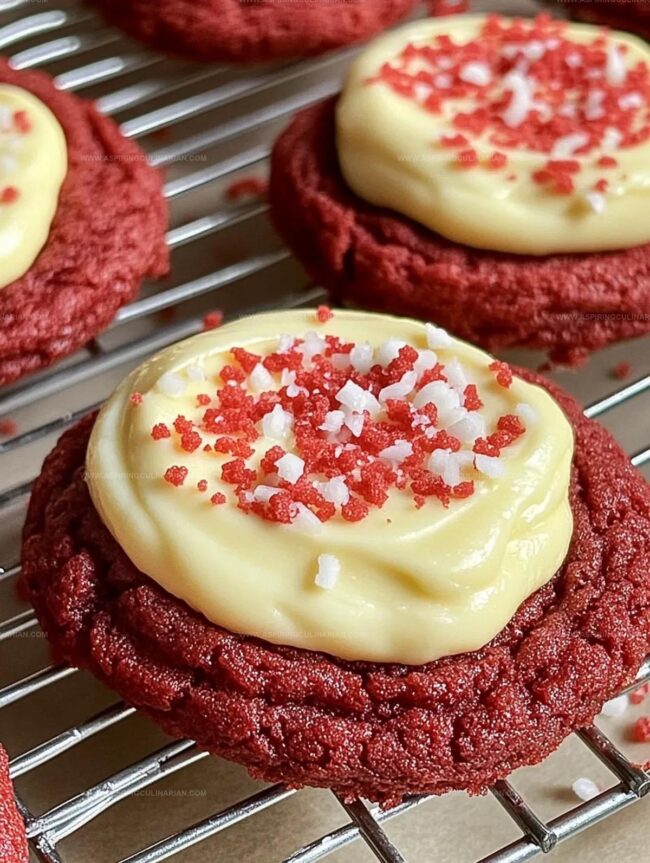
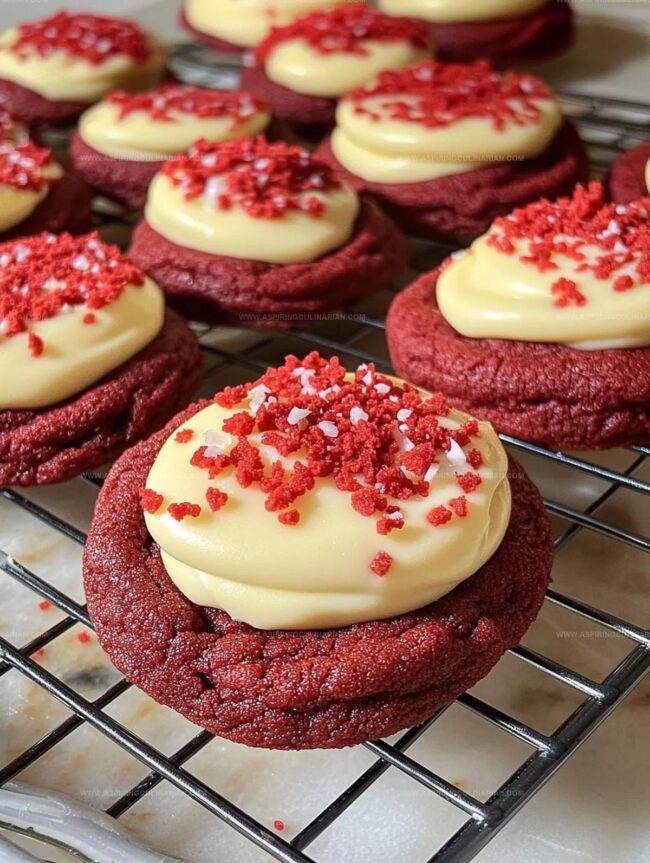
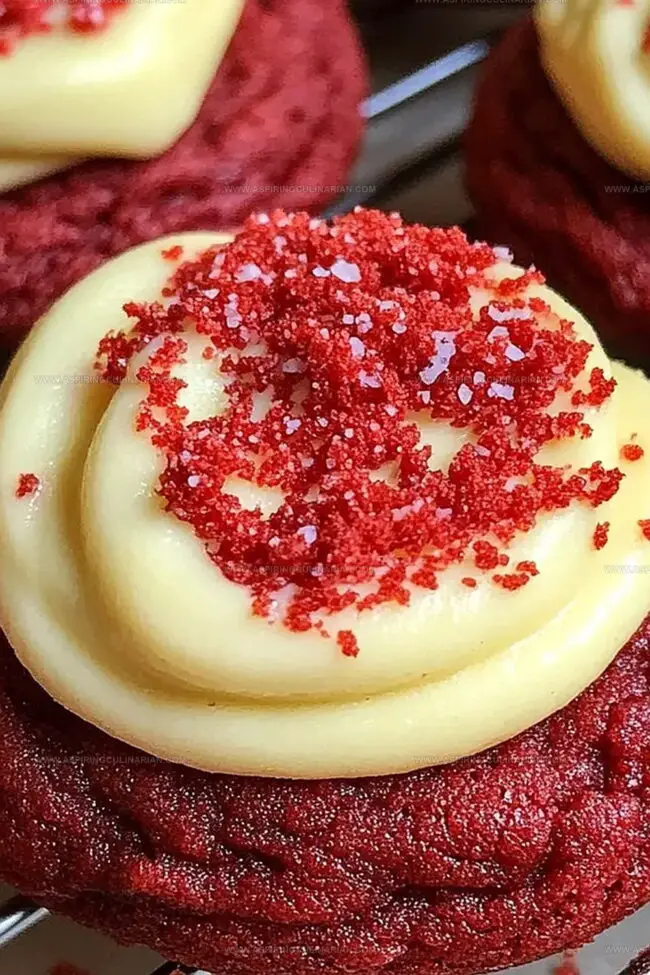
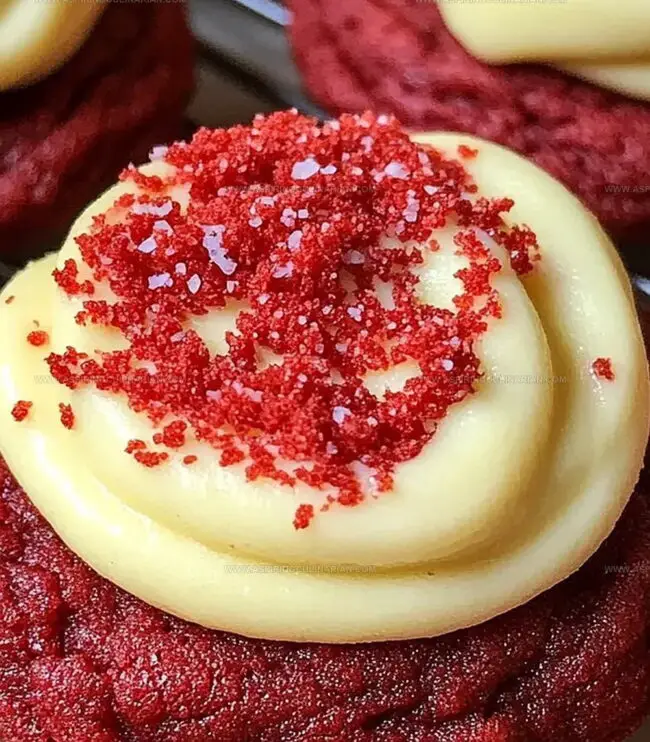
Deep crimson dough swirls with tangy cream cheese, creating a harmonious blend of flavors.
Each bite delivers a rich, velvety texture that melts perfectly on your tongue.
The subtle hint of cocoa adds depth and complexity to these delightful morsels.
Chocolate lovers and dessert enthusiasts will find these cookies impossible to resist.
Prepare to elevate your baking game with this show-stopping recipe that’s sure to impress.
Why You’ll Love Red Velvet Cookie Bites
Everything Needed for Red Velvet Cookie Success
Core Ingredients:Coloring and Flavoring:Dry Ingredients:Filling Ingredients:Baking Red Velvet Cookies the Easy Way
Step 1: Craft Creamy Centers
In a mixing bowl, blend soft cream cheese with powdered sugar and vanilla until silky smooth.
Using a tiny spoon, dollop:Freeze these little clouds on a parchment-lined plate for half an hour until solid.
Step 2: Combine Dry Ingredients
Grab another bowl and gently whisk together:Set this powdery mixture aside.
Step 3: Create Cookie Base
In a large bowl, cream butter and sugar until fluffy and light.
Blend in:Mix until the batter turns a vibrant crimson shade.
Step 4: Merge Ingredients
Slowly fold dry ingredients into wet mixture.
Stir gently until just combined.
The dough will feel thick and luscious.
Step 5: Chill Dough
Wrap cookie dough in plastic and refrigerate for 30 minutes to firm up.
Step 6: Warm the Oven
Heat oven to 350F.
Line baking sheets with parchment paper.
Step 7: Build Cookie Packages
Pull out chilled dough and frozen cream cheese centers.
Take a spoonful of dough, flatten slightly.
Place cream cheese center in middle, wrap dough completely around it.
Roll into a perfect ball.
Step 8: Position Cookies
Arrange cookie balls on baking sheet, leaving space between each one.
Step 9: Bake to Perfection
Slide into oven, bake 10-12 minutes.
Edges should look set, centers slightly soft.
Step 10: Rest and Enjoy
Let cookies rest on baking sheet for 5 minutes.
Transfer to cooling rack.
Savor the gooey, creamy centers when completely cool.
Tricks for Perfect Red Velvet Cookies Every Time
Fun Flavor Swaps for Red Velvet Cookies
Creative Serving Ideas for Red Velvet Cookies
Keeping Red Velvet Cookies Fresh and Soft
FAQs
Freezing the cream cheese filling helps it maintain its shape and prevents it from melting too quickly during baking, ensuring a creamy center in each cookie.
Yes, you can use natural cocoa powder, but the color and flavor might be slightly different from the recipe’s original intent.
Stop mixing as soon as the dry ingredients are just incorporated. Overmixing can lead to tough, dense cookies instead of soft, tender ones.
While it gives the classic red velvet color, you can skip it or use less if you prefer. The taste will remain the same.
Print
Cream Cheese Red Velvet Cookies Recipe
- Total Time: 1 hour 22 minutes
- Yield: 12 1x
Description
Sweet, rich red velvet meets creamy cheesecake in these irresistible cookies that blend classic Southern charm with contemporary dessert magic. Each bite delivers velvety texture and luxurious flavor you’ll crave again and again.
Ingredients
Main Ingredients:
- 1 1/4 cups (157 grams) all-purpose flour
- 1/2 cup (113 grams) unsalted butter, softened
- 3/4 cup (150 grams) granulated sugar
- 1 large egg
- 4 ounces (113 grams) cream cheese, softened
Flavor and Color Ingredients:
- 1/4 cup (25 grams) cocoa powder
- 1 tablespoon red food coloring
- 1 teaspoon vanilla extract
- 1/2 teaspoon vanilla extract
Dry Ingredients and Seasonings:
- 1 teaspoon baking powder
- 1/4 teaspoon salt
- 1/4 cup (30 grams) powdered sugar
Instructions
- Craft a luxurious cream cheese filling by blending softened cream cheese with powdered sugar and vanilla extract until silky smooth. Using a teaspoon, portion the mixture into 16-18 small dollops on a parchment-lined surface. Freeze for 30 minutes until solidified.
- Whisk flour, cocoa powder, baking powder, and salt in a medium bowl, creating a uniform dry mixture. Set aside for later incorporation.
- In a large mixing bowl, cream butter and granulated sugar until light and airy, approximately 2-3 minutes. Introduce egg, vanilla extract, and red food coloring, blending until a vibrant crimson hue emerges.
- Gently fold dry ingredients into the wet mixture, stirring on low speed until just combined. Avoid overmixing to maintain a thick, robust dough consistency.
- Encase dough in plastic wrap and refrigerate for 30 minutes to enhance flavor and texture.
- Preheat oven to 350F (175C). Line baking sheets with parchment paper or silicone mats for optimal cookie release.
- Extract chilled dough and frozen cream cheese portions. Flatten a tablespoon of dough in your palm, nestle a frozen cream cheese scoop in the center, and completely envelop it. Roll into a perfect sphere. Repeat until all dough is utilized.
- Arrange cookie spheres on prepared baking sheets, spacing them 2 inches apart to allow for spreading during baking.
- Bake for 10-12 minutes, ensuring edges are set while centers remain slightly soft. Monitor carefully to prevent overcooking.
- Allow cookies to rest on the baking sheet for 5 minutes, then transfer to a wire rack for complete cooling. The cream cheese centers will develop a delectable, creamy texture.
Notes
- Freeze cream cheese filling thoroughly to prevent leaking during baking, ensuring a perfect center in each cookie.
- Use gel food coloring for more vibrant red color without adding extra liquid that might affect dough consistency.
- Avoid overmixing cookie dough to keep cookies tender and prevent tough texture.
- For gluten-free version, substitute all-purpose flour with a 1:1 gluten-free baking blend to accommodate dietary restrictions.
- Prep Time: 1 hour 10 minutes
- Cook Time: 12 minutes
- Category: Desserts, Snacks
- Method: Baking
- Cuisine: American
Nutrition
- Serving Size: 12
- Calories: 176
- Sugar: 14 g
- Sodium: 102 mg
- Fat: 8 g
- Saturated Fat: 5 g
- Unsaturated Fat: 3 g
- Trans Fat: 0 g
- Carbohydrates: 23 g
- Fiber: 1 g
- Protein: 2 g
- Cholesterol: 25 mg
Lena Martinez
Contributing Writer & Culinary Educator
Expertise
Southwestern and Latin American cuisines, Vegetarian and plant-based recipe development, Culinary education and community outreach
Education
Santa Fe Community College, Santa Fe, NM
Certificate in Culinary Arts
Emphasized Southwestern cuisine and sustainable cooking practices
Lena grew up surrounded by the colors, spices, and traditions of the Southwest – flavors that sparked her love for bold, honest cooking. After earning her Culinary Arts certificate at Santa Fe Community College, she made it her mission to teach home cooks how to create flavorful, plant-powered meals without the fuss.
Her recipes are packed with vibrant ingredients, simple steps, and the kind of heart that turns a regular meal into something you’ll want to share. Outside the kitchen, Lena spends her time wandering farmers’ markets, trading family recipes, and helping young chefs find their voice through food.