Irresistible Dark Chocolate Cheesecake Brownies Recipe for Sweet Joy
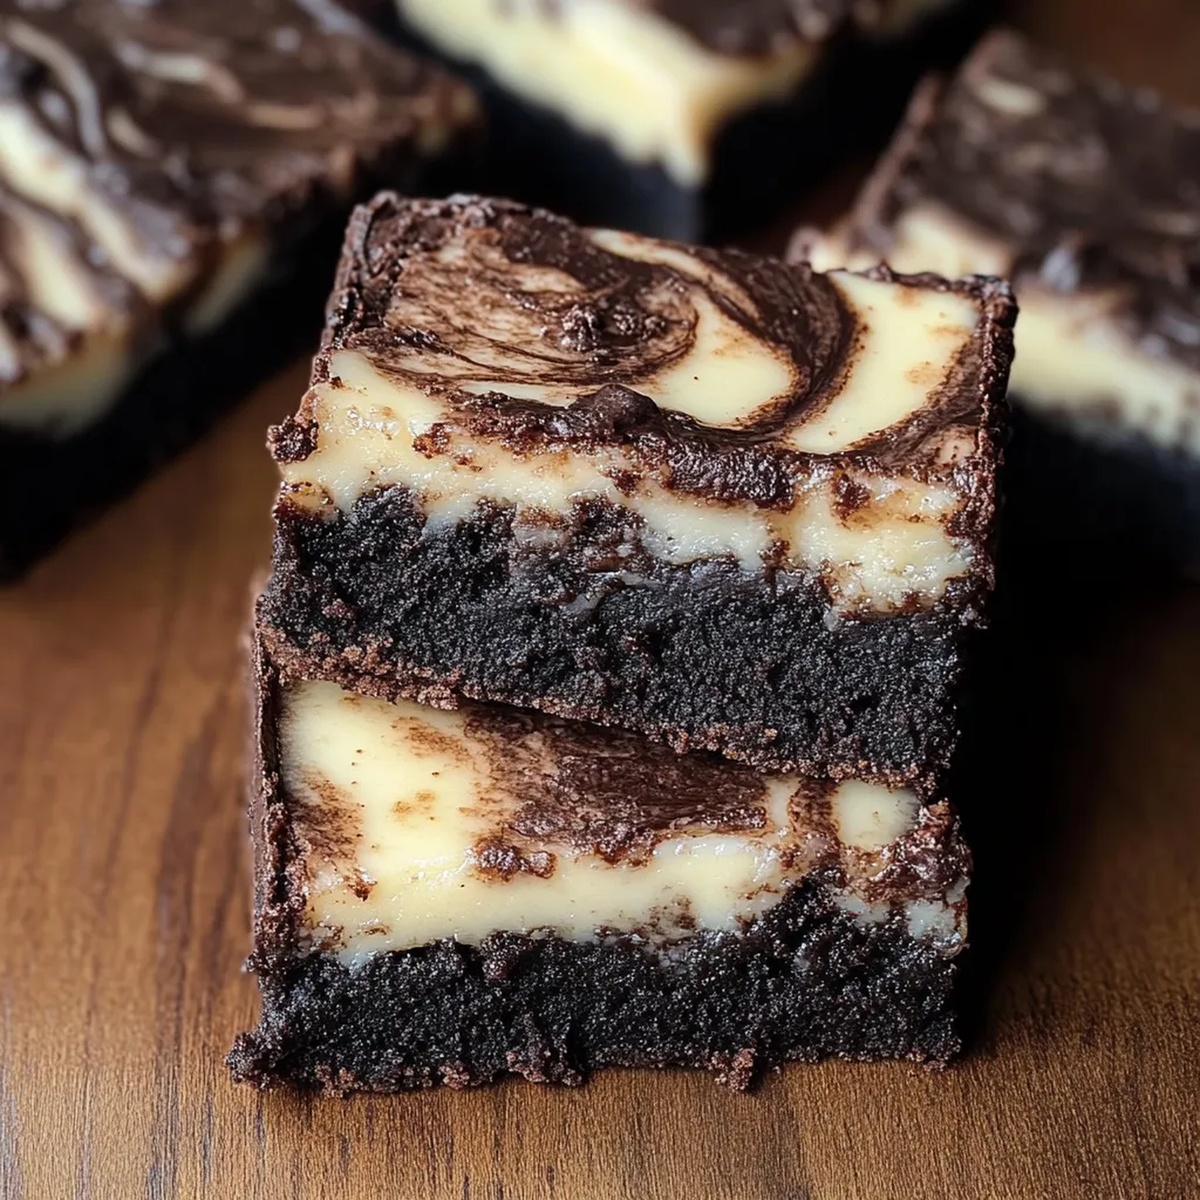
Decadent dark chocolate cheesecake brownies dance on the edge of dessert perfection, blending rich cocoa with creamy cheesecake swirls.
Every bite promises an indulgent experience that melts seamlessly across your palate.
chocolate lovers will swoon over this elegant dessert that balances intense dark chocolate with smooth cream cheese.
The recipe combines simple ingredients to create a luxurious treat that looks complicated but comes together with ease.
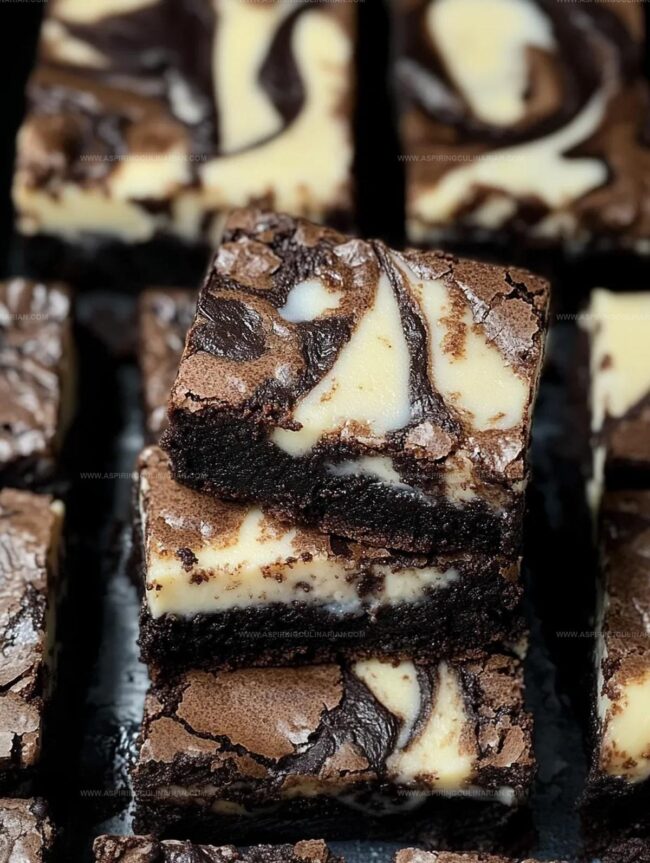
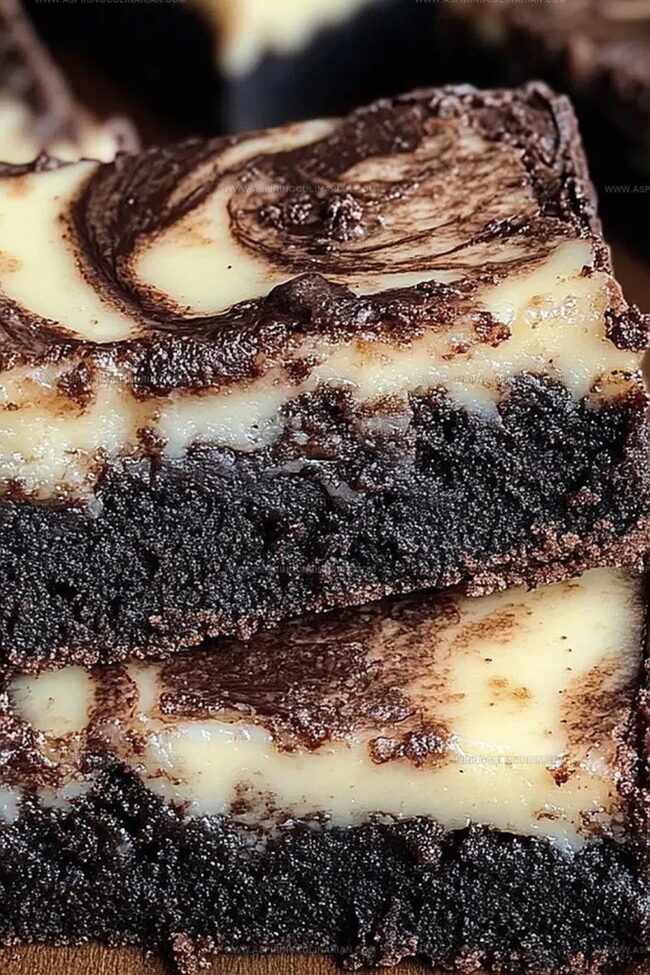
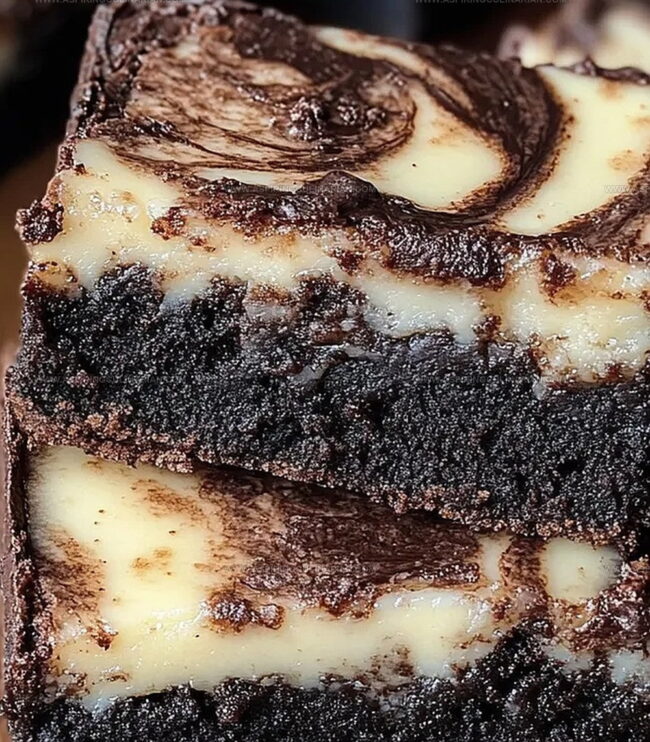
Layers of fudgy brownie and tangy cheesecake create a stunning visual and flavor contrast.
Elegant yet approachable, these brownies elevate your baking skills and guarantee applause from anyone lucky enough to taste them.
Prepare to impress with this irresistible chocolate masterpiece.
Dark Chocolate Cheesecake Brownies Why They’re Decadent
Dark Chocolate Cheesecake Brownies Ingredients to Gather
Chocolate Base:Dry Ingredients:Cheesecake Layer:How to Make Dark Chocolate Cheesecake Brownies Easily

Step 1: Warm Up the Oven
Get your oven nice and toasty at 350 degrees Fahrenheit.
Grab an 8×8 inch baking pan and line it with parchment paper, letting the edges hang over so you can easily lift out your delicious creation later.
Step 2: Craft the Brownie Base
Melt these goodies together in a microwave-safe bowl:Whisk in sugar until it’s smooth and dreamy.
Add eggs one at a time, mixing thoroughly after each.
Stir in vanilla.
Gently fold in:Mix until everything just comes together – don’t overmix!
Step 3: Whip Up the Creamy Cheesecake Layer
In a separate bowl, beat cream cheese and sugar until they’re silky smooth.
Add egg and vanilla, mixing until just combined.
Step 4: Layer Your Masterpiece
Spread about three-quarters of the brownie batter across the pan.
Dollop the cheesecake mixture on top.
Sprinkle remaining brownie batter in small spoonfuls.
Step 5: Create Beautiful Swirls
Take a knife or skewer and gently dance it through the layers, creating a stunning marbled pattern.
Be gentle – you want beautiful swirls, not a mixed-up mess!
Step 6: Bake to Perfection
Slide the pan into the oven and bake for 25-30 minutes.
You’ll know it’s ready when the edges look set but the center still has a slight wiggle.
Step 7: Chill and Slice
Let the brownies cool completely in the pan.
Pop them in the refrigerator for at least two hours.
When you’re ready to serve, use a knife dipped in hot water for clean, beautiful slices.
Dark Chocolate Cheesecake Brownies Top Baking Wisdom
Fresh Ideas for Dark Chocolate Cheesecake Brownies
Serving Dark Chocolate Cheesecake Brownies for Any Occasion
Keeping Dark Chocolate Cheesecake Brownies Delicious
FAQs
The combination of dense, fudgy brownie base with creamy cheesecake swirls creates a rich, indulgent texture that’s both soft and decadent.
Dark chocolate provides a deeper, more intense flavor that complements the cheesecake layer. Milk chocolate would make the brownies sweeter and less complex in taste.
Look for set edges but a slightly jiggly center. Overbaking will dry out the brownies, so watch carefully and remove when they’re just done.
Print
Dark Chocolate Cheesecake Brownies Recipe
- Total Time: 1 hour
- Yield: 12 1x
Description
Indulgent dark chocolate cheesecake brownies blend rich cocoa with creamy cheesecake swirls, creating a dessert that dances between intense chocolate and silky cream. One bite whisks you through layers of decadent flavor, promising pure bliss with each luxurious forkful.
Ingredients
Main Ingredients:
- 1 cup dark chocolate chips
- 2 large eggs
- 8 ounces (226 grams) cream cheese, softened
- 3/4 cup (150 grams) granulated sugar
Dry Ingredients:
- 2/3 cup (80 grams) all-purpose flour
- 2 tablespoons cocoa powder
- 1/4 teaspoon salt
Wet and Flavoring Ingredients:
- 1/2 cup (113 grams) unsalted butter
- 1 1/2 teaspoons vanilla extract
- 1 large egg
Instructions
- Preheat the oven to 350°F (175°C) and prepare an 8×8″ baking pan by lining it with parchment paper, ensuring overhanging edges for easy brownie removal.
- Create the brownie base by melting dark chocolate chips and butter together in a microwave-safe bowl or double boiler until completely smooth and glossy. Incorporate sugar thoroughly, then add eggs individually, mixing well after each addition. Blend in vanilla extract carefully.
- Gently fold flour, cocoa powder, and salt into the chocolate mixture until just combined, avoiding overmixing to maintain a rich, fudgy texture.
- Prepare the cheesecake layer by beating cream cheese and sugar until achieving a smooth, creamy consistency. Introduce egg and vanilla extract, mixing until perfectly integrated.
- Distribute approximately three-quarters of the brownie batter evenly across the prepared pan, creating a uniform base layer. Strategically place dollops of cheesecake mixture over the brownie foundation.
- Scatter remaining brownie batter in small spoonfuls across the cheesecake layer, creating an artistic pattern.
- Using a knife or skewer, delicately swirl the two batters together, generating a beautiful marbled effect without overblending and losing distinct patterns.
- Bake in the preheated oven for 25-30 minutes, watching for set edges and a slightly jiggly center, which indicates perfect moisture retention.
- Remove from oven and allow complete cooling at room temperature, then refrigerate for minimum 2 hours to enhance flavor and texture.
- Slice into squares using a sharp knife rinsed with hot water between cuts for clean, precise edges.
Notes
- Chocolate Selection Matters Choose high-quality dark chocolate with 60-70% cocoa content for rich, deep flavor without overwhelming bitterness.
- Room Temperature Ingredients Ensure cream cheese, eggs, and butter are at room temperature to create smoother, more consistent batter with fewer lumps.
- Swirling Technique Use gentle figure-eight motions when creating marbled effect to maintain distinct color and texture boundaries without completely blending layers.
- Make Ahead Friendly These brownies actually taste better after chilling overnight, allowing flavors to meld and texture to become more dense and fudgy.
- Prep Time: 30 minutes
- Cook Time: 30 minutes
- Category: Desserts, Snacks
- Method: Baking
- Cuisine: American
Nutrition
- Serving Size: 12
- Calories: 245
- Sugar: 14 g
- Sodium: 150 mg
- Fat: 15 g
- Saturated Fat: 9 g
- Unsaturated Fat: 4 g
- Trans Fat: 0 g
- Carbohydrates: 27 g
- Fiber: 1 g
- Protein: 3 g
- Cholesterol: 55 mg
Lena Martinez
Contributing Writer & Culinary Educator
Expertise
Southwestern and Latin American cuisines, Vegetarian and plant-based recipe development, Culinary education and community outreach
Education
Santa Fe Community College, Santa Fe, NM
Certificate in Culinary Arts
Emphasized Southwestern cuisine and sustainable cooking practices
Lena grew up surrounded by the colors, spices, and traditions of the Southwest – flavors that sparked her love for bold, honest cooking. After earning her Culinary Arts certificate at Santa Fe Community College, she made it her mission to teach home cooks how to create flavorful, plant-powered meals without the fuss.
Her recipes are packed with vibrant ingredients, simple steps, and the kind of heart that turns a regular meal into something you’ll want to share. Outside the kitchen, Lena spends her time wandering farmers’ markets, trading family recipes, and helping young chefs find their voice through food.