Sweet Easter Egg Cookie Dough Bites Recipe – Fun Spring Treats
Chocolate-lovers go crazy for these delightful Easter egg cookie dough bites that pack a sweet and nostalgic punch.
No baking required means you can whip up these treats in minutes.
These bite-sized morsels deliver pure indulgence without any raw egg risks.
Each morsel combines rich chocolate chips with creamy, smooth dough that melts in your mouth.
The playful Easter egg shape adds a festive touch to this simple dessert.
Kids and adults alike will adore these no-fuss, delectable little bites.
Grab a batch and watch them disappear in record time.
Easter Egg Cookie Dough Bites Guaranteed To Please Everyone
Ingredients For Baking Easter Egg Cookie Dough Bites
Base Ingredients:Sweet Mix-Ins:Optional Coating and Flavor Enhancers:Making Easter Egg Cookie Dough Bites The Easy Way
Step 1: Prepare Dry Base
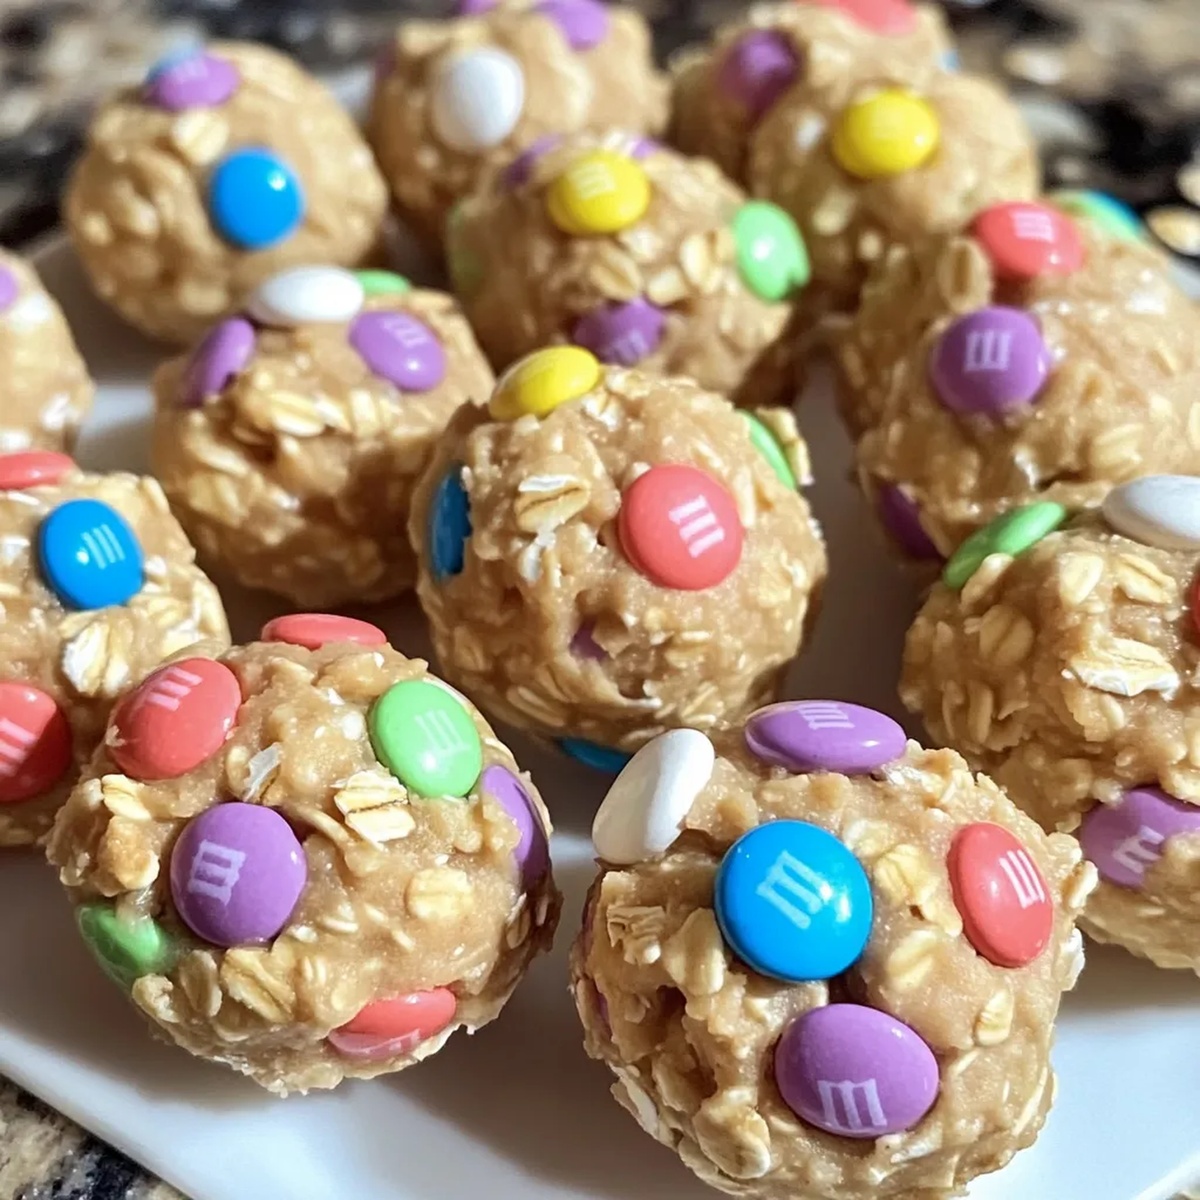
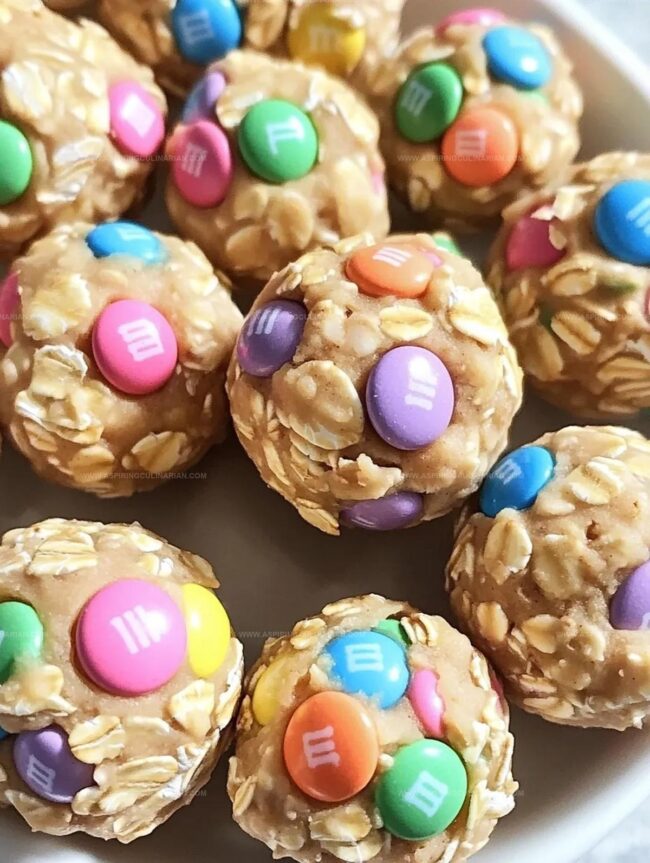
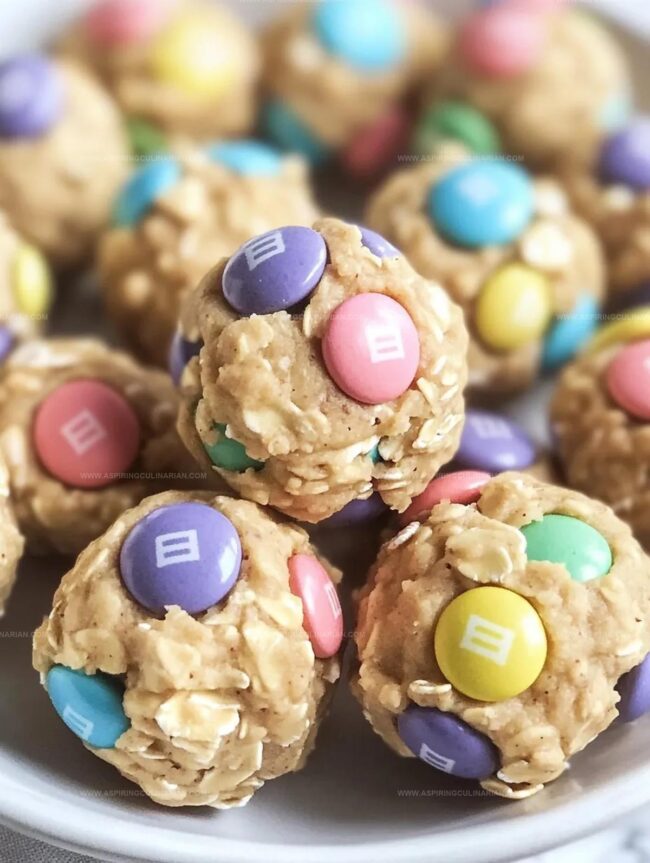
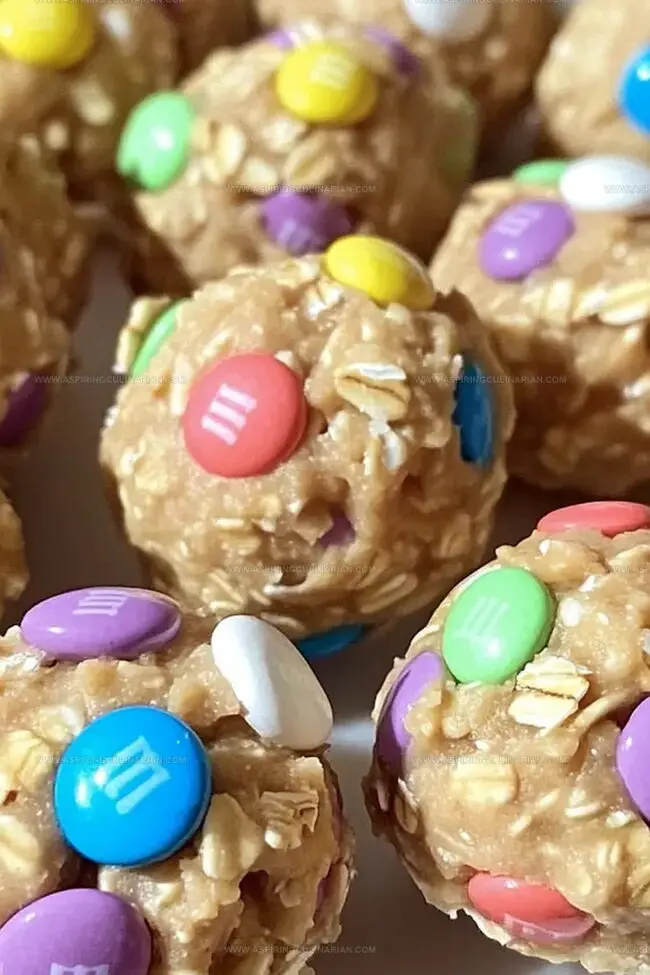
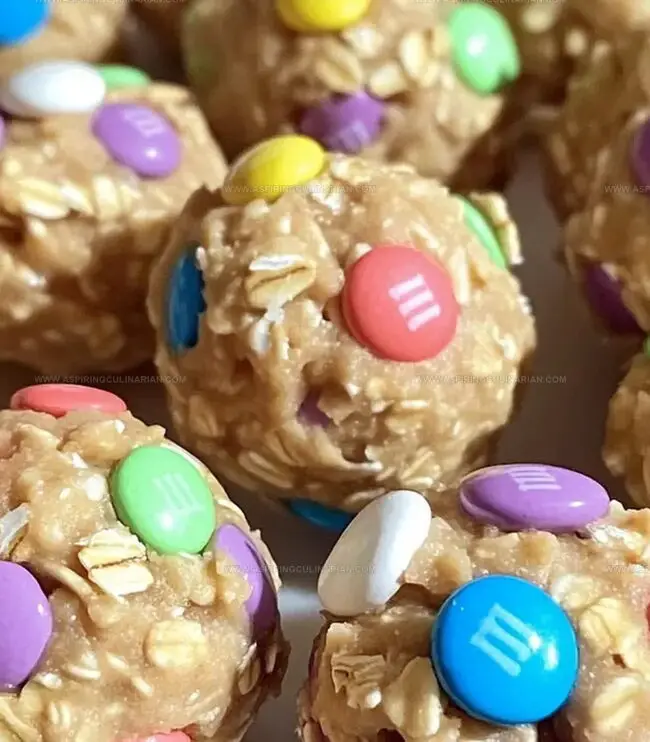
In a medium bowl, combine oats, white chocolate chips, and pastel M&Ms.
Mix these colorful ingredients thoroughly to create a festive foundation for your cookie dough bites.
Step 2: Create Sticky Binding
In a separate bowl, whisk peanut butter and honey until they form a smooth, glossy mixture.
Add a splash of vanilla extract and a pinch of salt to enhance the flavor profile.
Step 3: Merge Mixtures
Pour the peanut butter and honey blend over the dry ingredients.
Stir vigorously until every oat and candy piece becomes coated, creating a cohesive dough that holds together when pressed.
Step 4: Shape Delightful Bites
Using clean hands, gently roll the mixture into small, bite-sized spheres.
If the dough feels too sticky, pop it in the refrigerator for 10-15 minutes to firm up before shaping.
Step 5: Optional Decorative Coating
For extra texture, roll the formed bites in shredded coconut, creating a delicate white exterior that mimics an Easter egg’s smooth surface.
Step 6: Chill and Set
Transfer the cookie dough bites to a plate or baking sheet.
Refrigerate for at least 30 minutes, allowing them to become firm and develop a satisfying bite.
Step 7: Serve and Store
Enjoy these delectable treats immediately or store in an airtight container in the refrigerator.
They’ll stay fresh and delicious for up to one week – perfect for springtime snacking!
Tricks For Perfect Easter Egg Cookie Dough Bites Results
New Takes On Easter Egg Cookie Dough Bites Available
Serve Easter Egg Cookie Dough Bites Anytime Anywhere
Easter Egg Cookie Dough Bites Storage Guide For You
FAQs
Yes, they are safe because they don’t contain raw eggs. The recipe uses peanut butter and honey as binding ingredients, making them a no-bake treat that can be enjoyed without cooking.
You can substitute almond butter or sunflower seed butter for a similar texture and binding effect. Just ensure the alternative spread has a thick, creamy consistency.
Refrigerate the mixture for 10-15 minutes before rolling. This helps firm up the ingredients and makes them easier to shape into bite-sized balls. Cold hands can also help prevent sticking.
Print
Easter Egg Cookie Dough Bites Recipe
- Total Time: 1 hour 5 minutes
- Yield: 12 1x
Description
Chocolate-drenched Easter egg cookie dough bites bring nostalgic springtime sweetness to dessert lovers. Smooth, rich morsels packed with festive charm promise a delightful indulgence you cannot resist.
Ingredients
Main Ingredients:
- 1 cup oats
- 1/2 cup white chocolate chips
- 1/2 cup pastel M&Ms
- 1/4 cup peanut butter
Binding Ingredients:
- 1/4 cup honey
Flavor Enhancers:
- 1 teaspoon vanilla extract
- 1 pinch salt
Coating (Optional):
- Shredded coconut
Instructions
- Prepare a mixing station with two bowls: one for dry ingredients and another for wet components, ensuring all items are at room temperature.
- In the dry ingredient bowl, thoroughly combine oats, white chocolate chips, and pastel M&Ms, creating a colorful base mixture.
- In a separate bowl, whisk peanut butter and honey until achieving a smooth, glossy consistency, then incorporate vanilla extract and salt for enhanced flavor depth.
- Gently pour the wet ingredients over the dry mixture, stirring methodically to ensure complete and even coating of all elements.
- Test the mixture’s binding capability by pressing a small amount together; if it crumbles, continue mixing until it holds a cohesive form.
- Using lightly moistened hands, carefully craft uniform bite-sized spheres approximately one inch in diameter, working quickly to prevent mixture from becoming too warm.
- If the mixture feels overly sticky, refrigerate for 10-15 minutes to facilitate easier shaping.
- Optional: Roll each formed bite in shredded coconut for an additional textural layer and visual appeal.
- Arrange the completed bites on a chilled plate or parchment-lined tray, then refrigerate for a minimum of 30 minutes to solidify their structure.
- Once firm, serve immediately or transfer to an airtight container, storing in the refrigerator for up to one week to maintain optimal freshness and texture.
Notes
- Choose gluten-free oats to make these cookie dough bites suitable for those with gluten sensitivities.
- Swap peanut butter with almond or sunflower seed butter for nut-free alternatives that maintain the creamy texture.
- Use dairy-free white chocolate chips to create a vegan-friendly version of these festive treats.
- Try different mix-ins like dried fruit, chopped nuts, or dark chocolate chips to customize the flavor profile and add extra nutritional value.
- Prep Time: 20 minutes
- Cook Time: 45 minutes
- Category: Snacks, Desserts
- Method: Rolling
- Cuisine: American
Nutrition
- Serving Size: 12
- Calories: 150
- Sugar: 10 g
- Sodium: 50 mg
- Fat: 7 g
- Saturated Fat: 2 g
- Unsaturated Fat: 5 g
- Trans Fat: 0 g
- Carbohydrates: 20 g
- Fiber: 2 g
- Protein: 3 g
- Cholesterol: 0 mg
Lena Martinez
Contributing Writer & Culinary Educator
Expertise
Southwestern and Latin American cuisines, Vegetarian and plant-based recipe development, Culinary education and community outreach
Education
Santa Fe Community College, Santa Fe, NM
Certificate in Culinary Arts
Emphasized Southwestern cuisine and sustainable cooking practices
Lena grew up surrounded by the colors, spices, and traditions of the Southwest – flavors that sparked her love for bold, honest cooking. After earning her Culinary Arts certificate at Santa Fe Community College, she made it her mission to teach home cooks how to create flavorful, plant-powered meals without the fuss.
Her recipes are packed with vibrant ingredients, simple steps, and the kind of heart that turns a regular meal into something you’ll want to share. Outside the kitchen, Lena spends her time wandering farmers’ markets, trading family recipes, and helping young chefs find their voice through food.