Colorful Easter Poke Cake Recipe That Brightens Every Table
Springtime calls for sweet celebrations with this delightful Easter poke cake that bursts with pastel colors and creamy textures.
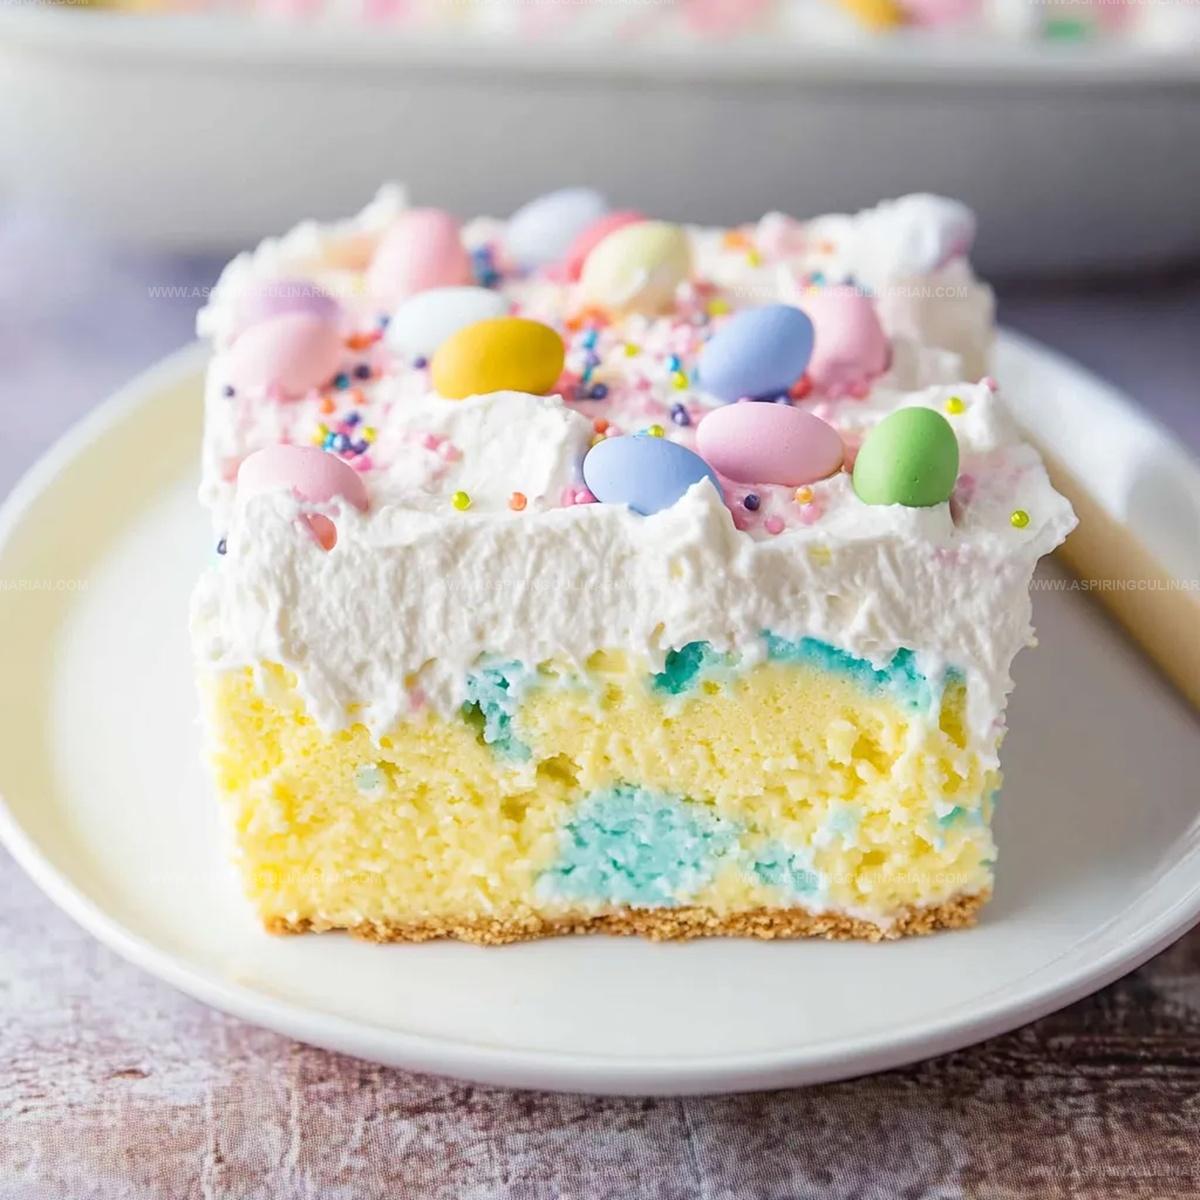
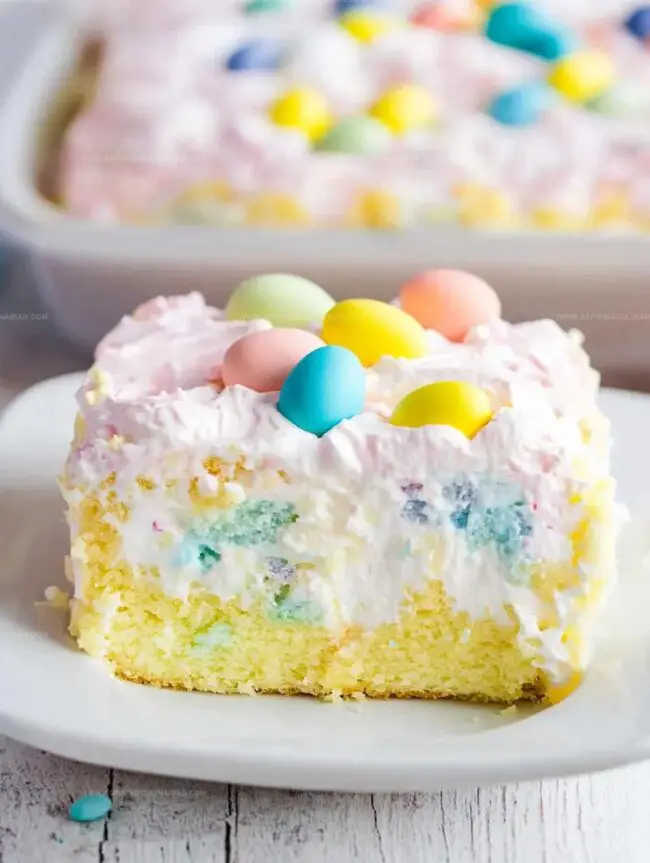
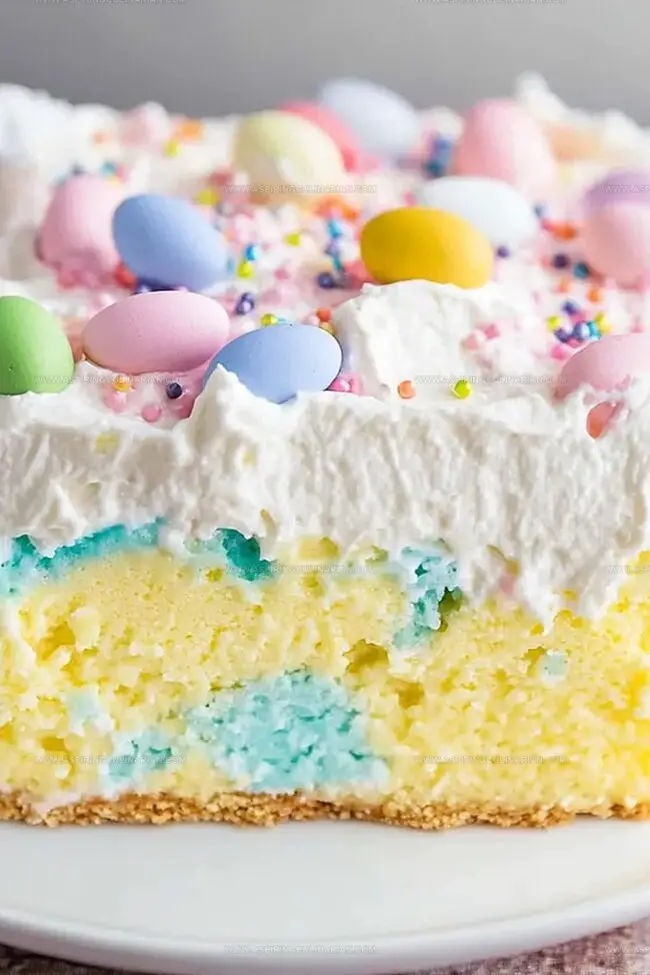
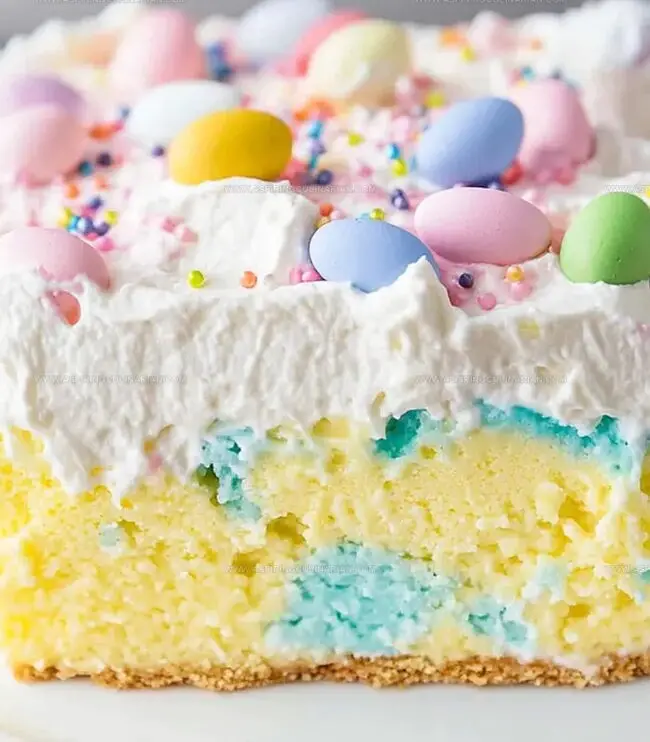
Layers of moist vanilla cake create a delectable canvas for vibrant flavors and festive decorations.
The gentle holes poked throughout the cake allow delicious fillings to seep into every delightful bite.
Creamy pudding and whipped topping transform this dessert into a heavenly treat that screams Easter joy.
Pastel sprinkles and soft marshmallow decorations add a playful touch to this crowd-pleasing dessert.
Each slice promises a symphony of flavors that will delight both kids and adults at your holiday gathering.
Dive into this simple yet spectacular dessert that captures the essence of spring’s most beloved celebration.
Easter Poke Cake Brings Big Smiles To Gatherings
Gather The Ingredients For Easter Poke Cake Fun
Cake Base:Pudding Layer:Topping and Decoration:How To Whip Up Easter Poke Cake Quickly

Step 1: Warm Up the Oven
Fire up your oven to a cozy 350F.
Grab a 9×13-inch glass baking dish and give it a quick spray of cooking oil.
Step 2: Whip Together the Cake Base
In a spacious mixing bowl, combine cake mix, fluffy egg whites, smooth vegetable oil, creamy greek yogurt, and silky milk.
Blend everything until the mixture looks perfectly smooth and dreamy.
Step 3: Create Pastel Magic
Divide your cake batter into three equal bowls.
Add a tiny drop of gel food coloring to each bowl:Stir gently until you achieve those soft, dreamy pastel colors.
Step 4: Swirl the Colorful Canvas
Dollop spoonfuls of each colored batter into the baking dish, dancing the colors together.
Use a butter knife to create a gentle marble effect, being careful not to overmix.
Step 5: Bake to Perfection
Slide the dish into the oven and bake for 23-28 minutes.
Check doneness by inserting a toothpick – it should come out clean or with just a few moist crumbs.
Let the cake cool completely.
Step 6: Poke and Prepare
Take a wooden spoon handle and create little holes across the entire cake, going about two-thirds deep.
Wiggle the handle slightly to make room for the upcoming pudding.
Step 7: Craft the Pudding Layer
In a mixing bowl, whisk together instant vanilla pudding mix and whole milk.
Beat for 2 minutes until it starts to thicken beautifully.
Step 8: Drench in Pudding
Pour the pudding over the cake, spreading it evenly.
Use a rubber spatula to help the pudding seep into those lovely holes.
Step 9: First Chill
Cover the cake and let it hang out in the refrigerator for 60-90 minutes until the pudding sets completely.
Step 10: Whip Up the Cream
In a clean bowl, beat heavy cream and granulated sugar.
Whip on medium-high speed until stiff, fluffy peaks form.
Step 11: Decorate with Flair
Spread the whipped cream across the chilled cake.
Sprinkle with:Step 12: Final Cooling
Cover the cake and let it chill in the refrigerator for at least 2 hours.
This allows all the flavors to mingle and get to know each other.
Tips For The Most Moist Easter Poke Cake
Creative Flavor Spins For Easter Poke Cake Lovers
Ways To Serve Easter Poke Cake On Holidays
Keeping Easter Poke Cake Soft Until Tomorrow
FAQs
A poke cake is a dessert where holes are made in a baked cake and then filled with pudding, syrup, or other liquid ingredients to create a moist and flavorful treat.
Gel food coloring provides more vibrant colors without adding extra liquid to the batter, which can affect the cake’s texture and consistency.
Greek yogurt works best because it’s thicker and adds more moisture and protein to the cake, but you can substitute with regular yogurt if needed, though the texture might be slightly different.
Print
Easter Poke Cake Recipe
- Total Time: 43 minutes
- Yield: 12 1x
Description
Chocolate-lovers rejoice with this Easter poke cake, a delightful dessert that promises pure indulgence. Rich chocolate layers infused with sweet marshmallow filling will make your holiday celebration deliciously memorable.
Ingredients
Cake:
- 15.25 ounces (432 grams) white cake mix
- 3 egg whites
- 1/2 cup (120 milliliters) vegetable oil
- 1/2 cup (120 grams) greek yogurt
- 3/4 cup (180 milliliters) whole milk
Coloring:
- Pink gel food coloring
- Yellow gel food coloring
- Blue gel food coloring
Pudding Layer:
- 5.1 ounces (145 grams) instant vanilla pudding mix
- 2 3/4 cups (660 milliliters) whole milk
Topping:
- 2 cups (480 milliliters) heavy cream
- 3 tablespoons granulated sugar
- 1 cup (80 grams) sweetened shredded coconut
- Easter sprinkles
- Mini eggs
Instructions
- Prepare the oven at 350°F and coat a 9×13-inch glass baking dish with grease.
- Combine cake mix, egg whites, vegetable oil, greek yogurt, and milk in a large bowl, blending until smooth and uniform in about 2 minutes.
- Separate the batter into three equal portions, adding gel food coloring (pink, yellow, blue) to create delicate pastel hues.
- Artfully distribute colored batters throughout the dish, creating a swirled marble pattern using a butter knife with gentle, minimal strokes.
- Bake for 23-28 minutes until a toothpick emerges clean or with minimal moist crumbs. Allow complete cooling.
- Using a wooden spoon handle, puncture holes across the cake’s surface, reaching approximately two-thirds deep and slightly widening each opening.
- Whisk instant vanilla pudding mix and whole milk for 2 minutes until it begins to thicken and develop a creamy consistency.
- Pour pudding over the cake, ensuring even distribution and gently pressing into the prepared holes using a rubber spatula.
- Refrigerate for 60-90 minutes until pudding sets completely.
- Whip heavy cream and granulated sugar using an electric mixer on medium-high speed until stiff peaks form, approximately 2 minutes.
- Apply whipped cream evenly across the chilled cake, then garnish with sweetened shredded coconut, festive Easter sprinkles, and miniature chocolate eggs.
- Refrigerate for a minimum of 2 hours to allow flavors to harmonize and develop a cohesive taste profile.
Notes
- Choose high-quality gel food coloring for vibrant yet soft pastel shades without altering cake batter consistency.
- Ensure cake is completely cooled before poking holes to prevent pudding from becoming runny and losing structure.
- Use room temperature ingredients like eggs and milk to create smoother, more evenly mixed cake batter.
- Try different pudding flavors like white chocolate or banana for unique taste variations that complement the Easter theme.
- Prep Time: 15 minutes
- Cook Time: 28 minutes
- Category: Desserts
- Method: Baking
- Cuisine: American
Nutrition
- Serving Size: 12
- Calories: 330
- Sugar: 18 g
- Sodium: 200 mg
- Fat: 20 g
- Saturated Fat: 12 g
- Unsaturated Fat: 6 g
- Trans Fat: 0 g
- Carbohydrates: 34 g
- Fiber: 1 g
- Protein: 4 g
- Cholesterol: 50 mg
Lena Martinez
Contributing Writer & Culinary Educator
Expertise
Southwestern and Latin American cuisines, Vegetarian and plant-based recipe development, Culinary education and community outreach
Education
Santa Fe Community College, Santa Fe, NM
Certificate in Culinary Arts
Emphasized Southwestern cuisine and sustainable cooking practices
Lena grew up surrounded by the colors, spices, and traditions of the Southwest – flavors that sparked her love for bold, honest cooking. After earning her Culinary Arts certificate at Santa Fe Community College, she made it her mission to teach home cooks how to create flavorful, plant-powered meals without the fuss.
Her recipes are packed with vibrant ingredients, simple steps, and the kind of heart that turns a regular meal into something you’ll want to share. Outside the kitchen, Lena spends her time wandering farmers’ markets, trading family recipes, and helping young chefs find their voice through food.