The Best Zesty Chicken Piccata Recipe for Home Chefs
Tender chicken breasts drenched in a zesty lemon piccata sauce bring pure culinary magic to your dinner table.
Weeknight cooking meets gourmet flavors with this easy chicken piccata recipe that promises restaurant-quality results.
Bright, tangy capers dance alongside golden-seared chicken, creating a symphony of taste and texture.
The simple yet sophisticated dish comes together in less than 30 minutes, making it perfect for busy home cooks.
Classic Italian-inspired techniques transform ordinary chicken into an extraordinary meal that will have everyone asking for seconds.
Each bite delivers a perfect balance of lemony brightness and rich, buttery notes.
Prepare to savor a dish that feels both comforting and elegant.
Easy Chicken Piccata Top Qualities

Easy Chicken Piccata Ingredient Rundown
Chicken:Coating and Seasoning:Sauce and Cooking Fats:Garnish:How to Make Easy Chicken Piccata

Step 1: Prep The Protein
Sprinkle chicken generously with lemon pepper and salt.
Gently dredge each piece in flour, ensuring a light, even coating that will create a crispy exterior when cooked.
Step 2: First Golden Sear
Heat a combination of butter and oil in a large skillet.
Carefully place two chicken pieces into the hot pan.
Cook until a beautiful golden-brown color develops, about 3-4 minutes per side.
Transfer the perfectly seared chicken to a waiting plate.
Step 3: Repeat The Searing Dance
Replicate the previous cooking process with fresh butter and oil for the remaining chicken pieces.
Remove these golden morsels and set aside.
Step 4: Craft The Luscious Sauce
Melt butter in the same skillet.
Quickly sauté garlic until fragrant.
Sprinkle in flour and whisk to create a smooth base.
Pour in white wine, scraping up those delicious browned bits from the pan.
Add chicken stock, bright lemon juice, and briny capers.
Let the sauce simmer and reduce, developing deep, complex flavors.
Step 5: Final Flavor Fusion
Stir in a final pat of butter to add richness and shine to the sauce.
Gently return the chicken to the pan, allowing it to warm through and absorb the tangy sauce.
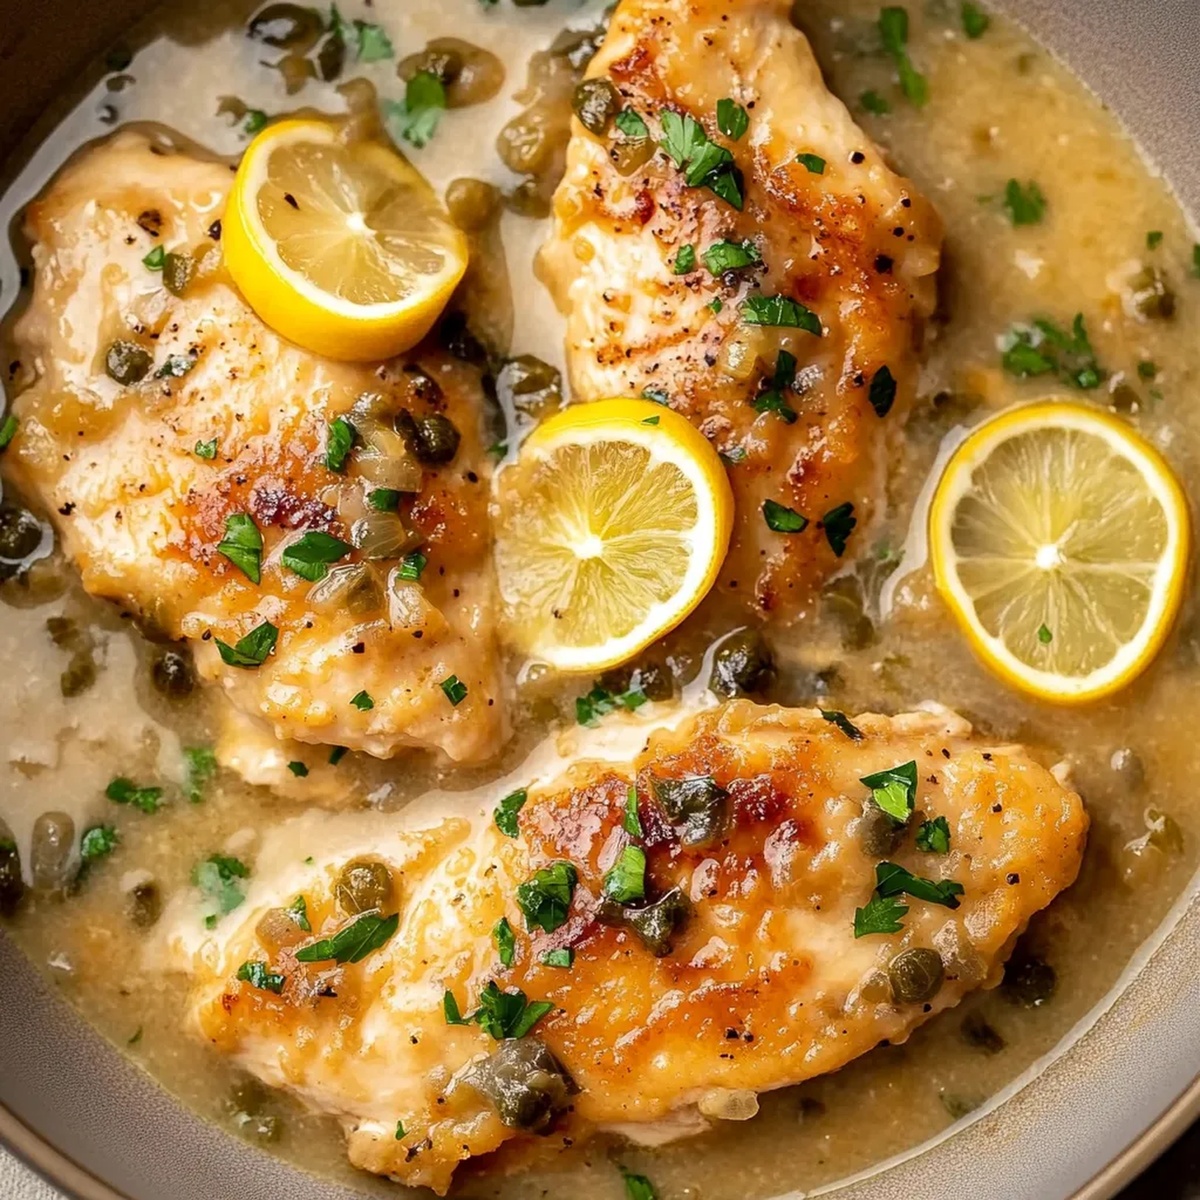
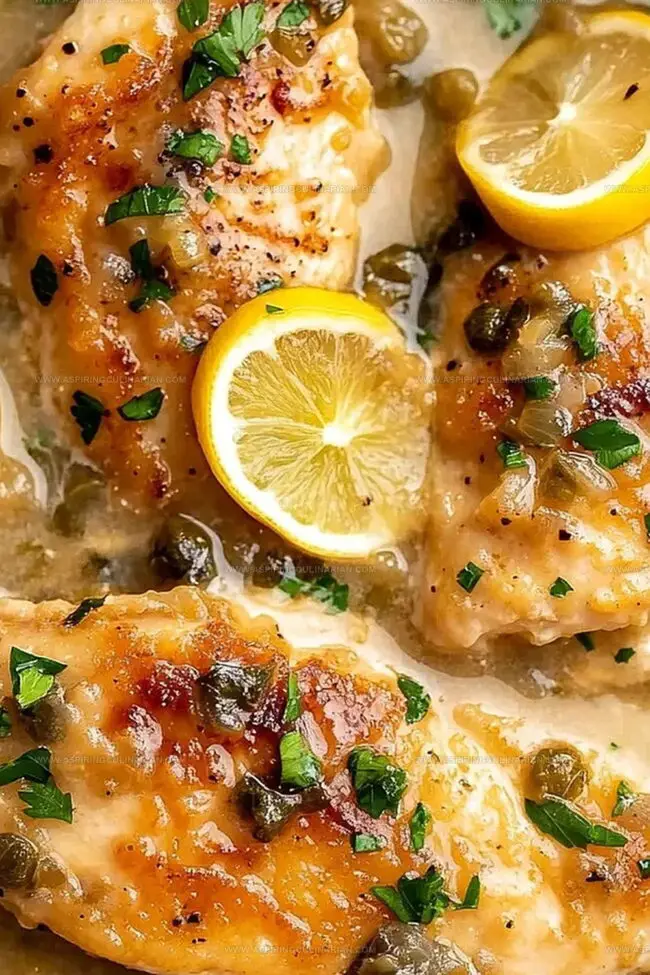
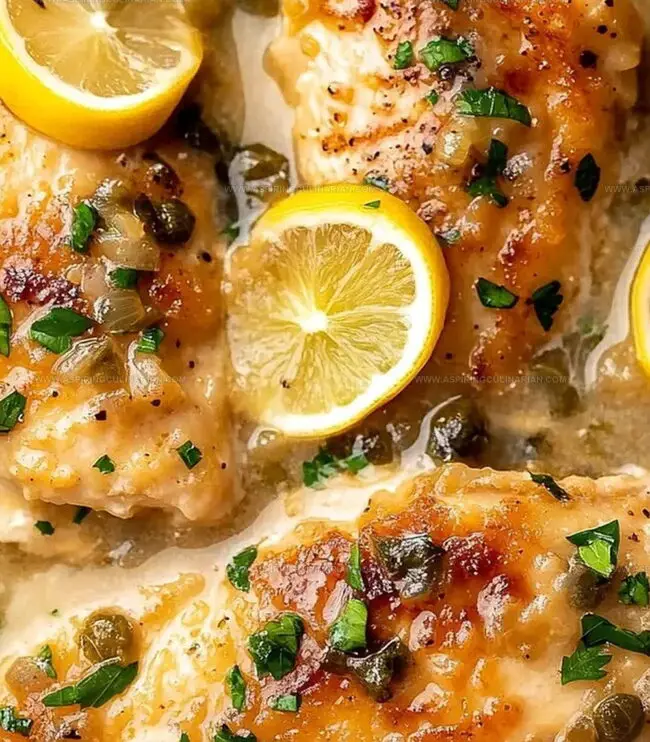
Scatter fresh chopped parsley over the top for a burst of color and freshness.
Serve immediately and watch everyone’s eyes light up with delight.
Tips for Juicy Chicken Piccata
Flavorful Options for Chicken Piccata
Plating Easy Chicken Piccata Creatively
Keeping Chicken Piccata Fresh
FAQs
Chicken piccata originated in Italy and became popular in the United States, combining tender chicken with a zesty lemon-butter sauce that creates a bright, tangy flavor profile.
Flouring the chicken helps create a golden, crispy exterior that seals in moisture and provides a delicious texture while also helping to thicken the sauce when the chicken is added back to the pan.
Capers add a briny, salty punch that cuts through the richness of the butter and complements the bright lemon flavor, providing a traditional Mediterranean taste to the dish.
Print
Easy Chicken Piccata Recipe
- Total Time: 35 minutes
- Yield: 4 1x
Description
Chicken piccata brings zesty Italian flavors to your dinner table with tender chicken bathed in a bright, tangy lemon sauce. Simple ingredients and quick preparation make this classic dish a perfect weeknight meal you’ll absolutely love.
Ingredients
Chicken:
- 1 pound (454 grams) chicken breasts, halved horizontally and pounded thin
- 1 teaspoon lemon pepper seasoning or lemon zest
- 0.25 teaspoon (1.25 milliliters) salt
- 0.25 cup (30 grams) all-purpose flour
Cooking Fats and Aromatics:
- 6 tablespoons (85 grams) butter, divided
- 2 tablespoons (30 milliliters) olive oil, divided
- 2 teaspoons minced garlic
Sauce and Garnish:
- 2 tablespoons (15 grams) all-purpose flour
- 1 cup (240 milliliters) chicken stock
- 0.25 cup (60 milliliters) dry white wine
- 2 tablespoons (30 milliliters) lemon juice
- 3 tablespoons capers, brined and rinsed
- 2 tablespoons fresh parsley, chopped
Instructions
- Prepare the chicken cutlets by sprinkling with lemon pepper and salt, then delicately dredge in flour until evenly coated.
- Warm a skillet with butter and oil over medium-high heat. Carefully place two chicken pieces and cook until a rich golden brown, approximately 3-4 minutes per side. Transfer cooked pieces to a waiting plate.
- Repeat the cooking process with additional butter and oil for the remaining chicken cutlets, ensuring each piece achieves a crispy, uniform color.
- Reduce heat and melt butter in the same skillet. Quickly sauté minced garlic for about 30 seconds, creating a fragrant base. Sprinkle flour and whisk to create a smooth roux.
- Pour white wine into the skillet, scraping any browned bits from the bottom. Add chicken stock, fresh lemon juice, and briny capers. Allow the sauce to simmer and reduce for 5 minutes, developing deep, complex flavors.
- Introduce the final tablespoon of butter to enrich the sauce’s texture and shine. Gently return chicken pieces to the skillet, letting them warm through and absorb the sauce’s flavors for an additional 5 minutes.
- Finish the dish by garnishing with freshly chopped parsley, adding a bright, herbaceous note to the rich, tangy sauce.
Notes
- Use a fine-mesh sieve to dust chicken evenly, preventing clumpy flour layers and ensuring a light, crispy exterior.
- Select fresh lemons and adjust acidity by tasting sauce before final simmer, preventing overly tart or bland flavors.
- Maintain medium-high heat for golden-brown chicken without burning, using a heavy-bottomed skillet for consistent cooking.
- Swap wheat flour with cornstarch or almond flour to create a celiac-friendly version with equally delicious results.
- Prep Time: 10 minutes
- Cook Time: 25 minutes
- Category: Dinner, Lunch
- Method: Frying
- Cuisine: Italian
Nutrition
- Serving Size: 4
- Calories: 400
- Sugar: 1 g
- Sodium: 800 mg
- Fat: 28 g
- Saturated Fat: 10 g
- Unsaturated Fat: 16 g
- Trans Fat: 0 g
- Carbohydrates: 25 g
- Fiber: 1 g
- Protein: 20 g
- Cholesterol: 100 mg
Lena Martinez
Contributing Writer & Culinary Educator
Expertise
Southwestern and Latin American cuisines, Vegetarian and plant-based recipe development, Culinary education and community outreach
Education
Santa Fe Community College, Santa Fe, NM
Certificate in Culinary Arts
Emphasized Southwestern cuisine and sustainable cooking practices
Lena grew up surrounded by the colors, spices, and traditions of the Southwest – flavors that sparked her love for bold, honest cooking. After earning her Culinary Arts certificate at Santa Fe Community College, she made it her mission to teach home cooks how to create flavorful, plant-powered meals without the fuss.
Her recipes are packed with vibrant ingredients, simple steps, and the kind of heart that turns a regular meal into something you’ll want to share. Outside the kitchen, Lena spends her time wandering farmers’ markets, trading family recipes, and helping young chefs find their voice through food.