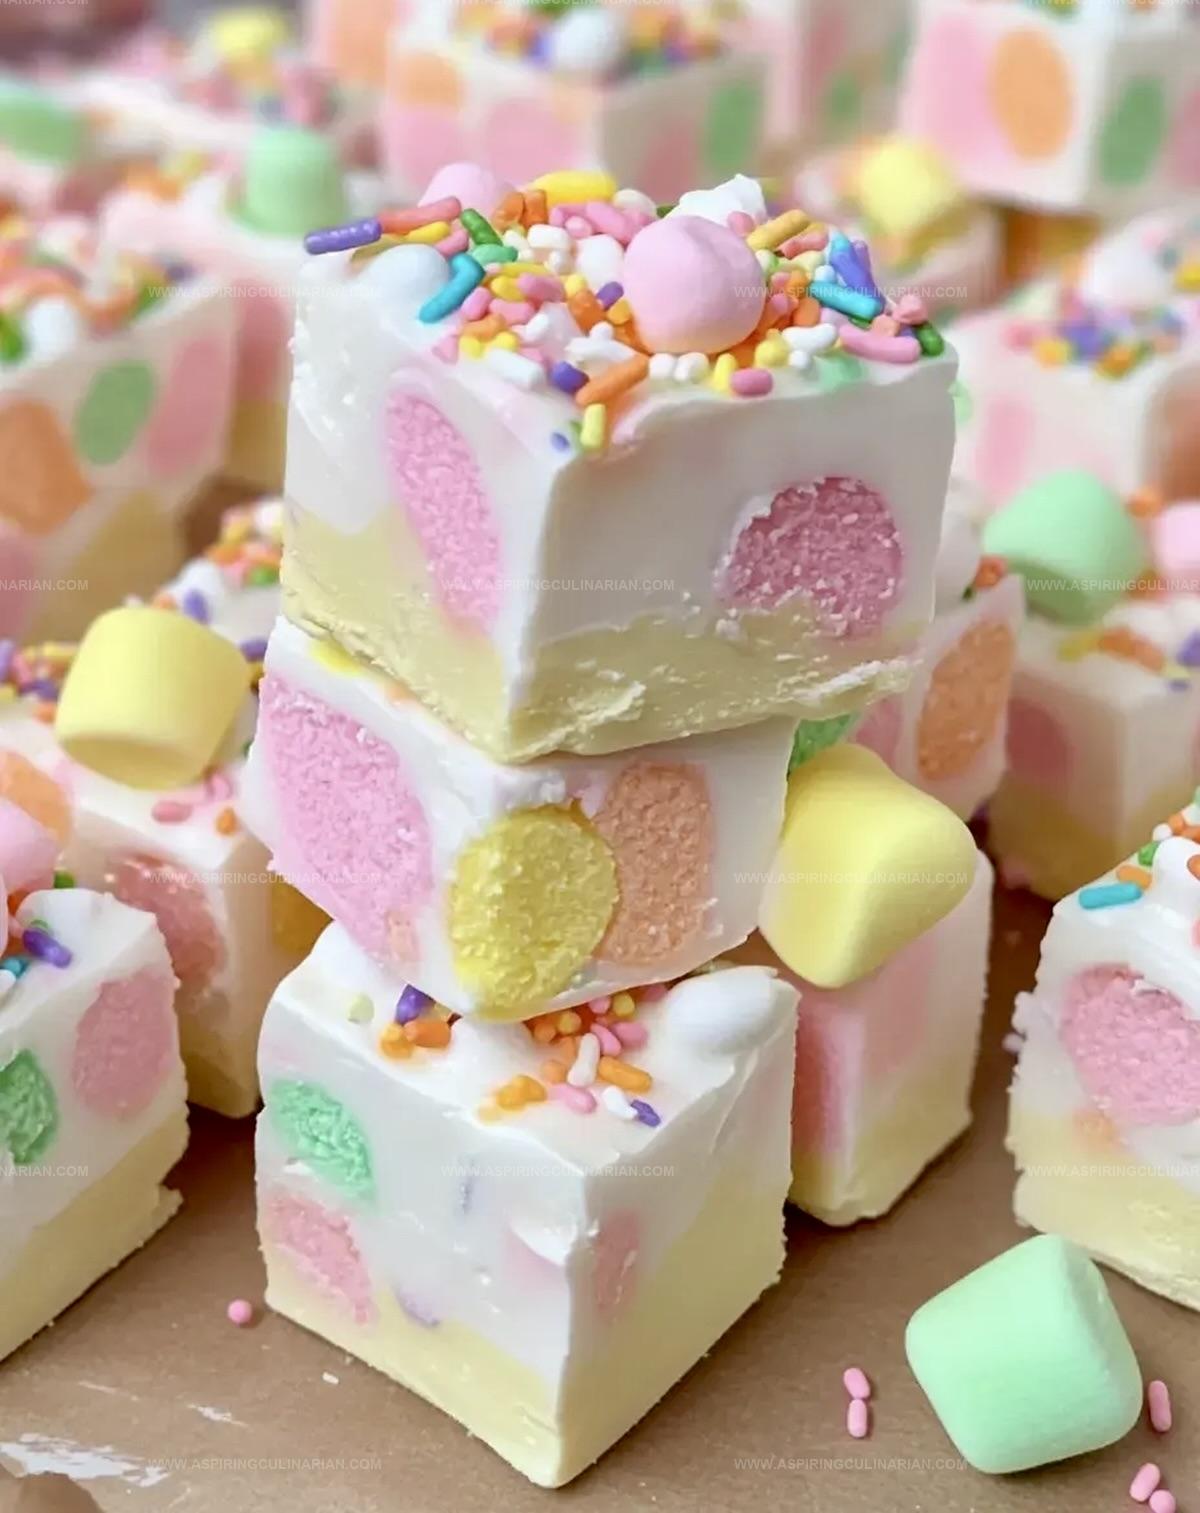
The Most Flavorful Fruity Marshmallow Fudge Recipe You’ll Ever Make
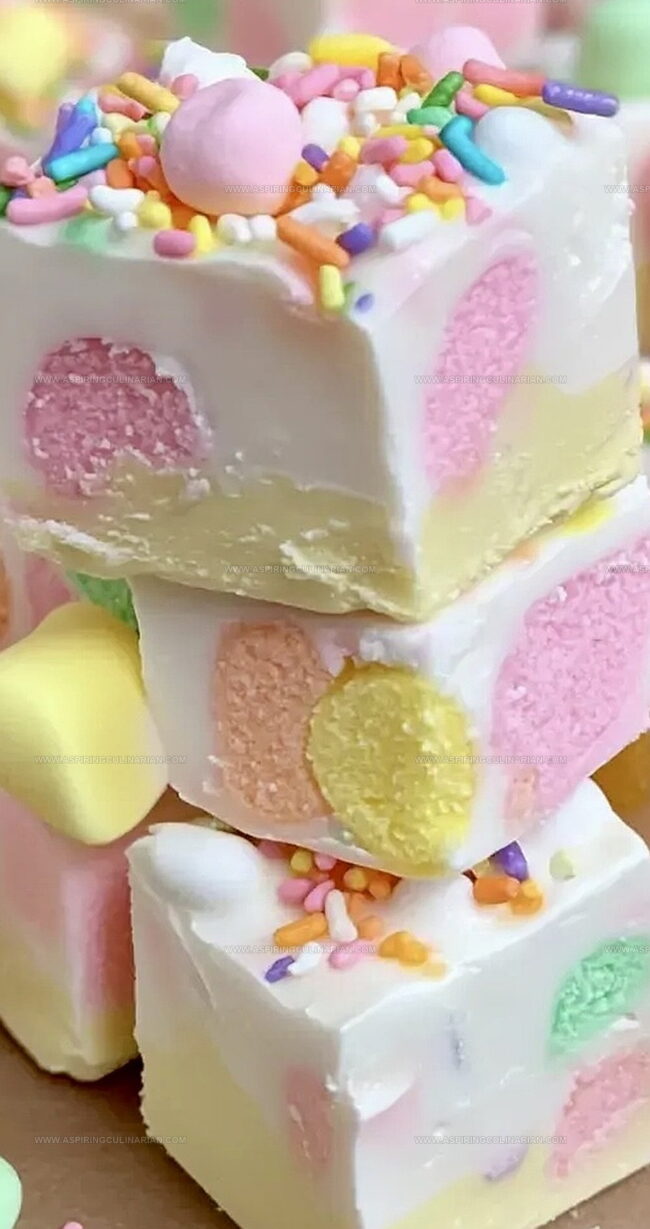
Looking for a treat that’s equal parts playful and irresistible? Easy Fruity Marshmallow Fudge is your answer! With its creamy texture, pops of fruity flavor, and bursts of colorful marshmallows, this cheerful dessert is a joy to make and even more fun to share. Whether you’re brightening up a party table or just want a sweet, fuss-free snack, this fudge delivers happiness in every bite. Let’s whip up something fun and delicious together!
Fruity Marshmallow Fudge Reasons This Treat Stands Out
What to Gather for Fruity Marshmallow Fudge Making
Base Ingredients:Sweet Additions:Preparation Ingredient:Instructions for Creamy, Colorful Marshmallow Fudge
Step 1: Prepare The Fudge Pan
Line an 8×8 inch baking pan with aluminum foil or parchment paper, ensuring the edges hang over the sides for easy removal later.
Step 2: Melt The Chocolate Base
Combine white chocolate chips and butter in a saucepan over low-medium heat.
Stir continuously until the mixture becomes smooth, creamy, and fully blended.
Step 3: Warm The Frosting
Place vanilla frosting in a microwave-safe bowl and heat for 30 seconds.
Gently fold the warmed frosting into the melted chocolate mixture until completely incorporated.
Step 4: Cool And Stabilize
Allow the fudge mixture to rest for 10 minutes, stirring occasionally to maintain a consistent texture and prevent rapid setting.
Step 5: Add Fruity Marshmallow Excitement
Quickly fold in the colorful ingredients:Stir gently to distribute evenly throughout the mixture.
Step 6: Transfer And Decorate
Pour the fudge mixture into the prepared pan, using a spatula to create an even surface.
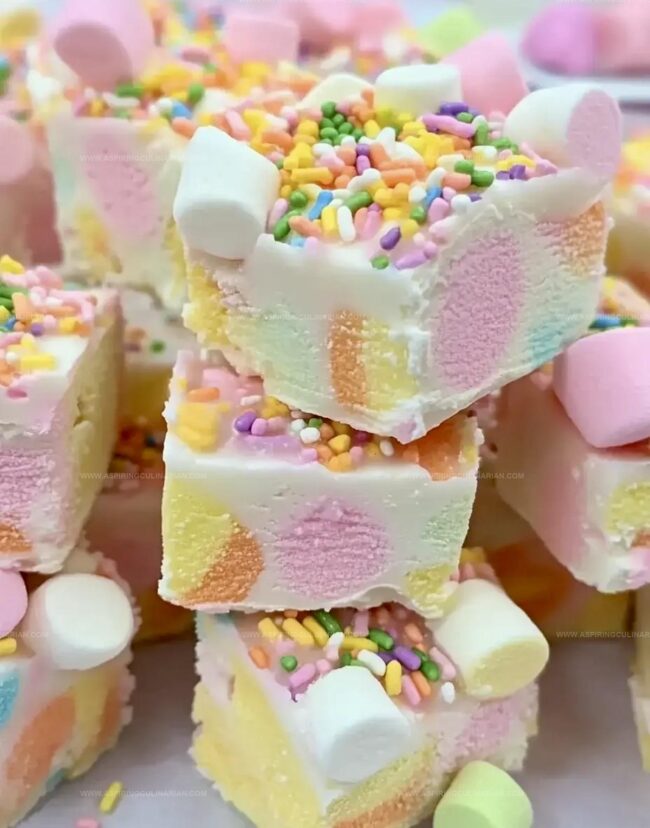
Generously scatter the remaining marshmallows and sprinkles across the top.
Step 7: Set And Serve
Refrigerate the fudge for 2-3 hours until completely firm.
Remove from the pan using the overhanging foil, slice into bite-sized squares, and enjoy your vibrant treat.
Smart Tips for the Best Marshmallow Fudge Results

Mix-In Ideas for Marshmallow Fudge Fans
Suggestions for Serving Fruity Fudge to Kids
How to Store Fruity Marshmallow Fudge Properly
FAQs
Always use low-medium heat and stir constantly when melting chocolate and butter. Remove from heat immediately once melted and smooth to prevent burning or separating ingredients.
Yes, you can use regular-sized marshmallows, but chop them into smaller pieces to mimic the mini marshmallow texture. Fruit-flavored marshmallows work best for this recipe to maintain the fruity profile.
Ensure you let the mixture cool for 10 minutes before adding marshmallows. If it’s too warm, the marshmallows will melt completely. Refrigerate for 1-2 hours to help the fudge set firmly and maintain its shape.
Print
Easy Fruity Marshmallow Fudge Recipe
- Total Time: 2 hours 20 minutes
- Yield: 16 1x
Description
Brighten up snack time with Easy Fruity Marshmallow Fudge: a playful, no-fuss treat that’s packed with bursts of fruity flavor and pillowy marshmallows. This colorful fudge recipe is a breeze to make and always brings smiles to the table, whether you’re prepping for a party, gifting sweets, or simply craving something cheerful and sweet.
Ingredients
Main Ingredients:
- 12 ounces (340 grams) white chocolate chips
- 16 ounces (454 grams) vanilla frosting
- 2 cups mini fruit-flavored marshmallows
Supporting Ingredients:
- 2 tablespoons (30 milliliters) butter
Decorative Ingredients:
- 1/2 cup (120 milliliters) sprinkles
Instructions
- Prepare an 8×8 inch pan by lining it with foil or parchment paper, ensuring complete coverage for easy fudge removal.
- Combine white chocolate chips and butter in a saucepan, gently melt over low-medium heat while stirring continuously until achieving a smooth, creamy consistency.
- Heat vanilla frosting in the microwave for 30 seconds, then incorporate into the melted chocolate mixture, stirring until thoroughly blended and uniform.
- Allow the mixture to cool for approximately 10 minutes, periodically stirring to maintain a consistent texture and prevent premature setting.
- Swiftly fold in mini fruit-flavored marshmallows and half of the sprinkles, ensuring even distribution throughout the mixture.
- Transfer the fudge mixture into the prepared pan, using a spatula to create an even surface and carefully scatter remaining marshmallows and sprinkles across the top.
- Refrigerate for 1-2 hours or leave at room temperature until completely set, then slice into precise squares for serving.
Notes
- Ensure the foil or parchment paper extends over the pan edges for easy removal of the fudge.
- Keep the heat low and stir constantly to prevent chocolate from burning or separating.
- Let the mixture cool slightly before adding marshmallows to prevent them from melting completely.
- For a gluten-free version, use gluten-free white chocolate chips and check the vanilla frosting label.
- Try different marshmallow flavors or colors to customize the fudge for special occasions.
- Store in an airtight container at room temperature for up to 5 days, or refrigerate for longer shelf life.
- Prep Time: 20 minutes
- Cook Time: 2 hours
- Category: Desserts
- Method: Baking
- Cuisine: American
Nutrition
- Serving Size: 16
- Calories: 236
- Sugar: 21 g
- Sodium: 35 mg
- Fat: 12 g
- Saturated Fat: 7 g
- Unsaturated Fat: 4 g
- Trans Fat: 0.2 g
- Carbohydrates: 28 g
- Fiber: 0.3 g
- Protein: 1.5 g
- Cholesterol: 15 mg
Nathaniel Brooks
Founder & Recipe Developer
Expertise
Farm-to-table cuisine, Seasonal recipe development, Culinary storytelling
Education
Ivy Tech Community College – Indianapolis, IN
Culinary Arts / Hospitality Administration & Events
Focused on hands-on training in classical and modern culinary techniques.
Nathaniel’s story starts in the foothills of the Appalachian Mountains, where farm stands, backyard gardens, and old family recipes shaped his love for real food. After graduating from Ivy Tech Community College in Indianapolis, he spent years working in farm-to-table kitchens, learning how to turn local, seasonal ingredients into something memorable.
Today, Nathaniel pours that same spirit into every single recipe on Aspiring Culinarian – recipes that feel real, comforting, and connected to the land. When he’s not in the kitchen, you’ll find him foraging wild herbs, chasing sunsets with his camera, or writing about the flavors that shaped his roots.