Cozy Homemade Gumdrops Recipe: Sweet Treats for Any Occasion
Sweet, chewy gumdrops bursting with homemade gumdrops recipe magic capture the essence of childhood treats.
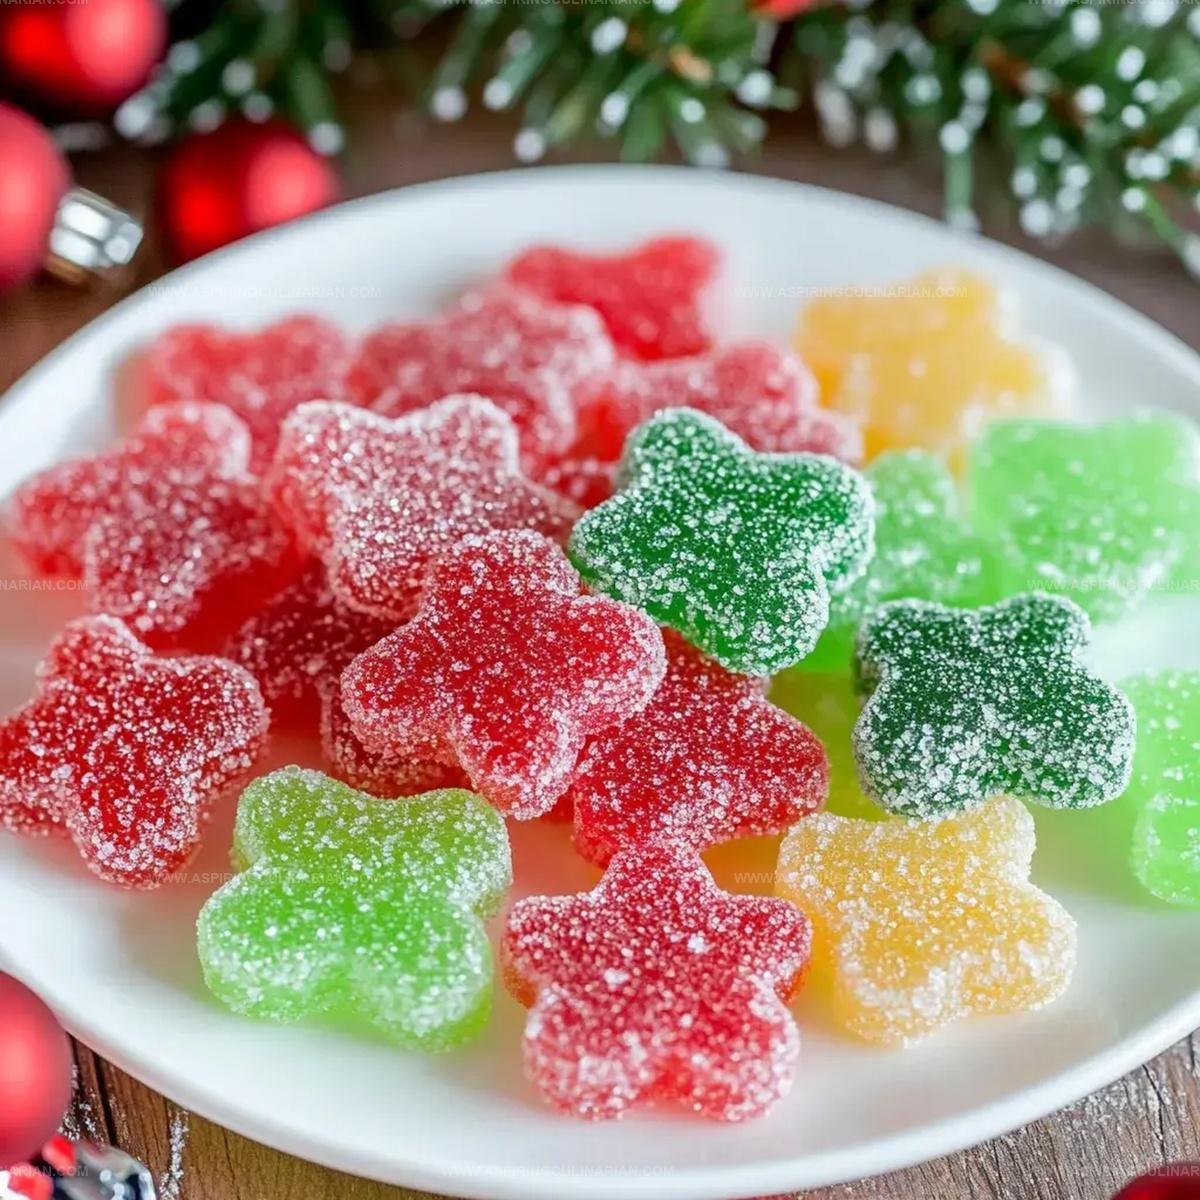
These delightful candies sparkle with vibrant colors and pure sugary goodness.
Anyone can craft these simple delights with just a few basic ingredients from the pantry.
Sugar, gelatin, and flavored extracts blend together to create irresistible bite-sized gems.
The process is surprisingly straightforward and delivers a nostalgic treat that delights both kids and adults.
Crafting these homemade gumdrops transforms an ordinary afternoon into a sweet culinary adventure.
You’ll love how these little confections bring joy and smiles to everyone who tastes them.
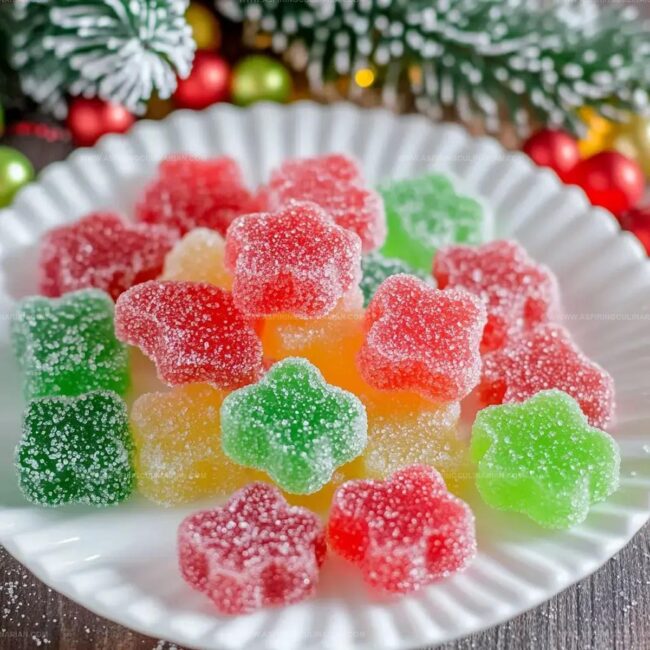
Why Christmas Candy Gumdrops Are a Sweet Treat
Gumdrop Ingredients for the Holidays
Base Ingredients:Binding Ingredients:Finishing Ingredients:Steps to Make Christmas Candy Gumdrops
Step 1: Prepare Baking Dish
Grab a non-stick spray and thoroughly coat an 11×7 or 9×13 baking dish to ensure easy candy removal later.
Step 2: Mix Sweet Ingredients
In a large saucepan, combine all ingredients:Let the mixture rest for one minute to allow ingredients to settle.
Step 3: Bring Mixture to Boil
Place the saucepan over medium heat and stir continuously.
Watch the mixture carefully as it begins to bubble and rise.
Step 4: Cook Candy Liquid
Continue boiling for exactly one minute, maintaining constant stirring to prevent burning or sticking.
Step 5: Transfer to Baking Dish
Carefully pour the hot candy mixture into the prepared greased baking dish, ensuring even distribution.
Step 6: Cool at Room Temperature
Allow the candy mixture to rest and cool naturally for 15 minutes, letting it begin its initial setting process.
Step 7: Chill in Refrigerator
Transfer the baking dish to the refrigerator and let it firm up for approximately 3 hours.
Step 8: Prepare Cutting Surface
Cover a cutting board with parchment paper and sprinkle generously with granulated sugar to prevent sticking.
Step 9: Release Candy Mixture
Use a metal spatula to gently loosen the candy from the baking dish’s edges and transfer it to the prepared cutting surface.
Step 10: Create Gumdrop Shapes
Use mini cookie cutters to craft adorable candy shapes from the firm mixture.
Step 11: Allow Gumdrops to Set
Let the cut gumdrops sit undisturbed overnight (minimum 8 hours) to achieve perfect texture.
Step 12: Add Final Sugar Coating
Roll each gumdrop piece in additional sugar until completely covered, creating a sparkling, sweet exterior.
Gumdrop Tips for the Holidays
Gumdrop Variations for Christmas Fun
Ways to Serve Up Candy Gumdrops
Candy Gumdrop Storage Ideas
FAQs
No, homemade gumdrops have a fresher taste and more vibrant flavor compared to commercial versions, and you can control the ingredients and customize them.
Absolutely! You can experiment with various fruit juices like cranberry, apple, or grape to create unique flavor profiles for your gumdrops.
You’ll need a saucepan, candy thermometer (optional but helpful), mini cookie cutters, and a baking dish. Most home cooks already have these items in their kitchen.
Print
Easy Homemade Gumdrops Recipe
- Total Time: 3 hours 20 minutes
- Yield: 12 1x
Description
Homemade gumdrops sparkle with sweet nostalgia, bringing classic candy magic straight to kitchen counters. Sugary jewels packed with fruity flavor promise delightful moments you’ll savor with each playful bite.
Ingredients
Main Ingredients:
- 2 1/2 cups granulated sugar
- 1 1/3 cups unsweetened applesauce
- 6 ounces (170 grams) jello (lime or cherry)
Thickening Agents:
- 2 envelopes unflavored gelatin (like Knox)
Instructions
- Coat the interior of an 11×7 or 9×13 baking dish with non-stick cooking spray to prevent sticking.
- In a large saucepan, combine sugar and remaining ingredients, allowing them to meld for one minute.
- Heat the mixture over medium temperature, stirring continuously to prevent scorching, until it reaches a rolling boil.
- Maintain boiling for exactly one minute, then carefully transfer the liquid into the prepared baking dish.
- Allow the mixture to settle and cool at room temperature for approximately 15 minutes.
- Place the dish in the refrigerator for 3 hours, ensuring the mixture becomes completely firm and solid.
- Prepare a cutting surface by layering parchment paper and sprinkling with granulated sugar.
- Use a metal spatula to gently detach the solidified mixture from the dish and transfer it onto the sugared surface.
- Utilize mini cookie cutters to create decorative gumdrop shapes across the entire surface.
- Position the cut gumdrops in a single layer, permitting them to set and dry completely overnight (minimum 8 hours).
- Gently roll each gumdrop in additional sugar, ensuring a complete and even coating for a sparkling finish.
Notes
- Choose wide, shallow saucepan to prevent sugar burning and ensure even heat distribution.
- Use candy thermometer for precise temperature control and consistent texture.
- Try different fruit juice flavors like cranberry, pomegranate, or citrus for unique gumdrop variations.
- Dust cutting surface generously with sugar to prevent sticking and create clean, professional-looking candy shapes.
- Prep Time: 20 minutes
- Cook Time: 3 hours
- Category: Desserts, Snacks
- Method: Boiling
- Cuisine: American
Nutrition
- Serving Size: 12
- Calories: 130
- Sugar: 32 g
- Sodium: 0 mg
- Fat: 0 g
- Saturated Fat: 0 g
- Unsaturated Fat: 0 g
- Trans Fat: 0 g
- Carbohydrates: 33 g
- Fiber: 0 g
- Protein: 1 g
- Cholesterol: 0 mg
Nathaniel Brooks
Founder & Recipe Developer
Expertise
Farm-to-table cuisine, Seasonal recipe development, Culinary storytelling
Education
Ivy Tech Community College – Indianapolis, IN
Culinary Arts / Hospitality Administration & Events
Focused on hands-on training in classical and modern culinary techniques.
Nathaniel’s story starts in the foothills of the Appalachian Mountains, where farm stands, backyard gardens, and old family recipes shaped his love for real food. After graduating from Ivy Tech Community College in Indianapolis, he spent years working in farm-to-table kitchens, learning how to turn local, seasonal ingredients into something memorable.
Today, Nathaniel pours that same spirit into every single recipe on Aspiring Culinarian – recipes that feel real, comforting, and connected to the land. When he’s not in the kitchen, you’ll find him foraging wild herbs, chasing sunsets with his camera, or writing about the flavors that shaped his roots.