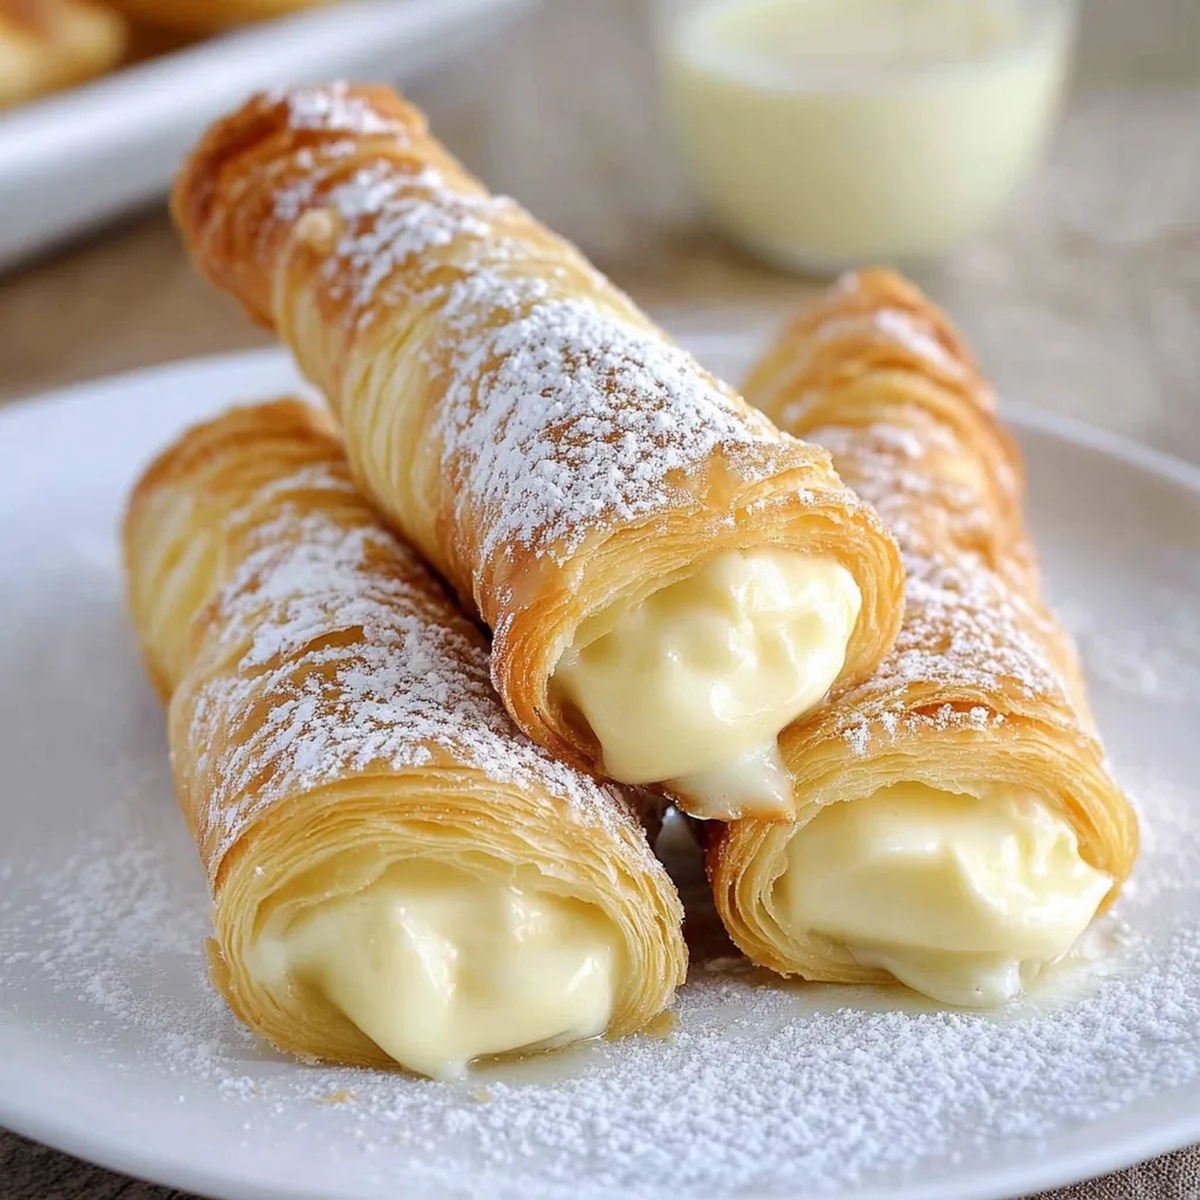
Dreamy Italian Cream Stuffed Cannoncini Recipe for Sweet Bliss
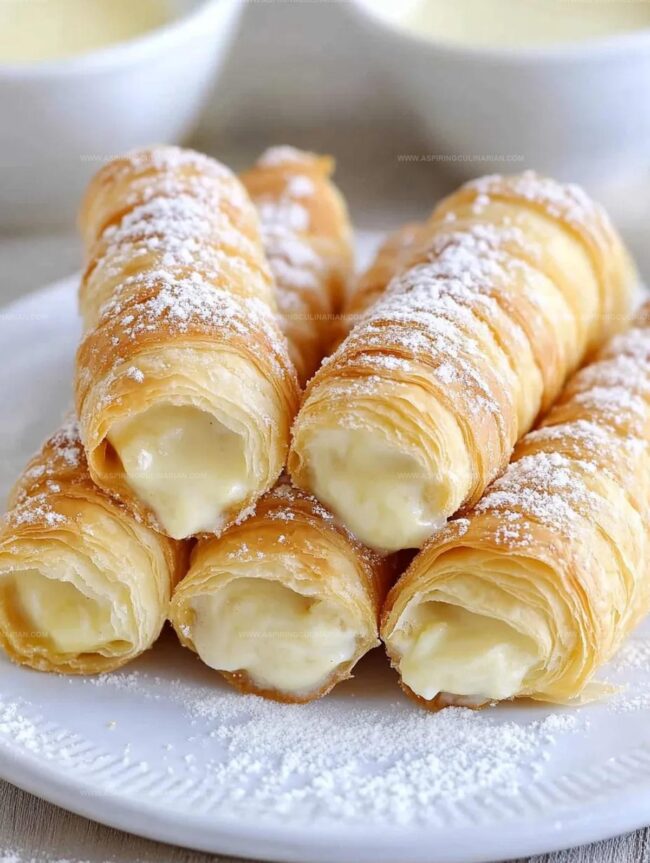
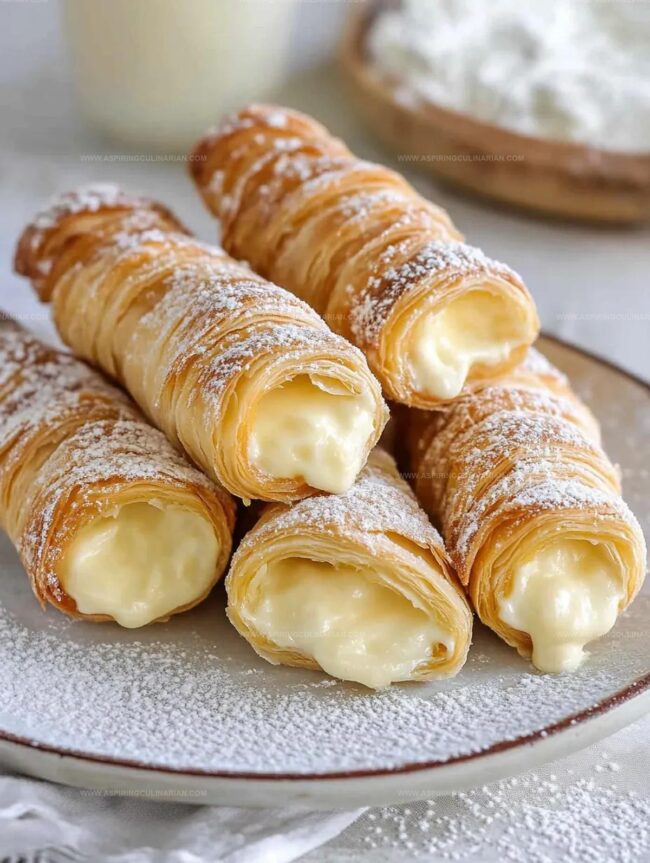
Delicate pastry shells cradle a silky easy Italian cream stuffed cannoncini, promising a delightful journey through classic Italian dessert traditions.
These golden, crisp tubes of pure indulgence will transport you straight to a charming Italian bakery.
Whispers of vanilla and smooth cream dance within each delicate pastry, creating a symphony of flavors that enchant the senses.
The light, airy texture contrasts beautifully with the rich, velvety filling that melts effortlessly on your tongue.
Elegant yet surprisingly simple to prepare, these cannoncini turn an ordinary afternoon into a sweet celebration.
Pastry lovers and dessert enthusiasts will fall in love with this irresistible treat that brings a touch of Italian magic to your kitchen.
Easy Italian Cream Stuffed Cannoncini Treats
Italian Cream Cannoncini Ingredient Shortlist
Main Ingredients:
Pastry Base:Custard Filling:Binding and Finishing Ingredients:Baking Cream Cannoncini Quick Steps
Step 1: Whisk Custard Base
In a medium saucepan, combine egg yolks, sugar, vanilla extract, and flour.
Whisk until the mixture becomes light and fluffy, creating a smooth foundation for your creamy filling.
Step 2: Warm Milk Mixture
Gently heat milk until hot but not boiling.
Slowly pour the warm milk into the egg mixture, whisking continuously to prevent any lumpy texture from forming.
Step 3: Thicken Custard Cream
Place the mixture over medium heat, stirring constantly.
Watch as the custard gradually thickens and begins to bubble.
Reduce heat and cook for an additional few minutes until it reaches a perfect, creamy consistency.
Step 4: Chill Custard
Transfer the custard to a glass bowl.
Cover with plastic wrap, pressing directly onto the surface to prevent a skin from forming.
Refrigerate for at least one hour to cool completely.
Step 5: Prepare Pastry Dough
Preheat the oven to 400F (200C).
Sprinkle sugar on your work surface and the puff pastry.
Roll out the pastry into a 9 by 12 inch rectangle.
Carefully slice into 12 equal strips, each about 1 inch wide.
Step 6: Shape Pastry Cones
Wrap each pastry strip around a horn-shaped mold, overlapping the pastry halfway down.
Position on a parchment-lined baking sheet with the strip’s end facing downward.
Step 7: Apply Egg Wash
Create an egg wash by beating an egg with water.
Gently brush each pastry cone, taking care to avoid the metal mold to ensure easy removal later.
Step 8: Bake to Golden Perfection
Bake for 15-20 minutes until the pastry turns a beautiful golden brown.
Allow to cool slightly, then carefully remove from the molds by gently twisting and squeezing if needed.
Step 9: Fill and Garnish
Just before serving, pipe the chilled custard into the crispy pastry cones.
Dust with a light sprinkle of powdered sugar for an elegant finishing touch.
Cream Cannoncini Tips For Creaminess
Italian Cream Cannoncini Filling Flavors
Best Ways To Serve Cannoncini
Store Italian Cream Cannoncini Correctly
FAQs
Cannoncini are classic Italian pastry cones made from puff pastry, typically filled with sweet custard cream. They originated in Italy and are known for their delicate, crispy exterior and creamy interior.
You’ll need horn-shaped metal molds (cone-shaped) to create the distinctive tubular shape. If you don’t have these, you can sometimes use aluminum foil rolled into a cone shape as an alternative.
The custard is ready when it coats the back of a spoon and leaves a clear path when you run your finger through it. It should be thick but still smooth and not lumpy.
Print
Easy Italian Cream Stuffed Cannoncini Recipe
- Total Time: 1 hour 40 minutes
- Yield: 6 1x
Description
Delicate Cannoncini, a beloved Italian pastry, weaves creamy elegance into delightful crescents of pure indulgence. Crisp puff pastry embraces silky cream, promising a sweet escape that whispers authentic Italian charm with each heavenly bite.
Ingredients
Main Ingredients:
- 8 oz (235 ml) milk
- 1 sheet puff pastry, defrosted (about 8 oz/225 g)
- 1 egg
Cream Components:
- 3 egg yolks
- 1/2 cup (100 g) sugar
- 3 tablespoons (30 g) all-purpose flour
- 1 teaspoon vanilla extract
Finishing Ingredients:
- 1/4 cup (50 g) sugar
- Powdered sugar
Instructions
- Craft the velvety custard by gently heating milk until steaming. Whisk egg yolks, sugar, vanilla, and flour in a saucepan until smooth and pale.
- Slowly incorporate hot milk into egg mixture, whisking continuously to prevent clumping. Cook over medium heat, stirring constantly until mixture thickens and begins to bubble, about 3-4 minutes.
- Transfer custard to a clean bowl, press plastic wrap directly onto surface to prevent skin formation. Refrigerate for minimum 1 hour until completely chilled.
- Preheat oven to 400F. Dust work surface with sugar and roll puff pastry into a thin 9×12 inch rectangle. Slice pastry into 12 uniform strips, approximately 1 inch wide.
- Carefully wrap each pastry strip around conical metal molds, ensuring slight overlap midway. Position strips on parchment-lined baking sheet with pastry end facing downward.
- Create egg wash by blending egg with water. Delicately brush pastry surfaces, avoiding metal molds to prevent sticking.
- Bake for 15-20 minutes until pastry achieves golden-brown perfection. Allow brief cooling before gently extracting from molds, twisting if necessary to release.
- Immediately prior to serving, pipe chilled custard into crisp pastry shells. Optionally dust with powdered sugar for elegant presentation.
Notes
- Customize Custard Thickness Adjust cooking time to achieve desired consistency, stirring constantly to prevent burning or lumping.
- Prevent Pastry Sticking Ensure metal molds are lightly greased or use non-stick silicone molds for easier removal.
- Make Ahead Friendly Prepare custard and pastry shells separately up to two days in advance, storing them separately in airtight containers to maintain crispness.
- Dairy-Free Adaptation Replace milk with almond or coconut milk, using cornstarch instead of flour for a lighter, allergen-friendly cream filling.
- Prep Time: 1 hour 20 minutes
- Cook Time: 20 minutes
- Category: Desserts, Snacks
- Method: Baking
- Cuisine: Italian
Nutrition
- Serving Size: 6
- Calories: 296
- Sugar: 24 g
- Sodium: 34 mg
- Fat: 15 g
- Saturated Fat: 5 g
- Unsaturated Fat: 10 g
- Trans Fat: 0 g
- Carbohydrates: 35 g
- Fiber: 1 g
- Protein: 4 g
- Cholesterol: 94 mg


Lena Martinez
Contributing Writer & Culinary Educator
Expertise
Southwestern and Latin American cuisines, Vegetarian and plant-based recipe development, Culinary education and community outreach
Education
Santa Fe Community College, Santa Fe, NM
Certificate in Culinary Arts
Emphasized Southwestern cuisine and sustainable cooking practices
Lena grew up surrounded by the colors, spices, and traditions of the Southwest – flavors that sparked her love for bold, honest cooking. After earning her Culinary Arts certificate at Santa Fe Community College, she made it her mission to teach home cooks how to create flavorful, plant-powered meals without the fuss.
Her recipes are packed with vibrant ingredients, simple steps, and the kind of heart that turns a regular meal into something you’ll want to share. Outside the kitchen, Lena spends her time wandering farmers’ markets, trading family recipes, and helping young chefs find their voice through food.