
Irresistible No Bake Peanut Butter Bars Recipe For Sweet Cravings
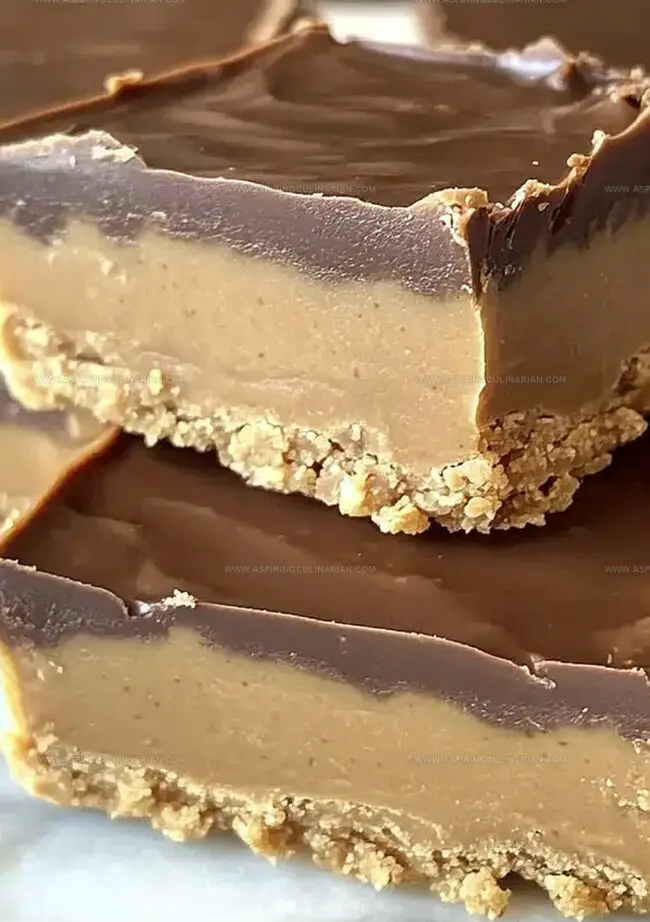
Creamy peanut butter bars promise a delightful no-bake dessert that melts in your mouth with rich, sweet goodness.
Chocolate and nutty flavors combine perfectly for a quick treat anyone can master.
Friends always request these simple bars at gatherings.
Kids and adults alike cannot resist their smooth, decadent texture.
Minimal ingredients and zero oven time make this recipe incredibly convenient.
Simple steps ensure success even for novice bakers.
You’ll find these bars become an instant favorite that disappears faster than you can slice them.
No-Bake Peanut Butter Bars—Fast and Crowd-Pleasing
Ingredients for Creamy No-Bake Peanut Butter Bars
Base Ingredients:Peanut Butter Ingredients:Topping Ingredients:Simple Steps for No-Bake Peanut Butter Bar Success
Step 1: Create Creamy Peanut Butter Base
Grab a spacious mixing bowl and combine melted butter, graham cracker crumbs, powdered sugar, and peanut butter.
Stir everything together until the mixture looks smooth and well-blended.
Use a wooden spoon or spatula to ensure all ingredients are perfectly incorporated.
Step 2: Spread Delicious Foundation
Transfer the mixed ingredients into an ungreased baking dish.
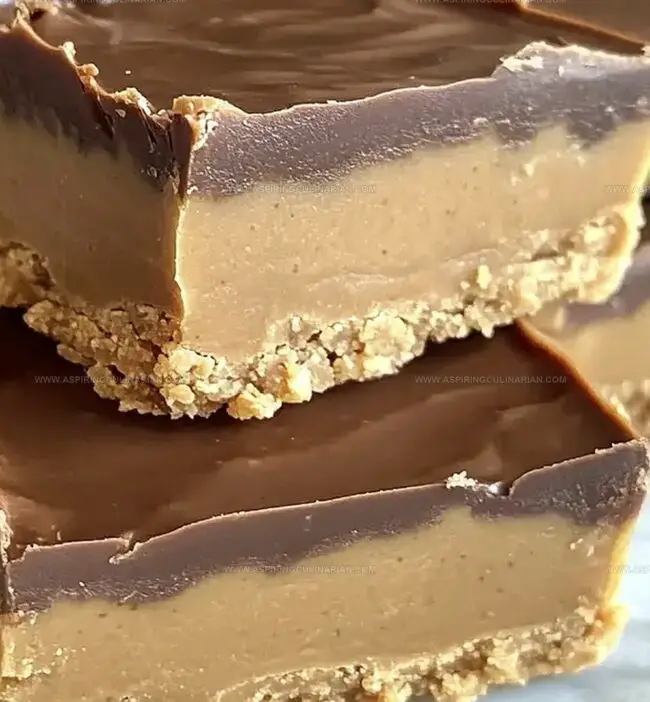
Press the mixture evenly across the bottom, creating a uniform layer that will serve as the delectable base for your bars.
Make sure to pack it down firmly so the bars hold together nicely.
Step 3: Craft Chocolate Topping
Select a microwave-safe bowl and combine chocolate chips with additional peanut butter.
Microwave the mixture in short 30-second bursts, stirring between each interval.
Continue heating until the chocolate melts completely and looks silky and glossy.
Step 4: Drizzle Chocolate Layer
Pour the melted chocolate mixture over the peanut butter base.
Use a spatula to spread the chocolate evenly, ensuring complete coverage from edge to edge.
The chocolate should create a smooth, tempting layer on top.
Step 5: Chill and Set
Place the pan in the refrigerator and let it cool for at least one hour.
The bars need time to firm up and become perfectly sliceable.
Once set, cut into squares and enjoy your decadent treat!
Tips for the Smoothest No-Bake Bars Ever
Peanut Butter Bar Variations for Extra Fun
Serving Peanut Butter Bars at Parties and Picnics
Storage Advice for No-Bake Peanut Butter Bars
FAQs
Creamy, no-stir peanut butter is ideal for creating a smooth, consistent texture without separation.
Yes, you can substitute with digestive biscuits or vanilla wafers for a similar base texture.
Always melt chocolate in short intervals, stirring frequently, and avoid getting any water near the chocolate to maintain a smooth consistency.
While delicious, it contains dairy and nuts, so it’s not appropriate for those with dairy, nut allergies, or following vegan diets.
Print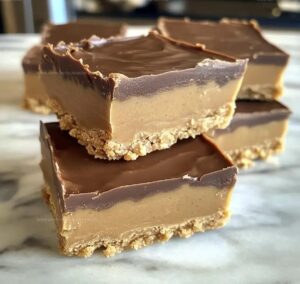
Easy No Bake Peanut Butter Bars Recipe
- Total Time: 20 minutes
- Yield: 16 1x
Description
Homemade Easy No Bake Peanut Butter Bars deliver rich chocolate and creamy peanut butter in one irresistible dessert. Quick preparation and minimal ingredients make these bars perfect for sweet cravings without turning on the oven.
Ingredients
Main Ingredients:
- 1 cup butter, melted
- 1 cup + 4 tablespoons peanut butter
- 1 1/2 cups (12 ounces) milk chocolate chips
Dry Ingredients:
- 2 cups graham cracker crumbs
Sweetener:
- 2 cups confectioners sugar (powdered sugar)
Instructions
- Combine melted butter, graham cracker crumbs, powdered sugar, and primary peanut butter in a spacious mixing vessel, stirring until ingredients form a uniform, cohesive mixture.
- Transfer the blended composition into an ungreased rectangular baking dish, carefully spreading the mixture to create an even, smooth surface that covers the entire base.
- Utilize microwave technology to transform chocolate chips and remaining peanut butter into a silky, glossy topping. Heat in brief 30-second increments, pausing to stir between intervals, until the mixture achieves a completely liquid consistency.
- Gently cascade the molten chocolate mixture across the prepared peanut butter foundation, ensuring comprehensive and uniform coverage.
- Place the assembled dessert inside the refrigerator, allowing it to chill and solidify for approximately 60 minutes or until the bars reach a firm, sliceable texture.
Notes
- Swap graham crackers with gluten-free alternatives like almond flour or oat flour for celiac or gluten-sensitive individuals, ensuring everyone can enjoy these delectable treats.
- Control sweetness by gradually adding powdered sugar and tasting, allowing you to adjust to personal preference without overwhelming the rich peanut butter flavor.
- Use high-quality chocolate chips for a more luxurious topping, experimenting with dark, milk, or semi-sweet varieties to create unique flavor profiles.
- Line the dish with parchment paper for easier removal and cleaner cutting, preventing the bars from sticking and making serving a breeze.
- Prep Time: 15 minutes
- Cook Time: 5 minutes
- Category: Snacks, Desserts
- Method: None
- Cuisine: American
Nutrition
- Serving Size: 16
- Calories: 247 kcal
- Sugar: 17 g
- Sodium: 84 mg
- Fat: 16 g
- Saturated Fat: 7 g
- Unsaturated Fat: 7 g
- Trans Fat: 0.1 g
- Carbohydrates: 23 g
- Fiber: 2 g
- Protein: 5 g
- Cholesterol: 22 mg
Nathaniel Brooks
Founder & Recipe Developer
Expertise
Farm-to-table cuisine, Seasonal recipe development, Culinary storytelling
Education
Ivy Tech Community College – Indianapolis, IN
Culinary Arts / Hospitality Administration & Events
Focused on hands-on training in classical and modern culinary techniques.
Nathaniel’s story starts in the foothills of the Appalachian Mountains, where farm stands, backyard gardens, and old family recipes shaped his love for real food. After graduating from Ivy Tech Community College in Indianapolis, he spent years working in farm-to-table kitchens, learning how to turn local, seasonal ingredients into something memorable.
Today, Nathaniel pours that same spirit into every single recipe on Aspiring Culinarian – recipes that feel real, comforting, and connected to the land. When he’s not in the kitchen, you’ll find him foraging wild herbs, chasing sunsets with his camera, or writing about the flavors that shaped his roots.