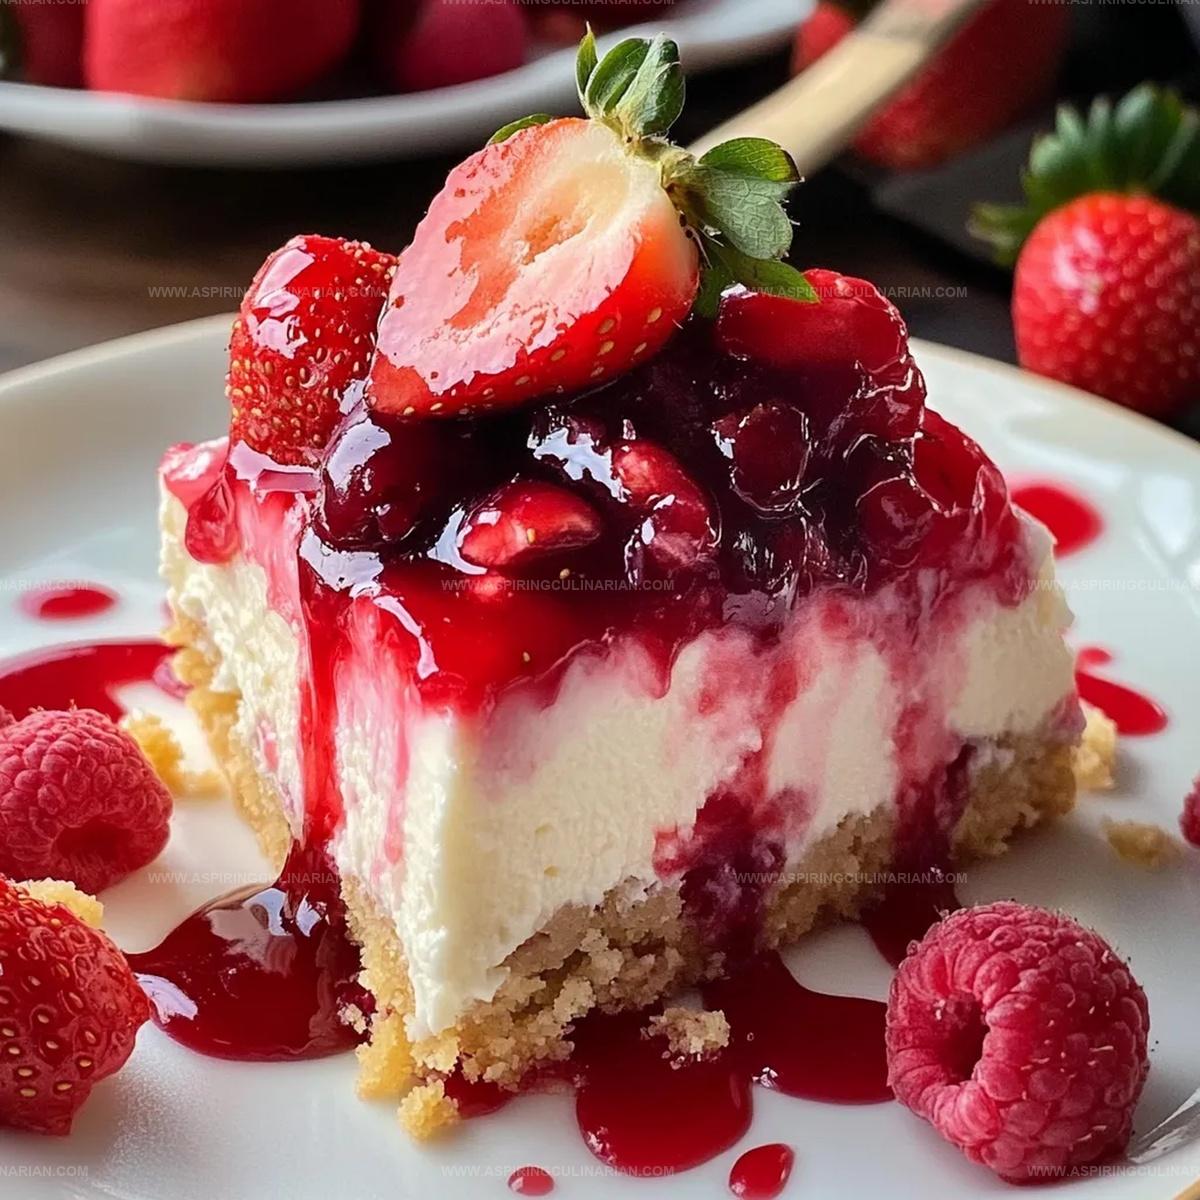
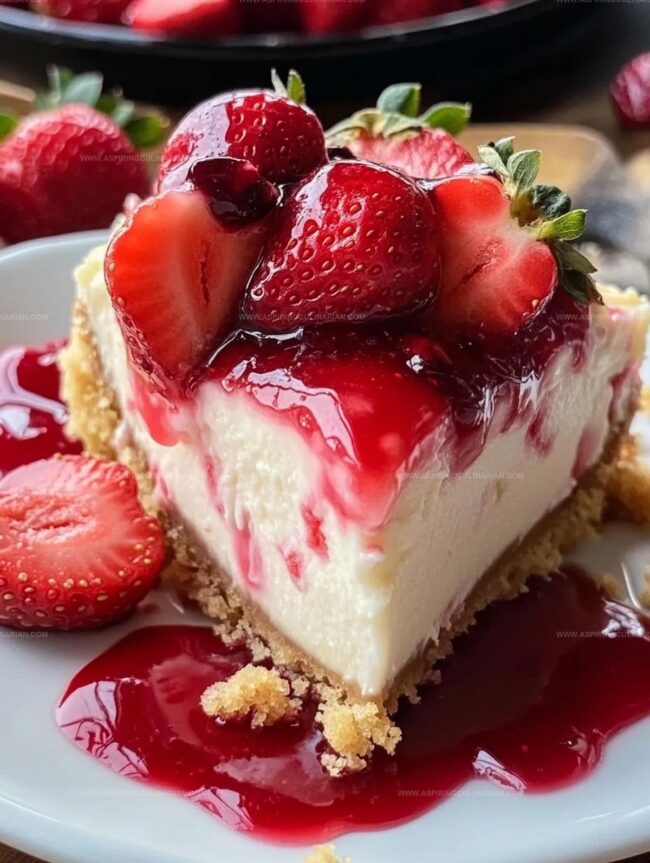
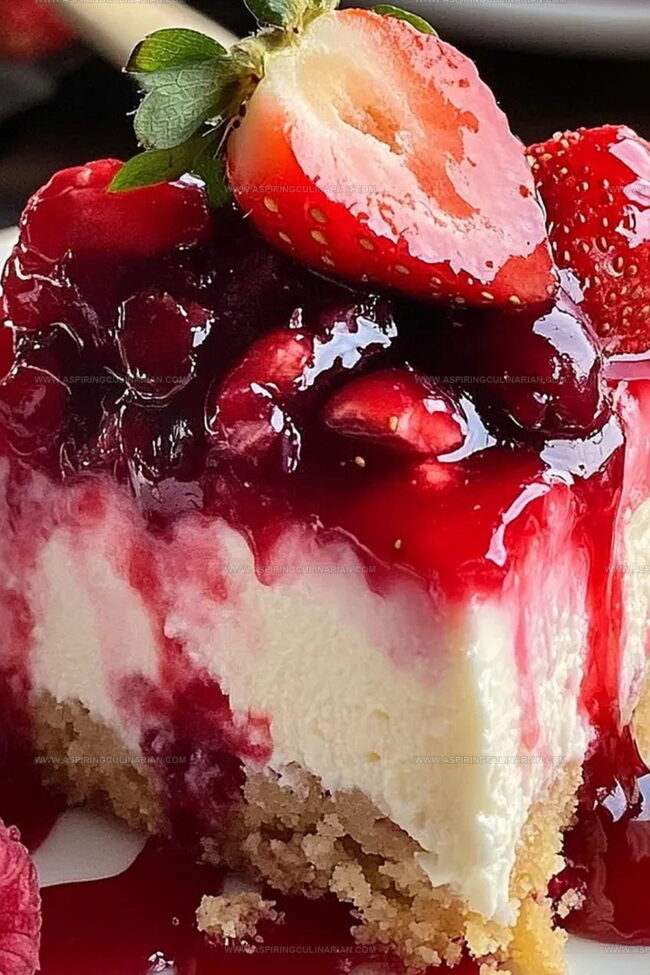
The Dreamiest Strawberry Cheesecake Dump Cake Recipe Ever
Sweet summer nights call for a delightful strawberry cheesecake dump cake that promises pure indulgence.
This effortless dessert combines the creamy richness of cheesecake with the simplicity of a classic dump cake.
Layers of strawberries, cream cheese, and buttery cake mix create a mouthwatering treat that requires minimal effort.
Baked to golden perfection, each bite delivers a perfect balance of tangy and sweet flavors.
The dessert comes together quickly, making it ideal for spontaneous gatherings or weekend treats.
Forget complicated baking techniques and enjoy this deliciously uncomplicated dessert that will have everyone asking for seconds.
Prepare to fall in love with the most irresistible strawberry cheesecake dump cake ever.
What Makes Strawberry Cheesecake Dump Cake Irresistible
Whip Up Quick Dessert: Create a mouthwatering strawberry cheesecake dump cake that transforms basic ingredients into a spectacular treat with minimal effort.
Customize with Ease: Swap strawberry pie filling for other fruit options like cherry or blueberry, or add extra toppings like chocolate chips or coconut to personalize your dessert.
No-Fuss Baking: Forget complicated techniques – simply layer ingredients in a baking dish and let the oven work its magic, delivering a delicious dessert without complex preparation steps.
Crowd-Pleasing Comfort: Perfect for family gatherings, potlucks, or casual dessert nights, this recipe guarantees smiles and second helpings from kids and adults alike.
Find Every Strawberry Cheesecake Dump Cake Ingredient
Fruit Layer:Dairy and Creamy Components:Dry and Binding Ingredients:Making Strawberry Cheesecake Dump Cake At Home

Step 1: Warm Up the Kitchen
Fire up your oven to 350F (175C).
Grab a 9×13-inch baking dish and give it a quick spray with cooking oil or rub it down with butter to prevent sticking.
Step 2: Create Strawberry Base
Grab your strawberry pie filling and spread it out smoothly across the bottom of the baking dish.
Make sure it creates an even, delicious foundation for your cake.
Step 3: Whip Up Creamy Goodness
In a mixing bowl, grab your cream cheese and start blending.
Toss in sugar and vanilla extract.
Whip everything together until it’s silky smooth.
An electric mixer works great, but a good old-fashioned hand mix can do the trick if your cream cheese is super soft.
Step 4: Layer the Cheesecake
Drop big spoonfuls of the cream cheese mixture over the strawberry layer.
Don’t stress about making it perfect – it’ll spread out while baking and look amazing.
Step 5: Dust with Cake Mix
Sprinkle the dry cake mix evenly over the cream cheese layer.
Make sure every inch is covered for maximum deliciousness.
Step 6: Add Moisture Magic
Drizzle melted butter and milk across the cake mix.
Try to get as much of the dry mix wet as possible – this is what creates those magical cake textures.
Step 7: Sprinkle Extra Flavor
If you’re feeling fancy, scatter ground cinnamon and chopped nuts over the top.
This adds a killer crunch and extra warmth to your dessert.
Step 8: Bake to Perfection
Pop the dish into the oven and bake for 40-45 minutes.
You’re looking for a golden-brown top and bubbling edges.
The center should look set and tempting.
Step 9: Let It Rest
Pull the cake out and give it a breather.
Let it cool for at least 15 minutes.
This helps the layers settle and makes cutting easier.
Step 10: Serve and Celebrate
Scoop generous portions into bowls.
Serve it warm or at room temperature.
Want to take it over the top?
Add a dollop of whipped cream, a scoop of vanilla ice cream, or some fresh strawberries on top.
Strawberry Cheesecake Dump Cake Tips To Remember
Change Up Strawberry Cheesecake Dump Cake Easily

Fun Ways To Plate Strawberry Cheesecake Dump Cake
Store Strawberry Cheesecake Dump Cake For Later
FAQs
Fresh or frozen strawberries work well. If using fresh, mix them with sugar and cornstarch to create a similar consistency to pie filling. Drain excess liquid to prevent a soggy cake.
Yes, simply substitute the regular cake mix with a gluten-free cake mix. Ensure all other ingredients are also gluten-free to maintain the recipe’s integrity.
Look for a golden brown top and bubbling edges. The center should look set and not appear wet or liquid. Insert a toothpick near the center – it should come out mostly clean with a few moist crumbs.
Print
Easy Strawberry Cheesecake Dump Cake Recipe
- Total Time: 1 hour
- Yield: 12 1x
Description
Sweet strawberry cheesecake dump cake blends creamy cheesecake layers with buttery cake crumbles for an irresistible dessert. Minimal effort delivers maximum flavor, making this quick treat perfect for casual gatherings or spontaneous sugar cravings you’ll savor.
Ingredients
Base Layer Ingredients:
- 1 can (21 ounces / 595 grams) strawberry pie filling
Cheesecake Layer Ingredients:
- 1 package (8 ounces / 226 grams) cream cheese, softened
- 1/2 cup granulated sugar
- 1 teaspoon vanilla extract
Cake Topping Ingredients:
- 1 box (15.25 ounces / 432 grams) yellow or white cake mix
- 1/2 cup (1 stick / 113 grams) unsalted butter, melted
- 1/2 cup milk
- 1/2 teaspoon cinnamon (optional)
- 1/2 cup chopped pecans or walnuts (optional)
Optional Garnishes:
- Whipped cream
- Vanilla ice cream
- Fresh strawberries
Instructions
- Preheat the oven to 350°F (175°C) and prepare a 9×13-inch baking dish with a light coating of cooking spray or butter.
- Create the base layer by evenly distributing the strawberry pie filling across the bottom of the prepared dish.
- Craft the creamy cheesecake mixture by thoroughly blending softened cream cheese with granulated sugar and vanilla extract until completely smooth, using an electric mixer or manual whisk.
- Delicately dollop the cream cheese mixture over the strawberry layer, gently spreading it to cover the surface without creating a perfectly uniform layer.
- Generously distribute the dry cake mix across the cream cheese layer, ensuring complete coverage.
- Enhance moisture by drizzling melted butter and milk over the cake mix, aiming to saturate as much of the dry ingredients as possible.
- If desired, dust the top with ground cinnamon and sprinkle chopped nuts for additional texture and flavor.
- Transfer to the preheated oven and bake for 40-45 minutes, watching for a golden-brown top, bubbling edges, and a set center.
- Allow the cake to rest for 15 minutes after removing from the oven, enabling the layers to stabilize and set.
- Serve warm or at room temperature, optionally garnishing with whipped cream, vanilla ice cream, or fresh strawberries for an extra touch of indulgence.
Notes
- Soften cream cheese thoroughly at room temperature to ensure a smooth, lump-free cheesecake layer that blends seamlessly with other ingredients.
- Choose ripe, sweet strawberry pie filling or swap with fresh strawberries mixed with sugar for a more vibrant, natural fruit flavor and less processed taste.
- Avoid overmixing the cake mix layer to prevent a dense, tough texture; gently sprinkle and drizzle butter to maintain a light, crumbly consistency.
- Customize the dessert by experimenting with alternative cake mix flavors like white, yellow, or even chocolate to create unique taste combinations that suit different preferences.
- Prep Time: 15 minutes
- Cook Time: 45 minutes
- Category: Desserts, Snacks
- Method: Baking
- Cuisine: American
Nutrition
- Serving Size: 12
- Calories: 290
- Sugar: 16 g
- Sodium: 250 mg
- Fat: 14 g
- Saturated Fat: 8 g
- Unsaturated Fat: 5 g
- Trans Fat: 0 g
- Carbohydrates: 38 g
- Fiber: 1 g
- Protein: 3 g
- Cholesterol: 35 mg
Lena Martinez
Contributing Writer & Culinary Educator
Expertise
Southwestern and Latin American cuisines, Vegetarian and plant-based recipe development, Culinary education and community outreach
Education
Santa Fe Community College, Santa Fe, NM
Certificate in Culinary Arts
Emphasized Southwestern cuisine and sustainable cooking practices
Lena grew up surrounded by the colors, spices, and traditions of the Southwest – flavors that sparked her love for bold, honest cooking. After earning her Culinary Arts certificate at Santa Fe Community College, she made it her mission to teach home cooks how to create flavorful, plant-powered meals without the fuss.
Her recipes are packed with vibrant ingredients, simple steps, and the kind of heart that turns a regular meal into something you’ll want to share. Outside the kitchen, Lena spends her time wandering farmers’ markets, trading family recipes, and helping young chefs find their voice through food.