Fresh Strawberry Pie Recipe: Sweet Summer Joy in Every Slice
Sweet summer memories flood back with every slice of this delightful strawberry pie that captures pure sunshine on a plate.
Ripe berries burst with natural sweetness, creating a dessert that feels like a celebration of seasonal abundance.
Local farmers’ markets inspire this simple yet spectacular treat that comes together with minimal effort.
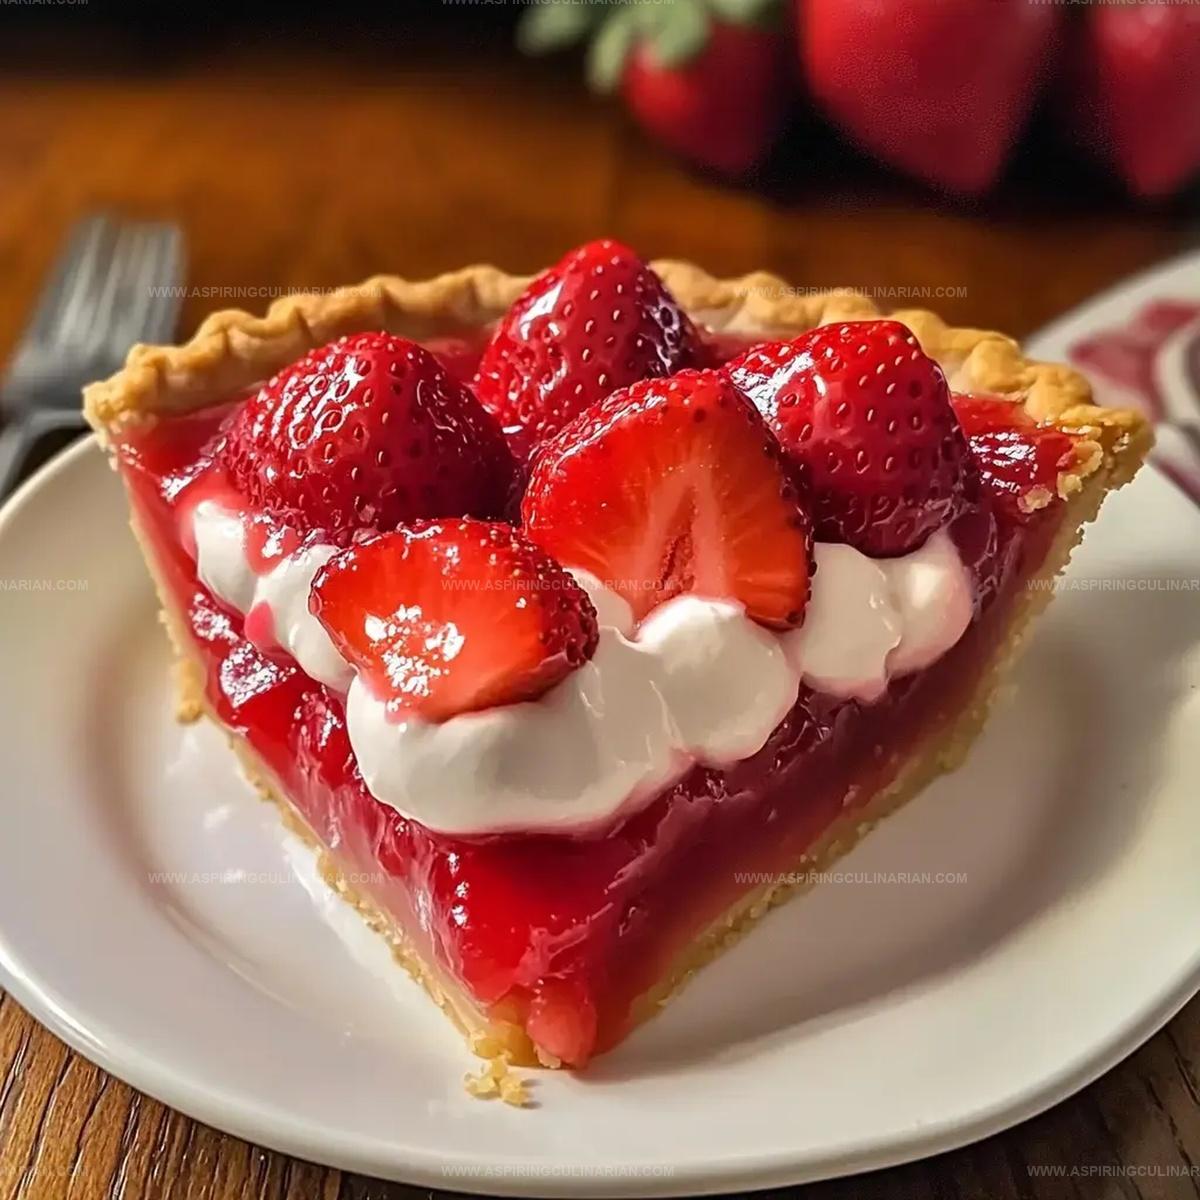
Delicate pastry cradles jewel-toned strawberries in a luscious filling that promises pure delight.
Fresh ingredients make all the difference in transforming an ordinary dessert into something extraordinary.
Each forkful promises a perfect balance of buttery crust and bright, juicy fruit.
You’ll want to savor every moment of this irresistible pie that brings joy to any gathering.
Sweet Glazed Berry Pie: Berry Best Reasons
Must-Haves for Glazed Berry Pie Perfection
Pie Base:Fresh Berries:Glaze Ingredients:Topping:Quick & Easy Steps to Berry Pie
Step 1: Prepare Pie Crust
Create a smooth, golden pie crust by pressing it firmly into a pie dish.
Make sure the edges are crimped evenly for a beautiful presentation.
Step 2: Create Berry Base Layer
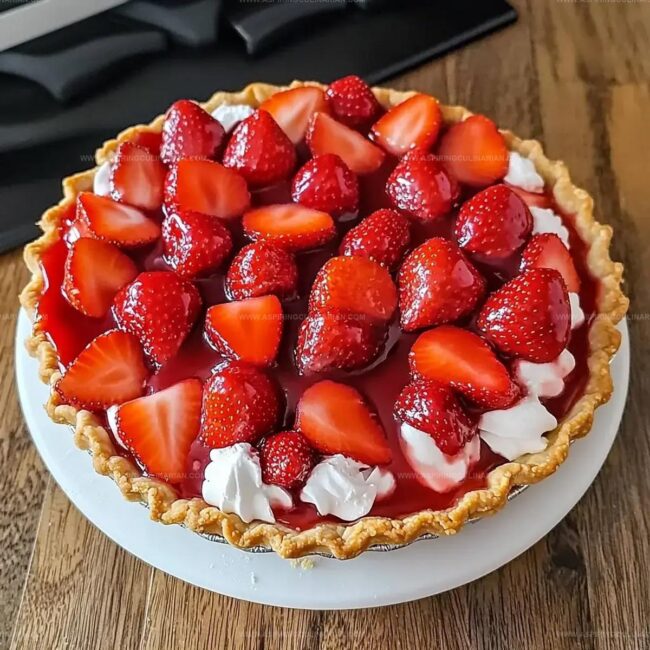
Gently spread a colorful mixture of berries across the bottom of the pie crust, creating an even, vibrant layer that will peek through the glaze.
Step 3: Craft Luscious Berry Glaze
Combine ingredients in a saucepan, using a potato masher to slightly crush the berries.
This releases their natural juices and creates a more intense flavor profile.
Step 4: Transform Glaze to Perfection
Heat the berry mixture over medium flame, stirring continuously.
Watch as the liquid transforms, becoming glossy and thick.
The glaze will bubble and change consistency, signaling it’s ready when it coats the back of a spoon.
Step 5: Cool Glaze Gently
Remove the saucepan from heat and let the glaze rest for 5-7 minutes.
This cooling period allows the mixture to slightly thicken and develop deeper flavors.
Step 6: Drench Berry Layer
Carefully pour the warm glaze over the fresh berry base, ensuring complete and even coverage.
The glaze will create a stunning, translucent coating that showcases the beautiful berries underneath.
Step 7: Chill and Set
Place the pie in the refrigerator for 4-5 hours.
The cooling process helps the glaze set perfectly and allows flavors to meld together.
Step 8: Serve with Flair
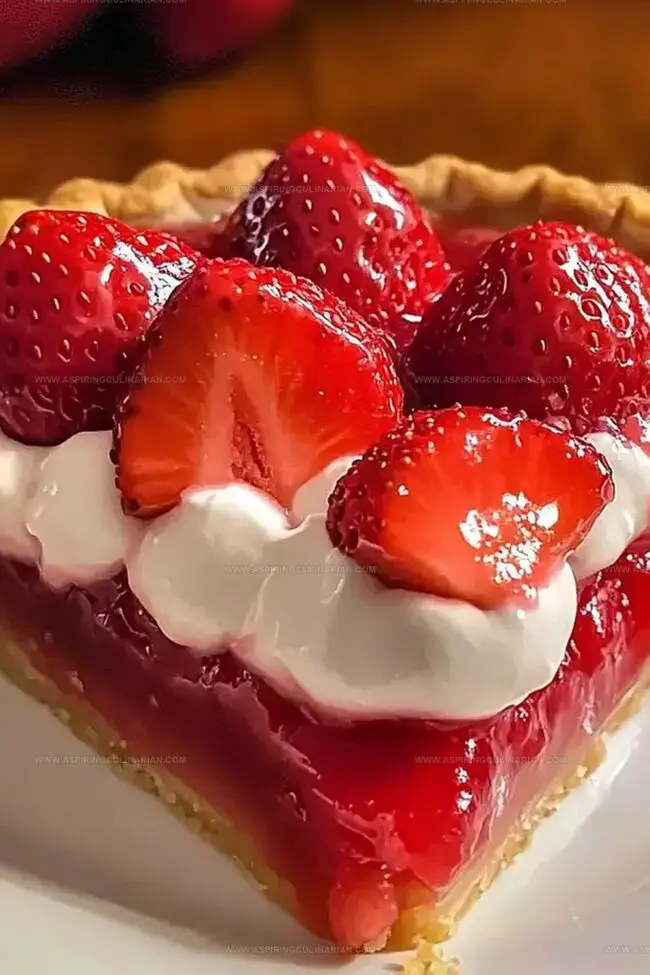
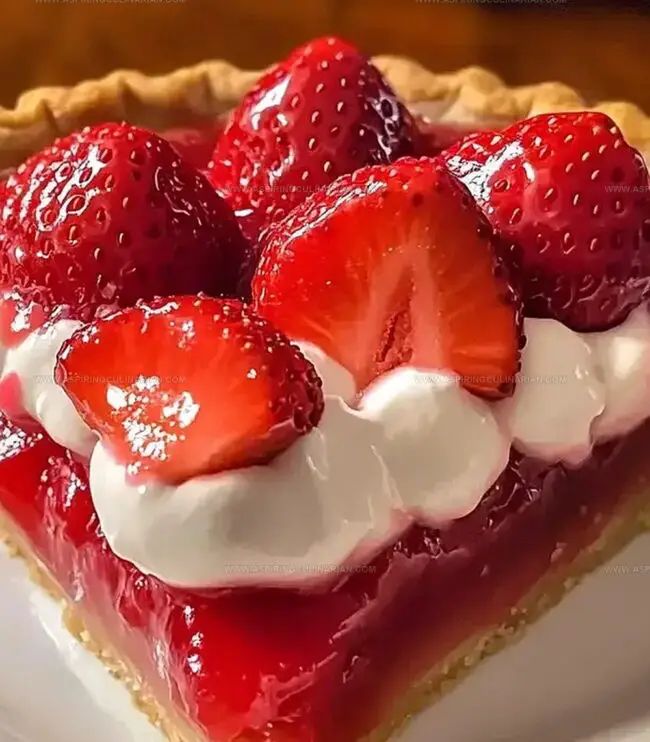
Garnish with a dollop of fluffy whipped cream just before serving.
Slice carefully to reveal the gorgeous layers of berries and glossy glaze.
Make Your Berry Pie Shine: Tips
Twists & Swaps for Berry Pie Fans
Serving Berry Pie – Fresh Ideas
Keeping Berry Pie Delicious
FAQs
The glaze is ready when it coats the back of a spoon and leaves a clear path when you run your finger through it. It should look glossy and have a slightly gel-like consistency.
Fresh strawberries work best, but you can use frozen strawberries. Thaw and drain them completely before using to prevent excess liquid in the pie.
Crushing helps release the strawberries’ natural juices and pectin, which helps the glaze thicken and develop a richer flavor. It also creates a smoother texture for the glaze.
Print
Fresh Strawberry Pie Recipe
- Total Time: 25 minutes
- Yield: 8 1x
Description
Sweet summer memories bloom in this classic fresh strawberry pie, where ripe berries nestle in a buttery crust and silky glaze. Luscious crimson slices promise pure delight, inviting you to savor each refreshing, homemade bite.
Ingredients
Main Ingredients:
- 1.5 pounds (680 grams) fresh strawberries, hulled and halved
- 1 pre-baked pie crust
Sweeteners and Thickeners:
- 1 cup (200 grams) granulated sugar
- 3 tablespoons (24 grams) cornstarch
Liquid and Flavoring Ingredients:
- 0.5 cup (120 milliliters) water
- 1 tablespoon (15 milliliters) fresh lemon juice
- Whipped cream for garnish (optional)
Instructions
- Carefully layer half of the fresh strawberries into the prepared pie crust, creating an even base.
- In a saucepan, combine remaining strawberries with sugar, cornstarch, water, and lemon juice. Gently crush the berries to release their natural juices.
- Heat the mixture over medium temperature, continuously stirring to prevent scorching. Allow the glaze to reach a full boil and simmer until it transforms into a thick, glossy consistency, approximately 3-4 minutes.
- Remove the glaze from heat and let it rest for 5 minutes, allowing the temperature to decrease slightly.
- Delicately drizzle the warm glaze over the fresh strawberry layer, ensuring complete and even coverage.
- Transfer the pie to the refrigerator and chill for 4 hours, allowing the glaze to set and flavors to meld together.
- Before serving, crown the pie with a generous dollop of whipped cream for an elegant finishing touch.
Notes
- Choose ripe, fresh strawberries for the most vibrant flavor and natural sweetness in your pie.
- Use a potato masher or fork to gently crush strawberries, releasing their juices without completely destroying their texture.
- Control heat carefully when cooking the glaze to prevent burning or uneven thickening, stirring consistently for a smooth consistency.
- Adjust sugar levels based on strawberry sweetness, tasting the mixture before final cooking to ensure perfect balance.
- Prep Time: 15 minutes
- Cook Time: 10 minutes
- Category: Desserts
- Method: Boiling
- Cuisine: American
Nutrition
- Serving Size: 8
- Calories: 215 kcal
- Sugar: 30 g
- Sodium: 150 mg
- Fat: 7 g
- Saturated Fat: 2 g
- Unsaturated Fat: 4 g
- Trans Fat: 0 g
- Carbohydrates: 40 g
- Fiber: 3 g
- Protein: 2 g
- Cholesterol: 10 mg
Nathaniel Brooks
Founder & Recipe Developer
Expertise
Farm-to-table cuisine, Seasonal recipe development, Culinary storytelling
Education
Ivy Tech Community College – Indianapolis, IN
Culinary Arts / Hospitality Administration & Events
Focused on hands-on training in classical and modern culinary techniques.
Nathaniel’s story starts in the foothills of the Appalachian Mountains, where farm stands, backyard gardens, and old family recipes shaped his love for real food. After graduating from Ivy Tech Community College in Indianapolis, he spent years working in farm-to-table kitchens, learning how to turn local, seasonal ingredients into something memorable.
Today, Nathaniel pours that same spirit into every single recipe on Aspiring Culinarian – recipes that feel real, comforting, and connected to the land. When he’s not in the kitchen, you’ll find him foraging wild herbs, chasing sunsets with his camera, or writing about the flavors that shaped his roots.