
Frosty Frozen Banana Yogurt Pops Recipe: Sweet Summer Joy
Cool summer days call for a delightful frozen banana yogurt pops recipe that transforms simple ingredients into a creamy treat.
Sweet, ripe bananas blend perfectly with smooth yogurt to create an irresistible dessert.
The combination brings together natural sweetness and tangy richness in every bite.
Kids and adults alike will adore these frosty delights that require minimal effort.
Healthy snacking meets pure enjoyment with these simple frozen pops.
Minimal ingredients and quick preparation make this recipe a go-to for anyone seeking a refreshing, nutritious dessert.
Whip up these cool treats and watch smiles spread across faces with the first delicious lick.
Frozen Banana Yogurt Pops What Makes These Pops Special
What You’ll Need for Frozen Banana Yogurt Pops
Main Ingredients:Toppings:Kitchen Tools:Frozen Banana Yogurt Pops Step-by-Step Directions
Step 1: Prep the Fruity Base
Grab your ripe bananas and peel them with care.
Slice each banana right down the middle creating delightful halves.
Gently insert a wooden stick into the cut side, pushing it about halfway through to create a perfect handle.
Step 2: Yogurt Dunk Technique
Choose a spacious bowl for your vanilla yogurt.
Carefully submerge each banana half into the creamy white mixture.
Use a spoon to help spread the yogurt smoothly, ensuring every inch gets a delicious coating.
Let excess yogurt drip back into the bowl for a neat finish.
Step 3: Sprinkle Magic
While the yogurt remains wet and sticky, go wild with fun toppings.
Your options are endless:Rotate the banana to ensure total coverage with your chosen delights.
Step 4: Freeze and Set
Place your decorated banana pops on a lined baking sheet.
Make sure they aren’t touching each other.
Pop them into the freezer.
For a soft, creamy texture, freeze for 2 hours.
For completely solid pops, wait 3-4 hours.
Step 5: Enjoy Your Chilly Treat
Once frozen, these pops are ready to devour.
For an easier bite, let them sit at room temperature for a quick 2-3 minutes.
Wrap individual pops in plastic wrap for later snacking or serve immediately for maximum freshness.
Frozen Banana Yogurt Pops Little Tricks for Success
Frozen Banana Yogurt Pops Options for New Twists
How to Present Frozen Banana Yogurt Pops at Parties
Storage Solutions for Frozen Banana Yogurt Pops
FAQs
Yes, they’re a nutritious treat packed with potassium from bananas, protein from yogurt, and can be customized with healthy toppings like nuts or seeds.
Absolutely! Greek yogurt, flavored yogurts, or non-dairy alternatives work great. Just choose a yogurt with a thick consistency for better coating.
These banana pops can be stored in the freezer for up to 2 weeks if wrapped individually in plastic wrap or placed in a freezer-safe container.
No special equipment is needed, just popsicle sticks, a bowl for dipping, and a freezer. Basic kitchen tools like a knife and spoon will help you prepare them easily.
Print
Frozen Banana Yogurt Pops Recipe
- Total Time: 15 minutes
- Yield: 6 1x
Description
Cool summer days welcome delightful Frozen Banana Yogurt Pops, blending creamy Greek yogurt with ripe bananas and sweet honey. Refreshing chocolate drizzle and crunchy nut toppings elevate these simple treats you will crave on warm afternoons.
Ingredients
Main Ingredients:
- 3 bananas, peeled and cut in half
- 0.75 cup (180 milliliters) vanilla yogurt
Popsicle Equipment:
- 6 popsicle sticks
Decorative Toppings:
- Colorful sprinkles or toppings of your choice
Instructions
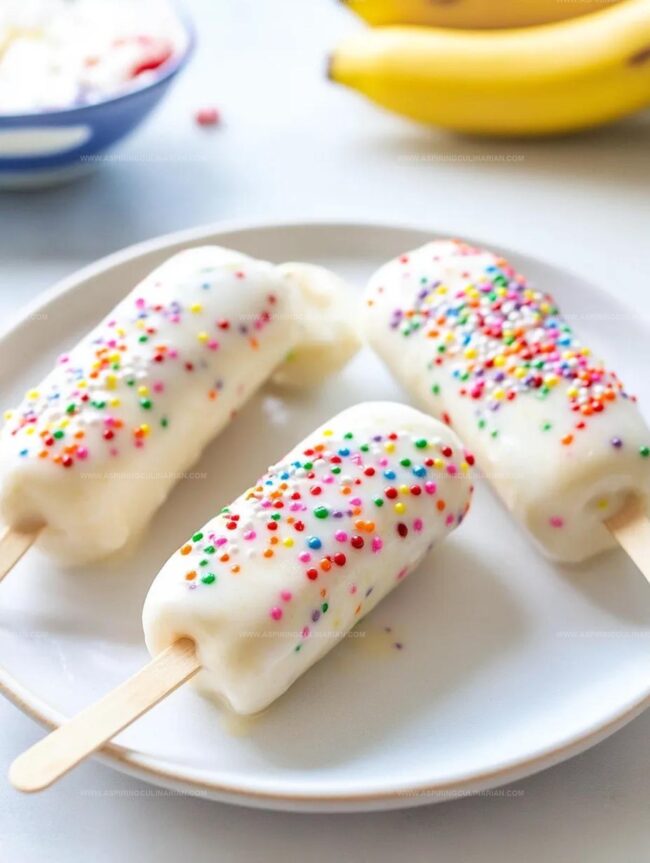
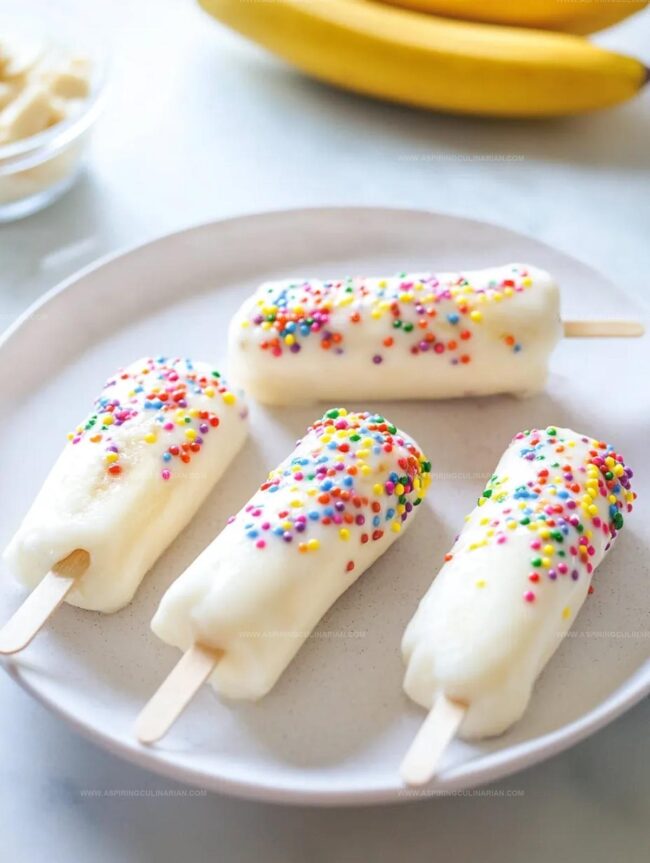
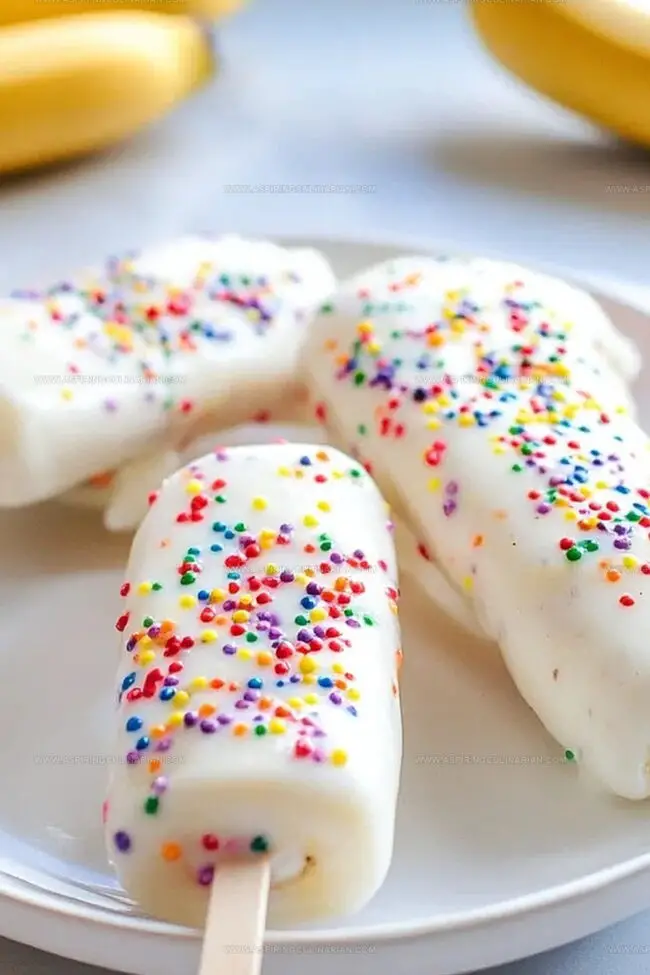
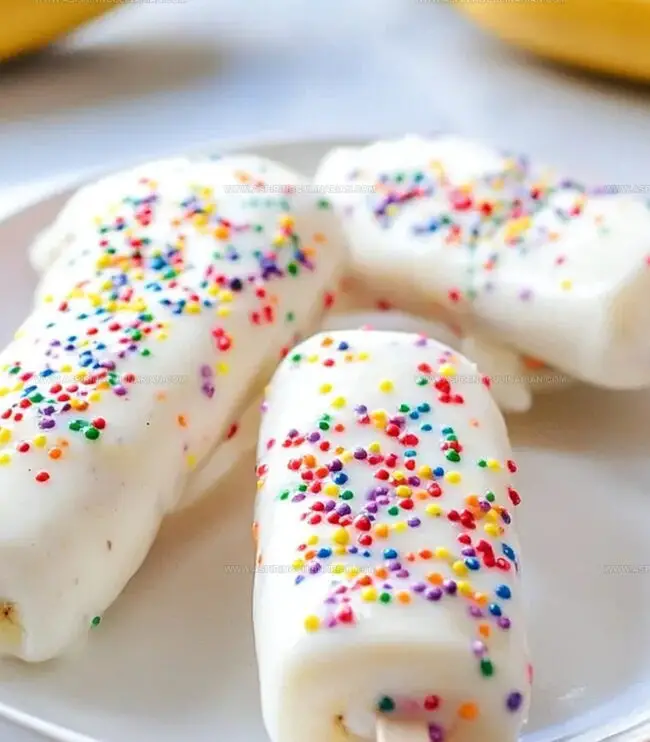
- Prepare bananas by peeling and slicing each into two equal halves horizontally, creating 6 banana segments. Carefully insert a popsicle stick into the cut end of each piece, pushing midway through the fruit.
- Select a deep bowl and pour vanilla yogurt for dipping. Submerge each banana segment completely, using a spoon to ensure uniform coverage. Allow excess yogurt to drip back into the bowl for a smooth, even coating.
- Immediately after coating, decorate the yogurt-covered bananas with selected garnishes like rainbow sprinkles, miniature chocolate chips, or finely chopped nuts. Rotate each pop to ensure complete topping coverage while the yogurt remains wet.
- Arrange the decorated banana pops on a wax paper or parchment-lined flat surface, positioning them without touching each other. Transfer to the freezer and chill for approximately 2-3 hours until the yogurt coating becomes completely solid and firm.
- Once fully frozen, serve the pops immediately or individually wrap in plastic for later consumption. If the treats are too rigid straight from the freezer, let them rest at room temperature for 2-3 minutes to soften slightly before enjoying.
Notes
- Choose ripe, spotty bananas for maximum sweetness and natural sugars that enhance the overall flavor of the frozen treat.
- Try different yogurt flavors like Greek, fruit-infused, or plant-based alternatives to create unique taste combinations and accommodate dietary preferences.
- Use silicone molds or parchment paper for easier removal and cleaner freezing process, preventing bananas from sticking to the surface.
- Customize toppings with healthier options like chia seeds, shredded coconut, or crushed granola for added nutrition and crunch, making the pops more wholesome and interesting.
- Prep Time: 15 minutes
- Cook Time: 0 minutes
- Category: Snacks, Desserts
- Method: Freezing
- Cuisine: American
Nutrition
- Serving Size: 6
- Calories: 80
- Sugar: 10g
- Sodium: 30mg
- Fat: 1.5g
- Saturated Fat: 0.5g
- Unsaturated Fat: 1g
- Trans Fat: 0g
- Carbohydrates: 17g
- Fiber: 2g
- Protein: 2g
- Cholesterol: 5mg
Lena Martinez
Contributing Writer & Culinary Educator
Expertise
Southwestern and Latin American cuisines, Vegetarian and plant-based recipe development, Culinary education and community outreach
Education
Santa Fe Community College, Santa Fe, NM
Certificate in Culinary Arts
Emphasized Southwestern cuisine and sustainable cooking practices
Lena grew up surrounded by the colors, spices, and traditions of the Southwest – flavors that sparked her love for bold, honest cooking. After earning her Culinary Arts certificate at Santa Fe Community College, she made it her mission to teach home cooks how to create flavorful, plant-powered meals without the fuss.
Her recipes are packed with vibrant ingredients, simple steps, and the kind of heart that turns a regular meal into something you’ll want to share. Outside the kitchen, Lena spends her time wandering farmers’ markets, trading family recipes, and helping young chefs find their voice through food.