
Zesty Game Day Cheesy Pizza Sliders Recipe for Hungry Fans
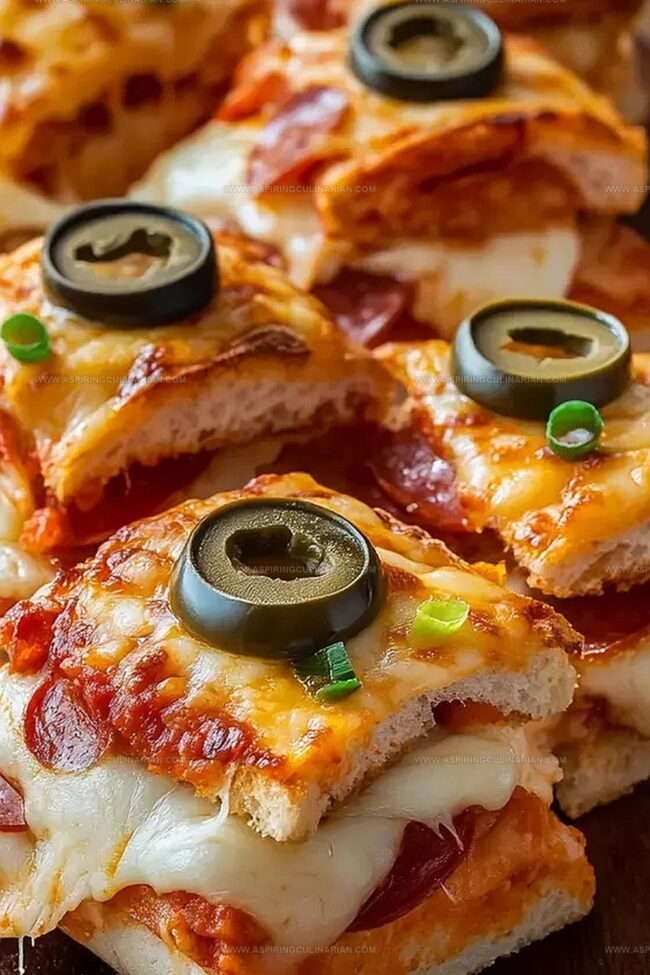
Nothing beats the excitement of game day munchies like these irresistible cheesy pizza sliders that pack a flavor punch in every single bite.
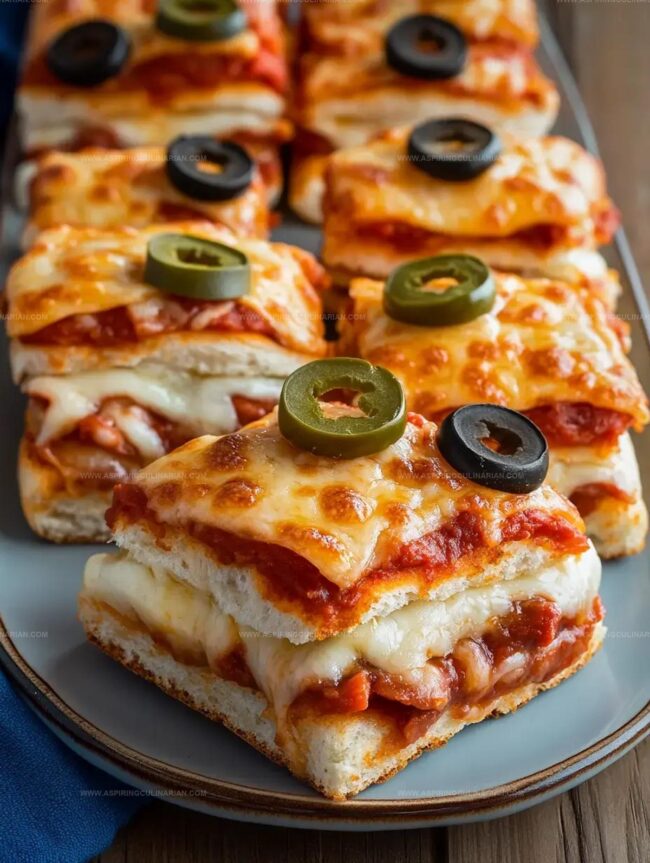
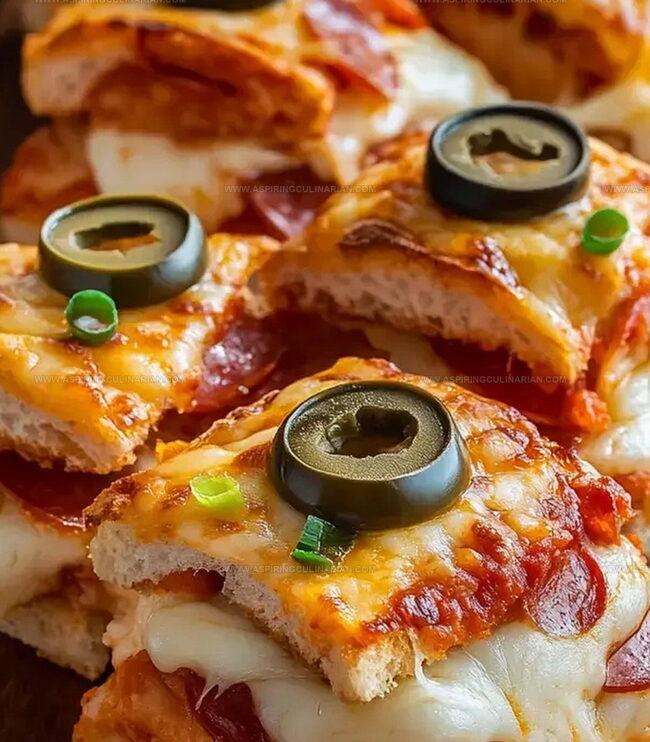
Soft slider rolls nestled with zesty pizza ingredients create the ultimate crowd-pleasing appetizer.
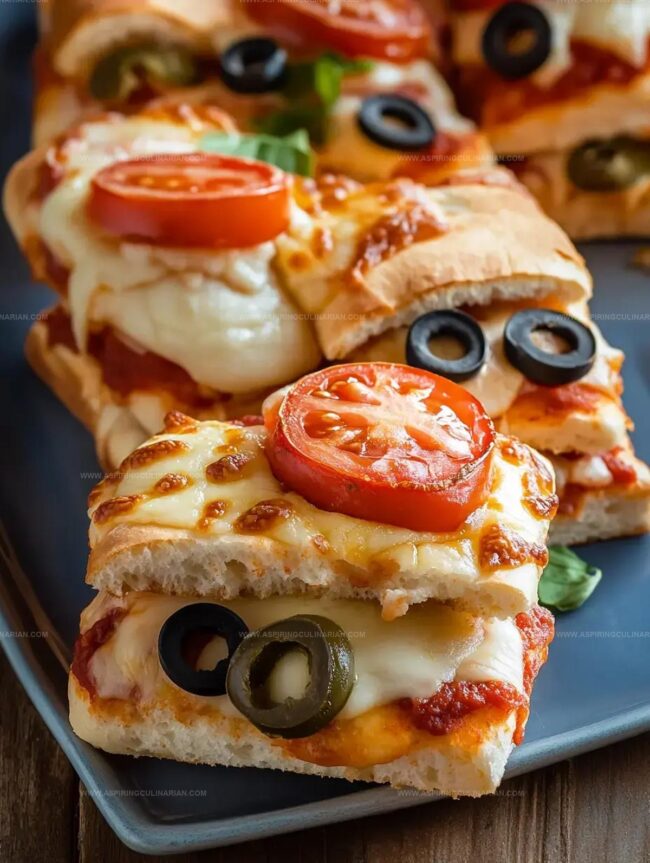
Melted cheese cascades over savory pepperoni and tangy marinara sauce, promising a delectable experience.
Each slider delivers a perfect blend of comfort and game day enthusiasm.
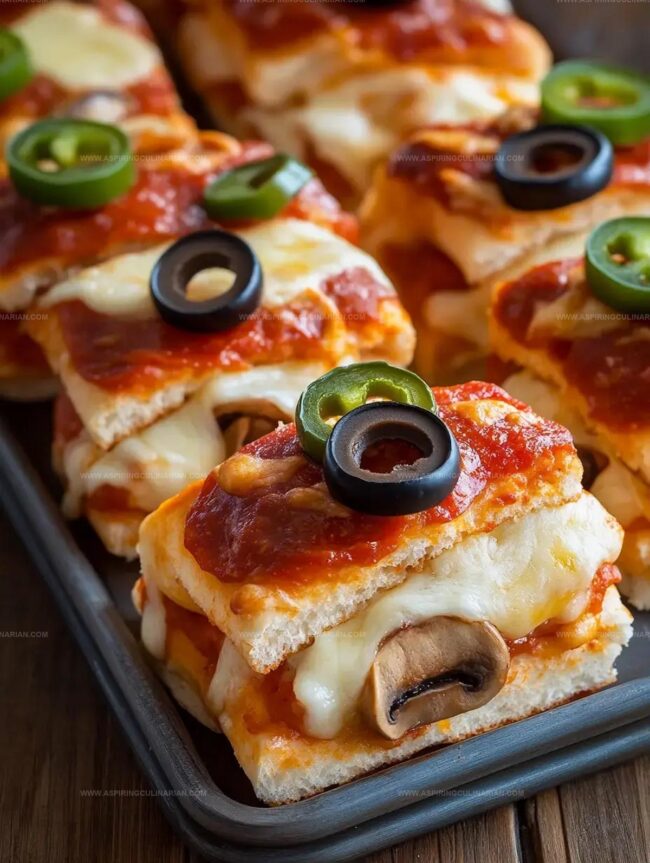
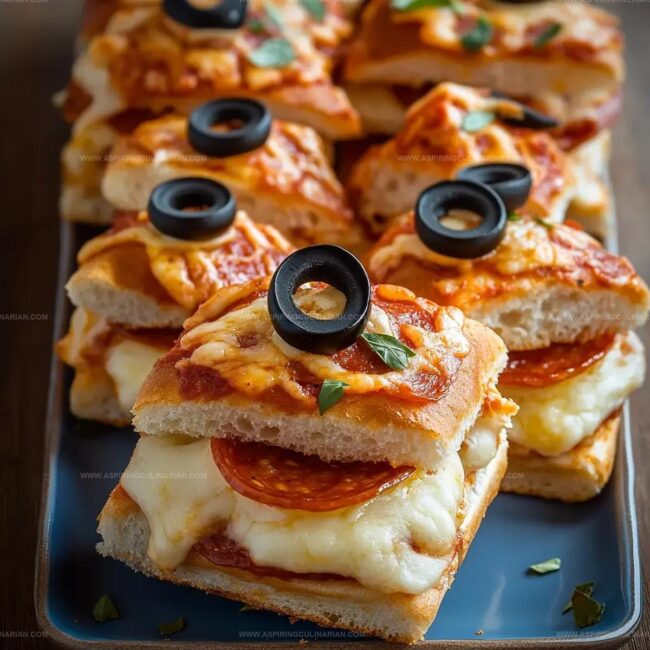
The miniature sandwiches bring serious wow factor to your spread without complicated preparation.
Loaded with classic pizza flavors, these sliders will have everyone reaching for seconds.
Prepare to become the MVP of your next game day gathering.
Game Day Cheesy Pizza Sliders Standout Qualities
Game Day Cheesy Pizza Sliders Ingredient List
Main Ingredients:Seasoning Ingredients:Binding Ingredients:How to Make Cheesy Pizza Sliders for Parties
Step 1: Fire Up the Oven
Crank your oven to a toasty 350°F.
Grab a 9×13 baking dish and give it a quick spray or brush with cooking oil to prevent sticking.
Step 2: Split the Slider Squad
Take your package of slider rolls and slice them clean in half horizontally.
Gently nestle the bottom half of the rolls into your greased baking dish, creating a soft foundation for your flavor explosion.
Step 3: Create Flavor Layers
Start building your delicious pizza slider masterpiece with these tasty ingredients:Spread a generous layer of sauce, sprinkle mozzarella, scatter pepperoni, then repeat the sauce and cheese layers for maximum taste impact.
Step 4: Crown Your Creation
Carefully place the top half of the slider rolls over your loaded bottom layer, creating a delicious sandwich-style slider.
Step 5: Whip Up the Magic Butter Blend
In a small bowl, mix together:Step 6: Bake to Golden Perfection
Brush the butter mixture generously over the top of your sliders.
Cover the dish with foil and bake for 15 minutes.
Then uncover and continue baking for an additional 5-10 minutes until the top turns a beautiful golden brown and the cheese gets all melty and irresistible.
Pro Tips for Cheesy Pizza Slider Lovers
Cheesy Pizza Sliders Twists and Options
Cheesy Pizza Sliders Serving Inspiration
Game Day Cheesy Pizza Sliders Storage Tips
FAQs
The main ingredients include dinner rolls, pizza sauce, mozzarella cheese, pepperoni, butter, garlic powder, Italian seasoning, and Parmesan cheese.
Yes, you can prepare the sliders in advance and refrigerate them before baking. Just add 5-10 minutes to the baking time if cooking directly from the refrigerator.
Absolutely! These sliders are perfect for game day, parties, or gatherings because they’re easy to make and can be quickly prepared for multiple people.
Print
Game Day Cheesy Pizza Sliders Recipe
- Total Time: 40 minutes
- Yield: 12 1x
Description
Game day cheesy pizza sliders bring together the best of pizza and slider magic in one irresistible bite. Melted cheese, zesty pepperoni, and buttery rolls create a crowd-pleasing appetizer you’ll crave at every gathering.
Ingredients
Main Ingredients:
- 1 package (12-count) King’s Hawaiian rolls
- 12 ounces (340 grams) mozzarella cheese, sliced or shredded
- 24 slices pepperoni
- 3/4 cup (180 milliliters) pizza sauce
Seasoning and Topping Ingredients:
- 1/4 cup (60 milliliters) unsalted butter, melted
- 1/4 cup (25 grams) grated Parmesan cheese
- 1/2 teaspoon garlic powder
- 1/2 teaspoon Italian seasoning
Finishing Ingredients:
- Salt to taste
- Pepper to taste
Instructions
- Preheat the oven to 350°F and prepare a 9×13 baking dish with a light grease coating to prevent sticking.
- Carefully slice the entire package of rolls horizontally, creating a top and bottom section, and gently place the bottom half into the prepared baking dish.
- Create delicious layers by spreading pizza sauce across the roll base, followed by an even distribution of mozzarella cheese and pepperoni slices, then repeat the sauce and cheese layers for maximum flavor.
- Delicately position the top half of the rolls over the layered ingredients, creating a complete slider assembly.
- Craft a flavorful topping by combining melted butter with garlic powder, Italian seasoning, and grated Parmesan cheese in a small mixing bowl.
- Generously brush the prepared butter mixture across the top of the rolls, ensuring even coverage for enhanced taste and golden coloration.
- Cover the baking dish with aluminum foil and bake for 15 minutes in the preheated oven, then remove the foil and continue baking for an additional 5-10 minutes until the sliders achieve a beautiful golden-brown appearance.
Notes
- Customize pepperoni with alternative protein options like grilled chicken, ham, or plant-based alternatives for different dietary preferences.
- Swap traditional rolls with gluten-free or low-carb bread options to accommodate specific nutritional needs.
- Create a vegetarian version by replacing pepperoni with roasted vegetables like bell peppers, mushrooms, and zucchini for added nutrition.
- Reduce sodium and calories by using part-skim mozzarella and turkey pepperoni while maintaining delicious flavor profile.
- Prep Time: 15 minutes
- Cook Time: 25 minutes
- Category: Lunch, Dinner, Appetizer, Snacks
- Method: Baking
- Cuisine: American
Nutrition
- Serving Size: 12
- Calories: 250
- Sugar: 3 g
- Sodium: 600 mg
- Fat: 14 g
- Saturated Fat: 7 g
- Unsaturated Fat: 5 g
- Trans Fat: 0 g
- Carbohydrates: 22 g
- Fiber: 1 g
- Protein: 10 g
- Cholesterol: 30 mg
Lena Martinez
Contributing Writer & Culinary Educator
Expertise
Southwestern and Latin American cuisines, Vegetarian and plant-based recipe development, Culinary education and community outreach
Education
Santa Fe Community College, Santa Fe, NM
Certificate in Culinary Arts
Emphasized Southwestern cuisine and sustainable cooking practices
Lena grew up surrounded by the colors, spices, and traditions of the Southwest – flavors that sparked her love for bold, honest cooking. After earning her Culinary Arts certificate at Santa Fe Community College, she made it her mission to teach home cooks how to create flavorful, plant-powered meals without the fuss.
Her recipes are packed with vibrant ingredients, simple steps, and the kind of heart that turns a regular meal into something you’ll want to share. Outside the kitchen, Lena spends her time wandering farmers’ markets, trading family recipes, and helping young chefs find their voice through food.