Zesty Garlic and Herb Chickpea Flour Snack Crackers Recipe
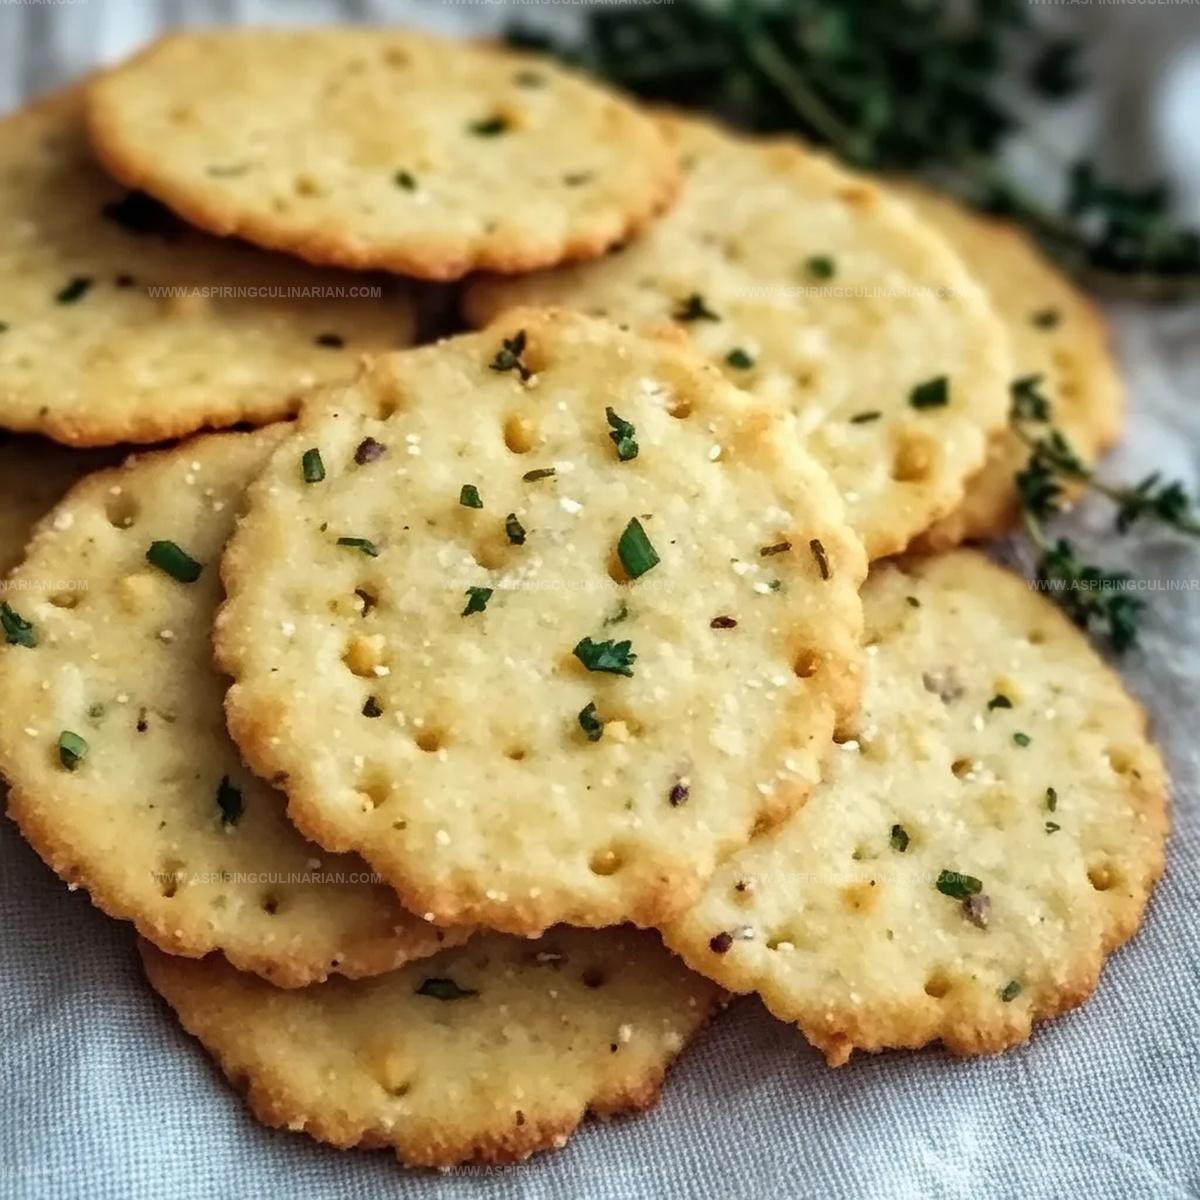
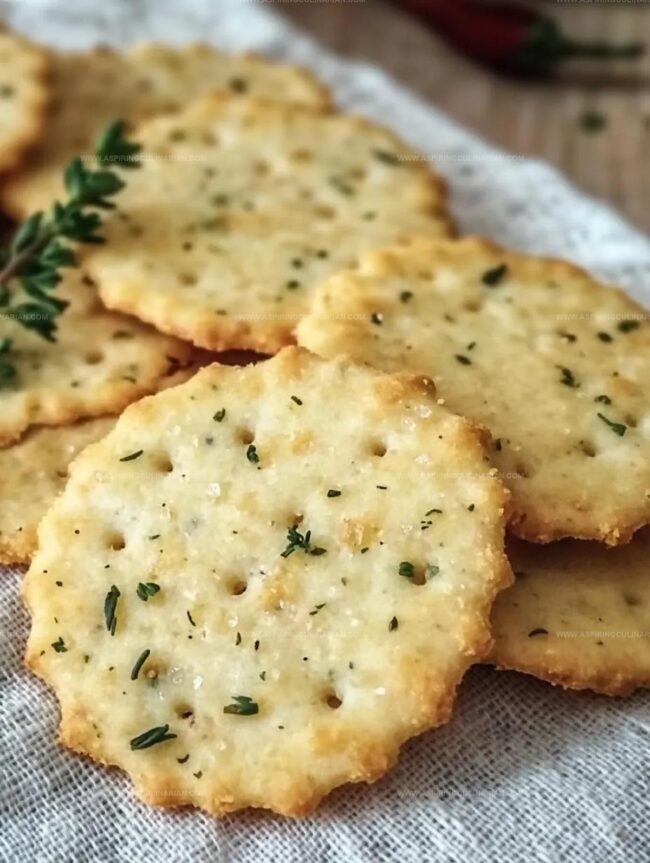
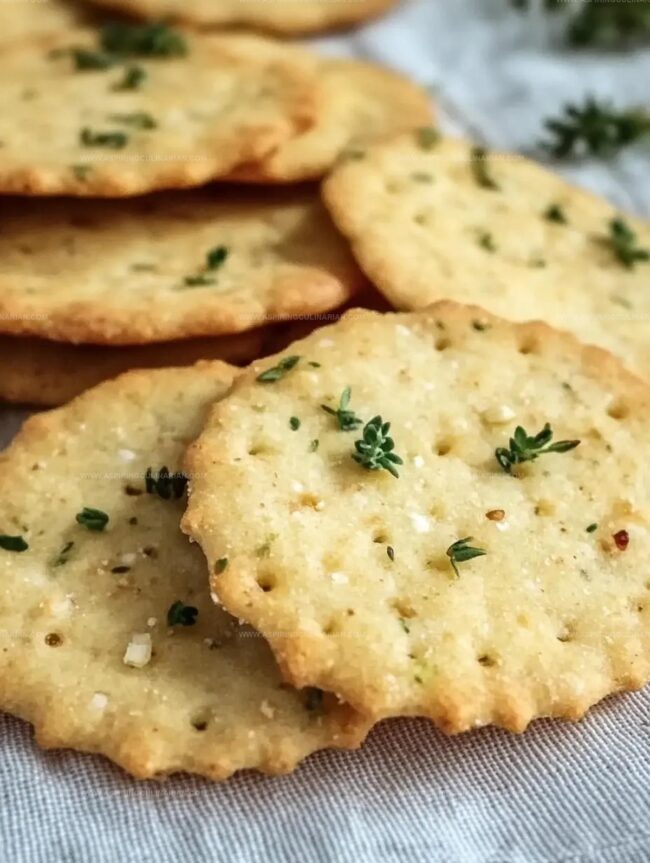
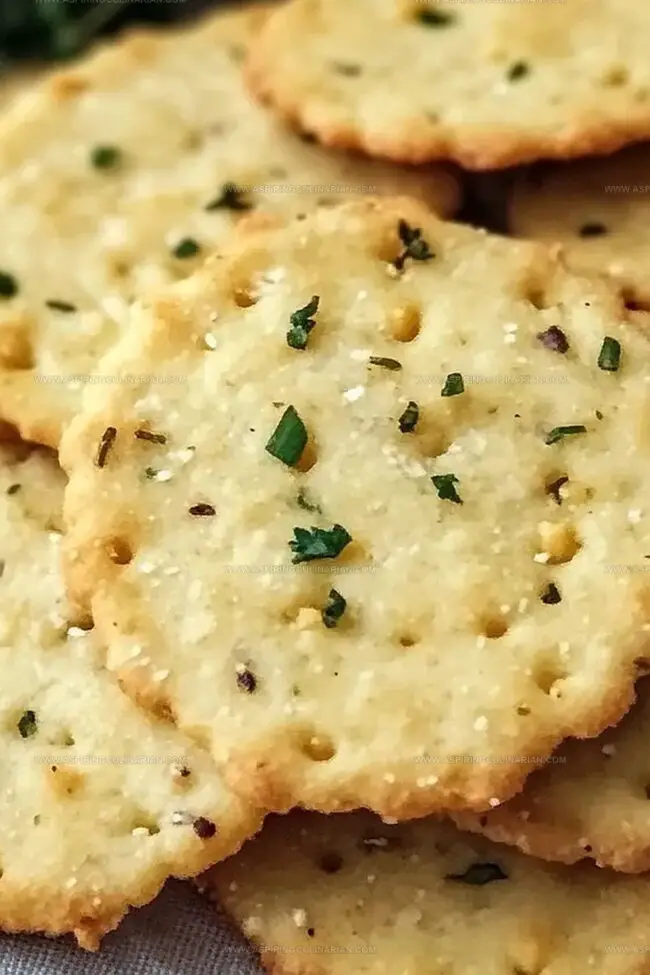
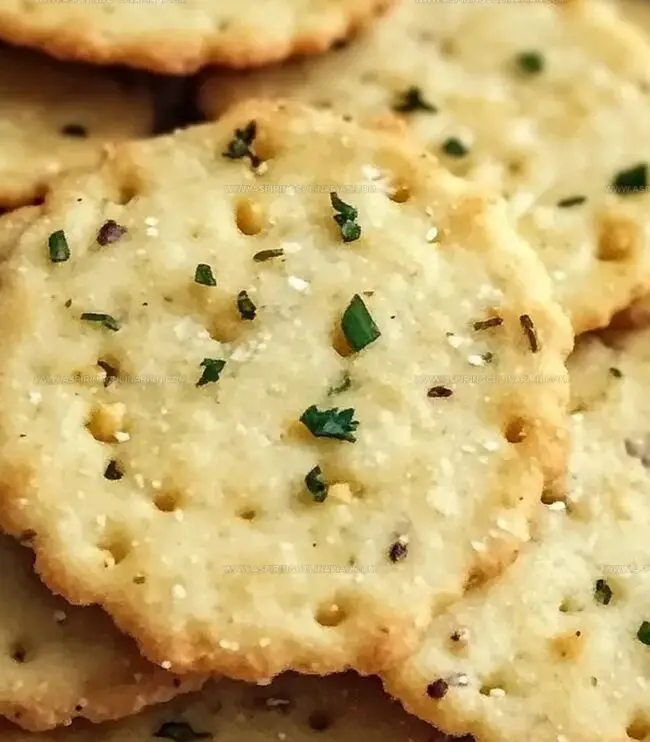
Crispy, golden-brown garlic and herb chickpea flour snack crackers bring a delightful crunch to your snacking experience.
These homemade crackers pack an irresistible punch of flavor with every bite.
chickpea flour creates a naturally gluten-free base that turns ordinary crackers into something extraordinary.
Simple ingredients blend together to craft a savory treat that satisfies unexpected cravings.
Fresh herbs and robust garlic elevate these crackers from basic to bold.
Each batch promises a light, crisp texture that melts in your mouth.
You’ll love how quickly these crackers come together, making them a perfect go-to snack for any moment.
Dive into this recipe and transform your snack game with these irresistible, flavor-packed crackers.
Garlic Herb Chickpea Flour Snack Crackers Taste Surprise
Chickpea Flour Crackers Shopping List For You
Main Ingredients:Herb and Spice Blend:Optional Toppings:Garlic Herb Crackers Easy Prep Guide
Step 1: Fire Up the Oven
Turn the oven to 350F (175C) and position the rack right in the middle.
Grab a baking sheet and line it with parchment paper, letting it hang over the edges for easy lifting later.
Step 2: Blend Dry Ingredients
Grab a medium bowl and whisk together chickpea flour, dried mixed herbs, garlic powder, salt, and black pepper.
Make sure to break up any stubborn flour clumps by whisking vigorously.
Step 3: Introduce Wet Components
Create a little crater in the center of your dry mix.
Pour in olive oil and half the water.
Stir with a wooden spoon, gradually adding remaining water until you’ve got a smooth, unified dough with zero dry patches.
Step 4: Perfect the Dough Texture
Check your dough’s consistency.
Too dry?
Add water a teaspoon at a time.
Too wet?
Sprinkle in extra chickpea flour.
You’re aiming for a play-dough-like feel – firm but super flexible.
Step 5: Quick Knead
Dust a clean surface with chickpea flour.
Gently knead the dough for about 30 seconds until it’s silky smooth.
The texture should be slightly sticky but not clinging to your fingers.
Step 6: Roll It Out
Sandwich the dough between parchment paper sheets.
Use a rolling pin to flatten it to about 1/8 inch thick, keeping the thickness consistent across the entire surface.
Step 7: Create Cracker Shapes
Peel off the top parchment paper.
Grab a pizza cutter or sharp knife and slice the dough into fun shapes – squares, rectangles, or diamonds work great.
Step 8: Add Bonus Flavors
Want extra pizzazz?
Brush the surface with water or olive oil.
Sprinkle on sesame seeds, flaky sea salt, or extra herbs.
Press gently to help toppings stick.
Step 9: Bake to Golden Perfection
Slide the parchment paper with scored dough onto your baking sheet.
Bake for 15-20 minutes.
Start checking at 12 minutes.
Look for golden-brown edges and a firm feel.
Step 10: Cool Down Strategy
Pull the baking sheet out and let crackers cool completely.
For extra crispness, turn off the oven, crack the door, and leave crackers inside for 10-15 additional minutes.
Step 11: Break and Preserve
Once cooled, break crackers along score lines.
Stash in an airtight container.
They’ll stay fresh and crunchy for up to a week at room temperature.
Tricks For Extra Crispy Chickpea Crackers
Chickpea Crackers Flavor Swaps To Enjoy
Serve Chickpea Flour Crackers With Dips
Chickpea Flour Crackers Stay Crunchy Here’s How
FAQs
Yes, chickpea flour is naturally gluten-free, making these crackers an excellent option for people with gluten sensitivities or celiac disease.
Absolutely! You can skip the herbs or customize with your favorite dried spices like rosemary, thyme, or even chili flakes to suit your taste preferences.
Chickpea flour can absorb moisture differently depending on its freshness and humidity. Add water or flour gradually, one teaspoon at a time, to achieve the right play-dough-like consistency.
Print
Garlic And Herb Chickpea Flour Snack Crackers Recipe
- Total Time: 35 minutes
- Yield: 4 1x
Description
Crispy garlic and herb chickpea flour snack crackers bring Mediterranean flair to your appetizer lineup. Packed with robust flavors and nutritious ingredients, these crackers invite you to savor a delightful gluten-free nibble perfect for sharing.
Ingredients
Dry Base Ingredients:
- 1 cup (120g) chickpea flour (besan)
- 1 teaspoon dried mixed herbs (such as rosemary, thyme, oregano)
- 1 teaspoon garlic powder
- 1/2 teaspoon salt
- 1/4 teaspoon black pepper
Liquid Ingredients:
- 1/2 cup (120 milliliters) water
- 2 tablespoons olive oil
Optional Toppings:
- Sesame seeds
- Flaky sea salt
- Additional dried herbs
- Extra olive oil for brushing
Instructions
- Preheat the oven to 350F (175C) and position the rack in the middle. Cover a baking sheet with parchment paper, allowing slight overhang for easy removal.
- Combine chickpea flour, dried herbs, garlic powder, salt, and black pepper in a mixing bowl. Whisk thoroughly to eliminate flour clumps.
- Create a central well in the dry ingredients. Pour olive oil and half the water, stirring with a wooden spoon. Gradually add remaining water to form a smooth, unified dough.
- Assess dough consistency. Add water or chickpea flour incrementally to achieve a play-dough-like texture: firm yet pliable.
- Transfer dough to a chickpea flour-dusted surface. Knead gently for 30 seconds until smooth, ensuring minimal stickiness.
- Place dough between parchment sheets. Roll out to 1/8 inch thickness, maintaining even distribution.
- Remove top parchment layer. Slice dough into crackers using a pizza cutter or sharp knife, creating squares, rectangles, or diamonds.
- Optional: Brush surface with water or olive oil. Sprinkle sesame seeds, flaky salt, or additional herbs, pressing lightly to adhere.
- Slide parchment with scored dough onto baking sheet. Bake 15-20 minutes, watching from 12 minutes. Seek golden-brown edges and firm texture.
- Remove from oven. Cool completely on the baking sheet. For extra crispness, leave in oven with door cracked after turning off heat for 10-15 minutes.
- Break along score lines. Preserve in an airtight container at room temperature for up to one week.
Notes
- Flour Flexibility Chickpea flour works wonderfully for gluten-free diets, offering a protein-rich alternative to traditional wheat-based crackers with a nutty, slightly earthy flavor profile.
- Moisture Management Achieving the right dough consistency is crucial; add water or flour incrementally to prevent a too-wet or crumbly texture that could compromise cracker quality.
- Seasoning Spectrum Experiment with different herb blends like Italian, Mediterranean, or even spicy combinations such as cumin and chili powder to customize the crackers’ flavor intensity.
- Crispness Technique For maximum crunch, ensure even dough thickness and allow crackers to cool completely in a slightly open oven, which helps remove residual moisture and enhances their crispy texture.
- Prep Time: 15 minutes
- Cook Time: 20 minutes
- Category: Snacks
- Method: Baking
- Cuisine: Mediterranean
Nutrition
- Serving Size: 4
- Calories: 153
- Sugar: 0g
- Sodium: 150mg
- Fat: 7g
- Saturated Fat: 1g
- Unsaturated Fat: 6g
- Trans Fat: 0g
- Carbohydrates: 18g
- Fiber: 5g
- Protein: 6g
- Cholesterol: 0mg
Lena Martinez
Contributing Writer & Culinary Educator
Expertise
Southwestern and Latin American cuisines, Vegetarian and plant-based recipe development, Culinary education and community outreach
Education
Santa Fe Community College, Santa Fe, NM
Certificate in Culinary Arts
Emphasized Southwestern cuisine and sustainable cooking practices
Lena grew up surrounded by the colors, spices, and traditions of the Southwest – flavors that sparked her love for bold, honest cooking. After earning her Culinary Arts certificate at Santa Fe Community College, she made it her mission to teach home cooks how to create flavorful, plant-powered meals without the fuss.
Her recipes are packed with vibrant ingredients, simple steps, and the kind of heart that turns a regular meal into something you’ll want to share. Outside the kitchen, Lena spends her time wandering farmers’ markets, trading family recipes, and helping young chefs find their voice through food.