
Festive Gingerbread Whoopies Recipe for Holiday Joy
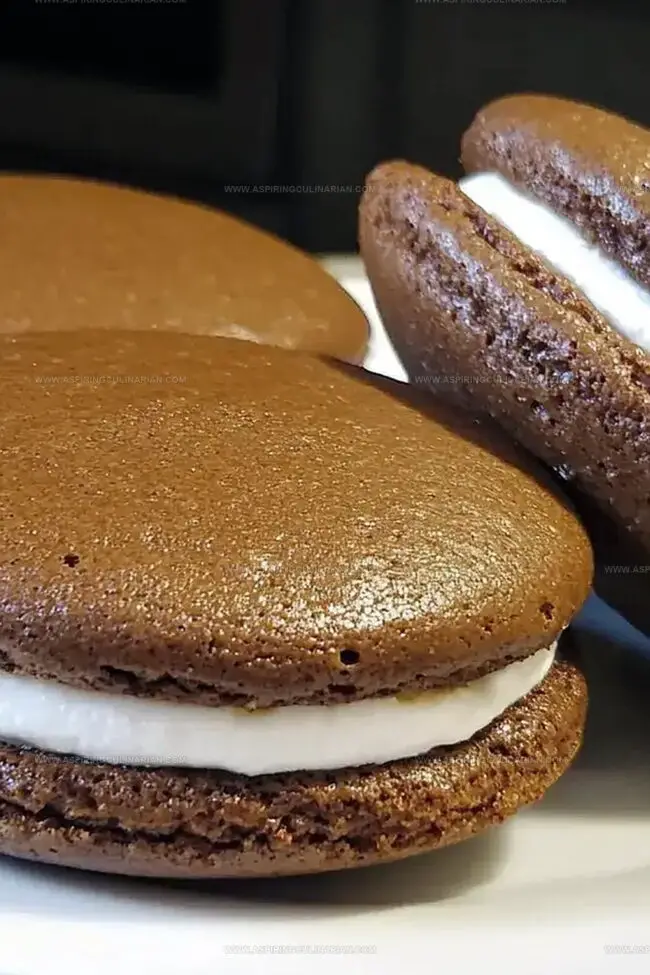
Soft, pillowy gingerbread whoopies dance with warm spices that transport you straight to cozy holiday memories.
These delightful treats blend classic winter flavors into an irresistible handheld dessert.
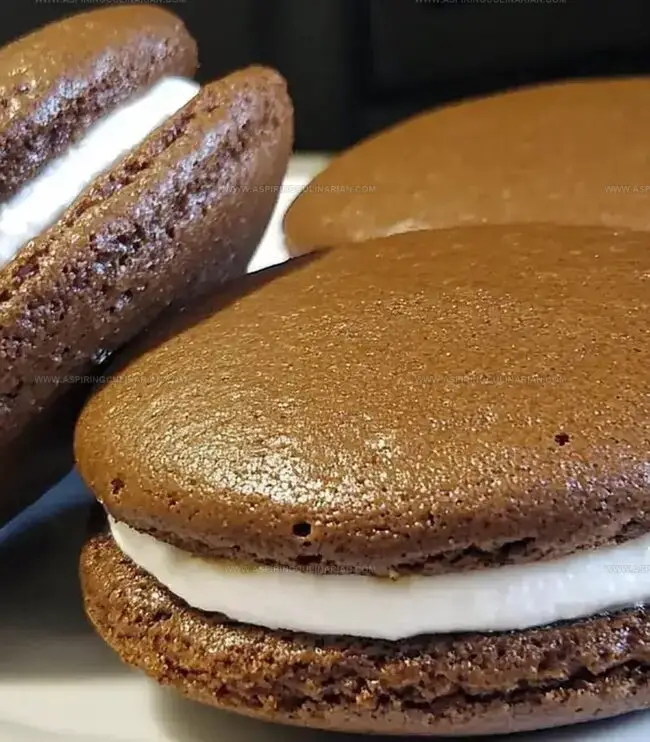
Molasses and ginger weave magic through a tender cake-like cookie that melts in your mouth.
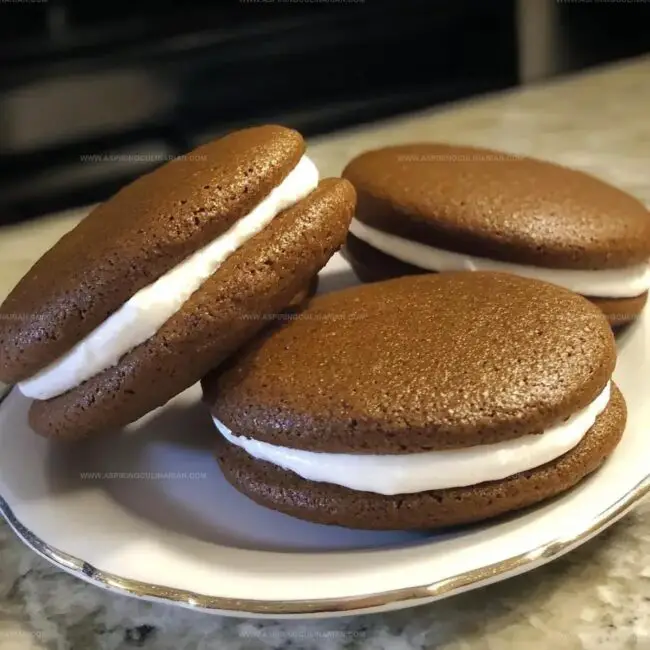
Each whoopie pie promises a delectable balance of sweet and spicy notes that sing of comfort and joy.
The creamy filling nestled between two perfectly spiced cookies creates a moment of pure indulgence.
Bakers of all skill levels can master these charming gingerbread whoopies with simple ingredients and easy steps.
Prepare to delight your loved ones with a festive confection that captures the essence of seasonal cheer.
Why Cookie Sandwich Cakes Always Delight
Ingredients Needed for Cookie Sandwich Cakes
Base Ingredients:Filling Ingredients:Baking Essentials:Easy Steps for Assembling Cookie Sandwich Cakes
Step 1: Fire Up The Oven
Crank the oven to a toasty 350 degrees Fahrenheit, getting ready for some baking magic.
Step 2: Combine Dry Magic
Grab a mixing bowl and swirl together the dry ingredients with a splash of rich molasses, creating a delightful base.
Step 3: Bring In Liquid Friends
Pour in the oil and crack an egg into the mixture, blending everything smoothly.
Step 4: Water Wizardry
Pour boiling water into the batter and whisk until the mixture transforms into a silky, seamless blend.
Step 5: Create Cookie Circles
Using a scoop, drop dollops of batter onto a lined baking sheet, spacing them out for perfect cookie companions.
Step 6: Bake To Perfection
Slide the sheet into the oven and bake for 12 minutes until the cookies puff up and look absolutely irresistible.
Step 7: First Cool Down
Let the cookies rest on the baking pan for 5 minutes, allowing them to set and stabilize.
Step 8: Complete Cooling
Transfer the cookies to a wire rack and let them cool completely, developing their delicious texture.
Step 9: Whip Up The Filling
Beat the filling ingredients until they become light, fluffy, and gloriously creamy.
Step 10: Spread The Love
Generously spread the filling on the bottom of half the cookies, creating a luscious base.
Step 11: Create Sandwich Buddies
Top each filled cookie with another cookie, forming delectable sandwich partners.
Step 12: Chill And Settle
Place the cookie sandwiches in the refrigerator for 30 minutes to let the flavors meld and filling set.
Helpful Hints for Cookie Sandwich Cake Perfection
Unique Variations for Cookie Sandwich Cakes
Creative Serving Ideas for Cookie Sandwich Cakes
Storage Tips for Cookie Sandwich Cakes
FAQs
No, they’re quite simple. The recipe requires basic mixing techniques and standard baking steps that even beginner bakers can follow easily.
While the recipe doesn’t specify flour type, all-purpose flour typically works best for these cookie sandwich cakes. Stick to the recipe’s proportions for best results.
Look for slightly puffed edges and a set center. The 12-minute baking time is a good guide, but ovens vary, so check at 10 minutes to prevent over-browning.
Boiling water helps dissolve molasses more effectively and creates a smoother, more uniform batter, ensuring better texture and consistent cookie quality.
Print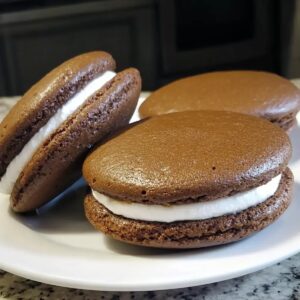
Gingerbread Whoopies Recipe
- Total Time: 32 minutes
- Yield: 12 1x
Description
Delightful gingerbread whoopies bring festive winter magic straight from grandma’s kitchen. Warm spices and creamy filling create a perfect holiday treat that will make you crave another bite.
Ingredients
Dry Ingredients:
- 10 ounces (283 grams) all-purpose flour
- 1/2 cup (100 grams) white sugar
- 2 1/2 teaspoons ground ginger
- 1 1/4 teaspoons baking soda
- 1 teaspoon ground cinnamon
- 3/4 teaspoon salt
- 2 1/2 cups (300 grams) confectioners’ sugar
Wet Ingredients:
- 1/2 cup (170 grams) dark molasses
- 1/3 cup (80 milliliters) vegetable oil
- 1 egg, beaten
- 1/3 cup (80 milliliters) boiling water
Filling Ingredients:
- 8 ounces (227 grams) cream cheese, room temperature
- 1/4 cup (57 grams) butter, room temperature
- 2 teaspoons heavy whipping cream
- 1 teaspoon vanilla extract
Instructions
- Warm the oven to 350°F, preparing a baking sheet with parchment paper.
- Combine all dry ingredients thoroughly, incorporating molasses for rich depth.
- Introduce vegetable oil and egg to the mixture, blending until uniform.
- Carefully pour boiling water into the batter, whisking until achieving a silky, smooth consistency.
- Using a scoop, distribute uniform dollops of batter onto prepared baking sheet, leaving adequate spacing.
- Slide the sheet into preheated oven, baking for 12 minutes until cookies rise and edges appear slightly crisp.
- Allow cookies to rest on baking sheet for 5 minutes, enabling gentle setting.
- Transfer cookies to wire rack, permitting complete cooling and texture stabilization.
- Craft filling by vigorously beating ingredients until achieving light, airy texture.
- Generously apply filling across bottom surface of one cookie layer.
- Delicately position second cookie atop filling, creating sandwich structure.
- Refrigerate assembled cookies for 30 minutes, allowing filling to set and flavors to meld.
Notes
- Ensure precise measurements for consistent cookie texture and prevent spreading during baking.
- Use room temperature ingredients like eggs and oil to create smoother, more uniform batter consistency.
- For dairy-free variation, substitute butter-based filling with coconut cream or vegan cream cheese alternatives.
- Allow cookies to cool completely before adding filling to maintain structural integrity and prevent melting.
- Prep Time: 20 minutes
- Cook Time: 12 minutes
- Category: Desserts, Snacks
- Method: Baking
- Cuisine: American
Nutrition
- Serving Size: 12
- Calories: 200
- Sugar: 18 g
- Sodium: 150 mg
- Fat: 9 g
- Saturated Fat: 4 g
- Unsaturated Fat: 5 g
- Trans Fat: 0 g
- Carbohydrates: 30 g
- Fiber: 1 g
- Protein: 2 g
- Cholesterol: 20 mg
Nathaniel Brooks
Founder & Recipe Developer
Expertise
Farm-to-table cuisine, Seasonal recipe development, Culinary storytelling
Education
Ivy Tech Community College – Indianapolis, IN
Culinary Arts / Hospitality Administration & Events
Focused on hands-on training in classical and modern culinary techniques.
Nathaniel’s story starts in the foothills of the Appalachian Mountains, where farm stands, backyard gardens, and old family recipes shaped his love for real food. After graduating from Ivy Tech Community College in Indianapolis, he spent years working in farm-to-table kitchens, learning how to turn local, seasonal ingredients into something memorable.
Today, Nathaniel pours that same spirit into every single recipe on Aspiring Culinarian – recipes that feel real, comforting, and connected to the land. When he’s not in the kitchen, you’ll find him foraging wild herbs, chasing sunsets with his camera, or writing about the flavors that shaped his roots.