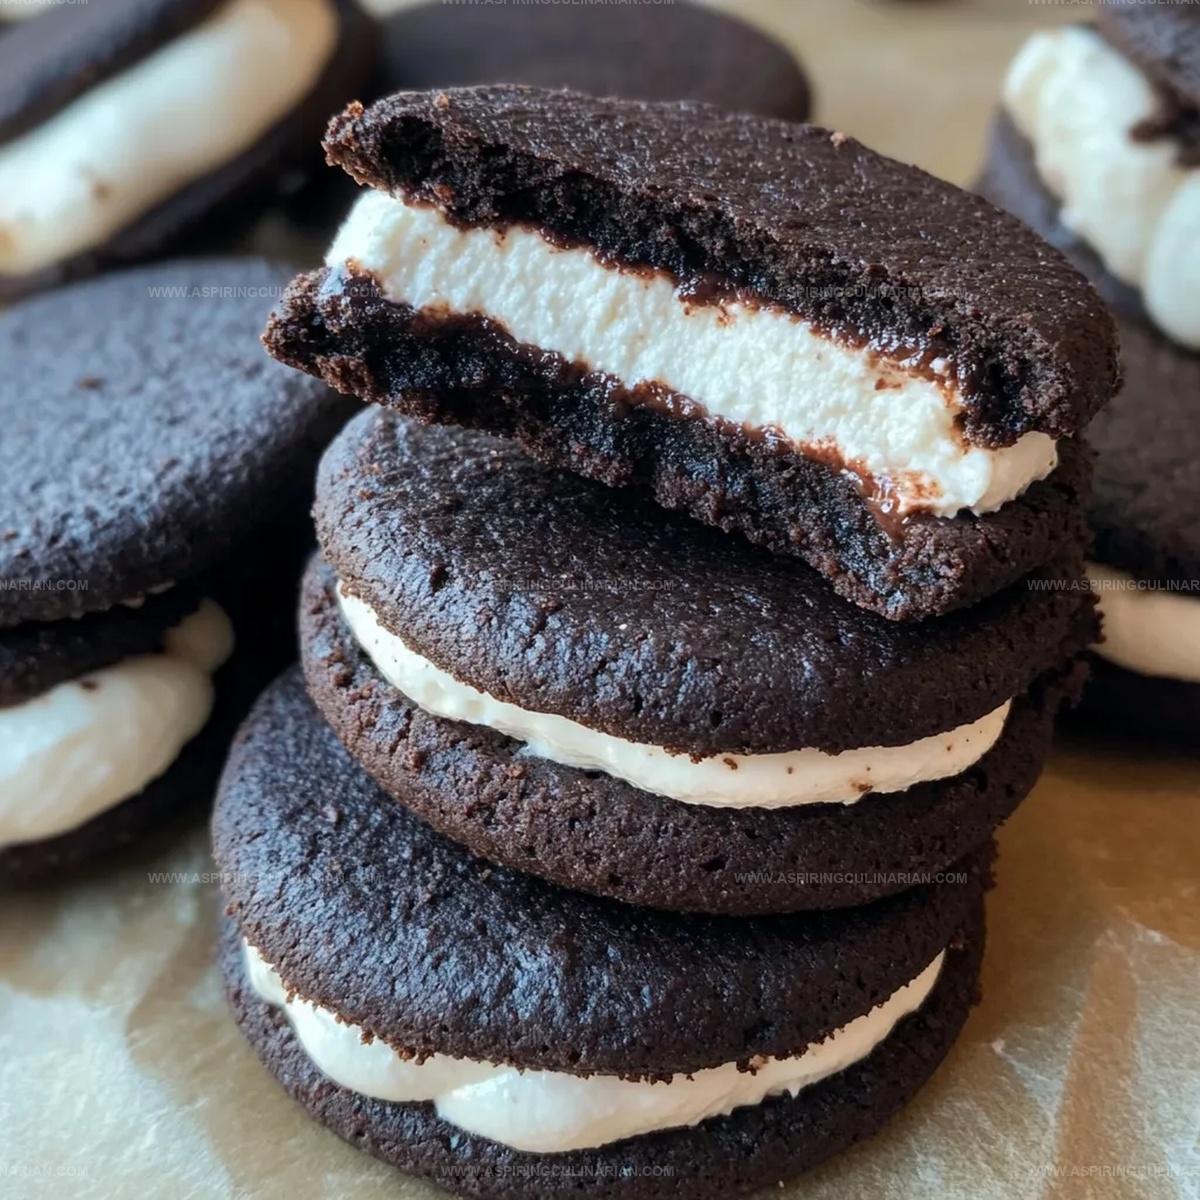
The Best Healthy No Bake Oreos Recipe That Tastes Like Magic
Decadent chocolate cookies don’t always require an oven, especially when crafting a healthy no bake Oreos recipe that satisfies sweet cravings.
These delightful treats pack a nutritious punch without sacrificing rich flavor.
Dark cocoa and natural sweeteners blend seamlessly to create a guilt-free dessert.
Creamy fillings nestled between crisp chocolate wafers make each bite irresistible.
The recipe comes together quickly with minimal kitchen equipment and zero baking time.
Nutritious ingredients transform classic cookies into a wholesome snack everyone can enjoy.
Prepare to indulge in a delectable treat that nourishes both body and soul.
No-Bake Healthy Oreos: Snack Perks
What Goes in No-Bake Healthy Oreos
Base Ingredients:Flavor Enhancers:Filling Ingredients:Simple Steps for Oreo Copycat Treats
Step 1: Craft Cookie Dough Base
Grab your food processor and toss in almond flour, ground flax seeds, almond butter, pitted dates, cocoa powder, milk, and vanilla extract.
Pulse and blend everything until a smooth, rich dough comes together.
The mixture should look dark and feel slightly sticky.
Step 2: Shape Delightful Cookies
Take small spoonfuls of the dough and roll them into perfect little balls.
Use your palms to gently press and flatten each ball, creating circular cookie shapes.
Place these on a flat tray or plate.
Step 3: Create Creamy Sandwich Filling
Drain softened cashews and add them to a blender.
Pour in coconut cream and maple syrup.
Blend until super smooth and silky.
Next, add cream cheese and pulse a few times to incorporate, creating a luscious, dreamy filling.
Step 4: Build Cookie Sandwiches
Select half of your cookie rounds.
Spread a generous layer of the creamy filling onto each one.
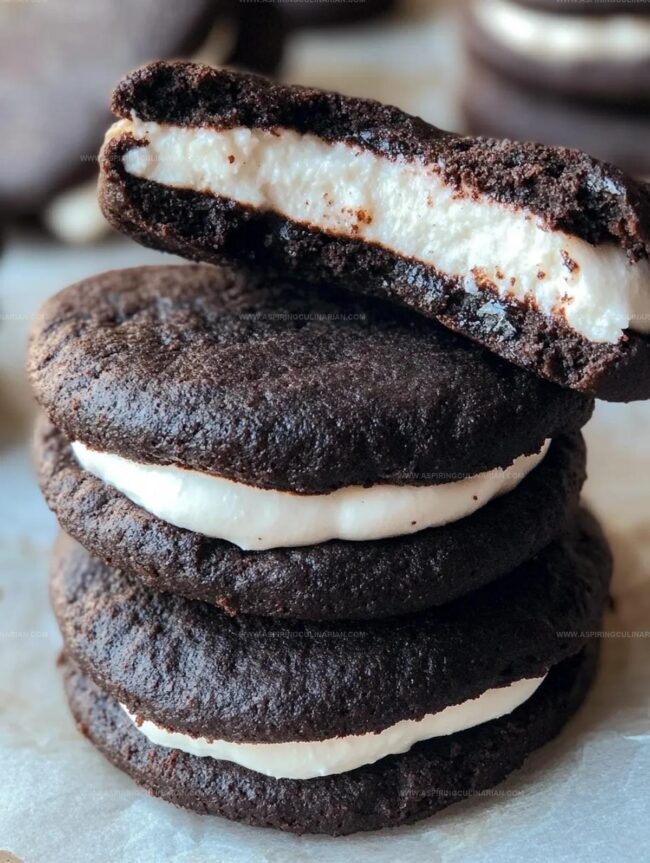
Carefully top with the remaining cookie rounds, pressing gently to create adorable sandwich cookies.
Step 5: Chill and Set
Pop the cookie sandwiches into the freezer for one full hour.
After the initial freeze, remove and do a final assembly of any remaining sandwiches.
Return to the freezer for an additional 30 minutes to ensure perfect texture and firmness.
Tips for Soft, Healthy Oreo Alternatives
No-Bake Oreo Variations for Snack Lovers
Serving Healthy Oreos for a Treat
Storing No-Bake Oreos for Later
FAQs
Yes, they’re made with nutritious ingredients like almond flour, dates, and cashews, providing protein, healthy fats, and natural sweetness without refined sugars.
A food processor is essential for blending the dough and filling ingredients smoothly, but you can use a high-powered blender as an alternative.
Definitely! Replace almond flour with coconut flour, use sunflower butter instead of almond butter, and swap dairy cream cheese with vegan alternatives to accommodate different dietary needs.
Store in an airtight container in the freezer for up to 2 weeks. Let them sit at room temperature for 5-10 minutes before enjoying for the best texture.
Print
Healthy No Bake Oreos Recipe
- Total Time: 1 hour 50 minutes
- Yield: 12 1x
Description
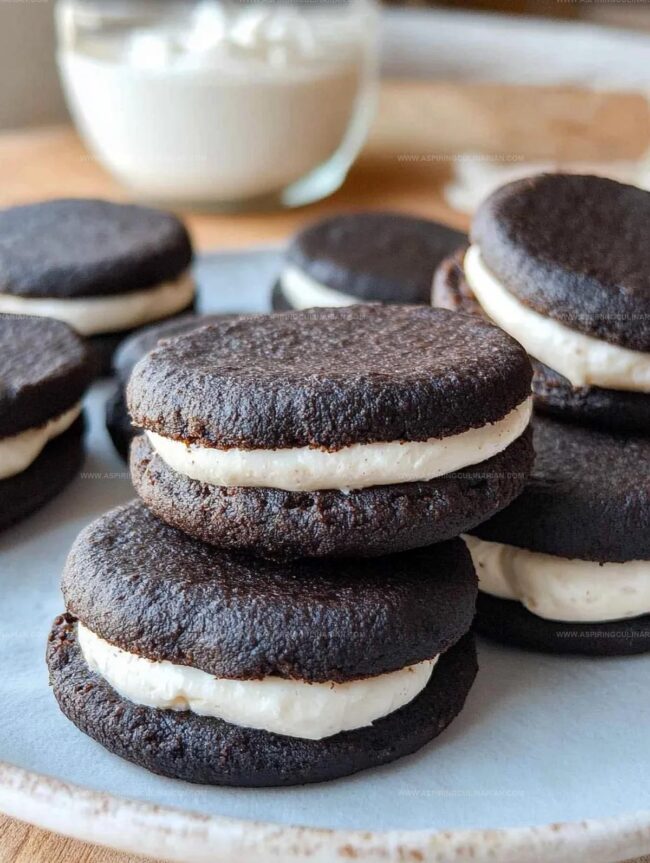
Chocolate-lovers rejoice with this delightful no bake oreos recipe that brings maximum flavor without turning on a single stove. Creamy cashews, rich cocoa, and natural sweeteners blend into irresistible cookie perfection you can enjoy guilt-free in minutes.
Ingredients
Main Ingredients:
- 1 cup medjool dates, pitted
- 1 cup almond flour
- 1/2 cup vegan cream cheese
- 1/3 cup cocoa powder
Binding and Liquid Ingredients:
- 1/3 cup runny almond butter
- 1/3 cup dairy-free milk
- 1/3 cup flax meal
- 1/3 cup raw cashews, soaked 2 hours in hot water
- 1/3 cup coconut cream
Flavor Enhancers:
- 1 teaspoon vanilla extract
- 1–2 tablespoons maple syrup (optional)
Instructions
- In a food processor, combine almond flour, ground flax, almond butter, pitted dates, cocoa powder, milk, and vanilla extract. Pulse until a cohesive, uniform dough develops with a smooth texture.
- Scoop out tablespoon-sized portions of the dough and roll into compact balls. Gently press each ball between your palms to create flat, circular cookie shapes approximately 2 inches in diameter.
- Drain soaked cashews and transfer to a clean food processor. Add coconut cream and maple syrup, blending until achieving a silky, consistent mixture. Incorporate cream cheese and pulse briefly to create a creamy filling.
- Arrange half of the prepared cookie discs on a flat surface. Carefully spread a generous layer of the cashew cream filling across each cookie base, ensuring even distribution.
- Place the remaining cookie discs on top of the filled cookies, creating sandwich-like structures. Press gently to secure the filling.
- Transfer the assembled cookies to the freezer. Chill for 1 hour to allow initial setting, then remove and ensure proper sandwich formation. Return to freezer for an additional 30 minutes until firm and fully chilled.
Notes
- Swap almond flour with oat flour for a different nutty flavor and texture, ensuring gluten-free option if using certified oats.
- Use coconut cream alternative like silken tofu for lighter filling if avoiding high-fat ingredients.
- Reduce maple syrup amount or replace with stevia for lower sugar content, perfect for diabetic-friendly version.
- Add pinch of sea salt to cookie dough to enhance chocolate depth and balance sweetness without overwhelming flavor profile.
- Prep Time: 20 minutes
- Cook Time: 1 hour 30 minutes
- Category: Snacks, Desserts
- Method: Blending
- Cuisine: American
Nutrition
- Serving Size: 12
- Calories: 170
- Sugar: 10g
- Sodium: 30mg
- Fat: 9g
- Saturated Fat: 3g
- Unsaturated Fat: 5g
- Trans Fat: 0g
- Carbohydrates: 20g
- Fiber: 3g
- Protein: 4g
- Cholesterol: 0mg
Lena Martinez
Contributing Writer & Culinary Educator
Expertise
Southwestern and Latin American cuisines, Vegetarian and plant-based recipe development, Culinary education and community outreach
Education
Santa Fe Community College, Santa Fe, NM
Certificate in Culinary Arts
Emphasized Southwestern cuisine and sustainable cooking practices
Lena grew up surrounded by the colors, spices, and traditions of the Southwest – flavors that sparked her love for bold, honest cooking. After earning her Culinary Arts certificate at Santa Fe Community College, she made it her mission to teach home cooks how to create flavorful, plant-powered meals without the fuss.
Her recipes are packed with vibrant ingredients, simple steps, and the kind of heart that turns a regular meal into something you’ll want to share. Outside the kitchen, Lena spends her time wandering farmers’ markets, trading family recipes, and helping young chefs find their voice through food.