
The Best Homemade Apple Pie Recipe for Sweet Autumn Bliss
Sweet memories of autumn afternoons dance through my favorite homemade apple pie, promising comfort and warmth in every bite.
Crisp orchard apples whisper stories of harvest season and generations of baking traditions.
Cinnamon and nutmeg weave magic into this classic dessert, creating layers of nostalgic flavor.
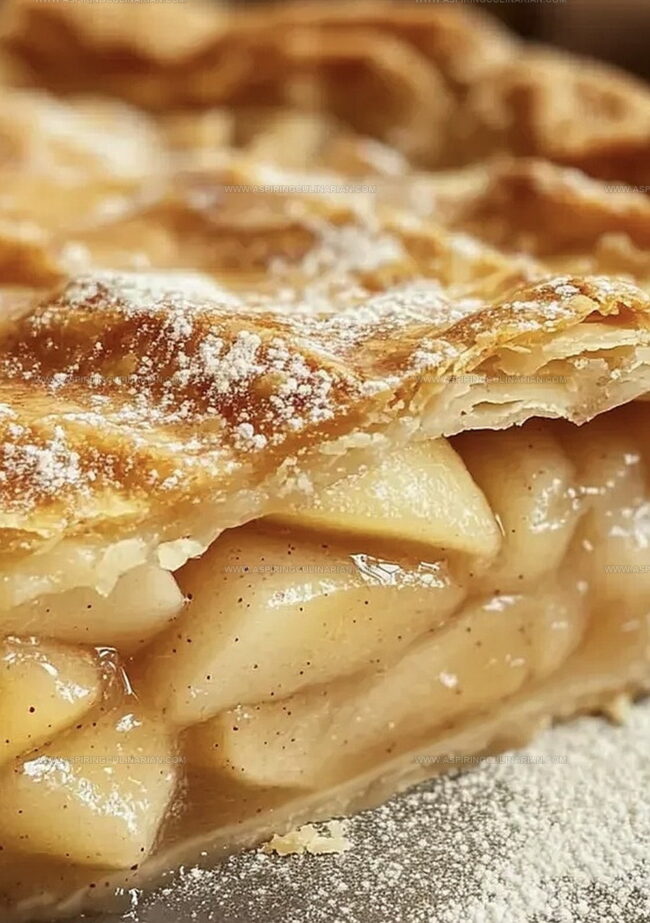
Buttery pastry cradles tender fruit, waiting to surprise you with its delicate balance of sweetness and spice.
Flaky golden crust promises a moment of pure culinary joy that connects past and present.
Baking this pie feels like wrapping yourself in a cozy blanket of deliciousness.
You’ll want to savor each mouthwatering slice and create your own delectable memories.
Homemade Apple Pie for Classic Comfort Dessert
Ingredient List for Traditional Homemade Apple Pie
Pie Ingredients:
Main Ingredients:Filling Enhancers:Finishing Touches:Baking Homemade Apple Pie – Instructions to Follow
Step 1: Fire Up the Oven
Crank the oven to a toasty 425F, getting ready for pie magic.
Step 2: Transform Apples
Peel and slice the apples with care.
Gather these ingredients in a big bowl:Toss everything together until apples are perfectly coated with the sweet and spicy mixture.
Step 3: Craft the Bottom Crust
Gently roll out the first pie crust and nestle it into a 9-inch pie plate.
Trim the edges with precision.
Step 4: Load with Fruity Goodness
Pour the apple mixture into the waiting crust, spreading it evenly across the bottom.
Step 5: Crown with Top Crust
Roll out the second pie crust and drape it over the filling.
Pinch and crimp the edges to create a beautiful seal.
Slice a few decorative vents on top to let steam escape.
Step 6: Give a Golden Glow
Whisk together an egg wash by mixing:Brush the top crust generously and sprinkle with a light dusting of sugar.
Step 7: Bake to Perfection
Start by baking at 425F for 15 minutes.
Drop the temperature to 375F and continue baking for 30 minutes.
Look for a golden-brown crust and bubbling filling.
Step 8: Serve and Enjoy
Let the pie cool on a wire rack for a bit.
Slice and serve with a scoop of vanilla ice cream or a dollop of whipped cream for extra indulgence.
Tips for a Golden, Flaky Homemade Apple Pie Crust

Apple Pie Filling and Topping Variations to Try
Presenting Homemade Apple Pie for the Holidays
Storing Homemade Apple Pie for Leftover Slices
FAQs
Yes, you can mix apple varieties like Granny Smith, Honeycrisp, and Golden Delicious for a more complex flavor profile and balanced sweetness.
To prevent a soggy bottom, sprinkle a thin layer of breadcrumbs or ground nuts on the bottom crust before adding the apple filling. This helps absorb excess moisture.
Egg wash helps create a golden, shiny crust and helps additional sugar stick to the top. If you don’t have eggs, you can use milk or cream as an alternative.
Print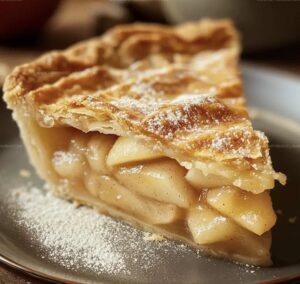
Homemade Apple Pie Recipe
- Total Time: 1 hour 15 minutes
- Yield: 8 1x
Description
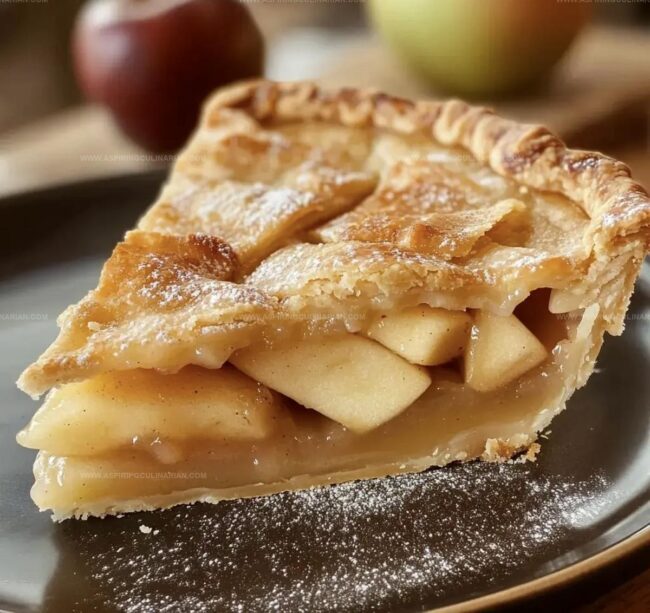
Warm kitchen scents bloom when Classic Apple Pie emerges from the oven, promising golden-crusted comfort with sweet cinnamon-spiced fruit. Buttery pastry and caramelized apples create a delectable dessert you’ll crave from first delightful bite.
Ingredients
Filling:
- 6 cups (1.4 liters) thinly sliced peeled apples
- 3/4 cup (150 grams) granulated sugar
- 1 tablespoon lemon juice
- 3/4 teaspoon ground cinnamon
- 1/8 teaspoon ground nutmeg
Thickening Agents:
- 2 tablespoons all-purpose flour
- 1/4 teaspoon salt
Crust and Topping:
- 1 double pie crust (homemade or store-bought)
- 1 egg (beaten, for egg wash)
- 1 teaspoon water (for egg wash)
- Additional sugar (for sprinkling)
Instructions
- Prepare the oven by heating to 425°F, ensuring an ideal baking environment for the classic dessert.
- Transform fresh apples by peeling, coring, and slicing them into uniform pieces. Combine the apple slices with sugar, flour, warming spices, and a splash of lemon juice, gently tossing to create a harmonious filling mixture.
- Carefully unfurl the bottom pie crust into a 9-inch pie dish, pressing gently to conform to the plate’s contours and trimming excess dough from the edges.
- Generously transfer the seasoned apple mixture into the prepared bottom crust, creating an even, mounded landscape of fruit.
- Drape the second pie crust over the filled pie, artfully crimping the edges to create a secure seal. Delicately cut decorative slits across the top crust to allow steam escape.
- Enhance the pie’s appearance by whisking an egg with water and brushing the surface. Sprinkle a light dusting of sugar for added sparkle and crunch.
- Position the pie in the preheated oven, initially baking at 425°F for 15 minutes. Reduce temperature to 375°F and continue baking for 30 minutes, watching for a golden-brown crust and bubbling fruit filling.
- Remove from oven and allow the pie to rest on a wire rack, letting the filling set and flavors meld. Slice and serve with a dollop of vanilla ice cream or fresh whipped cream for the ultimate comfort dessert.
Notes
- Choose crisp, tart apples like Granny Smith or Honeycrisp for the best flavor and texture in your pie.
- Slice apples uniformly to ensure even cooking and prevent undercooked or mushy sections.
- Sprinkle a bit of cornstarch with flour to help thicken the filling and prevent a watery pie.
- Let the pie rest for at least 30 minutes after baking to allow the filling to set and make slicing easier.
- For a gluten-free version, use gluten-free pie crust mix or almond flour-based crust.
- Prevent crust edges from burning by covering them with aluminum foil during the last 15 minutes of baking.
- Create decorative lattice top crust for a professional bakery-style presentation.
- Add a splash of bourbon or vanilla extract to the apple filling for deeper, more complex flavor.
- Prep Time: 30 minutes
- Cook Time: 45 minutes
- Category: Desserts
- Method: Baking
- Cuisine: American
Nutrition
- Serving Size: 8
- Calories: 280 kcal
- Sugar: 22 g
- Sodium: 210 mg
- Fat: 12 g
- Saturated Fat: 3.5 g
- Unsaturated Fat: 7 g
- Trans Fat: 0.2 g
- Carbohydrates: 40 g
- Fiber: 3 g
- Protein: 3 g
- Cholesterol: 35 mg
Nathaniel Brooks
Founder & Recipe Developer
Expertise
Farm-to-table cuisine, Seasonal recipe development, Culinary storytelling
Education
Ivy Tech Community College – Indianapolis, IN
Culinary Arts / Hospitality Administration & Events
Focused on hands-on training in classical and modern culinary techniques.
Nathaniel’s story starts in the foothills of the Appalachian Mountains, where farm stands, backyard gardens, and old family recipes shaped his love for real food. After graduating from Ivy Tech Community College in Indianapolis, he spent years working in farm-to-table kitchens, learning how to turn local, seasonal ingredients into something memorable.
Today, Nathaniel pours that same spirit into every single recipe on Aspiring Culinarian – recipes that feel real, comforting, and connected to the land. When he’s not in the kitchen, you’ll find him foraging wild herbs, chasing sunsets with his camera, or writing about the flavors that shaped his roots.