Fluffy Homemade Krispy Kremes Recipe: Sweet Joy in Every Bite
Crafting delectable Krispy Kremes at home lets you experience bakery magic right in your kitchen.
Sweet aromas will soon fill every corner with irresistible warmth.
Soft, pillowy doughnuts emerge from simple ingredients and careful technique.
Each golden ring promises a melt-in-your-mouth moment that commercial versions cannot match.
Flour, yeast, and a dash of passion combine to create something extraordinary.
Mixing becomes an adventure of culinary creativity that surprises and delights.
Wake up your inner pastry chef and savor every delicious bite.
Homemade Krispy Kremes: Donut Heaven
All You Need for Krispy Kreme Style
Dough Ingredients:Flavor Enhancers:Glaze Ingredients:Frying Ingredients:Make Krispy Kremes at Home
Step 1: Wake Up The Yeast
Grab a spacious mixing bowl and combine warm milk, yeast, and a sprinkle of sugar.
Give it a gentle stir and let the mixture chill for 5-10 minutes.
Watch the yeast bubble and come alive, signaling it’s ready to work its magic.
Step 2: Create Dough Magic
Pour in the remaining sugar, cracked eggs, melted butter, a pinch of salt, and a whisper of nutmeg into the yeast mixture.
Gradually introduce flour, stirring until a soft, sticky dough forms.
Transfer to a floured surface and knead for 5-7 minutes until the dough becomes smooth and elastic.
Step 3: Let The Dough Rest And Rise
Transfer the dough to a greased bowl, drape a damp cloth over it, and find a cozy warm spot.
Allow the dough to relax and expand for 1 to 1.5 hours, watching it double in size.
Step 4: Shape Delightful Circles
Roll out the dough to a half-inch thickness on a flour-dusted surface.
Use a doughnut cutter to create perfect circles and adorable holes.
Step 5: Second Rise To Perfection
Arrange the doughnut shapes on a parchment-lined tray.
Let them puff up and become light and airy for 30 minutes.
Step 6: Fry To Golden Happiness
Heat oil in a deep pan until it reaches 350F.
Carefully lower doughnuts into the hot oil, frying each side for about a minute until they turn a gorgeous golden brown.
Drain on a wire rack to remove excess oil.
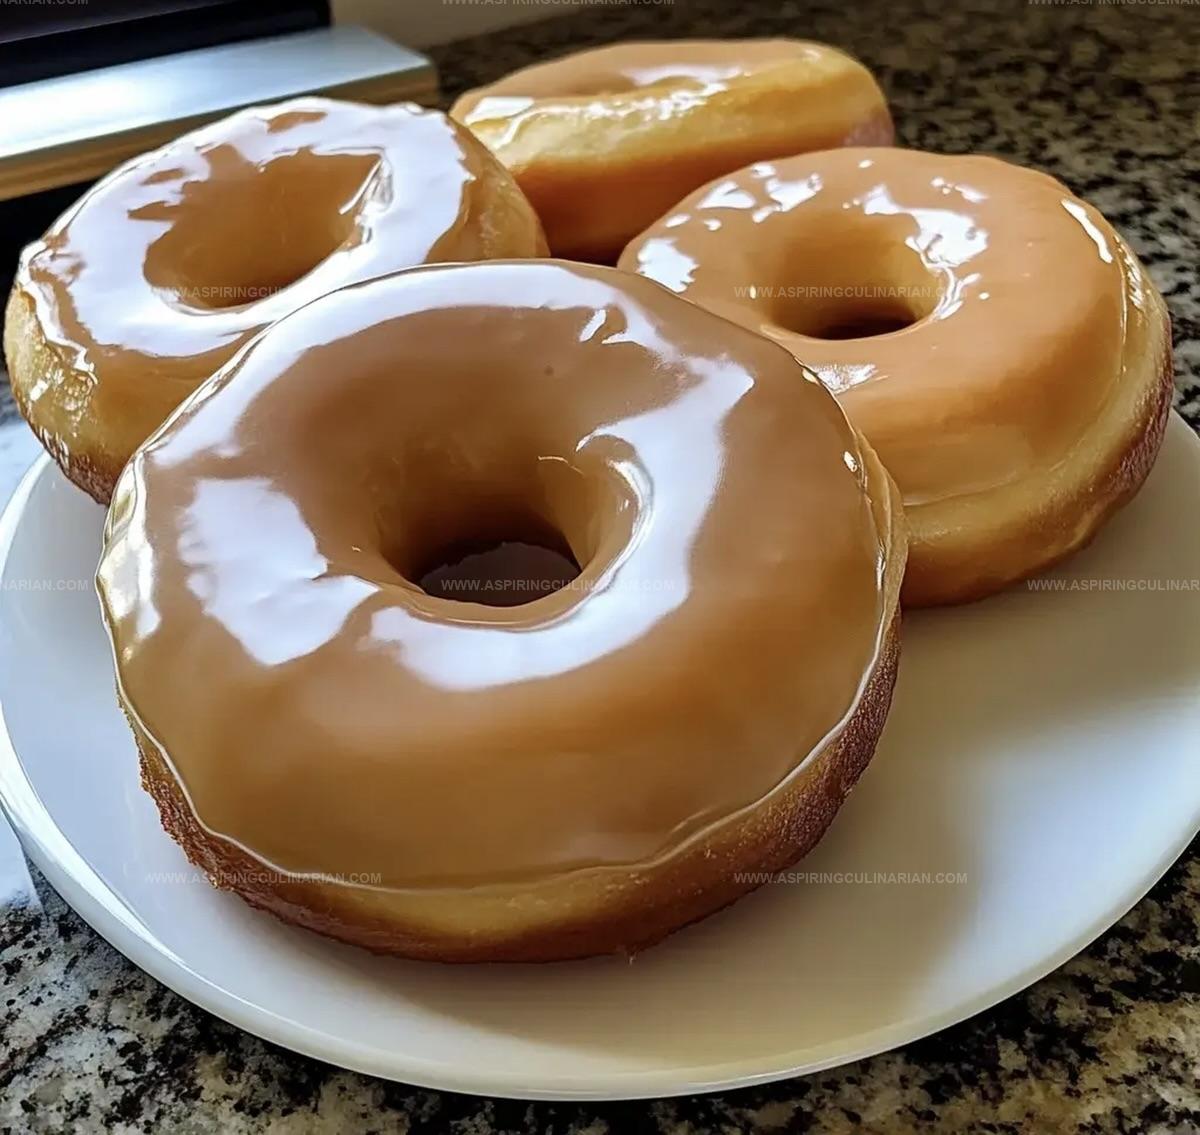
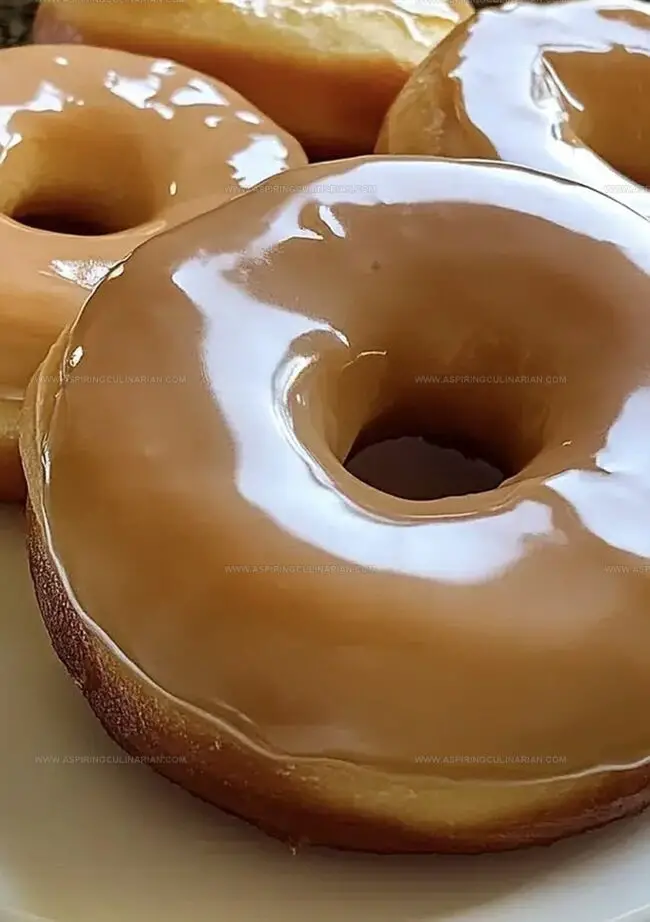
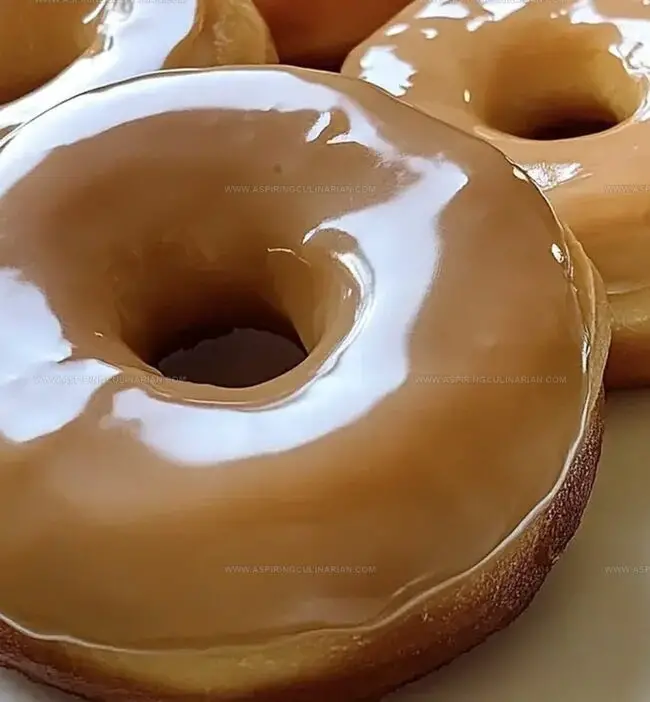
Step 7: Glaze With Love
Whisk together:Dunk each warm doughnut into the glossy glaze, letting excess drip off.
Step 8: Devour And Celebrate
Serve immediately and enjoy the most incredible homemade doughnuts that rival any bakery treat!
Pro Donut Tips for Light & Fluffy
Homemade Krispy Kreme Variations
How to Serve Homemade Krispy Kremes
Storing Homemade Krispy Kremes
FAQs
The temperature matters! Ensure your environment is warm (around 80-90°F) and draft-free. Use a proofing box or place the dough near a warm oven to help yeast activate effectively.
The dough should become smooth, elastic, and slightly tacky. When you gently poke it, it should spring back slowly. Typically, 5-7 minutes of kneading creates the right texture for soft doughnuts.
Yes! You can prepare the dough and refrigerate it overnight. Cover it tightly and let it come to room temperature before rolling and cutting. This can actually enhance the flavor and make the dough easier to handle.
Print
Homemade Krispy Kremes Recipe
- Total Time: 1 hour 55 minutes
- Yield: 12 1x
Description
Delectable Homemade Krispy Kremes bring classic donut magic straight to kitchen counters with irresistible golden-brown perfection. Sweet glaze and pillowy dough promise pure indulgence that will transport taste buds to donut paradise.
Ingredients
Main Ingredients:
- 4 cups all-purpose flour
- 2 large eggs, room temperature
- 1 cup whole milk, warmed
- 1/3 cup unsalted butter, melted and cooled
Dry Ingredients:
- 2 1/4 teaspoons (1 packet) active dry yeast
- 1/4 cup granulated sugar
- 1/2 teaspoon salt
- 1/4 teaspoon ground nutmeg
Glaze and Frying:
- 2 cups powdered sugar
- 1/3 cup whole milk (for glaze)
- 1/4 teaspoon vanilla extract
- vegetable oil (for frying)
Instructions
- Awaken the yeast by combining warm milk, yeast, and sugar in a spacious mixing bowl. Allow the mixture to bloom and become foamy for 5-10 minutes.
- Enrich the yeast mixture with remaining sugar, eggs, melted butter, salt, and nutmeg. Gradually incorporate flour, transforming the ingredients into a soft, cohesive dough. Knead thoroughly on a lightly dusted surface until the texture becomes smooth and elastic.
- Transfer the dough to a greased container, drape with a damp cloth, and let it rise in a draft-free environment for 1-1.5 hours, or until the volume doubles.
- Gently roll the dough to a half-inch thickness on a floured workspace. Utilize a doughnut cutter to create circular shapes and accompanying holes.
- Arrange the cut doughnuts on a parchment-lined tray, allowing them to proof for 30 minutes until they appear puffy and light.
- Heat oil to 350F in a deep pan. Carefully fry the doughnuts in small batches, cooking approximately 1 minute per side until achieving a golden-brown complexion. Transfer to a wire rack for excess oil drainage.
- Craft the glaze by whisking powdered sugar, milk, and vanilla extract until smooth. Submerge each warm doughnut into the glossy mixture, then position on the rack to set and solidify.
- Serve immediately to savor the optimal flavor and delicate texture of freshly made doughnuts.
Notes
- Activate yeast with lukewarm milk to ensure perfect proofing and avoid killing the active cultures.
- Use bread flour for higher protein content, creating a more tender and stretchy doughnut texture.
- Maintain consistent oil temperature around 350F to prevent greasy or undercooked centers, using a thermometer for accuracy.
- Try alternative glazes like chocolate, maple, or cream cheese for diverse flavor profiles and dietary preferences.
- Prep Time: 1 hour 45 minutes
- Cook Time: 10 minutes
- Category: Breakfast, Snacks, Desserts
- Method: Frying
- Cuisine: American
Nutrition
- Serving Size: 12
- Calories: 259
- Sugar: 13 g
- Sodium: 97 mg
- Fat: 10 g
- Saturated Fat: 5 g
- Unsaturated Fat: 4 g
- Trans Fat: 0 g
- Carbohydrates: 34 g
- Fiber: 1 g
- Protein: 4 g
- Cholesterol: 46 mg
Nathaniel Brooks
Founder & Recipe Developer
Expertise
Farm-to-table cuisine, Seasonal recipe development, Culinary storytelling
Education
Ivy Tech Community College – Indianapolis, IN
Culinary Arts / Hospitality Administration & Events
Focused on hands-on training in classical and modern culinary techniques.
Nathaniel’s story starts in the foothills of the Appalachian Mountains, where farm stands, backyard gardens, and old family recipes shaped his love for real food. After graduating from Ivy Tech Community College in Indianapolis, he spent years working in farm-to-table kitchens, learning how to turn local, seasonal ingredients into something memorable.
Today, Nathaniel pours that same spirit into every single recipe on Aspiring Culinarian – recipes that feel real, comforting, and connected to the land. When he’s not in the kitchen, you’ll find him foraging wild herbs, chasing sunsets with his camera, or writing about the flavors that shaped his roots.