
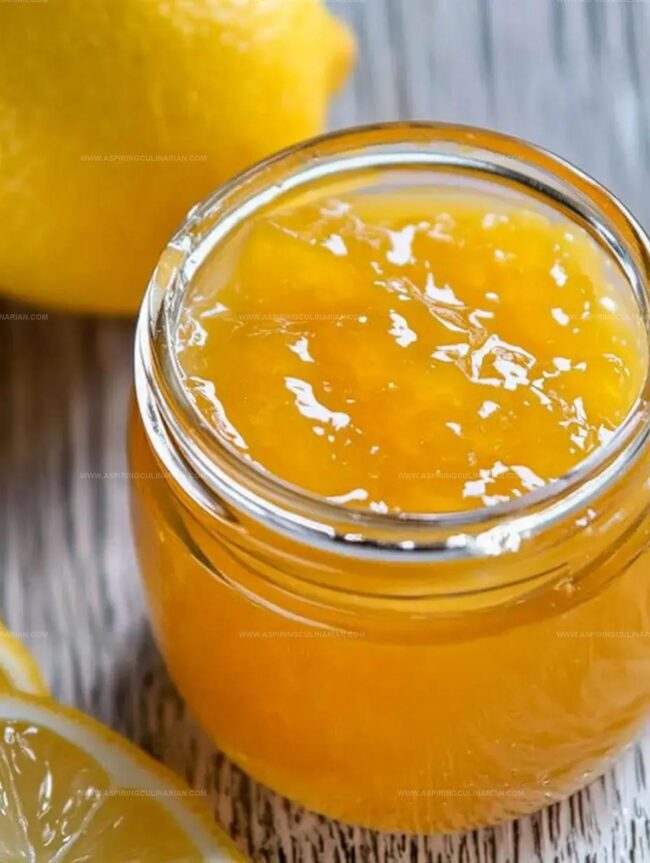
Zesty Homemade Lemon Jam Recipe: Sunshine in a Jar
Preserving summer’s bright essence, this delightful homemade lemon jam bursts with tangy, sunshine-filled flavor.
Zesty lemons dance with sugar to create a spread that captures pure citrus magic.
Crafting this simple recipe requires just a few ingredients and minimal effort.
Each spoonful promises a burst of vibrant, sweet-tart goodness that awakens your taste buds.
Jams like these connect us to traditional cooking methods passed down through generations.
The process transforms ordinary lemons into a golden, spreadable treasure that elevates everything from toast to pastries.
Prepare to be delighted by this easy, delicious homemade treat that brings sunshine to your kitchen.
Homemade Lemon Jam Bright Flavor
Ingredients for Homemade Lemon Jam
Main Ingredients:Supporting Ingredients:Preparation Ingredients:Steps to Make Lemon Jam at Home
Step 1: Prepare Citrus Stars
Grab fresh, vibrant lemons and give them a thorough wash under cool running water.
Gently pat each lemon dry with a soft kitchen towel, ensuring they’re clean and ready for their jam transformation.
Step 2: Unleash Lemon Magic
Grab a fine grater and carefully zest the bright yellow skin of the lemons, capturing those intense citrusy oils.
Slice the lemons in half and squeeze out every drop of tangy juice, carefully fishing out any stubborn seeds that might sneak in.
Step 3: Create Jam Base
Combine the collected lemon juice, fragrant zest, white sugar, and water in a sturdy cooking pot.
Whisk the mixture enthusiastically until the sugar dissolves completely, creating a smooth, promising blend.
Step 4: Bring to Bubbly Life
Set the pot on the stove and crank the heat to medium.
Watch as the mixture comes to a lively, enthusiastic boil, with bubbles dancing across the surface.
Step 5: Gentle Simmering Transformation
Reduce the heat to low and let the jam simmer peacefully.
Stir occasionally, allowing the flavors to meld and concentrate.
Continue this gentle cooking process for 30-40 minutes.
Step 6: Test Jam Perfection
Grab a chilled plate and drop a small dollop of the jam.
Let it sit for a moment.
If the jam holds its shape and doesn’t run, you’ve hit jam nirvana.
If it’s still too runny, keep cooking a bit longer.
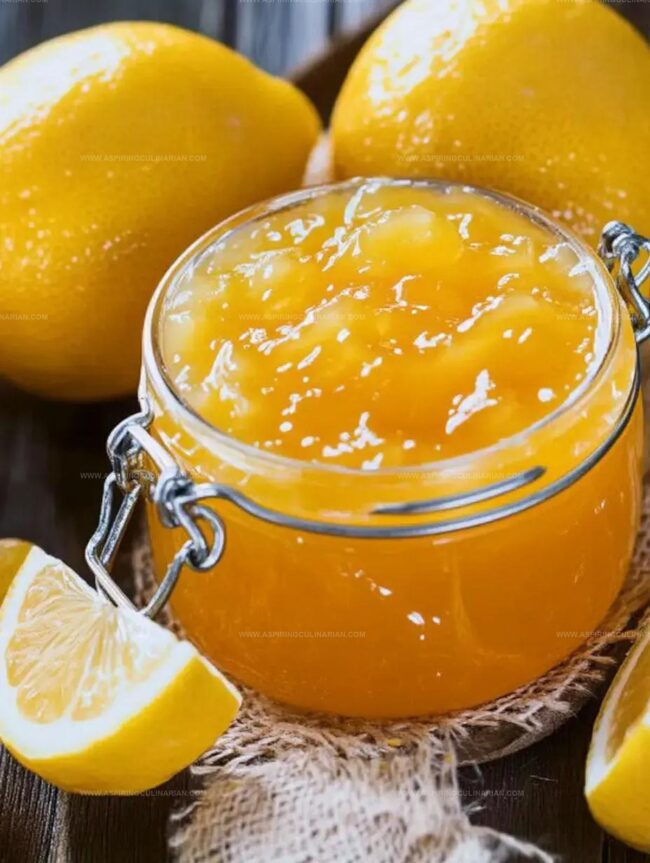
Step 7: Jar Your Liquid Sunshine
Remove the pot from heat and let the jam cool slightly.
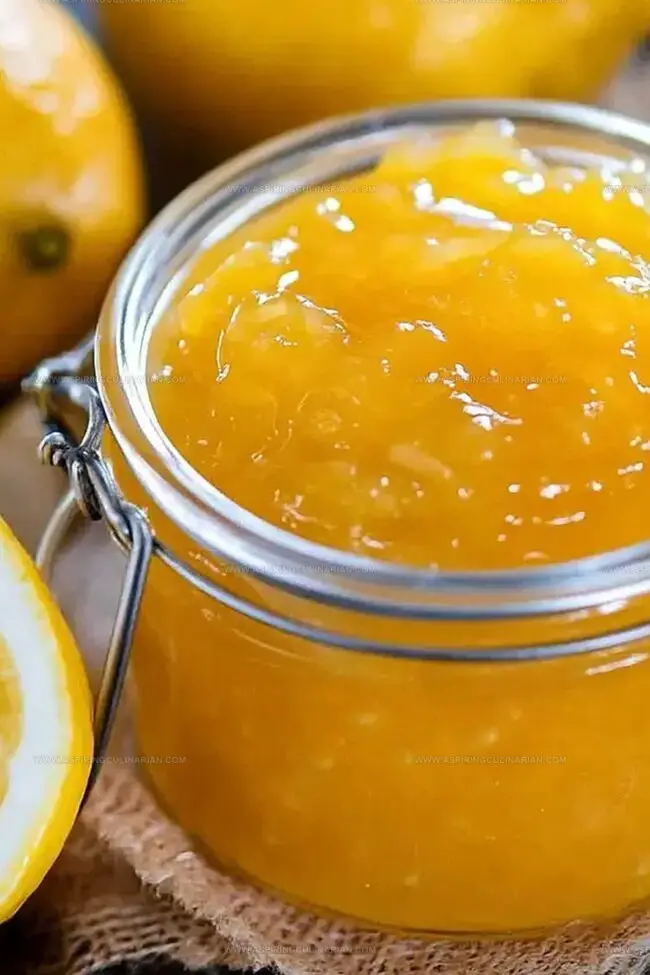
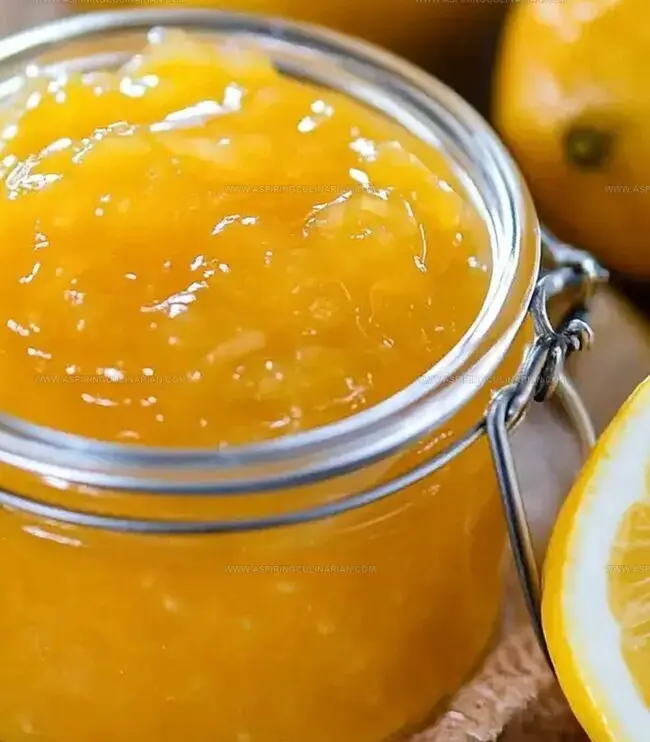
Carefully pour the golden, fragrant mixture into clean, sterilized glass jars.
Step 8: Seal and Preserve
Twist the jar lids on tightly, creating an airtight seal.
Allow the jars to cool completely at room temperature, watching the jam set into a beautiful, spreadable treasure.
Tips for the Best Lemon Jam Texture

Fun Lemon Jam Flavor Variations
Serving Ideas for Homemade Lemon Jam
Storage for Homemade Lemon Jam Jars

FAQs
You’ll need fresh lemons, sugar, and water. Choose ripe, bright yellow lemons for the best flavor and most juice.
Yes, but reducing sugar might affect the jam’s texture and preservation. Consider using a low-sugar pectin or alternative sweetener if you want less sugar.
When properly sealed and stored in sterilized jars in a cool, dark place, your lemon jam can last up to 6-12 months. Once opened, refrigerate and consume within 3-4 weeks.
Print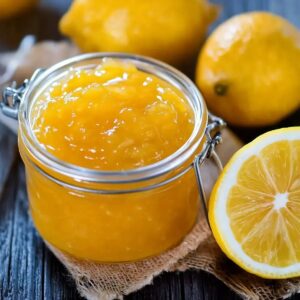
Homemade Lemon Jam Recipe
- Total Time: 50 minutes
- Yield: 4 1x
Description
Sunshine-kissed lemons dance in this Homemade Lemon Jam, creating a zesty preserve that sparkles with citrus intensity. Silky smooth and perfectly balanced, you’ll savor each spoonful of bright Mediterranean flavor.
Ingredients
Main Ingredients:
- 4 lemons (large size)
- 2 cups (470 milliliters) white sugar
- 1 cup (240 milliliters) fresh water
Flavoring:
- 1/2 teaspoon (2.5 milliliters) pure vanilla extract (optional)
Instructions
- Thoroughly rinse lemons under cool running water, ensuring all surfaces are clean, then gently dry with a soft kitchen towel.
- Using a fine grater, carefully extract the vibrant yellow zest from the lemon’s outer skin, then slice and squeeze to release all juice, meticulously removing any stray seeds.
- Combine freshly extracted lemon juice, fragrant zest, granulated sugar, and water in a heavy-bottomed cooking pot, stirring until sugar dissolves completely and creates a smooth liquid mixture.
- Place the pot over medium heat, allowing the mixture to reach a vigorous, rolling boil while occasionally stirring to prevent potential scorching.
- Reduce heat to low, maintaining a gentle simmer for approximately 35 minutes, periodically stirring to ensure even cooking and prevent sticking.
- Test jam’s consistency by dropping a small amount onto a chilled plate – if the droplet maintains its shape without spreading, the jam has reached perfect setting point; if liquid, continue cooking for additional minutes.
- Remove pot from heat source, allowing mixture to rest and slightly cool for easier handling and optimal texture development.
- Carefully transfer the warm jam into sterilized glass containers, ensuring precise pouring and minimal spillage.
- Securely seal jars, then permit them to cool completely at room temperature before storing in a cool, dark pantry space.
Notes
- Choose organic lemons for a cleaner, more vibrant flavor profile without pesticide residues.
- Adjust sugar levels based on lemon tartness – start with less and taste as you cook to control sweetness.
- Use a candy thermometer for precise jam setting at around 220°F (104°C) for perfect consistency.
- Sterilize glass jars in boiling water before filling to ensure longer preservation and prevent bacterial growth.
- Prep Time: 15 minutes
- Cook Time: 35 minutes
- Category: Snacks, Desserts, Breakfast
- Method: Slow Cooking
- Cuisine: American
Nutrition
- Serving Size: 4
- Calories: 240
- Sugar: 120g
- Sodium: 1mg
- Fat: 0g
- Saturated Fat: 0g
- Unsaturated Fat: 0g
- Trans Fat: 0g
- Carbohydrates: 60g
- Fiber: 1g
- Protein: 0g
- Cholesterol: 0mg
Lena Martinez
Contributing Writer & Culinary Educator
Expertise
Southwestern and Latin American cuisines, Vegetarian and plant-based recipe development, Culinary education and community outreach
Education
Santa Fe Community College, Santa Fe, NM
Certificate in Culinary Arts
Emphasized Southwestern cuisine and sustainable cooking practices
Lena grew up surrounded by the colors, spices, and traditions of the Southwest – flavors that sparked her love for bold, honest cooking. After earning her Culinary Arts certificate at Santa Fe Community College, she made it her mission to teach home cooks how to create flavorful, plant-powered meals without the fuss.
Her recipes are packed with vibrant ingredients, simple steps, and the kind of heart that turns a regular meal into something you’ll want to share. Outside the kitchen, Lena spends her time wandering farmers’ markets, trading family recipes, and helping young chefs find their voice through food.