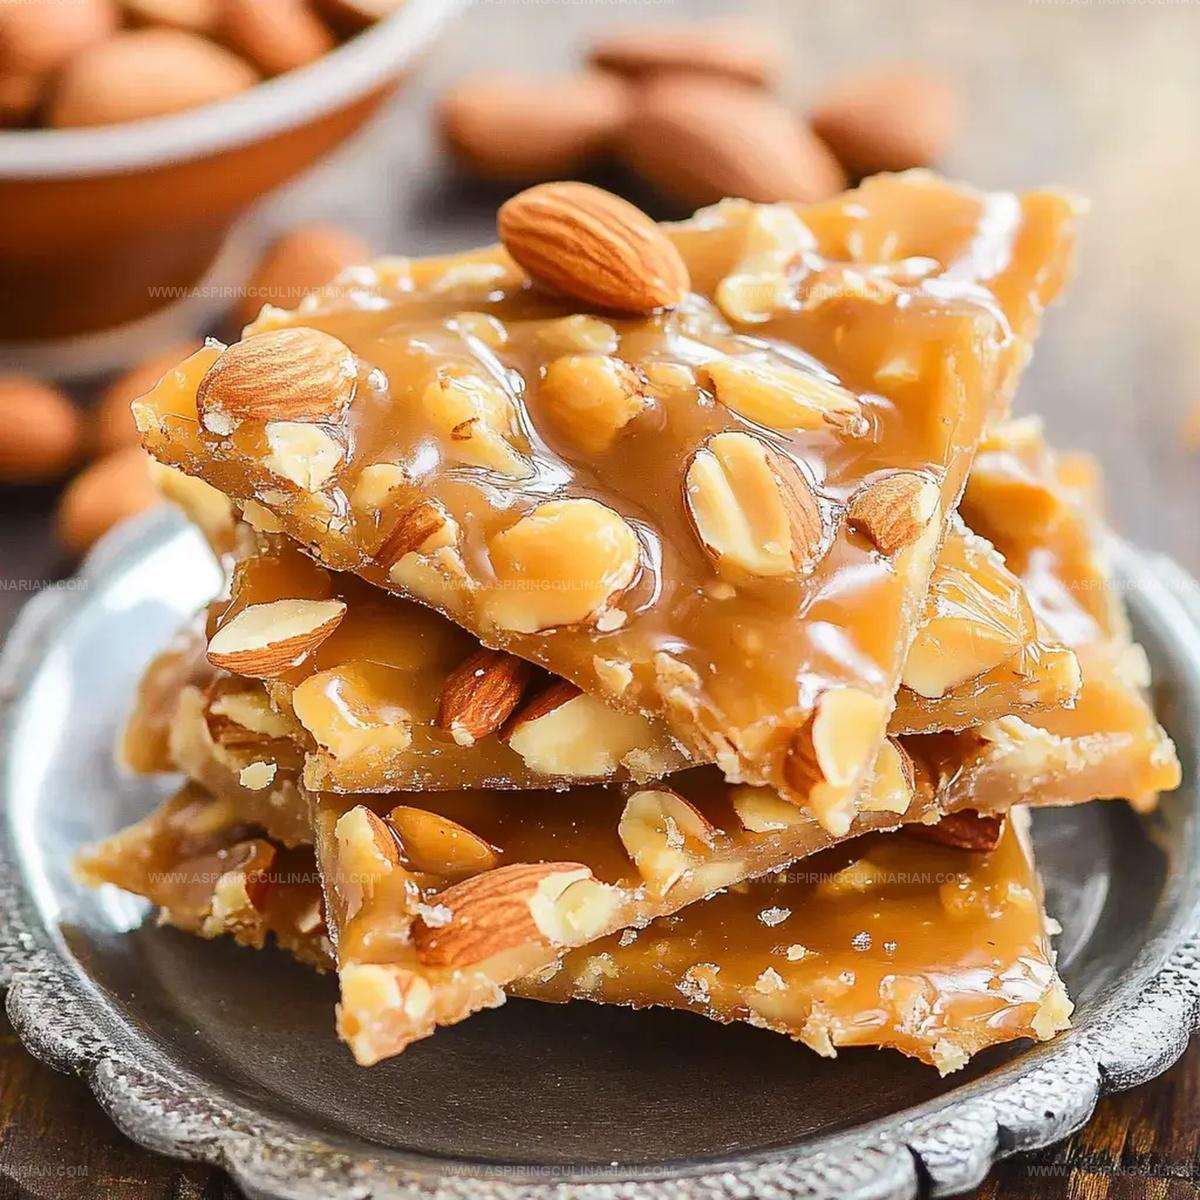
Golden Homemade Nut Brittle Recipe: Sweet Crunch in Every Bite
Crafting sweet, crunchy homemade nut brittle sparks joy in every kitchen.
Candymaking becomes an art form when you select premium nuts and caramelize them to golden perfection.
Sugar transforms into a delicate amber canvas that captures rich, toasted flavors.
Each batch promises a delightful crack and melt-in-your-mouth experience that store-bought treats cannot match.
The process requires patience and precision, turning simple ingredients into a stunning confection.
Your friends and family will marvel at this classic confectionery masterpiece.
Crack into this irresistible treat and let the nutty, caramelized magic sweep you off your feet.
Why Sweet Crunchy Candy Is Hard to Resist
Sweet Crunchy Candy – Ingredients Needed
Base Ingredients:Texture Enhancers:Preparation Support:How to Make Sweet Crunchy Candy at Home
Step 1: Prepare Baking Surface
Grab a large baking sheet and cover it completely with parchment paper, ensuring the entire surface is smooth and flat.
Step 2: Melt Butter Base
Place a heavy-bottomed saucepan on the stove and melt butter over medium heat until it becomes smooth and golden.
Step 3: Create Sugar Syrup
Add ingredients to the melted butter:Stir gently until sugar dissolves completely and mixture becomes transparent and bubbling.
Step 4: Monitor Cooking Temperature
Insert a candy thermometer into the mixture, making sure it doesn’t touch the bottom of the pan.
Continue cooking without stirring, watching the temperature carefully.
Step 5: Reach Caramel Stage
Cook the syrup until it reaches exactly 300°F (hard crack stage), which typically takes about 12-15 minutes.
The mixture will turn a deep amber color.
Step 6: Add Fizzy Magic
Remove pan from heat and quickly sprinkle baking soda into the hot syrup.
Stir vigorously to create a light, airy texture.
Step 7: Incorporate Nutty Crunch
Immediately fold in your favorite nuts:Stir quickly to distribute evenly.
Step 8: Spread Brittle
Pour the bubbling mixture onto the prepared parchment-lined baking sheet.
Use a silicone spatula to spread it into a thin, even layer.
Step 9: Cool And Separate
Allow the brittle to cool completely at room temperature for approximately 30-45 minutes.
Once hardened, break into irregular, crunchy pieces.
Step 10: Store And Enjoy
Store brittle in an airtight container between layers of wax paper.
Enjoy within one week for maximum crunchiness.
Tips for the Crunchiest Sweet Candy
Candy Variations for a Sweet Twist
Serving Crunchy Candy for Any Occasion
Storing Sweet Crunchy Candy
FAQs
A candy thermometer is crucial to accurately measure the temperature, ensuring the sugar mixture reaches exactly 300F (hard crack stage) for perfect candy texture and preventing burning.
Corn syrup helps prevent sugar crystallization, so replacements might affect candy texture. For nuts, you can swap pecans or almonds for walnuts, but keep the total quantity consistent.
Not stirring can cause uneven heating, sugar burning, and potential hot spots that create bitter or burnt spots in your candy, potentially ruining the entire batch.
Print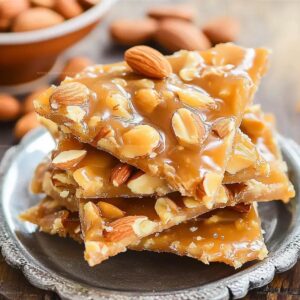
Homemade Nut Brittle Recipe
- Total Time: 28 minutes
- Yield: 12 1x
Description
Crunchy homemade nut brittle delivers pure sweet nostalgia with golden caramelized sugars and roasted nuts. Crisp kernels shatter delightfully, promising pure pleasure for anyone craving classic candy crafted with simple ingredients and love.
Ingredients
Main Ingredients:
- 1/2 cup (118 ml) salted butter
- 3/4 cup (150 g) granulated sugar
- 1/2 cup (120 ml) light corn syrup
- 1/3 cup (80 ml) water
Nuts:
- 1/2 cup (60 g) almond slices
- 1/2 cup (75 g) salted peanuts
Finishing Ingredient:
- 1/2 teaspoon (2.5 ml) baking soda
Instructions
- Prepare a parchment-lined baking sheet to ensure easy candy removal and minimal sticking.
- Gather and precisely measure all required ingredients before initiating the cooking process.
- Utilize a medium saucepan to gently melt butter over medium heat, creating a smooth base for the candy.
- Incorporate sugar, corn syrup, and water into the melted butter, stirring continuously until sugar dissolves completely within approximately 2 minutes.
- Carefully position the candy thermometer into the mixture to monitor temperature accurately throughout cooking.
- Maintain consistent stirring while heating the mixture, allowing it to reach exactly 300°F (hard crack stage), which typically requires 15-18 minutes of careful attention.
- Remove the saucepan from heat and rapidly integrate baking soda, creating an immediate chemical reaction that generates characteristic candy texture and lightness.
- Swiftly fold nuts into the hot mixture, ensuring even distribution before the candy begins to set.
- Immediately transfer the molten candy onto the prepared parchment sheet, using a heat-resistant spatula to spread the mixture uniformly and create an even layer.
- Allow the candy to cool undisturbed for approximately 30 minutes at room temperature, then fragment into irregular, bite-sized pieces using gentle pressure.
Notes
- Ensure all ingredients and tools are ready before starting to avoid stress during cooking.
- Use a reliable candy thermometer for precise heat control, as even a few degrees can change the candy’s texture.
- Required Have baking soda and nuts measured and ready nearby, since you’ll need to add them rapidly during the final stages of cooking.
- Store candy in an airtight container between layers of parchment paper to maintain crunchiness and prevent sticking.
- Prep Time: 10 minutes
- Cook Time: 18 minutes
- Category: Snacks, Desserts
- Method: Frying
- Cuisine: American
Nutrition
- Serving Size: 12
- Calories: 290
- Sugar: 25 g
- Sodium: 220 mg
- Fat: 15 g
- Saturated Fat: 6 g
- Unsaturated Fat: 9 g
- Trans Fat: 0 g
- Carbohydrates: 37 g
- Fiber: 1 g
- Protein: 4 g
- Cholesterol: 30 mg
Nathaniel Brooks
Founder & Recipe Developer
Expertise
Farm-to-table cuisine, Seasonal recipe development, Culinary storytelling
Education
Ivy Tech Community College – Indianapolis, IN
Culinary Arts / Hospitality Administration & Events
Focused on hands-on training in classical and modern culinary techniques.
Nathaniel’s story starts in the foothills of the Appalachian Mountains, where farm stands, backyard gardens, and old family recipes shaped his love for real food. After graduating from Ivy Tech Community College in Indianapolis, he spent years working in farm-to-table kitchens, learning how to turn local, seasonal ingredients into something memorable.
Today, Nathaniel pours that same spirit into every single recipe on Aspiring Culinarian – recipes that feel real, comforting, and connected to the land. When he’s not in the kitchen, you’ll find him foraging wild herbs, chasing sunsets with his camera, or writing about the flavors that shaped his roots.