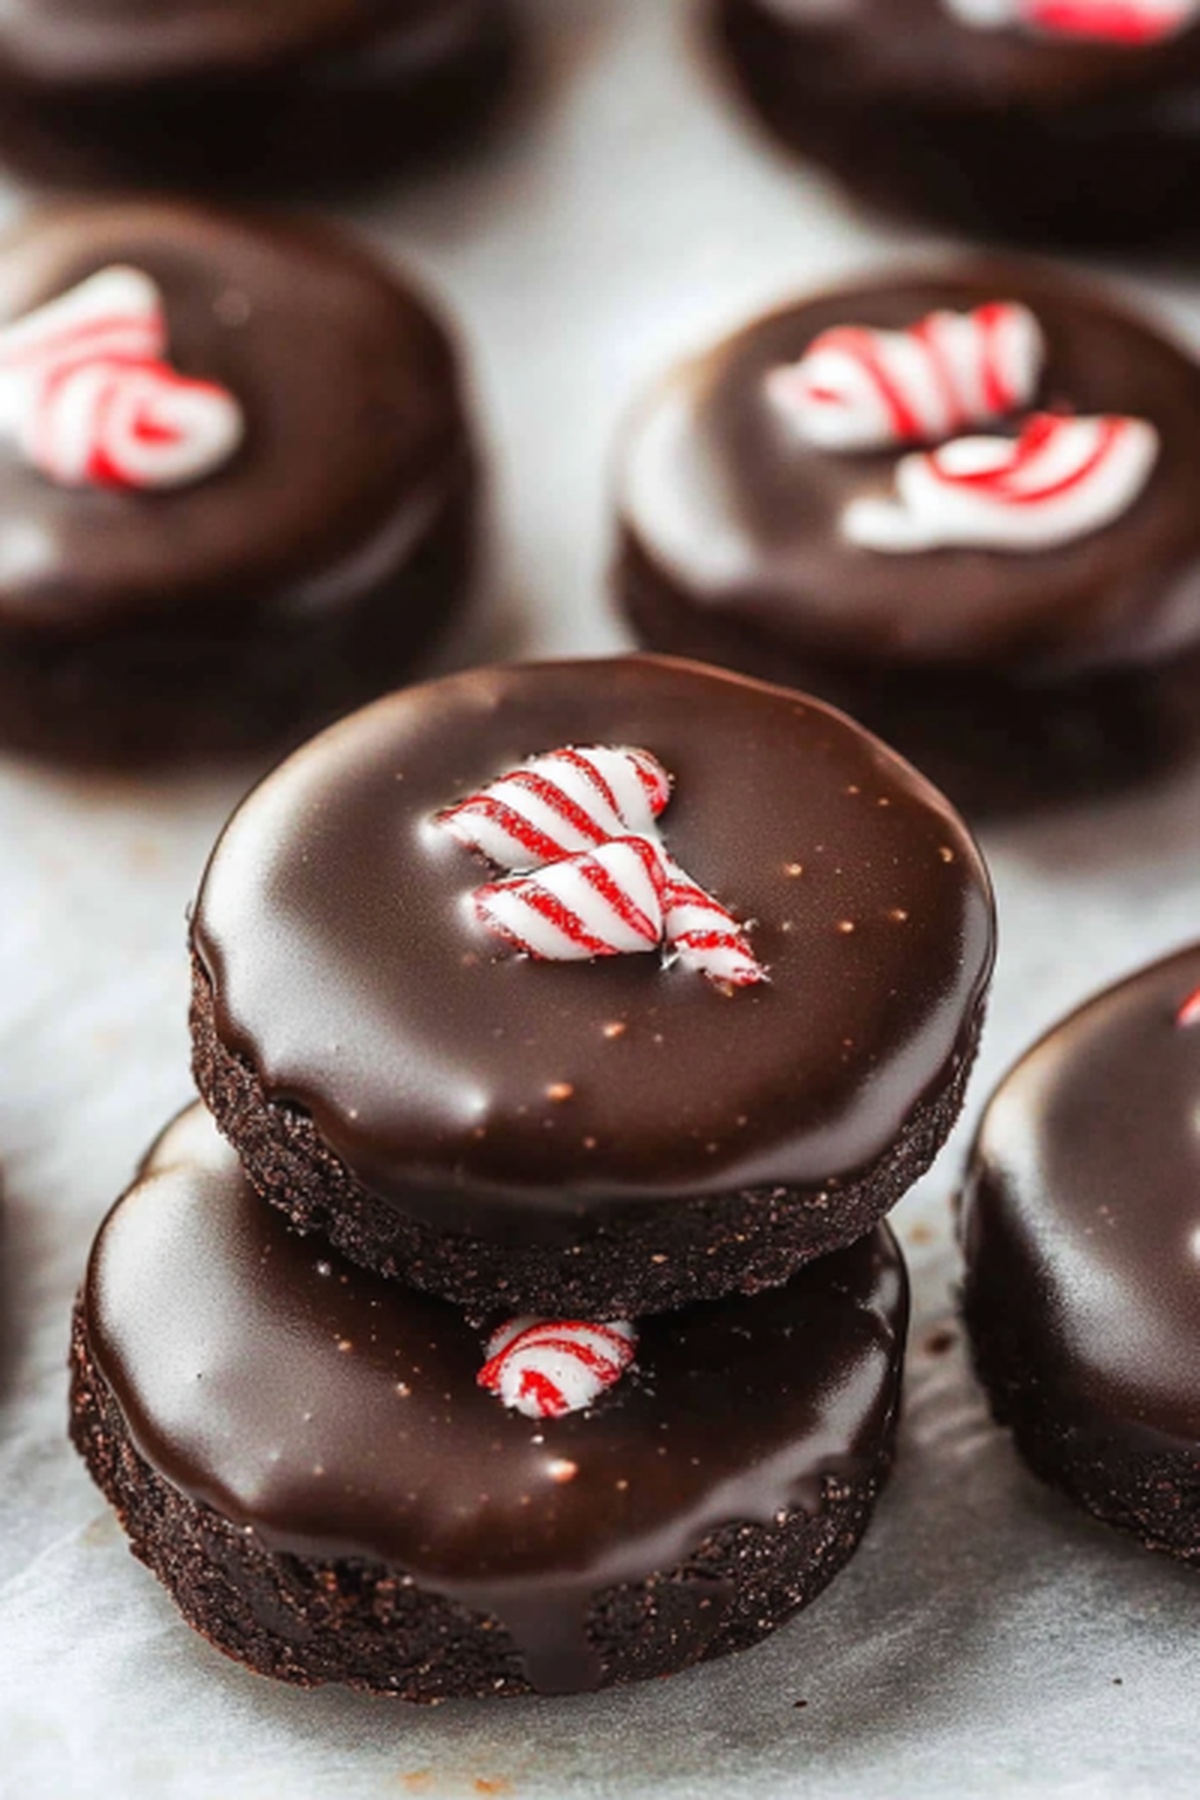
Frosty Homemade Peppermint Patties Recipe: Cool Minty Magic
Cool chocolate and refreshing peppermint create magic in these delightful homemade peppermint patties that practically melt on your tongue.
Sweet memories of childhood treats dance through my kitchen whenever I craft these miniature delicacies.
Crisp mint centers nestled between rich chocolate layers sound complicated but come together with surprising ease.
Nobody needs fancy equipment or professional baking skills to whip up this impressive dessert.
Dark chocolate coating adds elegant depth to the simple yet sophisticated flavor profile.
Making these treats lets you control ingredients and skip unnecessary preservatives found in store-bought versions.
A few basic pantry staples can quickly transform into something spectacular that impresses everyone who takes a bite.
Prepare to wow friends and family with these irresistible chocolate-mint confections that taste infinitely better than anything from a package.
What Makes Peppermint Patties So Refreshing
Peppermint Patties (Homemade) Ingredient Breakdown
Primary Ingredients:Coating Ingredients:Preparation Ingredients:Peppermint Patties Homemade Steps
Step 1: Mix Creamy Base
Grab a spacious mixing bowl and combine sweetened condensed milk with peppermint extract and vanilla extract. Stir these ingredients together until they’re perfectly blended, creating a smooth and fragrant mixture that hints at the delicious treat to come.
Step 2: Form Silky Dough
Gradually introduce powdered sugar into the creamy mixture. Keep stirring consistently until the ingredients transform into a thick, malleable dough that holds its shape. The texture should be similar to soft play-dough, making it easy to work with.
Step 3: Shape Delicate Disks
Using clean hands, roll small portions of the dough and gently press them into flat, round disks. Place each disk carefully onto a parchment-lined baking tray. Once all disks are formed, transfer the tray to the freezer and let them chill for half an hour to firm up completely.
Step 4: Chocolate Dipping Magic
Melt chocolate candy melts in a microwave-safe bowl, stirring occasionally to ensure smooth consistency. Remove the frozen disks from the freezer and carefully dip each one into the melted chocolate, making sure they’re fully coated with a beautiful chocolate shell.
Step 5: Decorate and Set
Sprinkle holiday-themed decorations over the chocolate-covered patties while the chocolate is still slightly wet. Arrange the decorated patties back on the parchment paper and refrigerate until the chocolate sets into a crisp, glossy finish.
Peppermint Patty Tips That Perfect That Minty Center
Preserving and Warming Homemade Peppermint Patties
Matches for Peppermint Patties
Pair Perfectly with Peppermint Patties:Peppermint Patty Add-Ons
FAQs
Dust your hands with powdered sugar before shaping the disks. This will help the mixture not stick and make it easier to form smooth, uniform patties.
Yes, you can substitute candy melts with dark, milk, or white chocolate. Just ensure you temper the chocolate properly or use chocolate coating wafers for the best results.
When stored in an airtight container in the refrigerator, homemade peppermint patties will stay fresh for up to 2 weeks. Keep them chilled to maintain their texture and prevent melting.
Freezing helps the patties maintain their shape and prevents them from falling apart during chocolate coating. It also ensures a cleaner, more professional-looking final product with a smooth chocolate shell.
Print
Homemade Peppermint Patties Recipe
- Total Time: 40 minutes
- Yield: 12 1x
Description
Indulgent Homemade Peppermint Patties bring cool mint magic to classic chocolate candy lovers. Rich dark chocolate and creamy peppermint filling create a delightful sweet treat you can craft with simple ingredients in your own kitchen.
Ingredients
Main Ingredients:
- 2 1/3 cups powdered sugar
- 1 package chocolate CandiQuik
- Crushed peppermint candies (for garnish)
Filling Ingredients:
- 2 tablespoons softened butter
- 2 tablespoons cream (plus extra if needed)
- 1 tablespoon light corn syrup
Flavor Enhancers:
- 1 teaspoon lemon juice
- 1 1/2 teaspoons peppermint extract
- 1/2 teaspoon vanilla
Instructions
- Combine softened butter, heavy cream, corn syrup, lemon juice, peppermint extract, and vanilla in a spacious mixing bowl, blending until smooth and uniform.
- Incorporate powdered sugar gradually, using a paddle attachment to create a pliable, cohesive dough. Monitor the texture closely, adding cream if the mixture appears dry or extra powdered sugar if too sticky.
- Transform the dough into a compact ball, then carefully roll it out to a precise 1/4-inch thickness on a silicone mat. Transfer to the freezer for a quick 15-minute firming session.
- Utilize a petite round cookie cutter to precisely shape the peppermint patties. Return the delicate cutouts to the freezer for an additional 10-minute chilling period.
- Gently melt CandiQuik chocolate in the microwave, following package guidelines for optimal consistency.
- Carefully immerse each frozen patty into the molten chocolate, ensuring complete and elegant coverage. Allow excess chocolate to cascade off before delicately positioning each piece on parchment paper or a silicone mat.
- While the chocolate remains glossy and liquid, sprinkle crushed peppermint candies across the surface for a festive and crunchy garnish.
- Permit the chocolate-coated patties to solidify completely, either at ambient room temperature or by briefly chilling in the refrigerator before serving.
Notes
- Chill the dough thoroughly to make rolling and cutting easier, preventing sticky situations and ensuring clean-edged patties.
- Maintain consistent chocolate temperature when dipping to achieve a smooth, glossy coating without streaks or lumps.
- Use parchment paper or a silicone mat to prevent sticking and make cleanup a breeze during the chocolate dipping process.
- Experiment with dark or white chocolate alternatives for unique flavor variations that can suit different taste preferences.
- Prep Time: 25 minutes
- Cook Time: 15 minutes
- Category: Desserts, Snacks
- Method: Rolling
- Cuisine: American
Nutrition
- Serving Size: 12
- Calories: 130
- Sugar: 20 g
- Sodium: 30 mg
- Fat: 5 g
- Saturated Fat: 3 g
- Unsaturated Fat: 2 g
- Trans Fat: 0 g
- Carbohydrates: 20 g
- Fiber: 0 g
- Protein: 1 g
- Cholesterol: 10 mg


Lena Martinez
Contributing Writer & Culinary Educator
Expertise
Southwestern and Latin American cuisines, Vegetarian and plant-based recipe development, Culinary education and community outreach
Education
Santa Fe Community College, Santa Fe, NM
Certificate in Culinary Arts
Emphasized Southwestern cuisine and sustainable cooking practices
Lena grew up surrounded by the colors, spices, and traditions of the Southwest – flavors that sparked her love for bold, honest cooking. After earning her Culinary Arts certificate at Santa Fe Community College, she made it her mission to teach home cooks how to create flavorful, plant-powered meals without the fuss.
Her recipes are packed with vibrant ingredients, simple steps, and the kind of heart that turns a regular meal into something you’ll want to share. Outside the kitchen, Lena spends her time wandering farmers’ markets, trading family recipes, and helping young chefs find their voice through food.