Irresistible Cherry Thumbprint Cookies Recipe: Sweet Homemade Joy
Sweet memories often start with a classic cherry thumbprint cookie that whispers comfort and nostalgia.
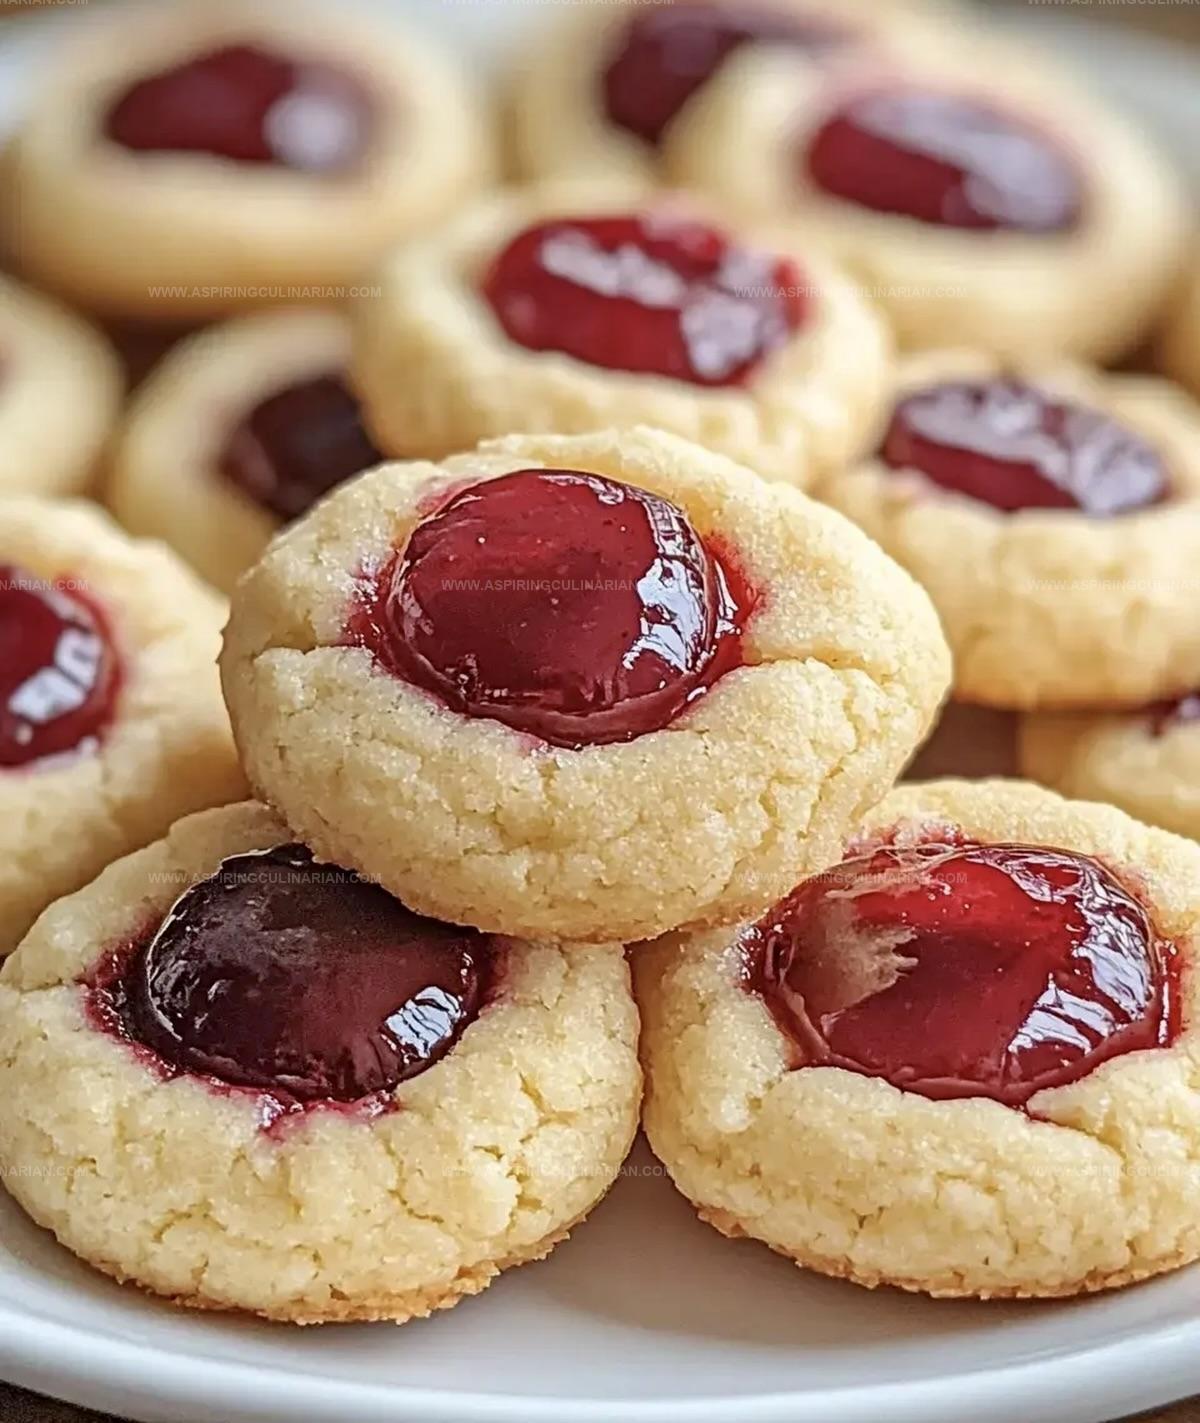
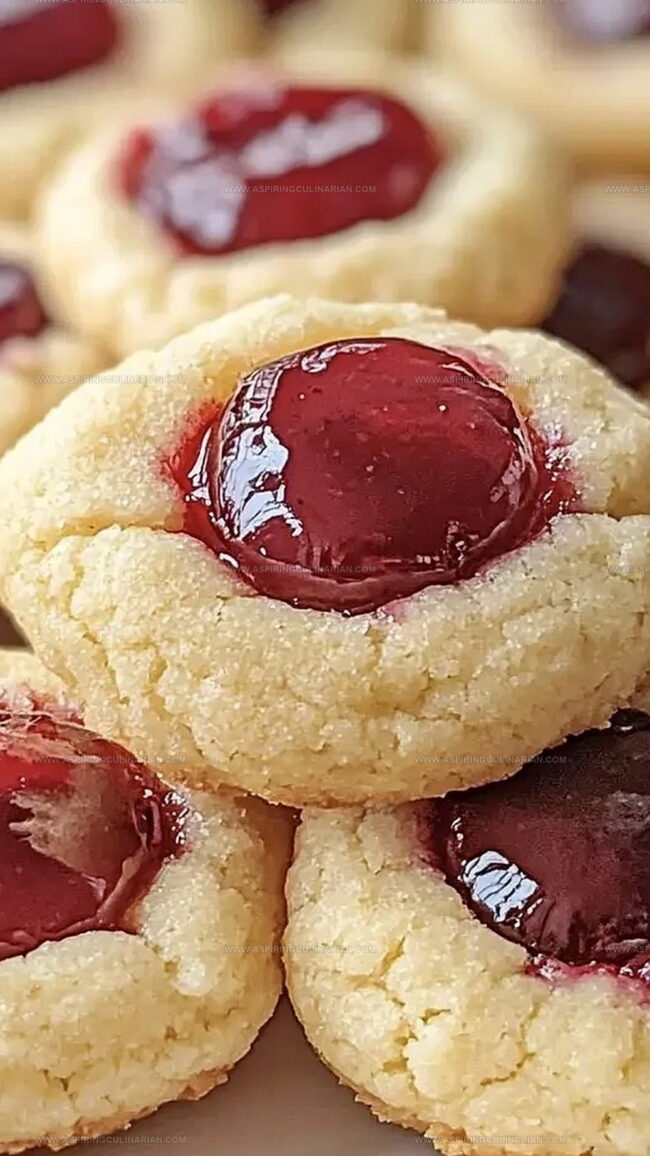
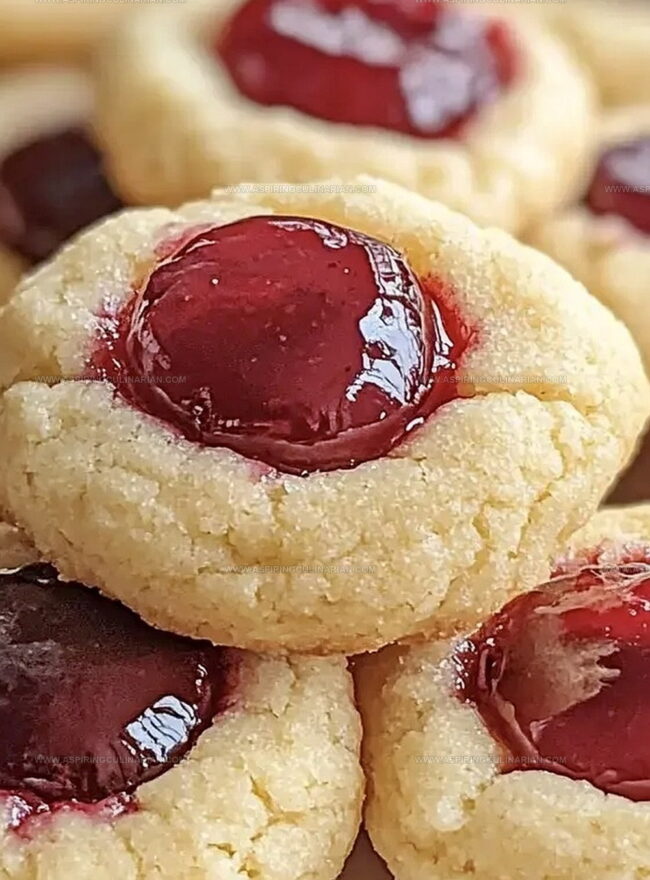
Butter-rich dough cradles a bright jewel of fruity goodness in its tender center.
Crisp edges give way to a soft, crumbly interior that melts delicately.
These charming treats connect generations through simple, shared moments of joy.
Baking becomes an intimate conversation between you and cherished ingredients.
Warm kitchen aromas promise delightful satisfaction with every delicate bite.
Make these cookies and watch smiles bloom instantly.
Cherry Thumbprint Cookies: Flavor Wins
Cherry Thumbprint Cookies Shopping List
Main Ingredients:Supporting Ingredients:Baking Essentials:Cherry Thumbprint Cookies: The Method
Step 1: Warm Up The Oven
Set your oven to 350F (175C).
Line a baking sheet with parchment paper for easy cookie removal and clean-up.
Step 2: Cream Butter And Sugar
In a large mixing bowl, blend butter and sugar until the mixture becomes fluffy and light.
Use an electric mixer for best results, beating until the texture is smooth and airy.
Step 3: Enhance With Vanilla
Add vanilla extract to the butter-sugar mixture.
Stir thoroughly to distribute the flavor evenly throughout the dough.
Step 4: Combine Dry Ingredients
Gradually mix flour and salt into the wet ingredients.
Stir gently until a soft, cohesive dough forms.
The mixture should feel slightly crumbly but hold together when pressed.
Step 5: Form Cookie Balls
Roll the dough into small, uniform balls using your hands.
Place them evenly spaced on the prepared baking sheet, leaving room for slight spreading during baking.
Step 6: Make Cookie Wells
Using your thumb or the back of a spoon, create a gentle indentation in the center of each cookie ball.
Press carefully to avoid cracking the dough.
Step 7: Fill With Cherry Goodness
Carefully spoon cherry preserve into each cookie well.
Top with a halved cherry for extra visual appeal and burst of fruity flavor.
Step 8: Bake To Golden Perfection
Place the cookie sheet in the preheated oven.
Bake for 12-15 minutes, watching for edges to turn a light golden brown.
Step 9: Cool And Enjoy
Remove cookies from the oven and let them rest on the baking sheet for a few minutes.
Transfer to a wire cooling rack to cool completely.
The cookies will firm up as they cool, creating a delightful texture.
Tips for Cherry Thumbprint Cookies
Fresh Cherry Thumbprint Cookie Ideas
Cherry Thumbprint Cookies: Plating Tips
Cherry Thumbprint Cookies: Keep ‘Em Fresh
FAQs
Yes, you can substitute cherry preserve with raspberry, strawberry, or apricot preserves for a delightful variation.
No, just basic kitchen tools like a mixing bowl, baking sheet, and spoon or thumb for creating the indentation work perfectly.
Chill the dough for 30 minutes before shaping and baking to help maintain the cookie’s shape and prevent excessive spreading.
Absolutely! These thumbprint cookies are beautiful, compact, and look wonderfully homemade, making them an excellent gift for friends and family.
Print
Irresistible Cherry Thumbprint Cookies Recipe
- Total Time: 35 minutes
- Yield: 24 1x
Description
Sweet cherry goodness nestles perfectly in buttery thumbprint cookies, creating a delightful treat that melts in your mouth. Rich with homemade raspberry jam and crumbly shortbread texture, these cookies invite you to savor each delectable bite.
Ingredients
Main Ingredients:
- 2 cups all-purpose flour
- 1 cup unsalted butter, softened
- 1/2 cup granulated sugar
Flavoring Ingredients:
- 1 teaspoon vanilla extract
- 1/2 cup cherry preserves
Finishing Ingredients:
- 1/4 teaspoon salt
- 1/2 maraschino cherries, halved
Instructions
- Prepare the oven at 350°F (175°C) and line a baking sheet with parchment paper for optimal cookie performance.
- In a mixing bowl, cream butter and sugar until the mixture transforms into a fluffy, pale confection with a light texture.
- Introduce vanilla extract, stirring thoroughly to distribute the aromatic essence evenly throughout the mixture.
- Gradually integrate flour and salt into the butter blend, gently folding until a cohesive, smooth dough emerges.
- Craft uniform dough spheres, carefully positioning them across the prepared baking sheet with adequate spacing.
- Delicately create wells in each cookie’s center using your thumb or the curved edge of a measuring spoon.
- Lovingly fill each indentation with a vibrant dollop of cherry preserve, nestling a halved cherry at the center for visual appeal.
- Transfer the cookie-laden sheet into the preheated oven, allowing them to transform for 12-15 minutes until edges acquire a golden, delicate hue.
- Remove from oven and permit cookies to rest momentarily on the baking sheet, then transfer to a wire cooling rack for complete temperature reduction.
- Once entirely cooled, the thumbprint cookies are ready to delight and tantalize taste buds with their sweet, buttery charm.
Notes
- Swap part of the flour with almond or coconut flour for a nuttier, gluten-free twist that adds richness and unique flavor.
- Keep butter slightly soft but not melty to ensure perfect cookie consistency and prevent spreading during baking.
- Try different fruit preserves like raspberry, apricot, or mixed berry to create exciting flavor variations and colorful presentations.
- Store cookies between parchment layers in an airtight container to maintain their delicate crumbly texture and prevent sticking for up to a week.
- Prep Time: 20 minutes
- Cook Time: 15 minutes
- Category: Desserts, Snacks
- Method: Baking
- Cuisine: American
Nutrition
- Serving Size: 24
- Calories: 95 kcal
- Sugar: 6 g
- Sodium: 45 mg
- Fat: 4 g
- Saturated Fat: 2.5 g
- Unsaturated Fat: 1.2 g
- Trans Fat: 0 g
- Carbohydrates: 13 g
- Fiber: 0.3 g
- Protein: 1 g
- Cholesterol: 15 mg
Nathaniel Brooks
Founder & Recipe Developer
Expertise
Farm-to-table cuisine, Seasonal recipe development, Culinary storytelling
Education
Ivy Tech Community College – Indianapolis, IN
Culinary Arts / Hospitality Administration & Events
Focused on hands-on training in classical and modern culinary techniques.
Nathaniel’s story starts in the foothills of the Appalachian Mountains, where farm stands, backyard gardens, and old family recipes shaped his love for real food. After graduating from Ivy Tech Community College in Indianapolis, he spent years working in farm-to-table kitchens, learning how to turn local, seasonal ingredients into something memorable.
Today, Nathaniel pours that same spirit into every single recipe on Aspiring Culinarian – recipes that feel real, comforting, and connected to the land. When he’s not in the kitchen, you’ll find him foraging wild herbs, chasing sunsets with his camera, or writing about the flavors that shaped his roots.