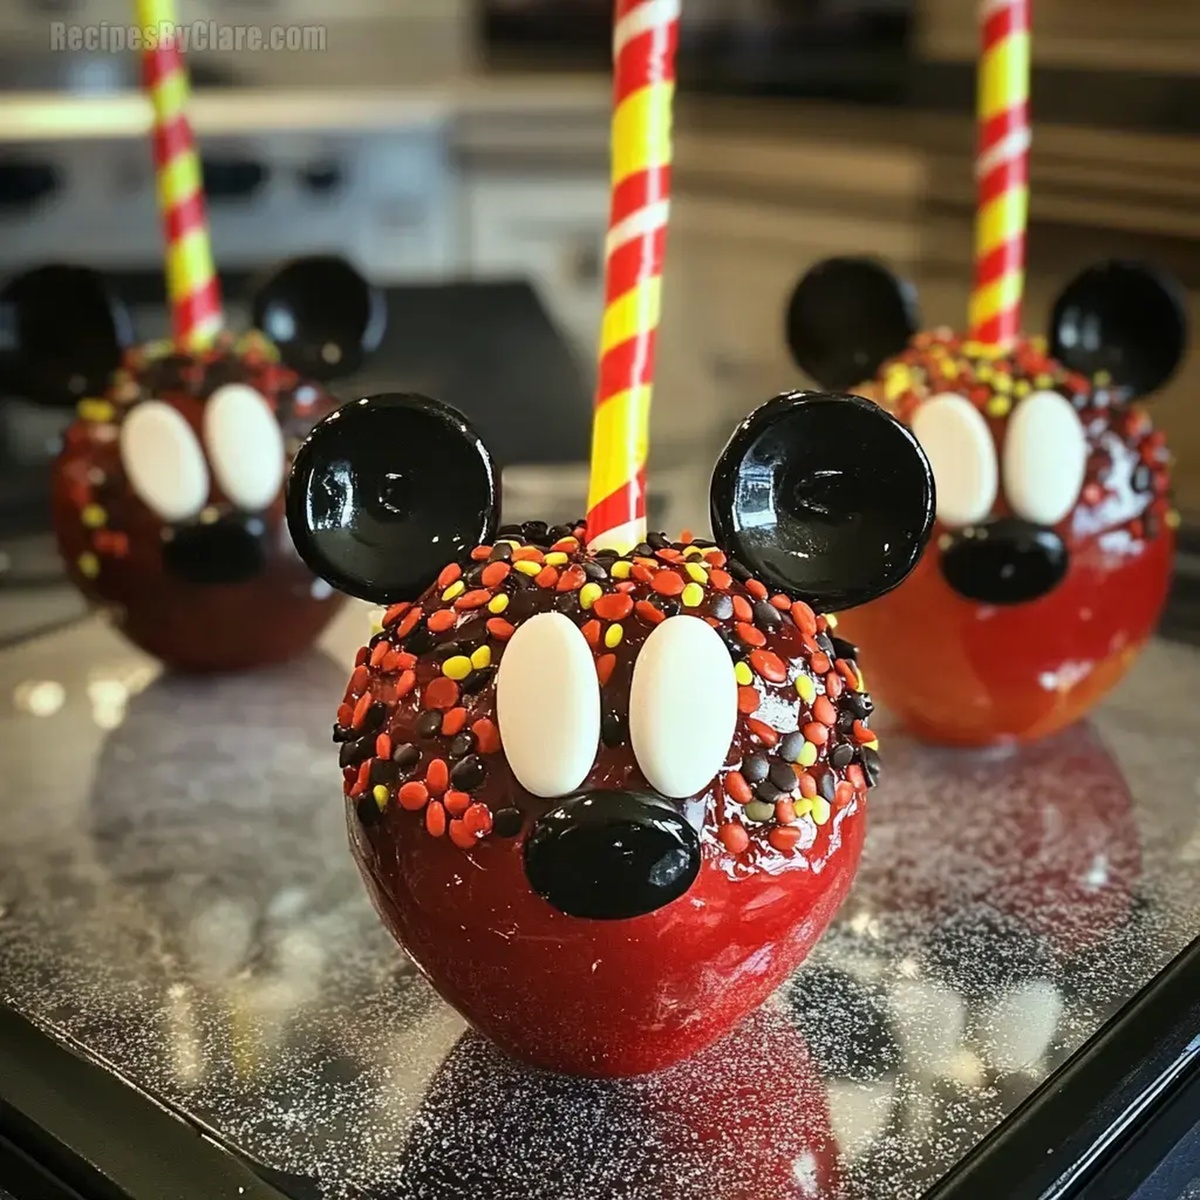
Dreamy Mickey Mouse Candy Apples Recipe: Magical Sweet Treats
Mickey iconic silhouette becomes deliciously sweet in these magical candy apples that capture childhood wonder.
Crisp autumn evenings sparkle with nostalgia when you craft these adorable treats.
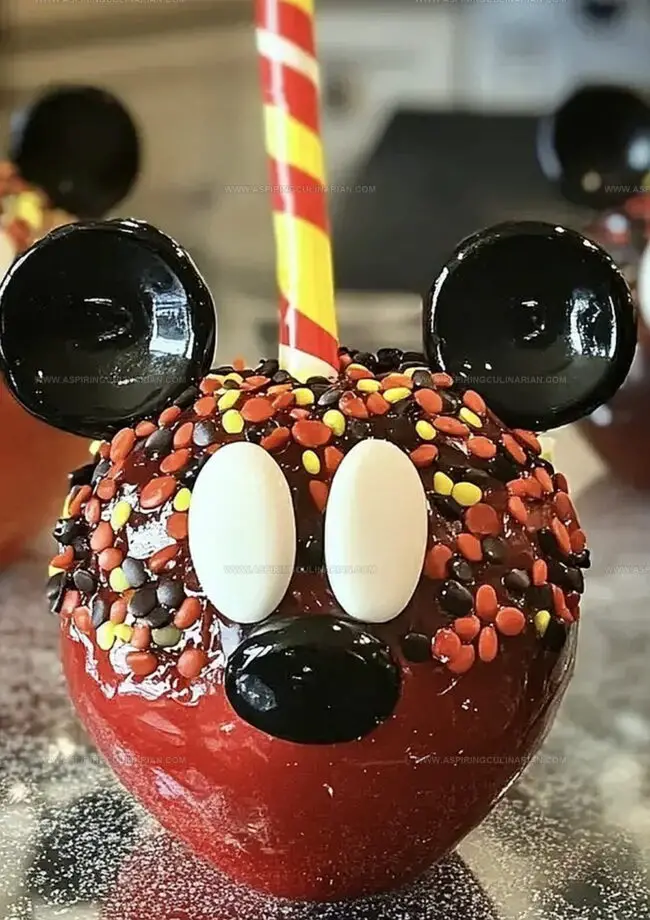
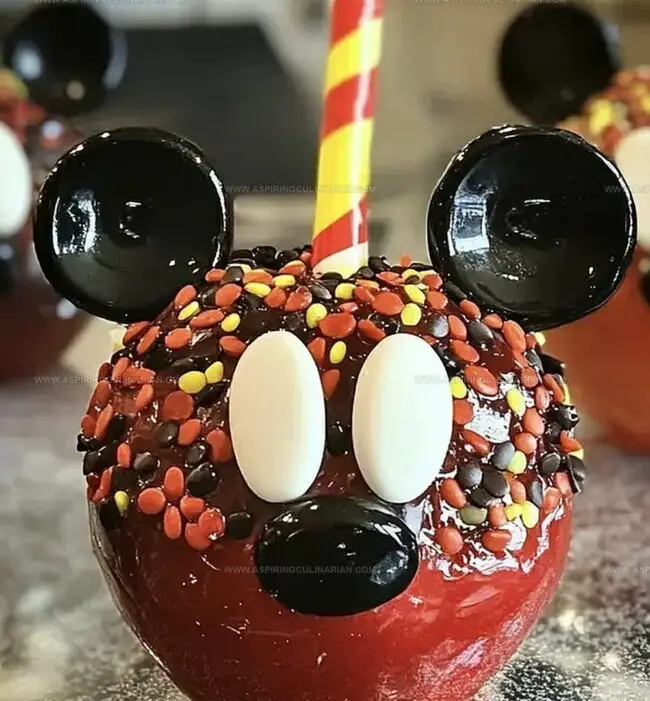
Bright red candy coating transforms ordinary apples into whimsical disney-inspired delights.
Tart granny smith apples provide perfect balance against sugary chocolate ears.
Simple techniques make these charming desserts accessible for home bakers of all skill levels.
Playful decorations guarantee smiles from kids and adults alike.
Your kitchen will feel like a magical kingdom with these delightful Mouse-shaped confections.
Mickey Mouse Candy Apples: Magical & Sweet
Candy Apple Ingredient Checklist
Base Ingredients:Flavoring and Coloring:Finishing Touches:Make Mickey Mouse Candy Apples Easily
Step 1: Prepare Apple Handles
Thoroughly wash and completely dry each apple.
Firmly insert a sturdy wooden skewer or lollipop stick into the top of each apple, creating a perfect handle for your Disney-inspired treat.
Step 2: Create Candy Magic
In a heavy-bottomed saucepan, combine:Stir gently over medium heat until sugar dissolves completely, creating a smooth liquid base.
Step 3: Reach Candy Perfection
Allow the mixture to boil without stirring.
Use a candy thermometer to track the temperature until it reaches the hard crack stage.
This critical moment transforms your mixture into a glossy, magical coating.
Step 4: Add Delightful Color and Flavor
Remove the saucepan from heat.
Carefully stir in vibrant red food coloring and a splash of vanilla extract, creating a glossy, eye-catching coating that’ll make Mickey proud.
Step 5: Dip and Twirl
Hold each apple by its stick and dip carefully into the hot candy mixture.
Gently rotate to ensure an even, smooth coating.
Allow excess coating to drip off, creating a perfect, shiny finish.
Step 6: Set and Cool
Place the freshly coated apples on a parchment-lined baking sheet.
Let them rest and harden for approximately 30 minutes, allowing the candy shell to become wonderfully crisp.
Step 7: Decorate with Disney Flair
Before the coating completely sets, add playful toppings like colorful sprinkles or chopped nuts.
Get creative and make each apple a unique Mickey masterpiece!
Tips for the Perfect Candy Apple Coating
Candy Apple Variations for More Fun
Serve Up Mickey Candy Apples for Smiles
Store Candy Apples for Sweet Days
FAQs
Choose firm, tart apples like Granny Smith or Honeycrisp. These varieties hold their shape well and provide a nice contrast to the sweet candy coating.
Avoid stirring the sugar mixture once it starts boiling. Use a clean pastry brush dipped in water to wash down any sugar crystals that form on the sides of the pan.
A candy thermometer ensures the sugar mixture reaches exactly 300F (hard crack stage), which is crucial for creating a smooth, glossy, and crisp candy coating that will set properly.
Print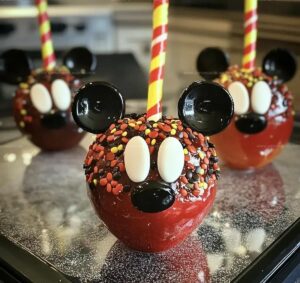
Mickey Mouse Candy Apples Recipe
- Total Time: 30 minutes
- Yield: 6 1x
Description
Whimsical Mickey Mouse Candy Apples bring Disney magic to sweet treats, blending childhood nostalgia with delightful confectionery charm. Crisp red apples dipped in smooth chocolate and decorated with iconic mouse ear details promise pure delight for Disney fans and dessert enthusiasts.
Ingredients
Main Ingredients:
- 6 medium-sized apples (any variety)
- 2 cups (400 grams) granulated sugar
- 1 cup (240 milliliters) light corn syrup
- 1 cup (240 milliliters) water
Flavoring and Coloring:
- 1 teaspoon red food coloring
- 1 teaspoon vanilla extract
Serving and Decoration:
- Lollipop sticks or wooden skewers
- Optional: sprinkles or nuts for topping
Instructions
- Thoroughly cleanse apples under cool running water, ensuring complete dryness. Firmly insert a sturdy stick into the apple’s top center, creating a secure handle for dipping.
- In a heavy-bottomed saucepan, merge sugar, corn syrup, and water. Gently stir over medium heat until sugar crystals completely dissolve into a smooth liquid.
- Allow the syrup mixture to reach a rolling boil without stirring. Monitor temperature carefully with a candy thermometer until it precisely hits 300°F, indicating the hard crack stage.
- Immediately remove the molten candy from heat. Swiftly incorporate vibrant red food coloring and aromatic vanilla extract, stirring until uniformly blended.
- Tilt the saucepan at an angle and submerge each apple, rotating slowly to achieve a perfect, glossy candy shell. Allow excess coating to gracefully drip back into the pan.
- Transfer the glistening candy-coated apples onto a parchment-lined baking sheet. Allow them to rest and solidify for approximately 30 minutes at room temperature.
- While the candy coating remains slightly tacky, embellish with decorative sprinkles, chopped nuts, or additional garnishes for a playful, festive appearance.
Notes
- Choose crisp, fresh apples with smooth skin to ensure the best candy coating adhesion and a satisfying crunch.
- Use a reliable candy thermometer for precise heating, as reaching exactly 300F guarantees a glossy, hard candy shell that won’t become sticky.
- Try different food colorings and extract flavors like strawberry or cherry to personalize your Mickey Mouse candy apples for various themed parties or events.
- Work quickly when dipping apples, as the candy mixture hardens fast, and use protective gloves to prevent potential burns during the coating process.
- Prep Time: 15 minutes
- Cook Time: 15 minutes
- Category: Snacks, Desserts
- Method: Frying
- Cuisine: American
Nutrition
- Serving Size: 6
- Calories: 335
- Sugar: 81 g
- Sodium: 4 mg
- Fat: 0 g
- Saturated Fat: 0 g
- Unsaturated Fat: 0 g
- Trans Fat: 0 g
- Carbohydrates: 88 g
- Fiber: 3 g
- Protein: 0.5 g
- Cholesterol: 0 mg
Nathaniel Brooks
Founder & Recipe Developer
Expertise
Farm-to-table cuisine, Seasonal recipe development, Culinary storytelling
Education
Ivy Tech Community College – Indianapolis, IN
Culinary Arts / Hospitality Administration & Events
Focused on hands-on training in classical and modern culinary techniques.
Nathaniel’s story starts in the foothills of the Appalachian Mountains, where farm stands, backyard gardens, and old family recipes shaped his love for real food. After graduating from Ivy Tech Community College in Indianapolis, he spent years working in farm-to-table kitchens, learning how to turn local, seasonal ingredients into something memorable.
Today, Nathaniel pours that same spirit into every single recipe on Aspiring Culinarian – recipes that feel real, comforting, and connected to the land. When he’s not in the kitchen, you’ll find him foraging wild herbs, chasing sunsets with his camera, or writing about the flavors that shaped his roots.