Easy Mini Cookie Butter Cheesecake Cups Recipe for Sweet Lovers
Creamy, dreamy mini cookie butter cheesecake cups dance between decadence and pure bliss.
These delightful little treats promise a rich, velvety experience that melts in your mouth.
Sweet cookie butter swirls through smooth cream cheese, creating an irresistible dessert that’s both elegant and comforting.
Every bite delivers a perfect balance of crunch and silky texture.
The miniature size makes these cups ideal for parties, potlucks, or a personal indulgence.
Bite-sized perfection awaits you in this simple yet spectacular dessert that will surely become a favorite among dessert enthusiasts.
Mini Cookie Butter Cheesecake Cups What to Know

Mini Cookie Butter Cheesecake Cups Ingredient Essentials
Crust Base:Cheesecake Filling:Toppings and Garnish:Mini Cookie Butter Cheesecake Cups Instructions
Step 1: Create Crumbly Crust Base
Grab some cookie crumbs and combine them with melted butter.
Gently press this mixture into the bottom of each individual dessert cup, creating a solid and delicious foundation for your mini cheesecakes.
Make sure the crust is evenly distributed and firmly packed to provide a sturdy base.
Step 2: Whip Up Creamy Cheesecake Filling
In a mixing bowl, blend cream cheese, cookie butter, and powdered sugar until the mixture becomes silky smooth.
In a separate bowl, whip heavy cream until soft peaks form.
Carefully fold the whipped cream into the cream cheese mixture, creating a light and airy filling that will melt in your mouth.
Ingredients:Step 3: Build Delightful Layered Dessert
Start by adding a layer of the cookie crust to the bottom of each cup.
Carefully spoon the creamy cheesecake filling on top of the crust.
Drizzle some caramel sauce over the filling.
Repeat the layering process for added texture and flavor.
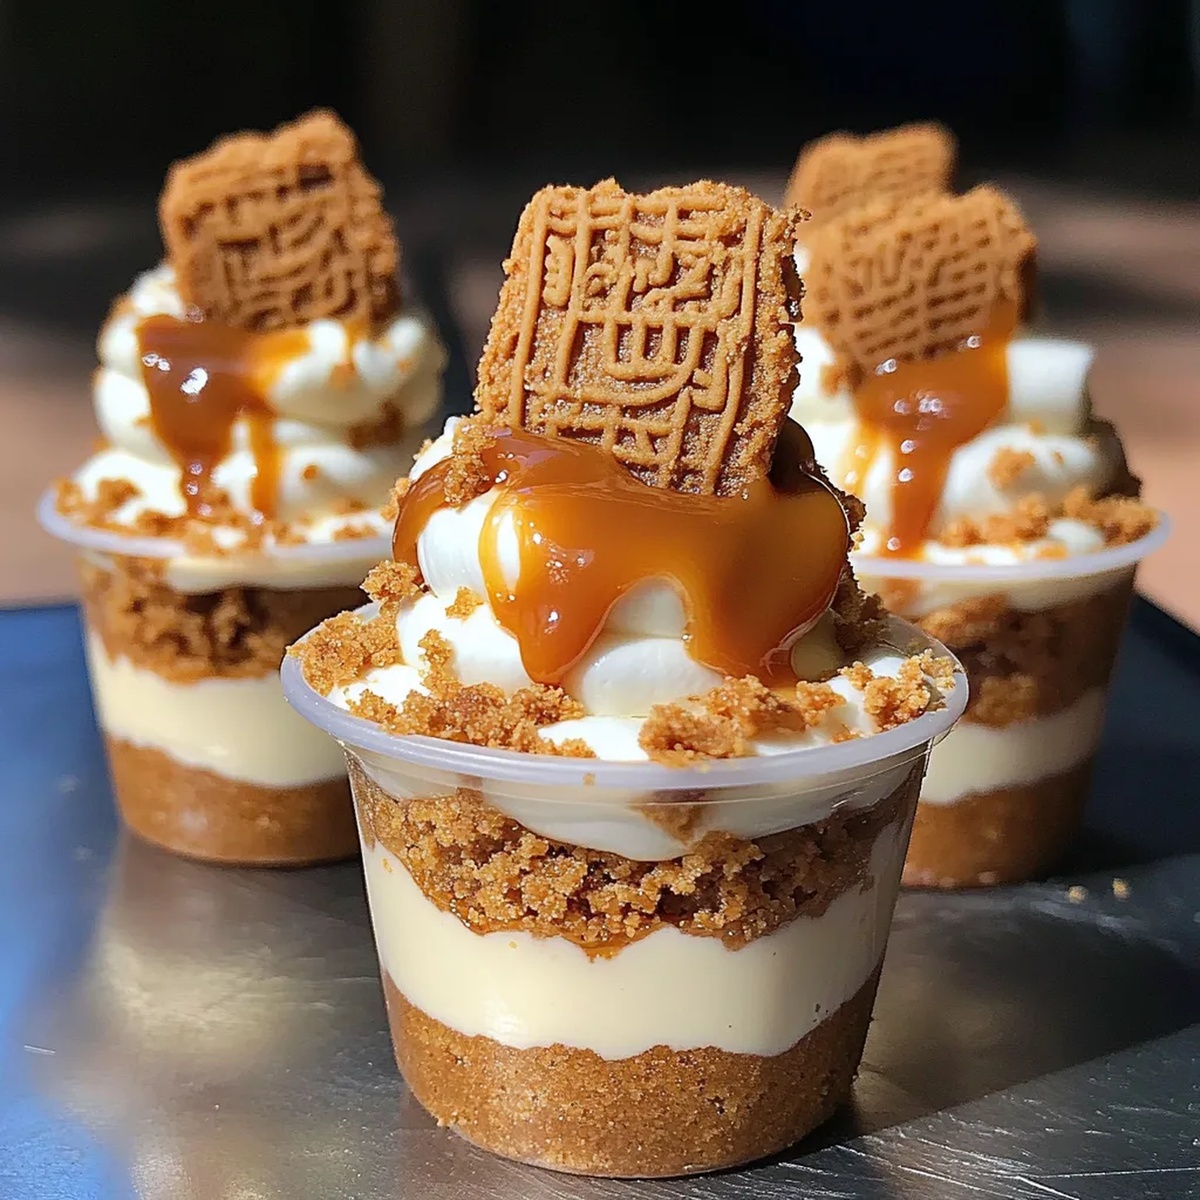
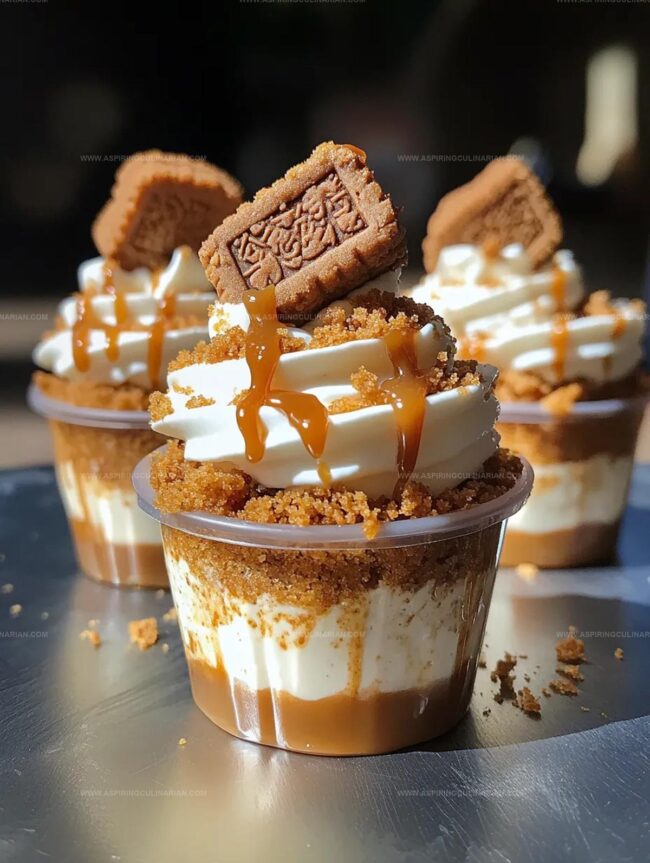
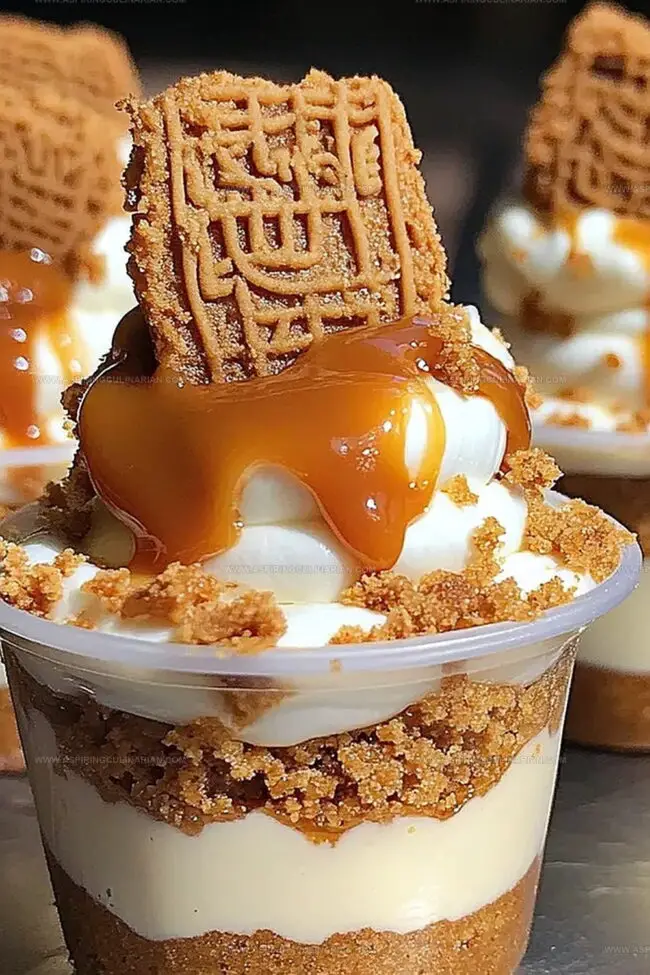
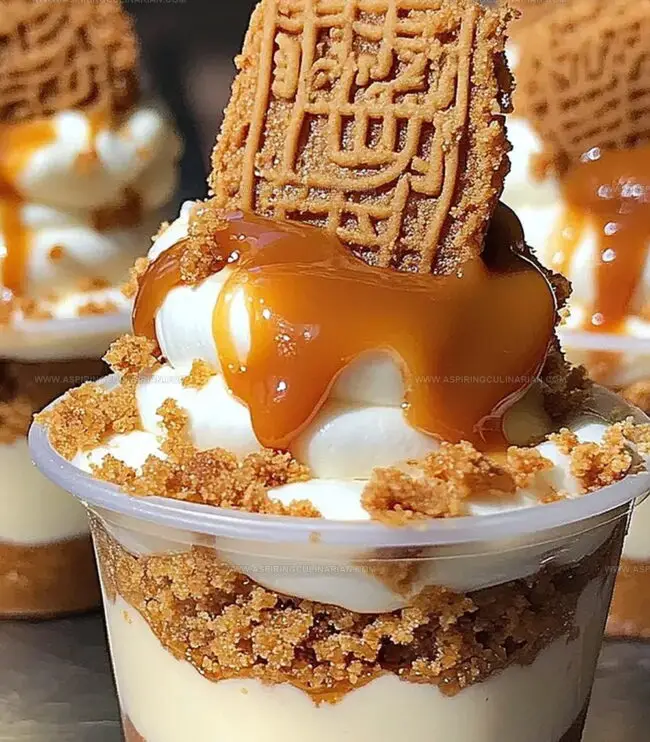
Crown your mini cheesecakes with a dollop of whipped cream, sprinkle of cookie crumbs, and garnish with a whole Biscoff cookie for an extra touch of indulgence.
Step 4: Chill and Serve with Excitement
Place the assembled mini cheesecake cups in the refrigerator and let them chill for at least 2 hours.
This resting time allows the flavors to meld and the texture to set perfectly.
When ready to serve, remove from the refrigerator and watch as your guests’ eyes light up with anticipation of this delectable treat.
Tips for Mini Cookie Butter Cheesecake Cups
Mini Cookie Butter Cheesecake Cups Variation Ideas
Serving Mini Cookie Butter Cheesecake Cups
Mini Cookie Butter Cheesecake Cups Storage Tips
FAQs
Cookie butter is a sweet spread made from crushed Speculoos or Biscoff cookies, with a consistency similar to peanut butter but with a rich, caramelized cookie flavor.
Yes, graham crackers or digestive biscuits work well as alternative crust options if you don’t have Biscoff cookies available.
The recipe contains dairy products like cream cheese and heavy cream, making it suitable for vegetarians but not for vegans.
You can prepare these cups up to 2-3 days in advance and store them covered in the refrigerator, which actually helps the flavors meld together more intensely.
Print
Mini Cookie Butter Cheesecakes Cups Recipe
- Total Time: 2 hours 30 minutes
- Yield: 12 1x
Description
Indulgent mini cookie butter cheesecakes cups blend creamy cheesecake with spiced speculoos cookie goodness. Sweet miniature desserts deliver rich, luxurious comfort perfect for intimate gatherings or solo sweet cravings you’ll savor.
Ingredients
Main Ingredients:
- 1.5 cups Biscoff cookie crumbs (or graham cracker crumbs)
- 8 ounces (226 grams) cream cheese, softened
- 0.5 cup cookie butter (Biscoff spread)
- 0.5 cup heavy whipping cream
Supporting Ingredients:
- 0.25 cup melted butter
- 0.25 cup powdered sugar
- 1 teaspoon vanilla extract
Garnish and Topping:
- 0.5 cup caramel sauce
- Extra Biscoff crumbs
- Whipped cream
- Whole Biscoff cookies for garnish
Instructions
- Create a delectable base by thoroughly combining crushed cookies with melted butter, ensuring an even, compact layer at the bottom of each individual serving cup.
- Whisk cream cheese, cookie butter, and powdered sugar until achieving a velvety, homogeneous texture that is free of lumps.
- Separately whip heavy cream to soft, billowy peaks, then gently incorporate into the cream cheese mixture, maintaining its light and airy consistency.
- Construct layers by carefully spreading the cookie crust as the foundation, followed by a generous portion of the creamy cheesecake filling.
- Enhance the dessert with a delicate drizzle of caramel sauce, creating elegant swirls across the surface.
- Repeat layering process to build visual and flavor complexity within each cup.
- Crown the mini cheesecakes with a dollop of freshly whipped cream, sprinkle of cookie crumbs, and a whole Biscoff cookie as an elegant garnish.
- Refrigerate the assembled desserts for a minimum of 2 hours, allowing flavors to meld and texture to set perfectly.
- Serve chilled, presenting these miniature indulgences at a cool 40°F for optimal taste and presentation.
Notes
- Customize the crust by substituting different cookie types like graham crackers or chocolate cookies for varied flavor profiles.
- Ensure cream cheese is at room temperature to achieve a smoother, lump-free filling with perfect consistency.
- For a lighter version, use low-fat cream cheese and replace some heavy cream with Greek yogurt to reduce overall calories.
- Create gluten-free options by using gluten-free cookie crumbs and checking all ingredient labels carefully.
- Prep Time: 30 minutes
- Cook Time: 2 hours
- Category: Desserts, Snacks
- Method: Chilling
- Cuisine: American
Nutrition
- Serving Size: 12
- Calories: 250
- Sugar: 14 g
- Sodium: 150 mg
- Fat: 18 g
- Saturated Fat: 10 g
- Unsaturated Fat: 6 g
- Trans Fat: 0 g
- Carbohydrates: 22 g
- Fiber: 1 g
- Protein: 3 g
- Cholesterol: 40 mg
Lena Martinez
Contributing Writer & Culinary Educator
Expertise
Southwestern and Latin American cuisines, Vegetarian and plant-based recipe development, Culinary education and community outreach
Education
Santa Fe Community College, Santa Fe, NM
Certificate in Culinary Arts
Emphasized Southwestern cuisine and sustainable cooking practices
Lena grew up surrounded by the colors, spices, and traditions of the Southwest – flavors that sparked her love for bold, honest cooking. After earning her Culinary Arts certificate at Santa Fe Community College, she made it her mission to teach home cooks how to create flavorful, plant-powered meals without the fuss.
Her recipes are packed with vibrant ingredients, simple steps, and the kind of heart that turns a regular meal into something you’ll want to share. Outside the kitchen, Lena spends her time wandering farmers’ markets, trading family recipes, and helping young chefs find their voice through food.